
Free Pattern to Make a Cute Crochet Phone Pouch
Add a creative touch to your accessories by crocheting a phone pouch with this free pattern that’s simple, beautiful, and customizable.
Crocheting a phone pouch is not only practical but also a fun creative project that lets you infuse your own style into a functional everyday accessory. The finished piece can be worn conveniently around your neck with a durable strap or gifted to friends and family as a thoughtful handmade surprise. The pouch is lightweight, yet functional, offering enough space to fit various phone sizes.
One of the most attractive features of this phone pouch is its elegant design, which can be customized to suit your taste. Beyzalle CRAFT demonstrates two beautiful variations, a sporty cotton yarn version ideal for casual use, and a more decorative, cream colored option, complete with intricate detailing for a sophisticated feel. The flower like motifs featured in the design add a delicate touch that makes the pouch stand out, while the handle worked in a popcorn stitch provides durability and charm.
Keep Your Phone Safe Using This Crochet Pattern
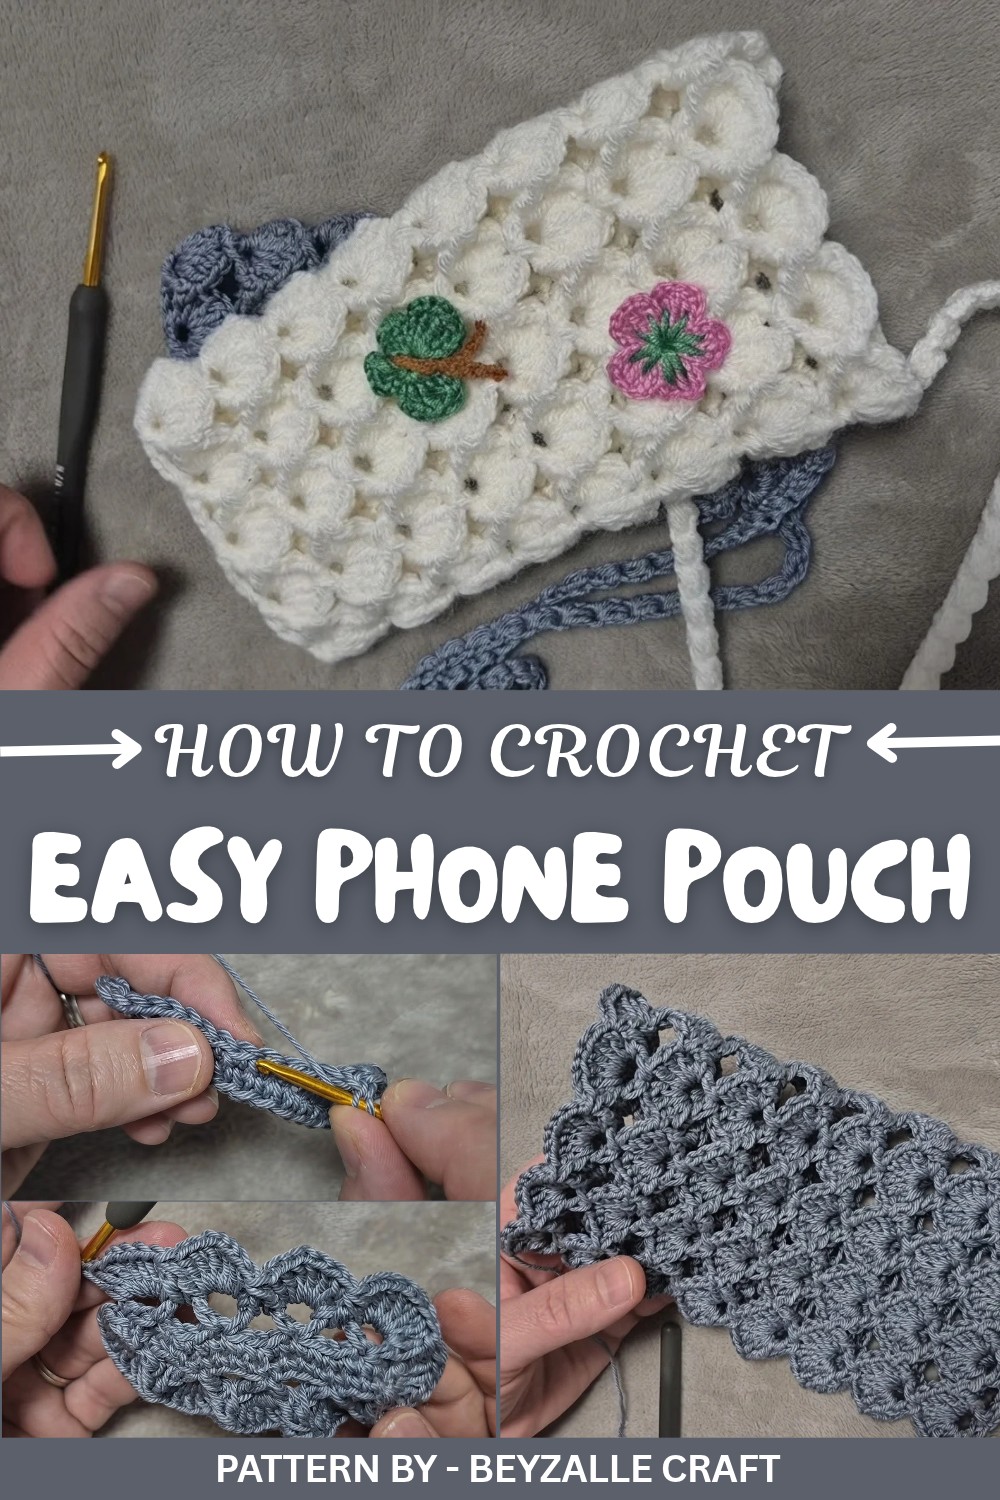
The working style is beginner friendly, and with just a size 3 crochet hook, you can create the entire pouch in one sitting. The pattern makes the process simple by providing clear instructions for each stitch and row. The flexible pattern allows adjustments for different phone sizes and encourages creativity with decorations such as flowers, butterflies, or other small figures.
If you are looking for a relaxing yet rewarding activity, this crochet phone pouch project is perfect for keeping your phone safe in style while showcasing your creativity.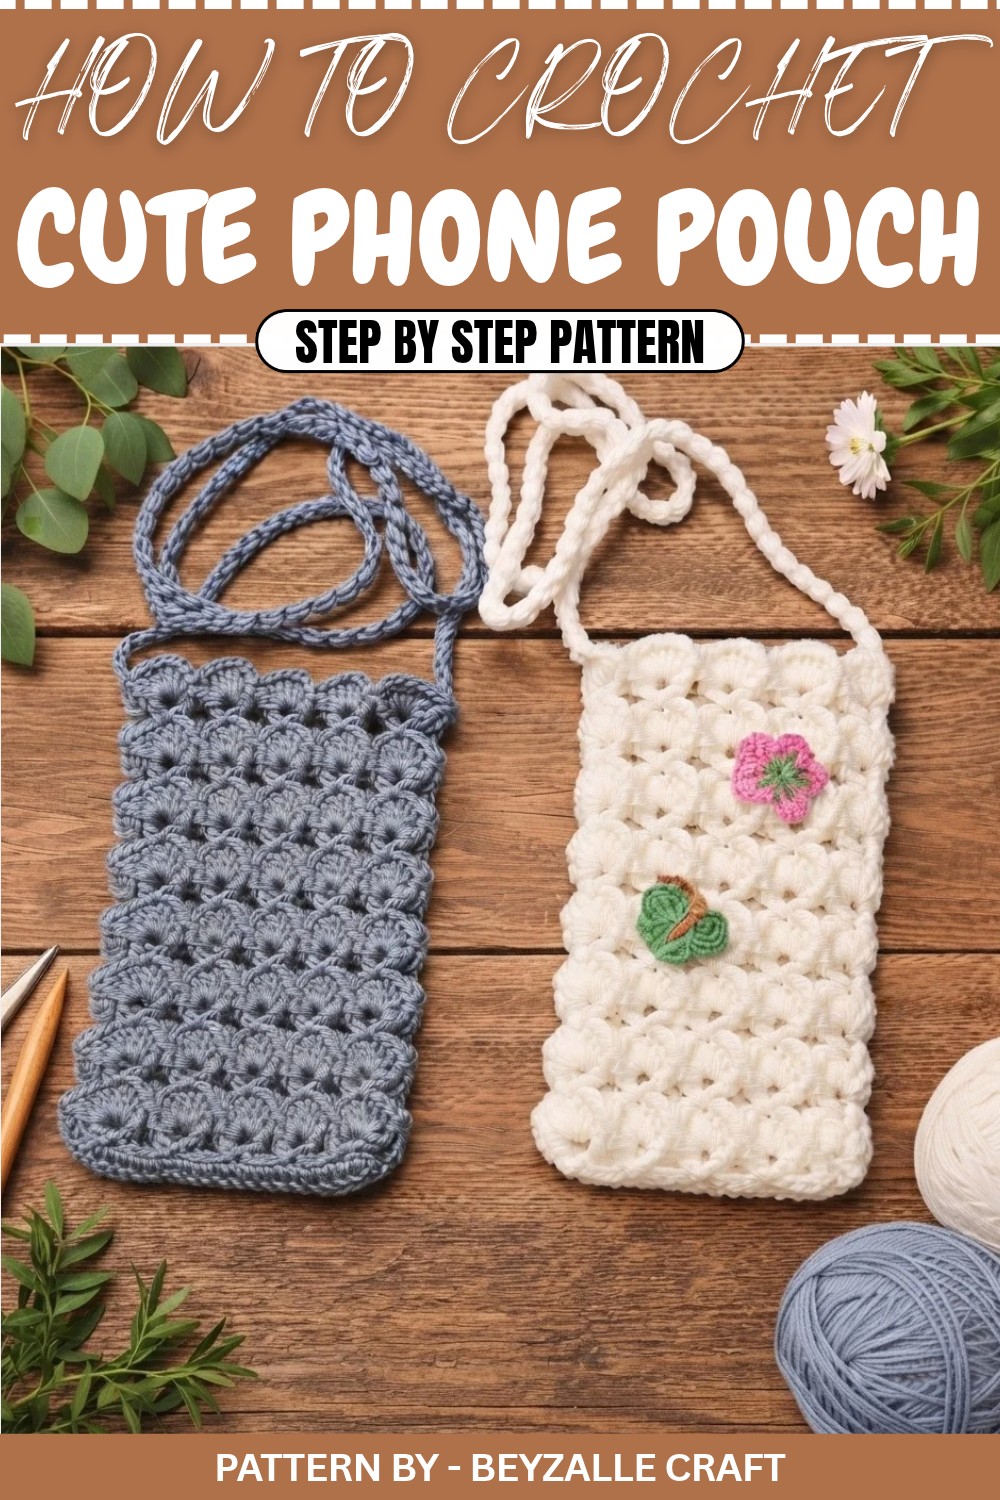
Crochet Pattern: Phone Pouch
Learn how to crochet a versatile phone pouch that can be worn across your body. This project is beginner friendly and quick to complete, offering a customizable design to suit your style. Perfect for gifts, for yourself, or as a practical accessory for kids and friends.
Quick Overview of Pattern
- Project Type: Crochet Phone Pouch (Crossbody Bag)
- Main Features: Practical and compact design with two style variations (decorative or minimalist).
- Uses: Functional phone pouch for daily use or gifting.
- Difficulty Level: Beginner friendly, with simple stitches and a popcorn detail for the strap.
Notes
- This pouch is highly customizable for different phone sizes.
- Gauge isn't crucial but maintaining consistent tension will provide a clean finish.
- The strap length and design can be adjusted based on personal preference or style.
Skill Level
Beginner – Uses basic stitches like single crochet (SC), double crochet (DC), popcorn stitches, and chain stitches.
Materials
- Yarn:
- Durable cotton yarn or any medium-weight yarn of your choice.
- Two variations suggested: decorative (cream-colored yarn for embellishments) or minimalist (plain colors).
- Hook: 3 mm crochet hook (or larger for a softer texture).
- Tapestry Needle: For sewing edges and weaving in ends.
- Scissors: For cutting yarn neatly.
- Optional Decorations: Buttons, crochet flowers, or appliques.
Measurements / Sizing
- Pouch Size: Approximately 10 cm x 16 cm (can be adjusted if needed).
- Measure your phone and adjust the chain length or number of rows accordingly.
Gauge
Gauge isn’t critical, but ensure consistent tension:
- 10 Single Crochets x 10 Rows = 5 cm in width.
Stitch Abbreviations
- Ch: Chain
- SC: Single Crochet
- DC: Double Crochet
- Popcorn: Popcorn stitch
- Sl St: Slip Stitch
Special Stitches
- Popcorn Stitch: A cluster made by working multiple double crochets (DC) into the same stitch, removing the hook, and pulling a loop through to create a raised texture.
The Crochet Pattern
Step 1: Base of the Pouch (Foundation Row)
- Start with Chains:
- Chain 17: 16 chains plus 1 turning chain.
- Keep the chains loose to prevent the base from becoming tight.
- Row 1:
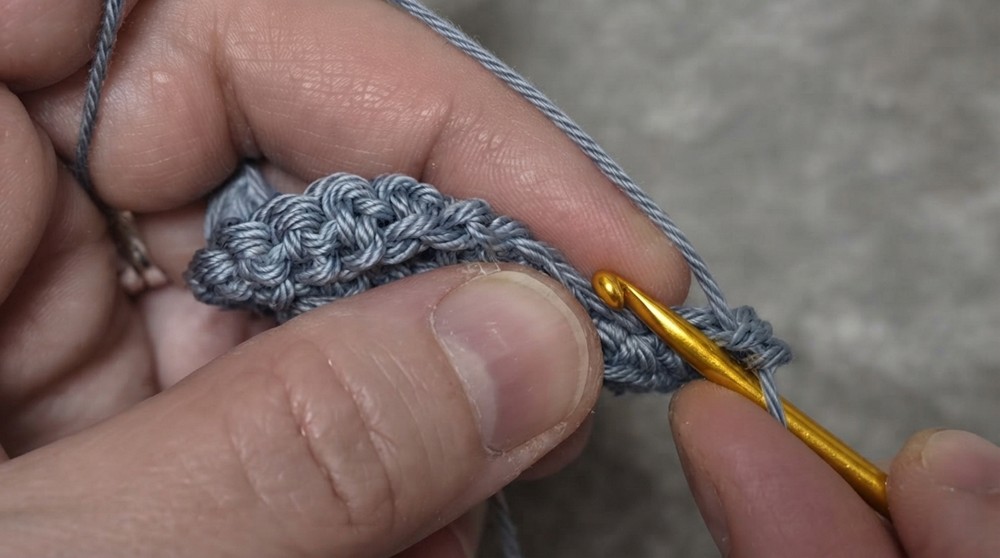
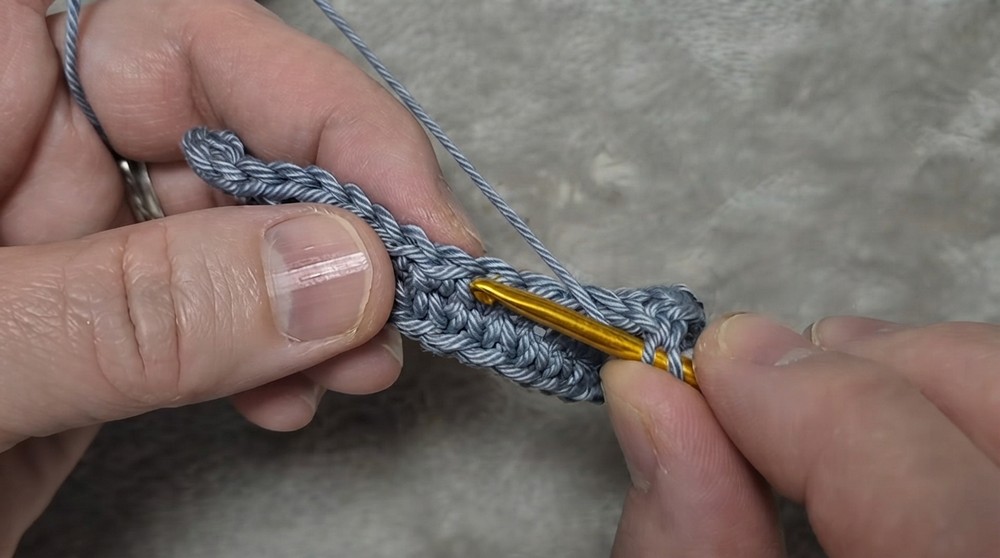
- Begin in the second chain from the hook. Work 15 SC evenly across the row, one in each chain.
- End of Row 1:
- In the last chain, work 4 SC into the same stitch to create a rounded edge for the pouch.
- Continue Along the Other Side:
- Rotate and continue crocheting along the other side of the chains. Work 14 SC evenly into each chain opposite.
- Complete Round:
- At the final stitch, work 2 SC into the same stitch for symmetry.
- Join the round using a Slip Stitch (Sl St) into the first stitch of the row. You will now have 35 stitches in total.
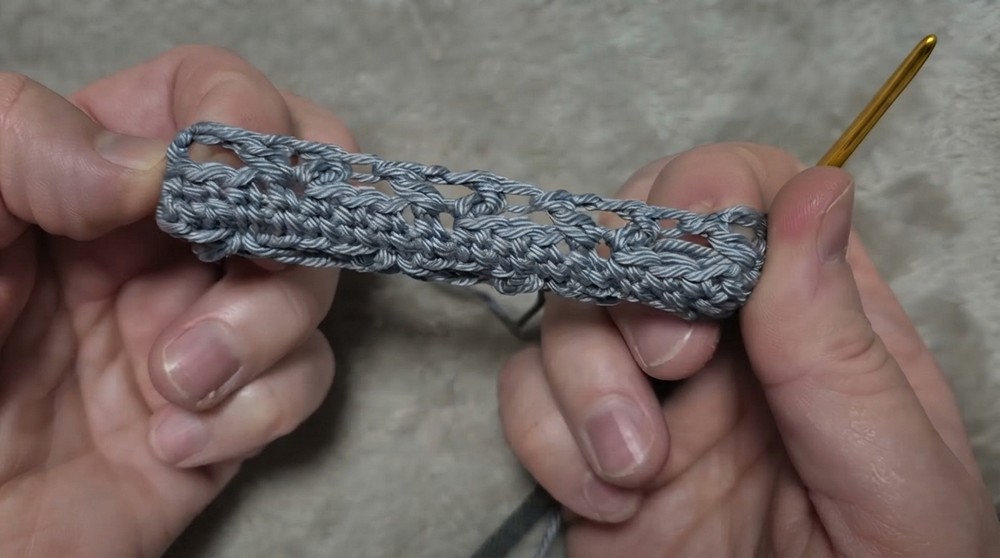
Step 2: Eyelet Details (Second and Third Row)
Row 2: Eyelet Pattern
- Start with Chains:
- Chain 5 (this forms the initial eyelet).
- Work DC Into the Same Stitch:
- Yarn over and create a DC into the same base stitch as the chain.
- Skip Spaces:
- Skip 3 stitches ahead and work a DC into the 4th stitch.
- Chain 2 and work another DC into the same stitch.
- Repeat Around:
- Repeat the pattern (skip 3 stitches, work DC, chain 2, another DC) until you have completed the round.
- Complete the Round:
- Join the round using a Sl St into the third chain of the starting chain 5. You will have 9 eyelet motifs formed around the pouch.
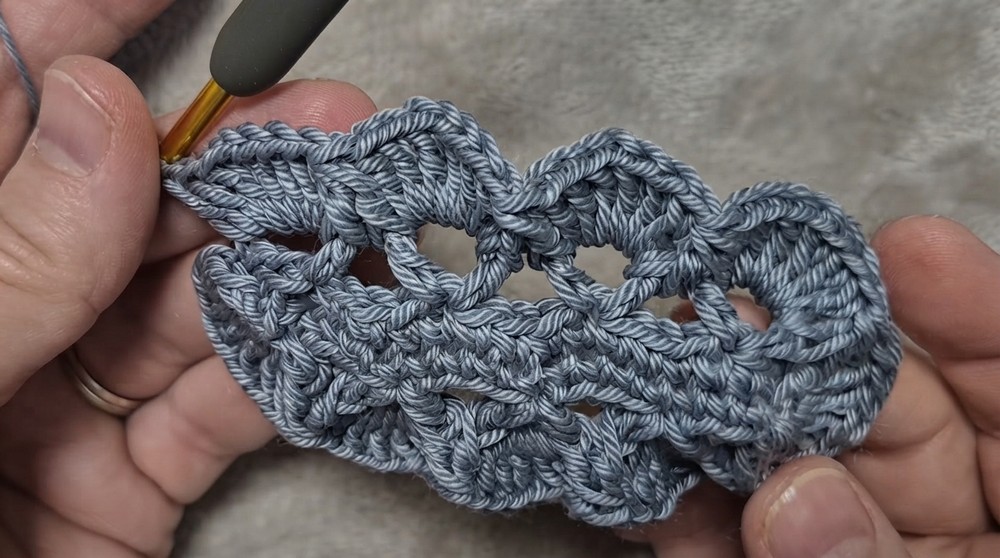
Row 3: Filling Eyelets
- Start Filling:
- Chain 1 and yarn over. Begin your first DC underneath the previous DC post of the first eyelet. Work one DC into this post.
- Fill Eyelets:
- Into each eyelet space, work the following:
- 3 DC, Ch 1, 3 DC into the same eyelet space.
- Into each eyelet space, work the following:
- Skip Posts:
- Skip over the next DC post and work DC underneath the next DC from the following eyelet.
- Continue Around:
- Repeat the motif filling pattern until you’ve filled all 9 eyelet spaces.
- Finish Row:
- Complete the row using Sl St into the top of the first DC worked.
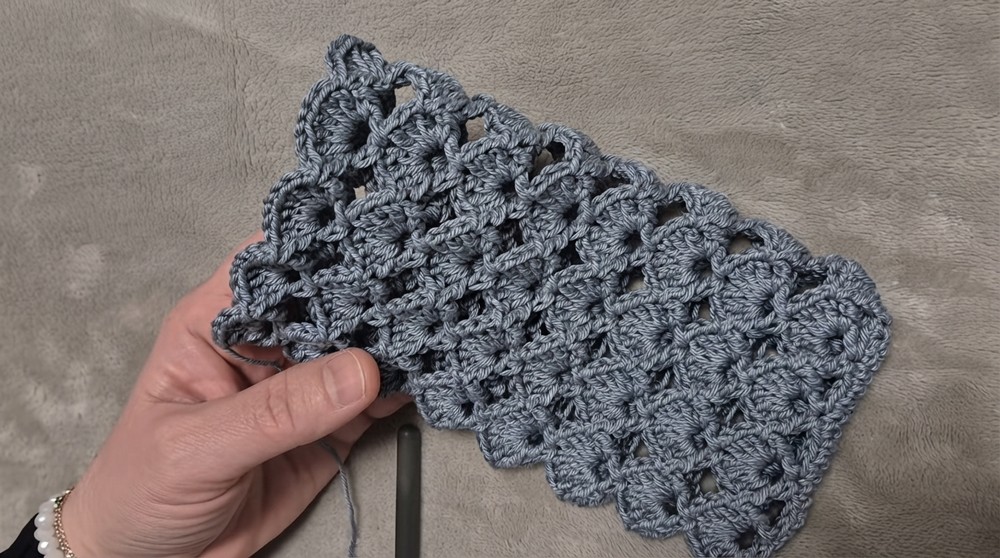
Step 3: Adjust the Length of the Pouch
- Continue repeating Row 2 and Row 3 until the pouch reaches the desired height.
- For the suggested dimensions, work 8 rows of the eyelet pattern.
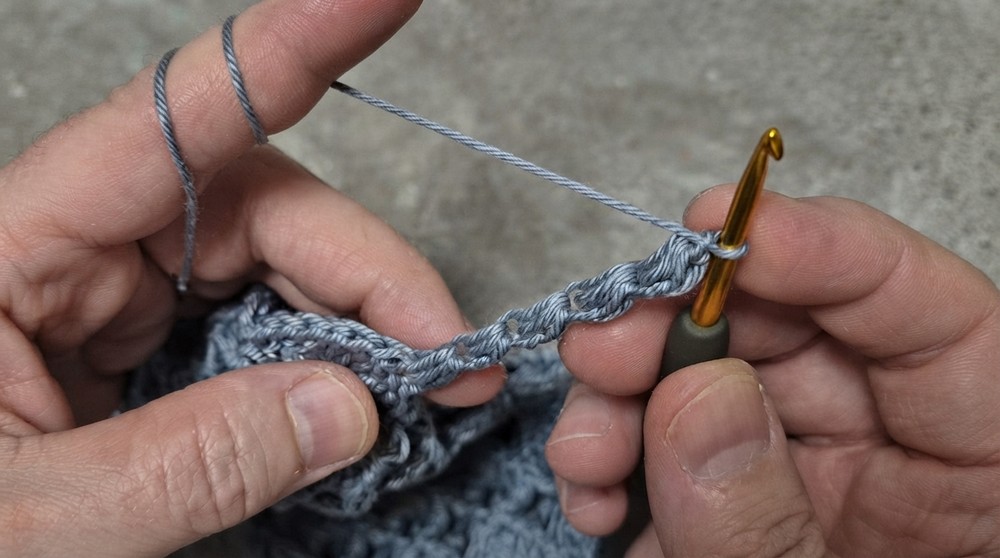
Step 4: Strap (Customization)
- Foundation:
- Start the strap at one edge of the pouch where your last row ended.
- Build the Popcorn Strap:
- Chain 1 and begin the popcorn stitch.
- Into the same stitch, work 2 DC, complete the popcorn, and chain 1 after each cluster.
- Adjust Length:
- Continue with popcorn clusters until the strap is at a comfortable crossbody length.
- Optional: Use other crochet techniques for a unique strap design (e.g., braided chains or single loops).
- Attach Strap:
- Secure the opposite end of the strap to the pouch using slip stitches or by sewing with a tapestry needle.
Assembly & Finished Size
- Suggested Dimensions: Completed pouch size of 10 cm x 16 cm.
- Customization Tips: Add embellishments like decorative flowers, butterfly appliqués, or buttons to style your pouch.
Conclusion and Final Words
This crocheted phone pouch is a practical yet stylish accessory that can be customized to suit different preferences and sizes. Whether minimalist or ornate, this beginner friendly project promises fun and utility. We hope you enjoy creating and personalizing your very own phone pouch.