
Free Crochet Apple Slice Keychain Pattern to Jazz Up Keys
Spot your bag with a fruity charm from the Free Crochet Apple Slice Keychain Pattern for a playful touch that stands out on purses or backpacks during trips.
Have you ever looked at a freshly sliced apple and thought, "This would make the cutest keychain?" That’s exactly what inspired me to create a crochet apple slice keychain pattern. It’s colorful, fun, and small enough to attach to your backpack, purse, or keys. The apple slice combines a realistic design with bright, cheerful colors, beige for the juicy center, red or green for the rind, and a touch of brown for the stem. The keychain is not only adorable but also makes a perfect handmade gift or a classroom craft project since it’s quick and easy to create.
Featured By 𑣲 Chinami Crochet 𐙚
This pattern focuses on using basic stitches like single crochet (SC), half double crochet (HDC), and double crochet (DC) to sculpt a perfect apple slice shape. Special techniques like working in a magic ring add a polished, seamless touch (you can use this to make hats or toys too). Alongside the apple slice, these stitches can help you create matching items like coasters, fruit themed garlands, or even a larger apple pillow for home decor.
Free Crochet Apple Slice Keychain Pattern for Fruit Fans
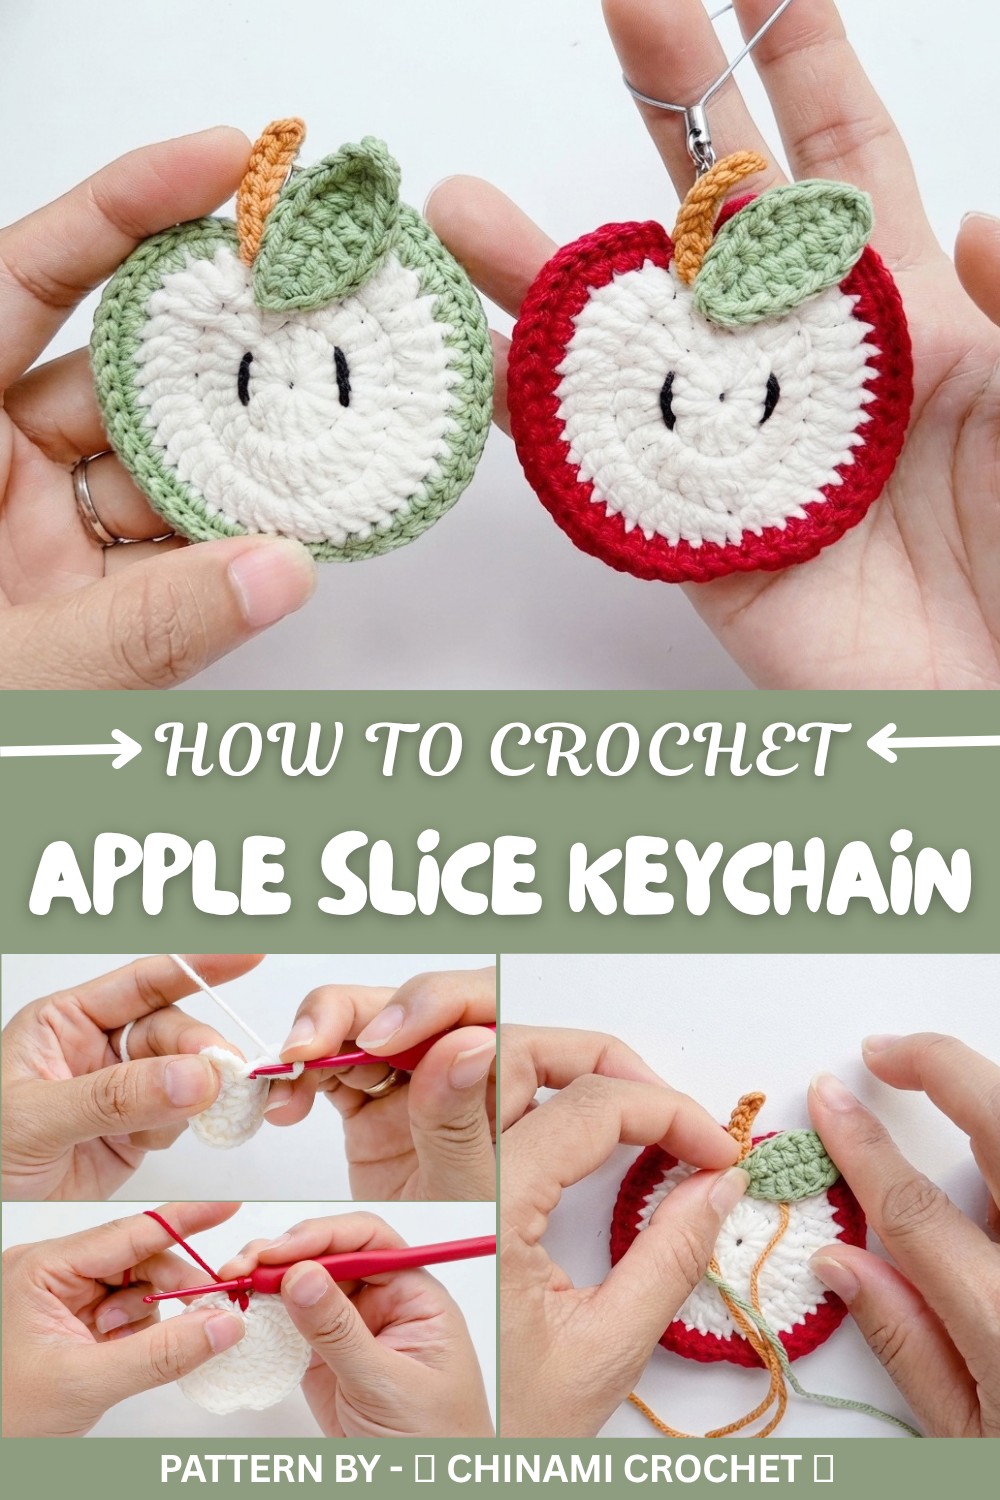
By working through this pattern, you’ll gain confidence in crocheting in rounds and learning how to seamlessly shape edges. You’ll also practice increases and cluster stitches, which are essential for many projects like amigurumi, flowers, and other decorative items. It’s the perfect way to enhance your skills while creating something cute and practical.
You might find the magic circle or evenly stitching through layers a bit tricky at first. But don’t worry—use a stitch marker to track your starting point, and if gaps appear, just tighten the magic circle or adjust your tension. By taking it slowly, you’ll master this in no time.
With the knowledge from this pattern, you can experiment with other creative ideas like crocheting tiny fruits, mini ornaments, or even bookmarks. It’s a fun starting point for endless possibilities.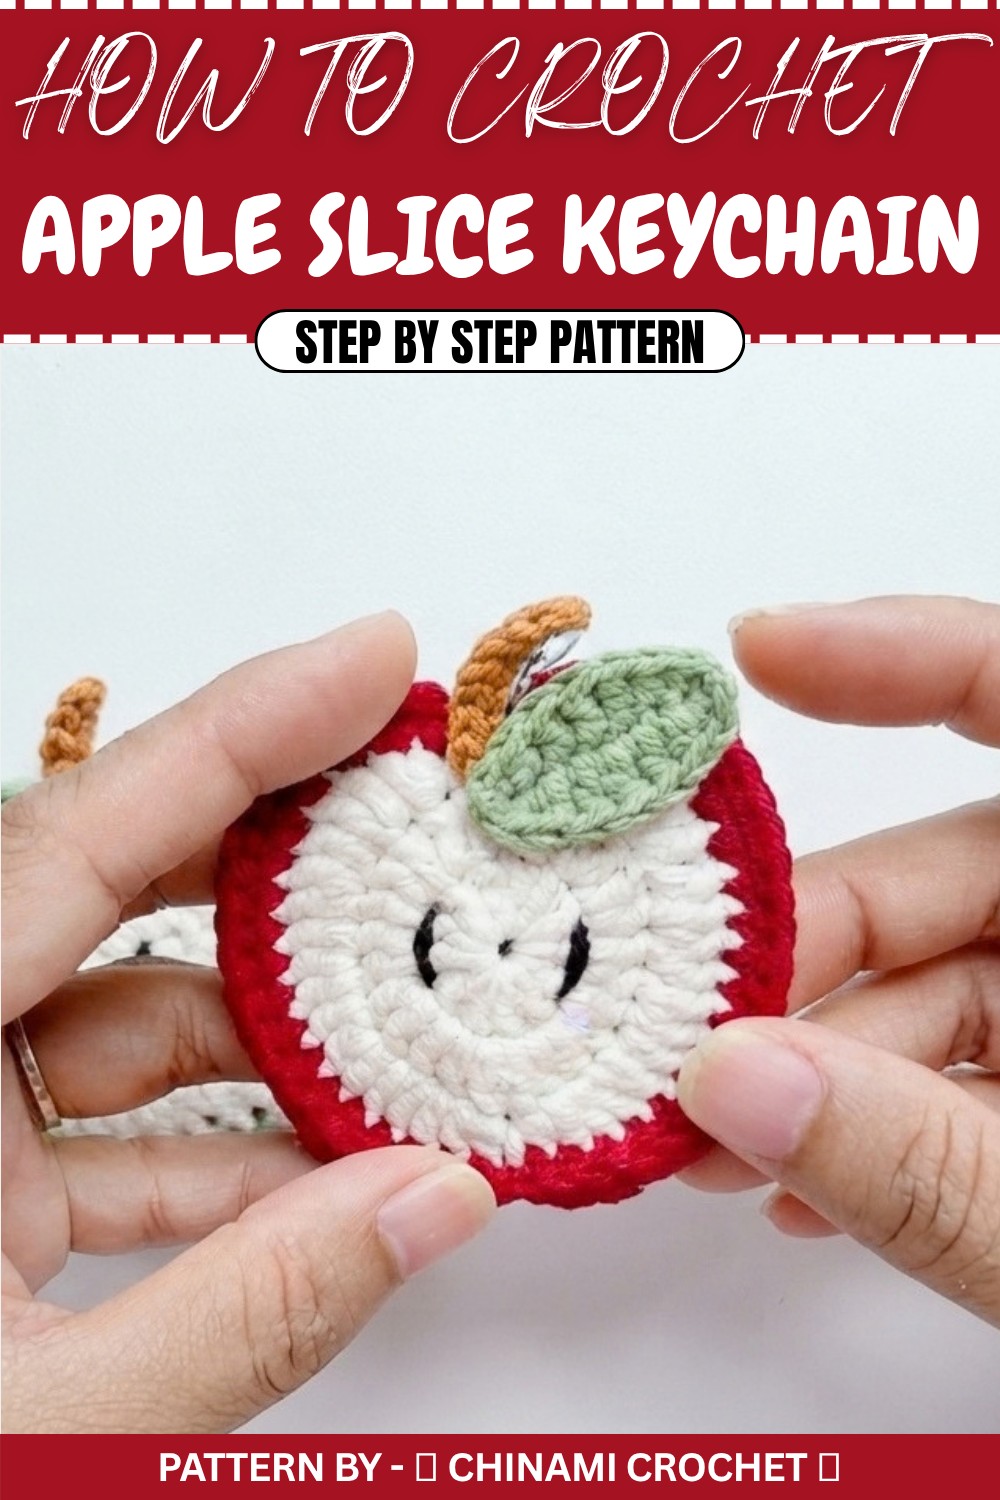
Crochet Pattern: Cute Apple Keychain
Quick Overview of Pattern
- Apple Interior: Begin with a magic circle and work double crochet stitches to form a round apple slice.
- Apple Skin: Add the apple skin in vibrant red or green with single crochet and increase stitches.
- Stem and Leaf: Create the realistic finishing touches with brown stems and green leaves.
- Assembly: Stitch or glue all the components together and embroider the apple seeds.
Notes
- Yarn Selection: Use any leftover yarn you have. For skin, red is traditional, but green or other colors work too.
- When changing colors, leave a long yarn tail to securely weave in the transition points.
- Magic Circle: Ensure you pull the tail tightly so that there’s no gap at the center of the apple slice.
- For attaching the stem and leaf, a hot glue gun works well, but you can also sew them on for a finer finish.
Skill Level
- Beginner to Intermediate:
- This pattern uses simple stitches—chains (Ch), single crochet (SC), double crochet (DC), and slip stitches (Sl St).
- Includes basic increases and assembly techniques.
Materials
- Yarn:
- Beige or White (for apple interior).
- Red or Green (for apple skin).
- Brown (for stem).
- Green or Light Green (for leaf).
- Crochet Hook: 2.5 mm hook (or adjust hook to match your yarn).
- Other Tools:
- Yarn needle.
- Scissors.
- Hot glue gun (optional, for assembly).
Measurements / Sizing
- Diameter: Apple Slice ~6–7 cm.
- Thickness: Assembled Slice ~2–3 cm.
Gauge
Gauge isn’t crucial for this project, but using consistent tension will help your apple slices look uniform.
Stitch Abbreviations
| Abbreviation | Description |
|---|---|
| Ch | Chain |
| SC | Single Crochet |
| HDC | Half Double Crochet |
| DC | Double Crochet |
| Inc | Increase (2 stitches in 1 stitch) |
| Sl St | Slip Stitch |
Special Techniques
- Magic Ring: A technique used to start in a tight, closed circle.
The Crochet Pattern
Part 1: Apple Interior (White/Beige Yarn)
Round 1: Magic Circle
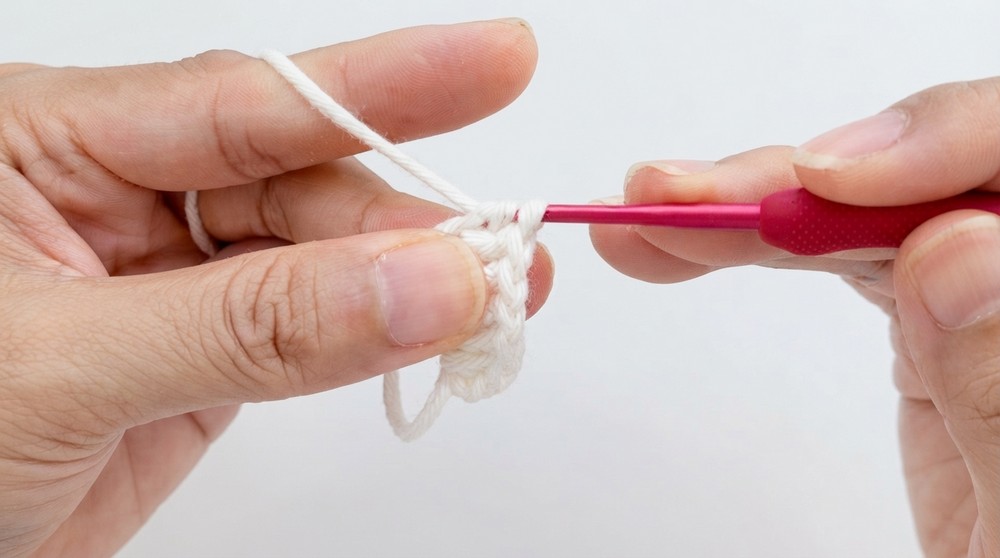
- Form a magic ring: Wrap yarn around your fingers, insert your hook, yarn over, and pull up a loop.
- Ch 3 (counts as the first DC).
- Into the ring, work 12 DC stitches.
- Pull the tail to close the circle tightly.
- Sl St into the top of the first DC to close the round.
Round 2: Increase (Double Stitches)
- Ch 3.
- Work 2 DC into each stitch around (24 stitches in total).
- Sl St into the top of the first DC.
Round 3: Apple Shape Definition
- Work 1 HDC in the first stitch, followed by 1 DC in the same stitch.
- In the next stitch, work 2 DC (increase).
- Alternate: 1 DC in the next stitch, 2 DC in the following stitch.
- Continue this pattern for half the apple slice.
- Repeat the same for the other half.
- Finish off with a Sl St.
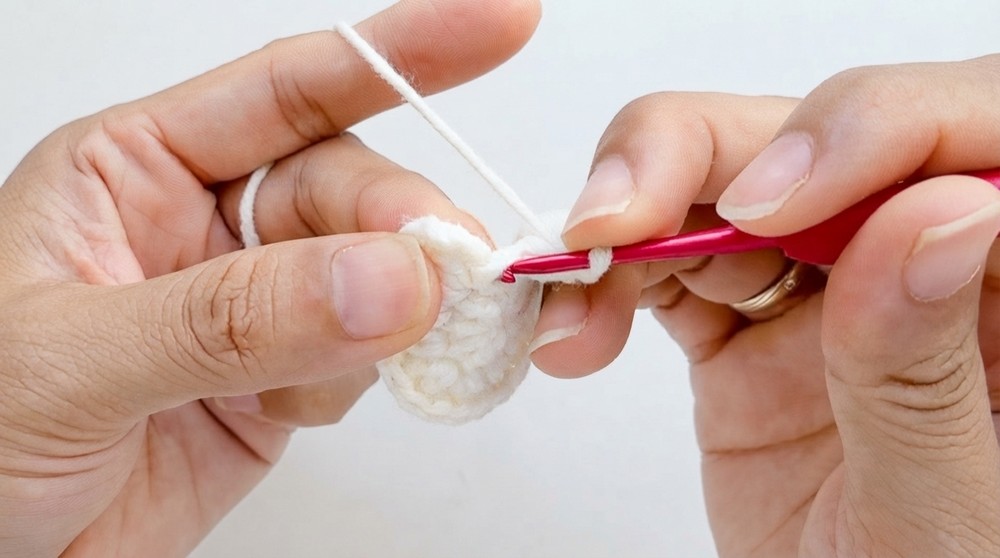
Create two identical interior pieces for assembly later.
Part 2: Apple Skin (Red/Green Yarn)
Round 1: Outer Layer
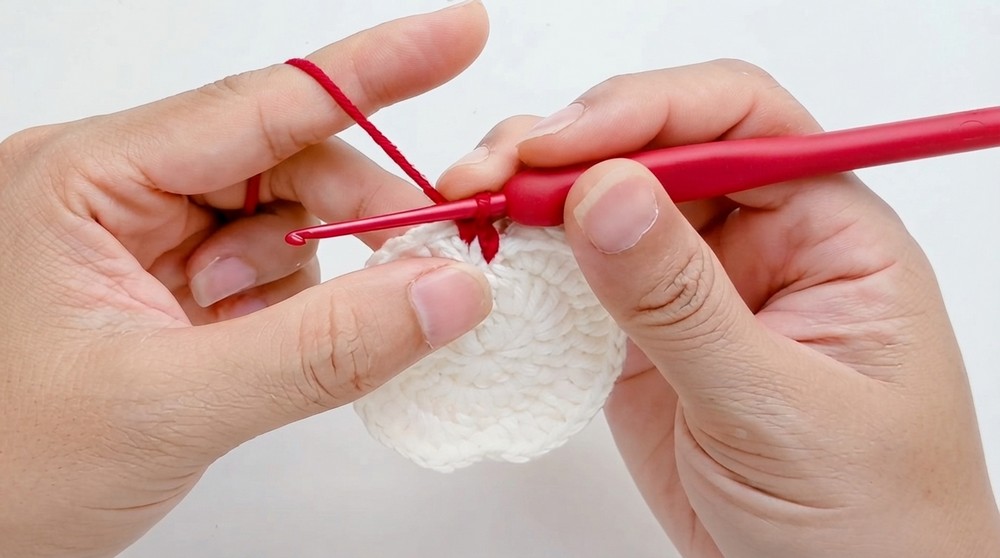
- Attach the red or green yarn to the edge of one apple interior.
- Work as follows (single crochet around):
- 5 SC Inc at the top curve (2 SC in one stitch).
- 12 SC along the side.
- 5 SC Inc at the bottom curve.
- 12 SC back up the other side.
- Sl St to the first SC to join.
Round 2: Reinforce the Layer
Repeat the same SC pattern as Round 1 to make the skin layer thicker.
Part 3: Stem (Brown Yarn)
- Ch 7.
- Starting in the 2nd chain from the hook, Sl St in each chain (6 Stitches).
- Fasten off and leave a tail for sewing.
Part 4: Leaf (Green Yarn)
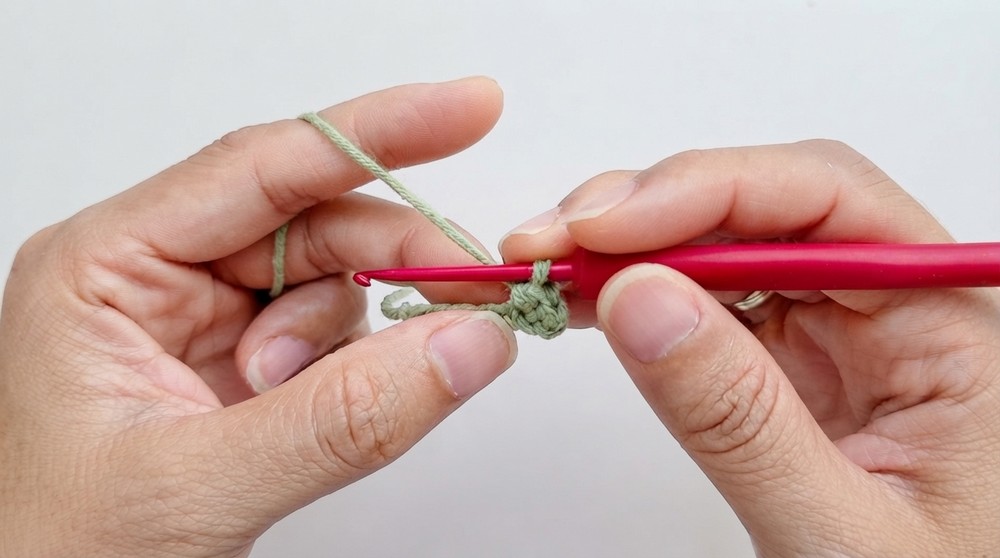
- Ch 8.
- Start in the 2nd chain from the hook:
- SC into the first stitch.
- HDC into the next stitch.
- DC into the next three stitches.
- HDC into the next stitch.
- SC into the last stitch.
- Turn and repeat the same stitch pattern on the opposite side of the chain to complete the leaf shape.
- Sl St into the last stitch and fasten off.
Assembly & Finished Size
- Join the Apple Halves:
- Use a red or green yarn to slip stitch the two apple interior halves together.
- If desired, insert a bit of stuffing between the layers for a 3D effect.
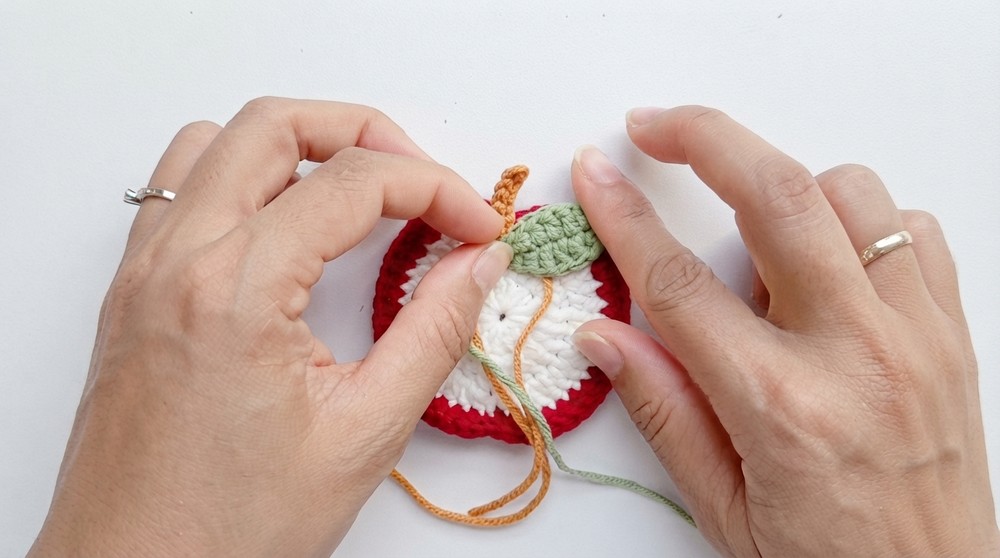
- Attach the Stem and Leaf:
- Sew or glue the brown stem and green leaf onto the top of the apple slice.
- Add Apple Seeds:
- Use black yarn and a yarn needle to embroider two small seeds on the white/beige interior of the apple slice.
Conclusion
Congratulations, You’ve successfully crocheted an adorable apple keychain. This sweet little project is perfect for gifting or accessorizing your keys and bags.
Play around with colors (think green apples or yellow ones) and don’t hesitate to share your creative variations.