
Sweet Crochet Candy Keychain Pattern as a Sweet Birthday Treat
Hang a sweet little charm from your bag with the Crochet Candy Keychain Pattern for a colorful treat that helps your everyday keys stand out at a glance.
One of the cutest crochet projects I’ve ever worked on is a tiny candy keychain. It’s small, colorful, and so full of personality that you’ll want to make a bunch for yourself and your friends. The candy itself has rounded edges, a soft design, and textured details that replicate the look of wrapped treats. It’s not just a keychain; it can also make a sweet addition to gift tags, party favors, or a playful backpack charm. Plus, the stitches used in this pattern, like single crochet and slip stitches, are foundational techniques that can open up doors to many other creative projects like stuffed animals, coasters, and mini decorations.
Crochet Candy Keychain Pattern as a Sweet Birthday Treat
By following this pattern, you’ll learn how to crochet in the round, master the magic circle technique, and practice creating uniform stitches. You’ll also get to work on shaping, a skill that will help when making other cute amigurumi creations. As a bonus, you’ll see how to add stuffing and little details like looping stitches together to make your finished product look neat and polished.
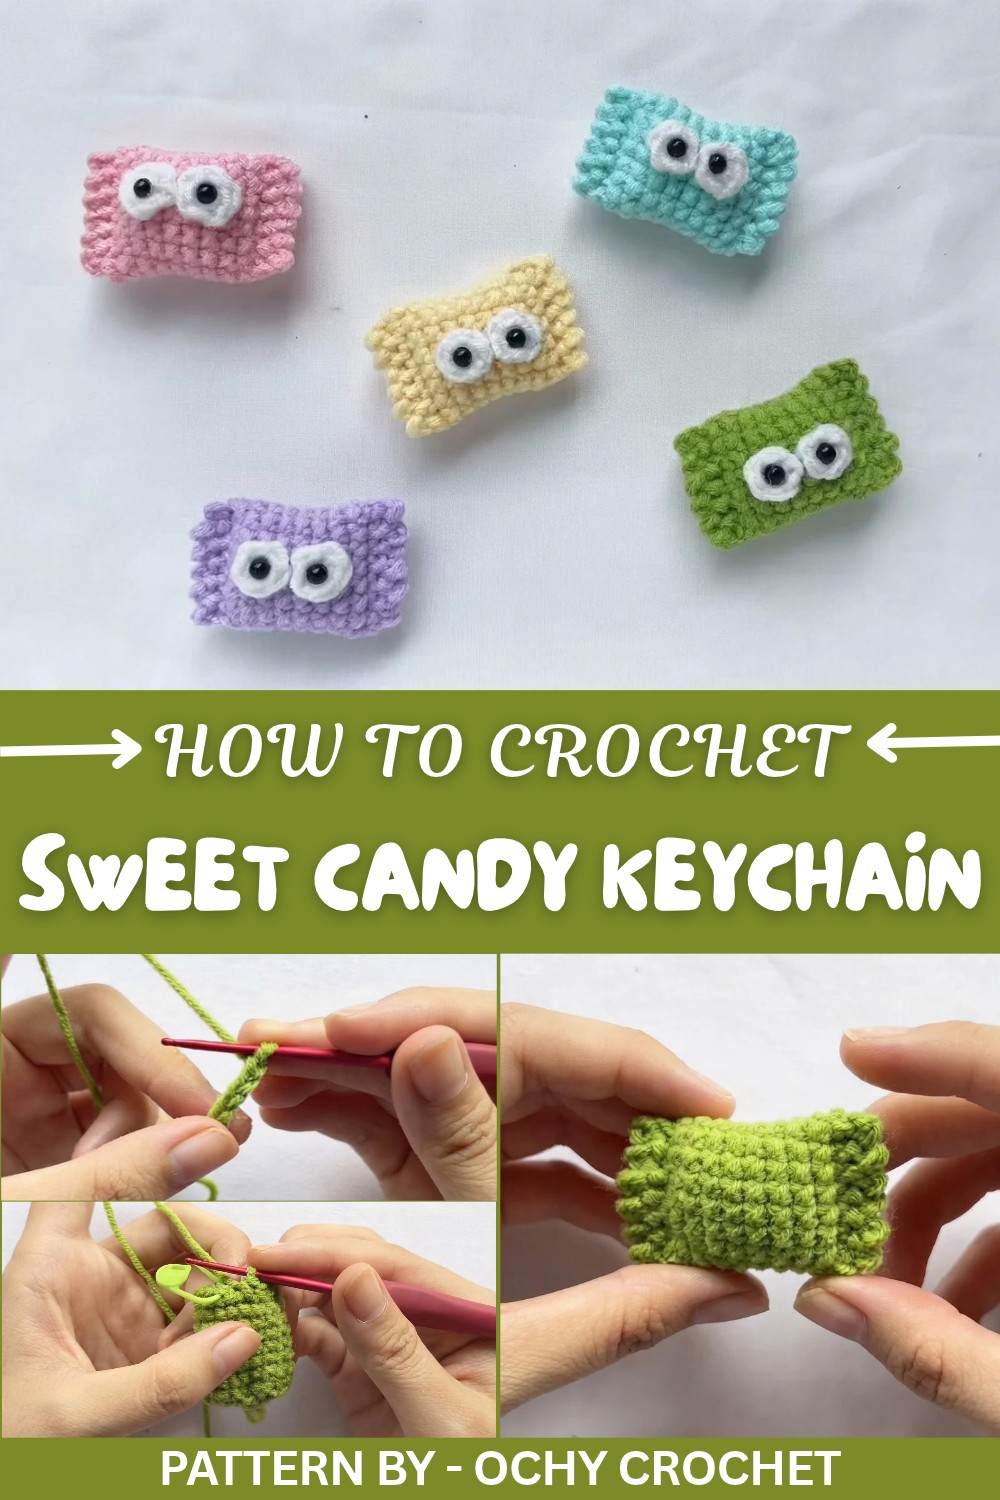
Pattern By Ochy Crochet
Once you’ve mastered making a candy shaped design, you can adapt the same technique to crochet other tiny items such as pumpkins, fruits, or even little smiley faces. With just a minor tweak in shape and design, you can easily create a whole series of adorable crochet keepsakes.
Of course, every new pattern has its challenges. If you’re new to crochet, you might find working in a magic circle or keeping your tension even a bit tricky. The key is to practice slowly and not be afraid to unravel and start again. Use a stitch marker to track where you started the round, and don’t forget to take breaks if your hands feel tired. Before you know it, you’ll have a perfect little candy creation ready to show off.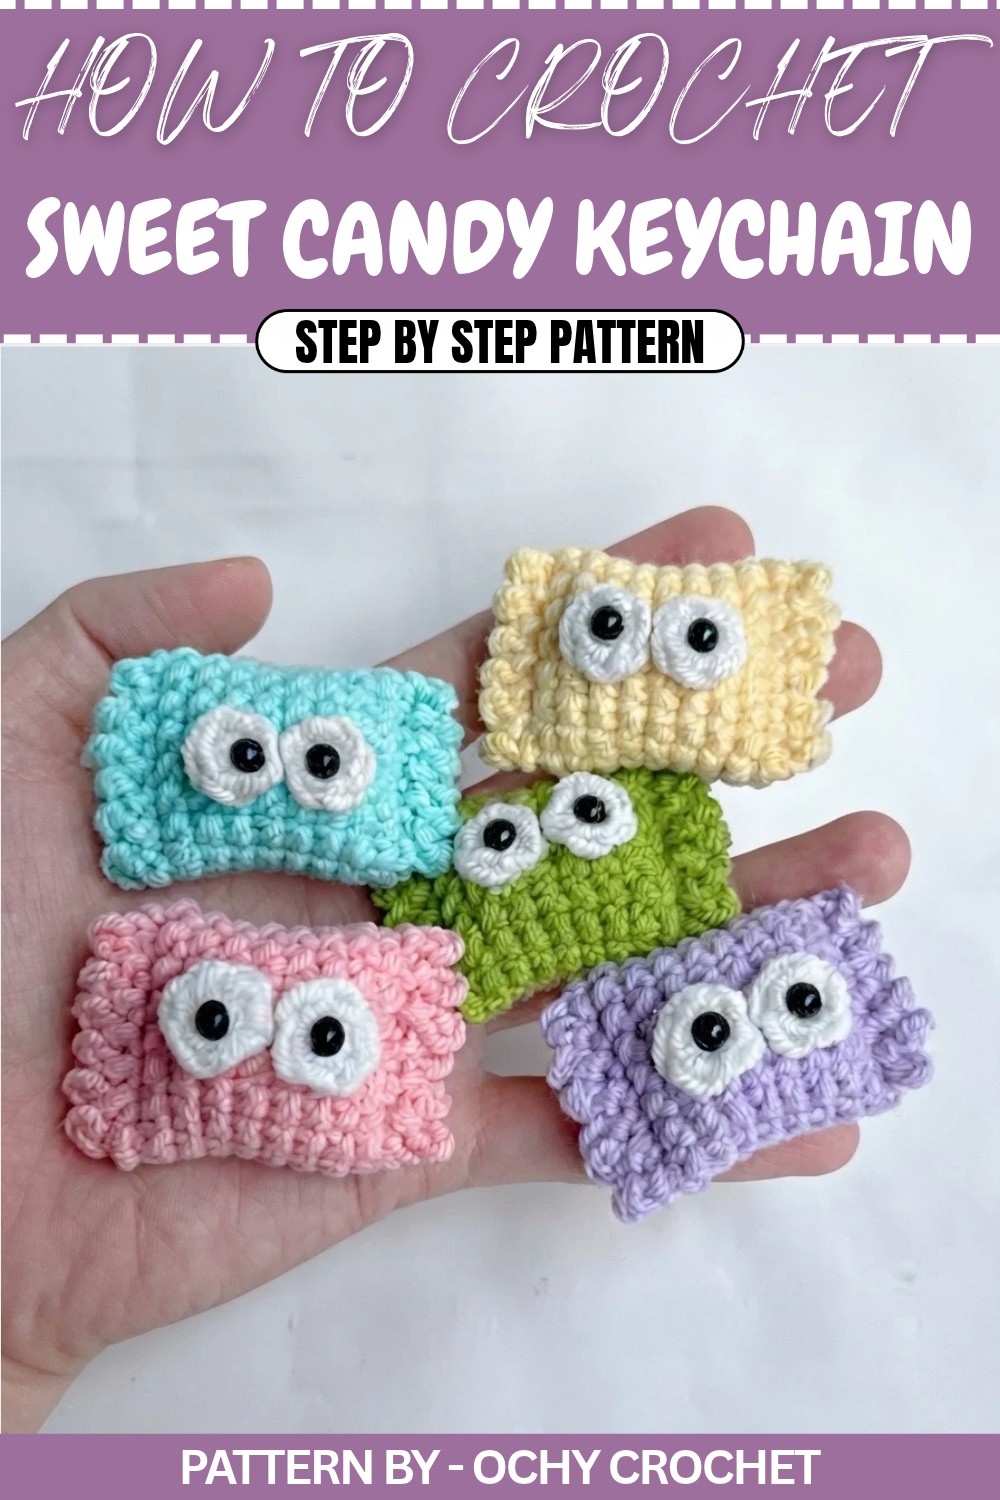
Mini Crochet Candy Pattern
Quick Overview of the Pattern
- Project Type: Mini Crochet Candy
- Uses: Keychain, decorative embellishment, gift accessory
- Skill Requirement: Beginner friendly
- Primary Techniques: Single crochet, working in rounds and edging
Notes
- Foundation: Always start with a magic circle for a neat, closed center.
- Stitch Marker: Place a stitch marker in the first stitch of each round to track your work easily.
- Stuffing: Use a small amount of polyfill to give the candy its shape. Ensure it’s stuffed snugly but not overly tight.
- Edges: Both edges need to be crocheted properly to capture the signature “wrapped candy” look.
Skill Level
Beginner Friendly – Great for someone familiar with single crochet and working in rounds.
Materials
- Yarn:
- Cotton yarn (50g) in different colors (e.g., red, white, pink, or any colors you like for your candy).
- Black yarn for the face (optional).
- Hook Size: 2.0 mm crochet hook.
- Polyfill Stuffing: Small amount for shaping the candy.
- Safety Eyes (optional): Alternatively, you can use yarn to create the eyes.
- Hot Glue Gun: To attach eyes.
- Stitch Marker: Optional but helps to track stitches.
- Darning Needle: For weaving in loose ends and assembly.
- Scissors.
Measurements / Sizing
The finished crochet candy is approximately 5–6 cm in length and is compact enough to use as a keychain.
Gauge
Gauge isn’t critical for this project. Focus on crafting tight and even stitches to ensure the candy holds its shape.
Stitch Abbreviations
- ch: Chain
- sc: Single Crochet
- sl st: Slip Stitch
- MR: Magic Ring
- st/sts: Stitch/Stitches
Special Stitches
- Magic Ring (MR): A starting method to work in rounds. Wrap yarn around your fingers to create an adjustable ring for your stitches.
- Slip Stitch (sl st): Insert hook into stitch, yarn over, pull through the stitch and the loop on the hook.
- Single Crochet (sc): Insert hook into stitch, yarn over, pull through, yarn over again, and pull through both loops on the hook.
The Crochet Pattern
Main Candy Body
- Foundation Circle:
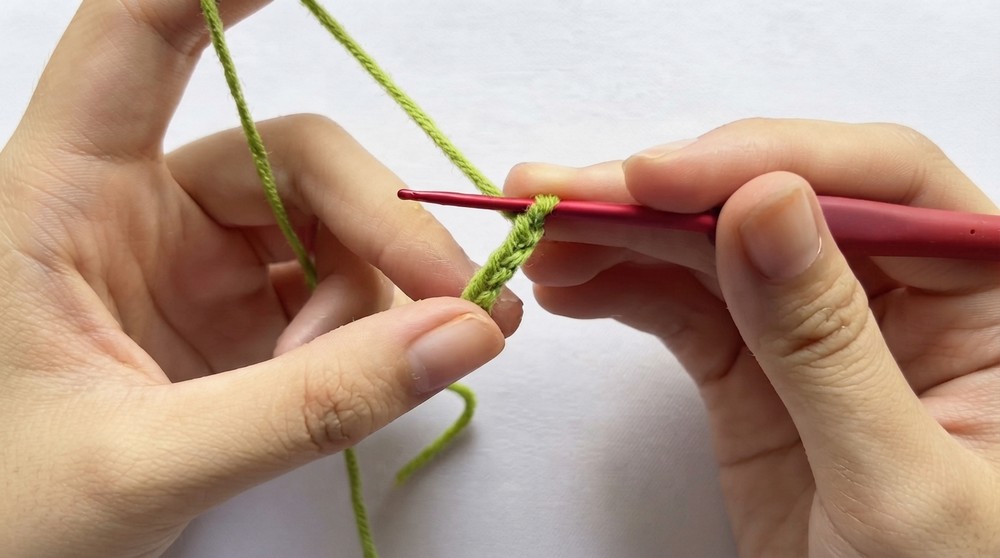
- Begin with a magic ring and chain 15 stitches.
- Connect the last chain to the first stitch using a sl st, forming a circle.
- Round 1:
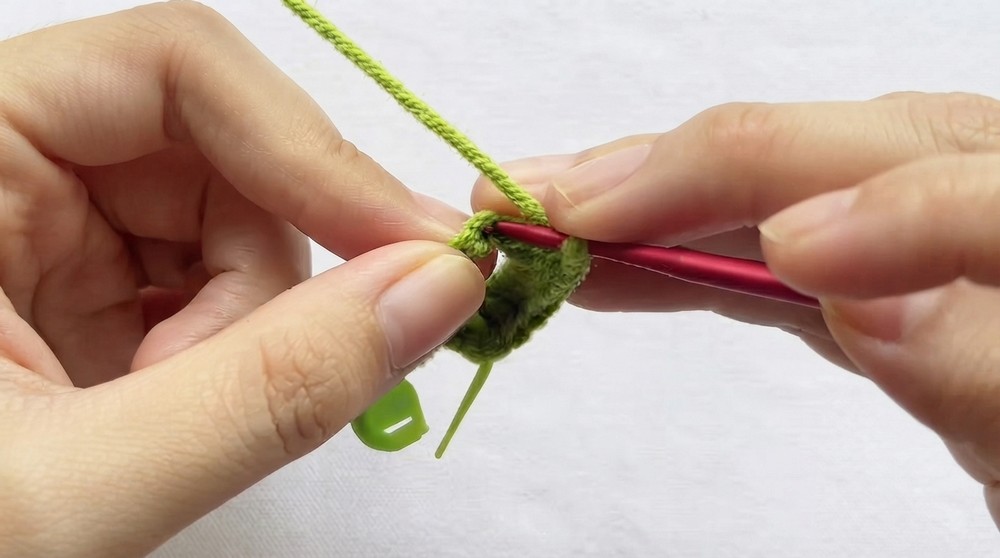
- Chain 1. Into each stitch of the circle, crochet 1 sc.
- Insert a stitch marker into the first stitch to mark the beginning of the round.
- By the end of this round, you will have made 15 sc in total.
- Connect the last stitch back to the start of the round with a sl st.
- Round 2 to Round 8:
- Chain 1. Work 1 sc into each stitch of the round, maintaining 15 stitches per round.
- Use a stitch marker to track your rows.
- After finishing Round 8, join with a sl st, chain 1, and leave a long tail of yarn to use for sewing later.
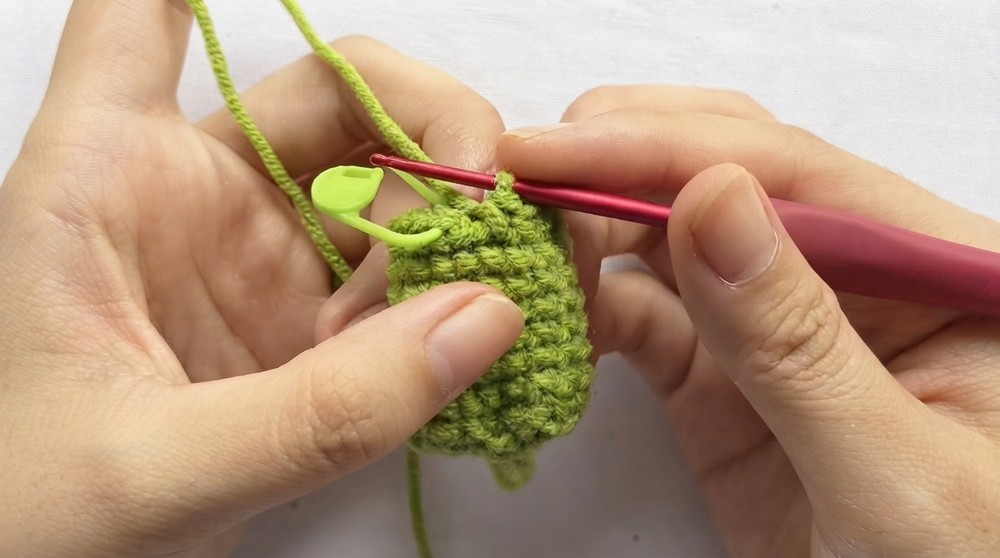
Candy Wrapper (First Side)
- Insert your hook into the side edge of the candy body.
- Chain 2 to start. Skip the first chain and work a sl st in the second chain.
- Create a series of wrappers: Repeat these steps to make a total of 6 wrapper segments, with each edge being connected to the next stitch of the candy body using a sl st.
- Fasten off and cut the yarn.
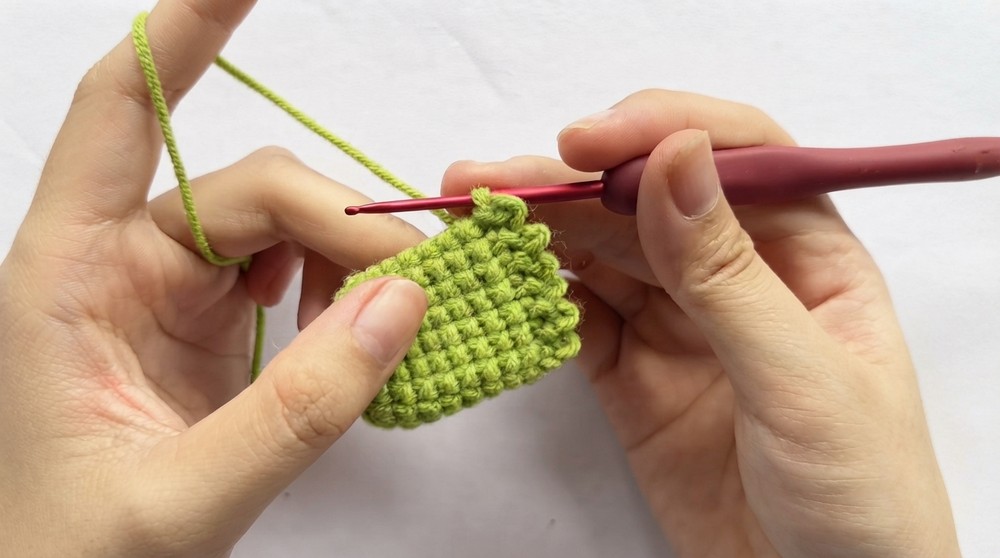
Stuffing the Candy
- Insert a small amount of polyfill stuffing into the candy’s body.
- Stuff evenly while shaping the candy form to make it appear round and full.
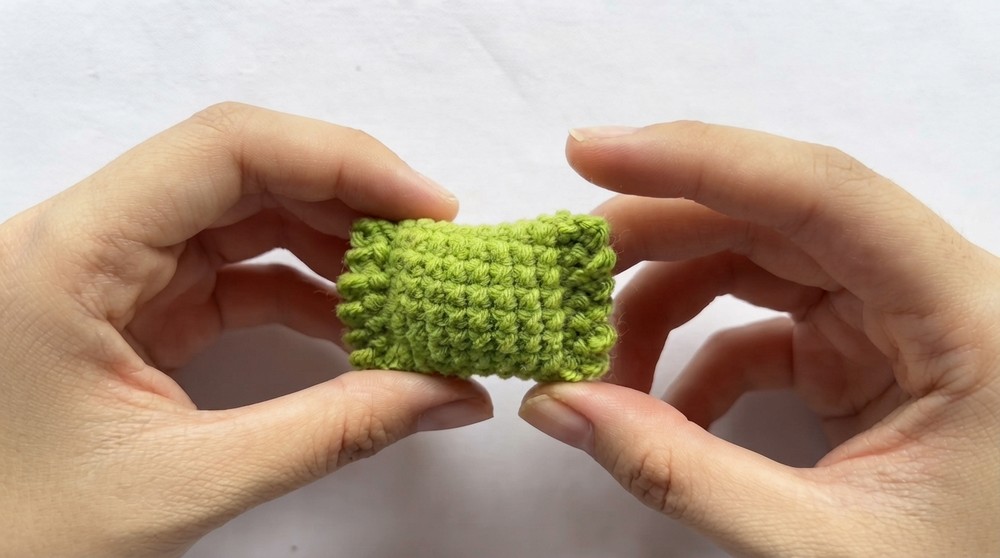
Candy Wrapper (Second Side)
- Repeat the instructions from Candy Wrapper (First Side) on the opposite side of the candy.
- Again, make 6 wrapper segments to complete the other end for symmetrical details.
Eyes (Optional)
- Create a magic ring and chain 1.
- Crochet 5 sc into the magic ring.
- Tighten the circle by pulling on the magic ring’s tail.
- Close the round with a sl st and leave a small yarn tail to attach later.
- Create two small black crochet pieces (or glue small safety eyes onto the candy’s face).
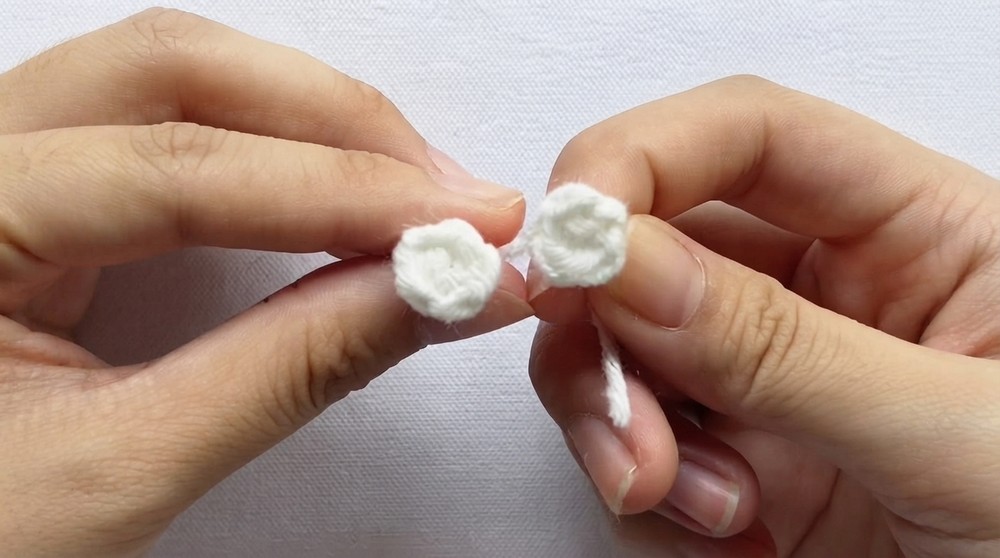
Assembly:
- Use a darning needle to weave in all loose ends and to secure the candy.
- Attach the eyes to the candy’s face: Glue or sew them into position.
- If adding a face, embroider a small smile using black yarn or embroidery thread.
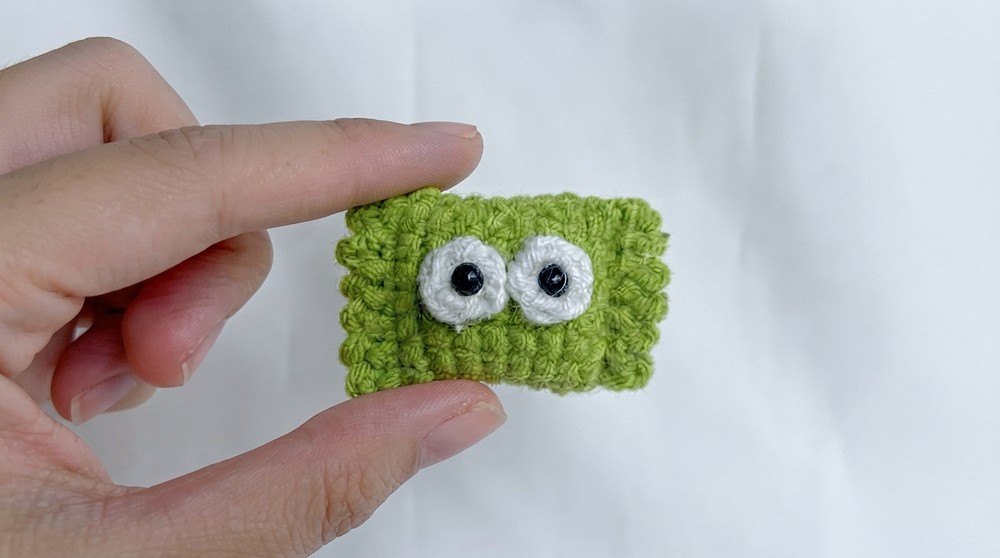
Assembly and Finished Size
- Assembly: Weave in any yarn tails through the body to hide them. Make sure all components, from the eyes to the wrapper details, are firmly attached.
- Finished Size: The candy should measure approximately 5–6 cm long.
Conclusion
Congratulations, You’ve just completed your Mini Crochet Candy. This quick and fun project is perfect for beginners and makes a great gift or accessory. Feel free to play with color combinations for different "flavored" candies.