
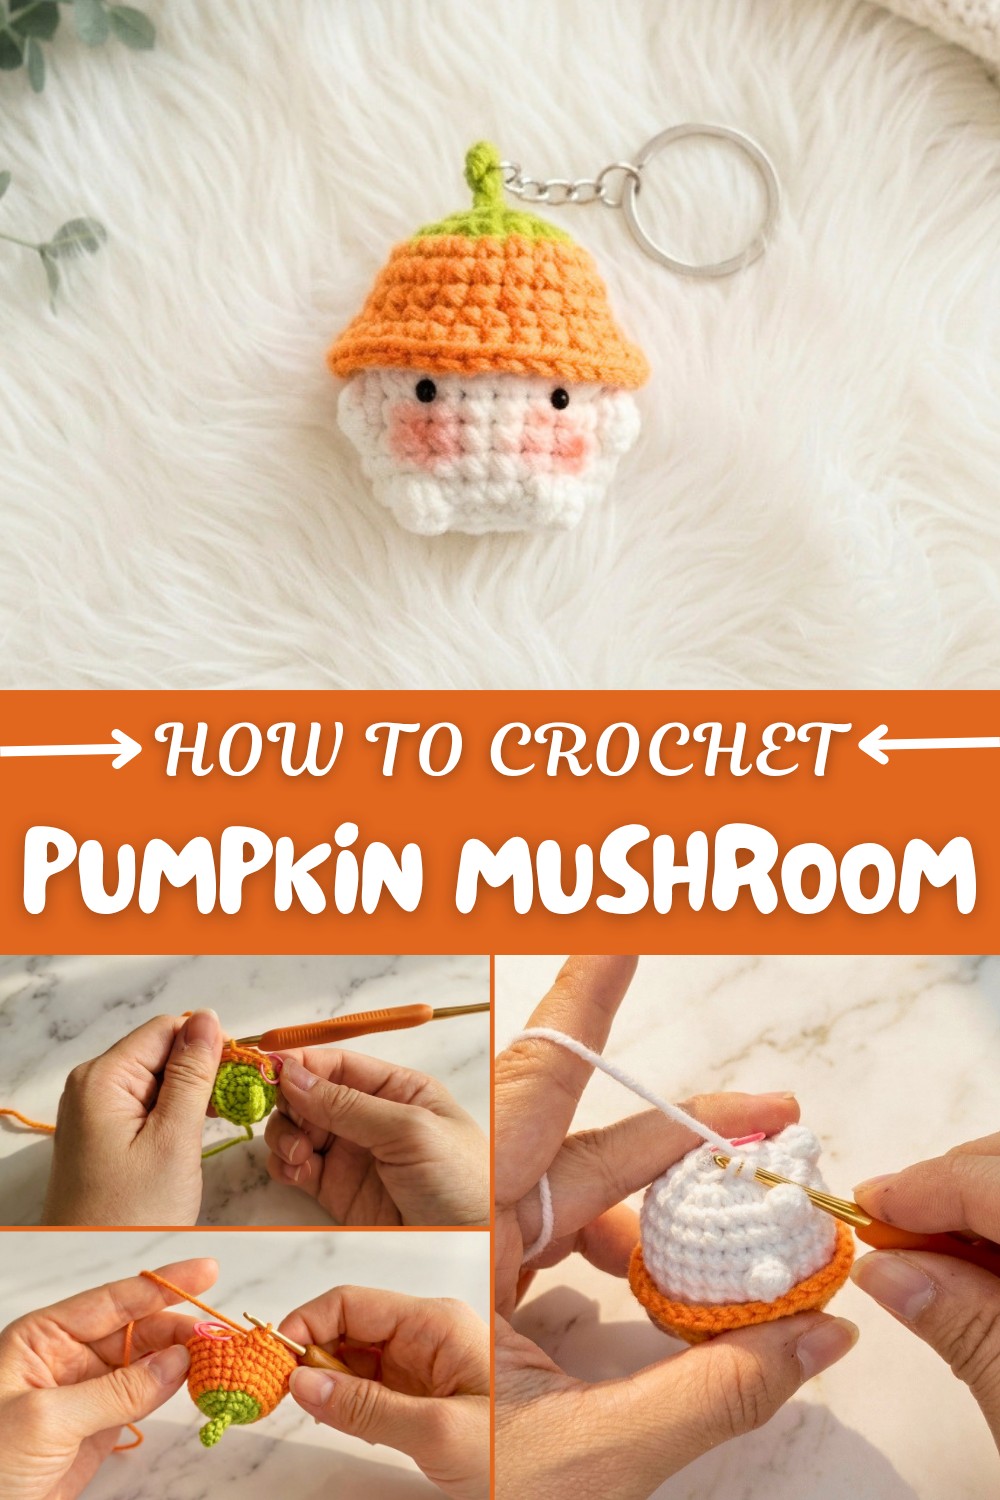
Simple Crochet Pumpkin Mushroom Pattern - Free
Make adorable pumpkin mushroom with this free pattern and bring a playful, cozy vibe to your fall decorations with a fun and easy crochet project.
Personally, I think this is one of the cutest and most delightful projects you can crochet, bringing a little bit of whimsy to any corner of your home. This is one of those crochet patterns that combines simplicity with plenty of character. With its sweet, pumpkin-shaped cap and chubby mushroom stem, every finished piece feels special and unique.
Amigurumi Crochet Pumpkin Mushroom – Free and Easy Pattern
The part I love most about this design is the adorable pumpkin top. It features soft ridges that make it look just like a real pumpkin, giving it that perfect autumn touch. The cap is pleasantly bumpy and squishy, which feels nice in your hand and adds a lovely handmade texture to your decor. Choosing colors is half the fun, you can use classic orange or try fun shades like burgundy, mustard, or cream to create your own little fall patch.
These little mushrooms are not just cute to look at; they’re surprisingly versatile! I like to display several together in a bowl, scatter them across a mantel, or tuck them into a basket with leaves and acorns for a harvest centerpiece. They work well as gifts, too—just tie one onto a wrapped present or use as a fall party favor. Some people even add a loop at the top to make a keychain or backpack charm.
Overall, the combination of round, plush textures and charming pumpkin details makes this project stand out. It’s quick to make, beginner-friendly, and perfect for celebrating fall. If you want a crochet project that brings smiles and cozy vibes, I can’t recommend this pattern enough.
Pumpkin Hat Mushroom Amigurumi Pattern
This pattern guides you through each step, using simple stitches to create a fun character with great autumn vibes. The project is straightforward, beginner-friendly, and optimal for learning increases, decreases, color changes, and basic shaping. Explanations follow each part for easy understanding.
Skill Level & Terminology
- Skill Level: Beginner
- Terminology: US Crochet terms throughout (single crochet = sc, increase = inc, decrease = dec).
Materials & Tools
- Yarn: Sport or light worsted weight in:
- Green (pumpkin hat stem/vine)
- Orange (pumpkin body)
- White (mushroom body)
- Hook: 2.5 mm or suitable size for yarn
- Stuffing: Polyester fiberfill
- Safety Eyes: 6–8 mm
- Tapestry Needle: For sewing and finishing
- Stitch Marker: Strongly recommended
- Scissors
Gauge
Gauge is not crucial for amigurumi, but stitches should be tight so stuffing does not show through.
Try: 8 sc x 8 rows = 4 cm with chosen yarn & hook.
Abbreviations List
| Abbreviation | Meaning |
|---|---|
| mc | magic circle/ring |
| ch | chain |
| sc | single crochet |
| st(s) | stitch(es) |
| inc | increase (2 sc in one st) |
| dec | decrease (sc 2 together) |
| sl st | slip stitch |
| “corn kernel” | puff/bobble stitch (see below) |
| FO | fasten off |
Special Stitch Instructions
- Magic Circle (mc): Form a tight adjustable ring—crochet stitches into the ring, then pull closed.
- Corn Kernel (Puff) Stitch: Yarn over, insert hook, pull up a loop and draw through 2 loops, repeat total 4 times in same st (so 4 partial sc), then pull through all 5 loops on hook.
- Increase: Work 2 sc in same st.
- Decrease: Insert hook in next st, yarn over, pull up loop, repeat in next st, yarn over, pull through all 3 loops.
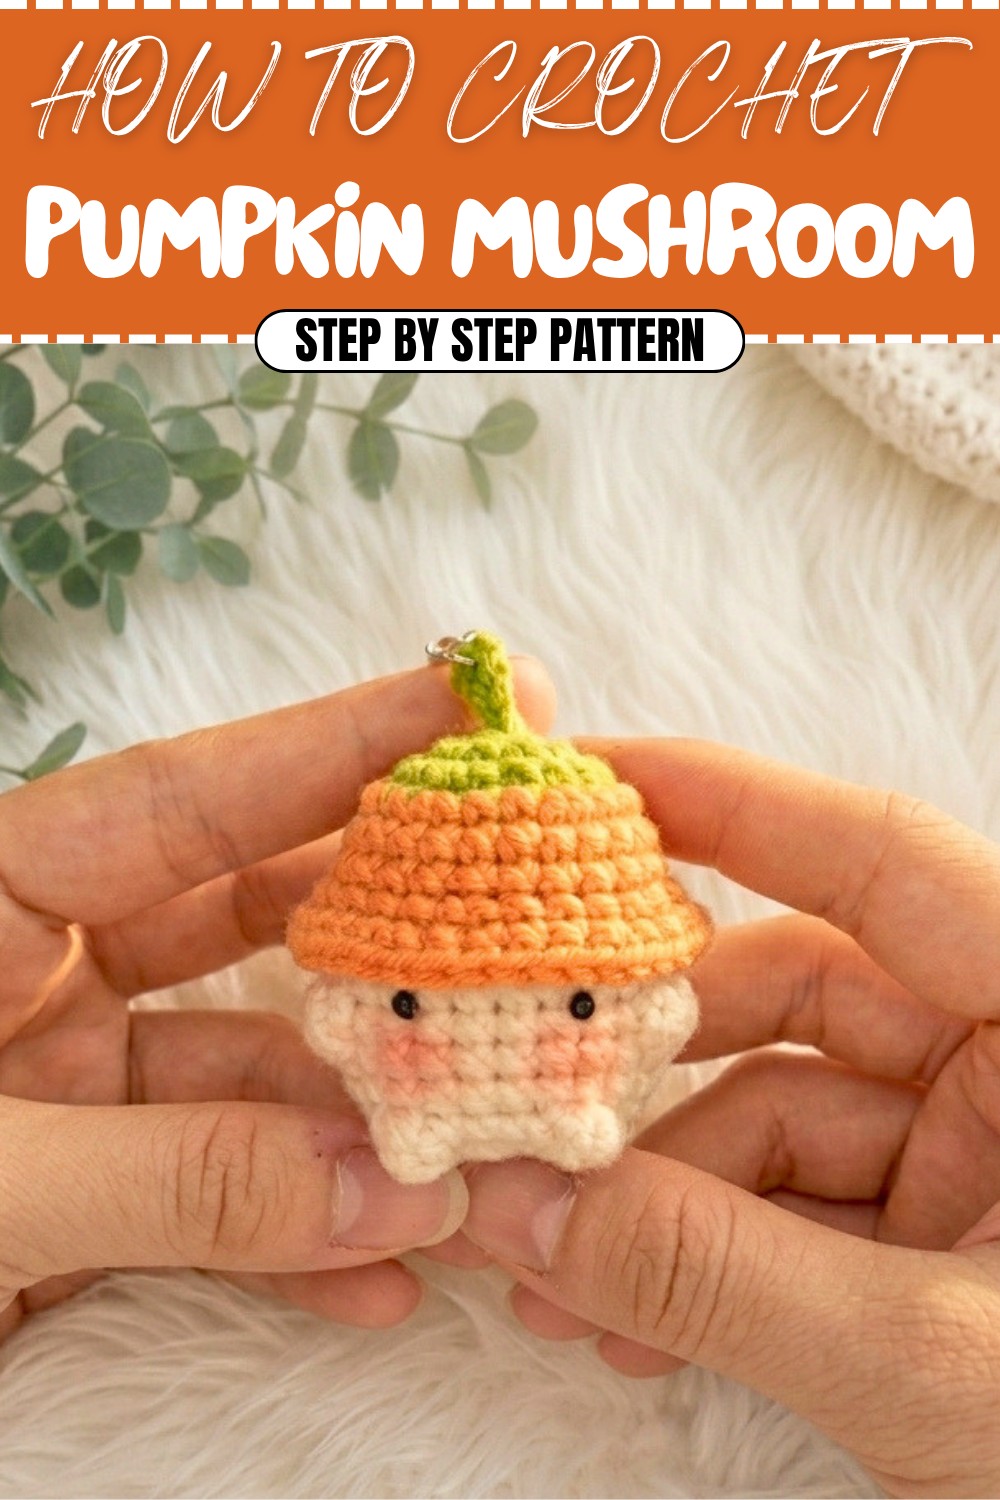
Finished Size
Approx. 6–8 cm tall (with indicated yarn and hook), but varies by tension.
About This Pattern
You begin by crocheting the pumpkin hat from the top (green stem and vine, then orange pumpkin body) with rounds and increases. The mushroom body is started with white yarn, working into a previous round for a seamless join. The corn kernel puff stitch adds texture to the mushroom gills. You’ll use basic amigurumi assembly skills for eyes and final touches.
The Pattern
Pumpkin Hat (Green Stem and Vine, then Orange Top)
With green yarn (stem/vine):
- Ch 7.
- Skip first 3 ch, in each of next 4 chs, work sl st into each.
- Into mc (start new magic circle):
- 6 sc in mc, pull tight.
- *Turn inside out as you go for natural curl of stem. Sl st in first st to join.
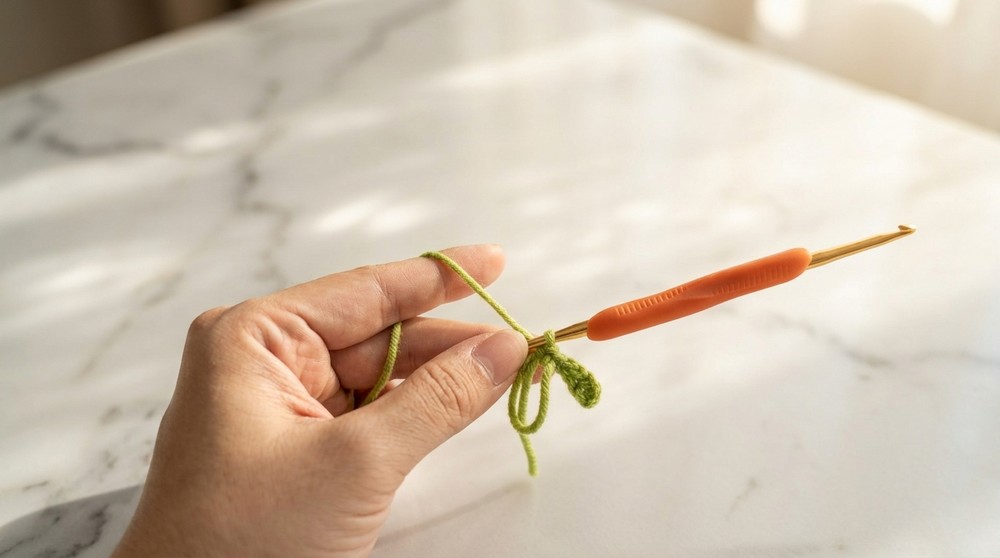
For those not used to written pattern: You make a curly stem with slip stitches, then start the pumpkin in the round below it.
Pumpkin Body (Orange Yarn)
- Attach orange yarn at end of green, FO green.
- Round 1: 6 sc in last mc (stem base) (6)
- Round 2: inc in each st around (12)
- Round 3: [1 sc, inc] around (18)
- Round 4: [1 sc, inc, 1 sc]—for this pattern it's [sc, inc, sc] repeatedly, but simply: [sc, inc, sc] around, ending with 24.
- Rounds 5–6: sc in each st around (24 each round)
- Round 7: [3 sc, inc] around (30), but only through the front loops for ribbed edge.
- Round 8: [2 sc, inc, 2 sc] around (36)
- FO, leave tail for sewing. Use tapestry needle to hide ends.
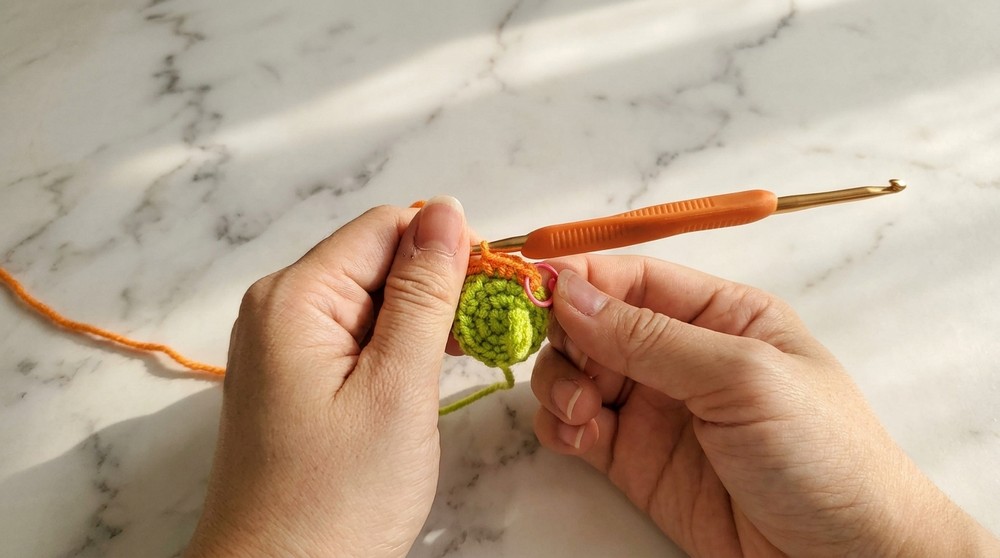
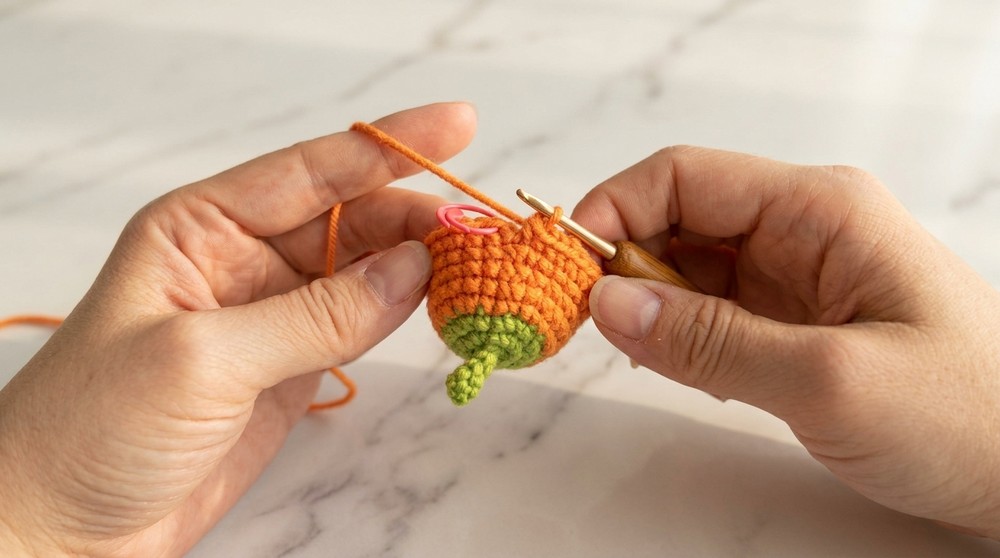
After this round, the hat "cup" is formed. The hat should look bumpy and bowl-like from the increases.
Non-pattern note:
You work stem, then pumpkin cap with rounds and simple increases, finish the round, and the piece looks like a small pumpkin hat.
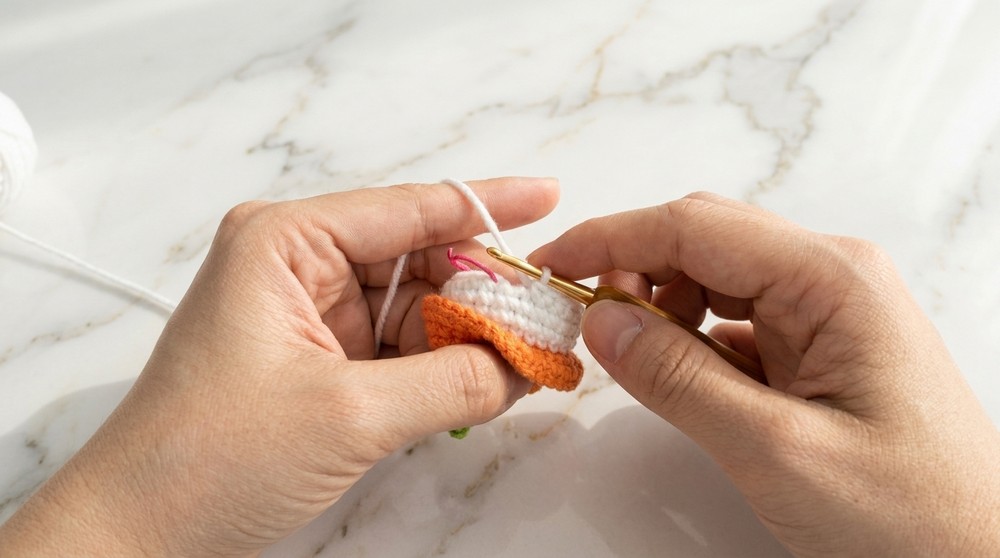
Mushroom Body (White Yarn)
- Join white at last orange round, but work in the unused back loops of Row 7.
- Round 1: sc in each st around (24)
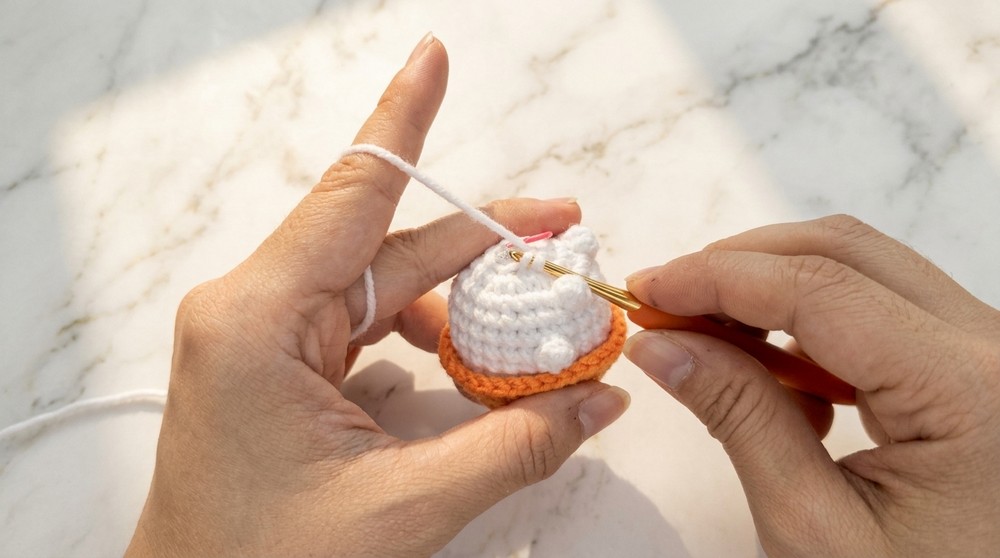
- Rounds 2–3: sc in each st around (24)
- Round 4: 7 sc, 1 corn kernel (bobble), 8 sc, 1 corn kernel, 7 sc—(total 2 corn kernel stitches evenly spaced)
- Rounds 5–6: sc in each st around (24)
- Round 7: 7 sc, 1 corn kernel, 4 sc, 1 corn kernel, 7 sc (again, 2 corn kernel stitches, spaced as before)
- Rounds 8–9: sc in each st around (24)
For clarity:
Start white yarn where hat left off. Work even rounds and slip bobble puffs in as mushroom gills. If you’re not comfortable with these, use regular sc.
Shaping and Closing Body
- Round 10: 12 dec (invisible decreases) (12)
- Round 11: 6 dec (6)
At this point, stuff the body firmly before closing!
- *FO, leave long tail. Use tapestry needle to close circle and weave in end.
For beginners:
After stuffing, whipstitch the bottom tightly closed for a seamless finish.
Assembly & Finishing
- Attach safety eyes:
- Between rounds 11 and 12 of the white mushroom body, spacing by counting four stitches apart.
- Embroider smile or details if desired.
- Sew hat onto the mushroom's head for secure hold.
- Weave in all yarn ends. Adjust stuffing and gentle shape as needed.
Plain Language Explanation of Stitches Used and How You Start
You start by making a curly green stem and vine, then attach orange to work a round pumpkin cap using single crochet and increases. The body is worked from the hat down in white, using single crochet almost throughout, with corn kernel/bobble stitches for texture. You close, stuff, and assemble—then attach safety eyes and finish face details!
Conclusion
You’ve now completed a charming, seasonal mushroom amigurumi with a pumpkin hat! Along the way, you practiced the magic ring, single crochet, working in the round and back loops, increases, decreases, the corn kernel/puff stitch, and basic stitching for assembly. Try creating variations with different colored mushrooms and hats, or embellish with embroidery for more personality.
Pattern overview:
Start with a stem and pumpkin hat, then the mushroom body is worked from the hat down, color changing, adding puff stitches for gills, and finishing with assembly. Basic amigurumi stitches ensure even beginners can complete this delightful project.