
Free Crochet Apple Keychain & Wallet Pattern with Fruity Fun
Enjoy the Crochet Apple Keychain & Wallet Pattern for a cute matching set that holds your coins and helps you spot your keys when you are heading out.
Have you ever thought of turning a simple ball of yarn into something fun and practical? That’s how I started experimenting with making an apple shaped keychain that functions as a wallet. It’s small, vibrant, and super handy! You can use it to hold tiny items like coins, hair ties, or even small trinkets. The finished apple looks cheerful and colorful, with a playful leaf and a cute stem. It’s a sweet little accessory that’s perfect to carry around or gift to someone special.
Free Crochet Apple Keychain & Wallet Pattern that Looks So Sweet
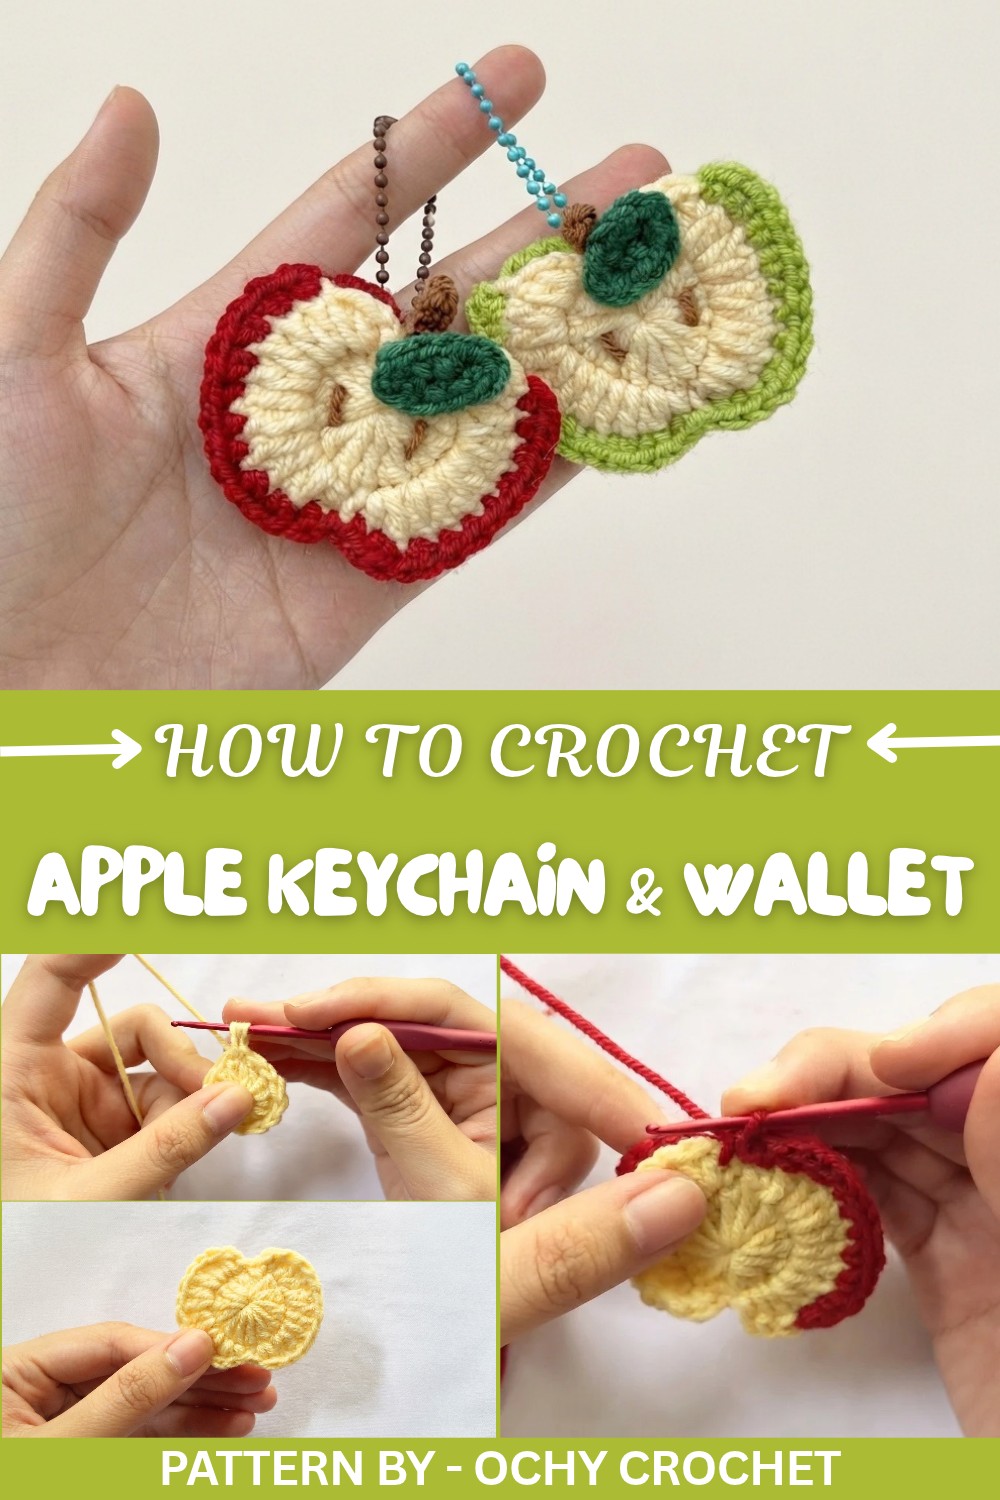
To make this, you only need a few basic crochet skills. The stitches used are beginner-friendly, such as single crochet (SC), double crochet (DC), and half double crochet (HDC). The circular shape is started using a magic ring, which is a quick way to get a neat beginning. These stitches are not only easy to learn but can also be applied to make a variety of other items like flowers, decorative coasters, or even little amigurumi animals. The project is perfect for those starting to learn how to crochet as it balances simplicity and the fun of crocheting something practical.
Featured By Ochy Crochet
This design can inspire plenty of other small projects. With the same techniques, you can make fruity shapes like pears, cherry pouches, or strawberry key covers. You can even make cute additions like smiley faces on wallets, small hearts, or themed ornaments for other seasons. It’s an excellent starting point for experimenting with new colors and fun ideas.
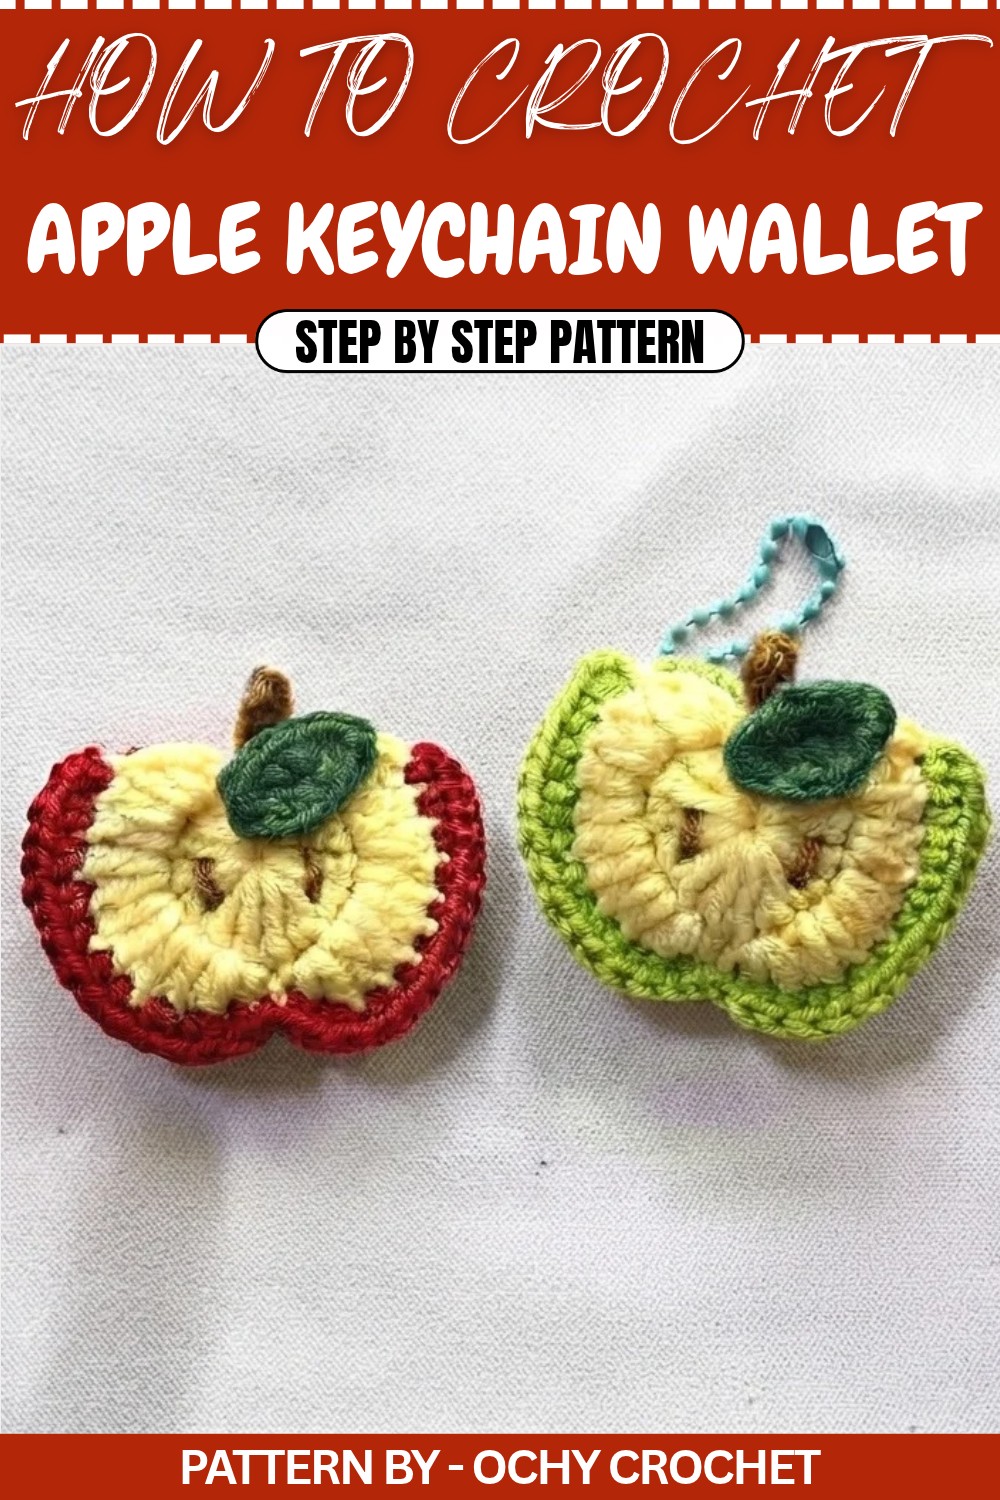
Mini Crochet Apple Shaped Pouch Pattern
Today, I’ll guide you to create a beautiful Apple-Shaped Mini Pouch. This pouch can be used to hold small items like hair ties, buttons, coins, or other tiny essentials. It can also double as a stylish and functional keychain. Let’s jump into the detailed instructions to make this adorable pouch.
Quick Overview of the Pattern
- Project Type: Apple-Shaped Mini Pouch
- Uses: Small storage pouch or keychain
- Skill Requirement: Beginner-friendly
- Primary Techniques: Working in the round, creating simple shapes
- Additional Features: Leaf and stem details for a realistic look
Notes
- Foundation Ring: A magic circle ensures a neat and tight center for your work.
- Using a Stitch Marker: To identify the first stitch of a round.
- Seamless Finish: When switching colors or ending a round, gentle weaving in of the yarn end provides a neat look.
- Size Variations: You may use different hook sizes or yarn weights to adjust the size of the pouch.
- Secure Closures: Attach a snap button or zipper for secure storage.
Skill Level
Beginner to Intermediate – A great project for those familiar with basic crochet techniques like single crochet, half double crochet, and double crochet.
Materials
- Yarn: Cotton yarn (50g) in:
- Red (for the apple)
- Yellow (optional, for the bottom)
- Green (for the leaf)
- Brown (for the stem)
- Hook Size: 2.0 mm crochet hook.
- Snap Button (size 8mm): To close the pouch.
- Stitch Marker: To track the beginning of each round.
- Darning Needle: For weaving in ends and assembling parts.
- Scissors.
Measurements / Sizing
The completed apple-shaped pouch is approximately 6–8 cm wide, providing enough space for small items like bobby pins, hair ties, or coins.
Gauge
Gauge is not critical for this project. However, work with neat, tight stitches to ensure that there are no gaps between stitches.
Stitch Abbreviations
- ch: Chain Stitch
- sc: Single Crochet
- hdc: Half Double Crochet
- dc: Double Crochet
- sl st: Slip Stitch
- st/sts: Stitch/Stitches
Special Stitches
- Magic Ring (MR): A method to start crocheting in a neat circle. Wrap the yarn around your fingers, chain, and work into the ring.
- Increase/Multi-Stitch Work: Two (or more) stitches worked into the same base stitch to add shaping.
The Crochet Pattern [Step-by-Step]
Step 1: Create the Apple Face (Front Side)
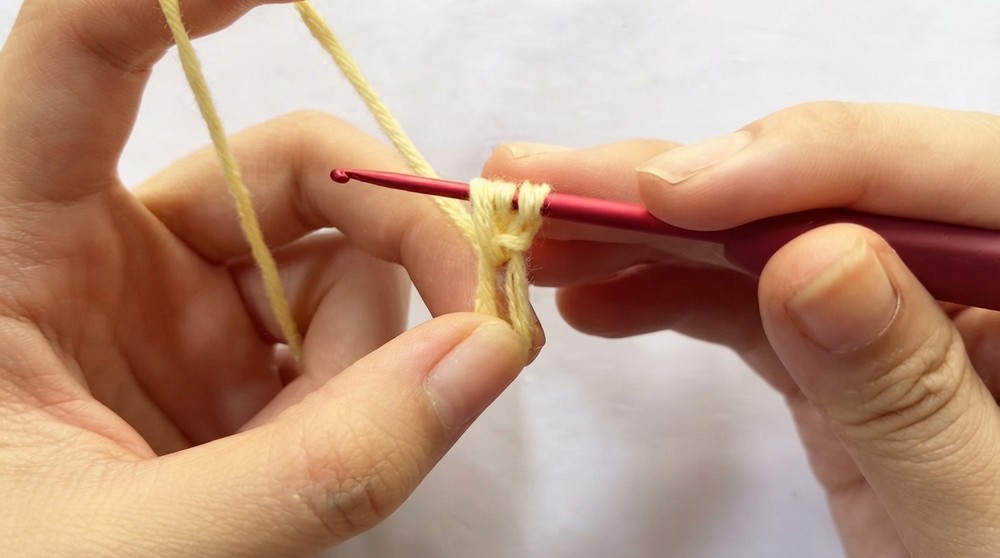
- Start with a magic ring and chain 2 stitches to begin.
- Work 13 double crochets (dc) into the magic ring. Ensure the yarn is looped correctly to pull the ring tight after finishing the stitches.
- Use a slip stitch to close the round. You now have a circle with 13 stitches.
- Tighten the magic ring by pulling the free yarn end.
Step 2: Build the Curve for the Apple Front
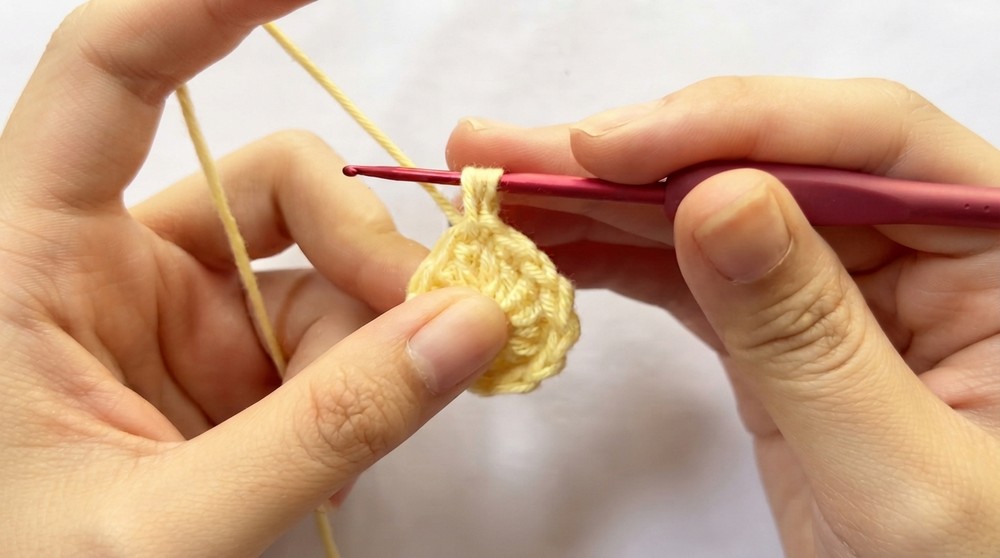
- Chain 1 to begin the next round.
- Into the first stitch, crochet: 1 hdc and 1 dc into the same stitch.
- Into the next stitch: 2 dc into the same stitch (increase).
- Continue working 2 dc in each stitch, forming the apple shape.
- Repeat this pattern until the round is complete and join with a sl st.
Step 3: Add Apple Contours
- In the first stitch: Work 1 hdc and 1 dc.
- Continue with 2 dc into each of the subsequent stitches. This creates a slight contour.
- To form a natural curve, alternate between single crochets (sc), half double crochets (hdc), and double crochets (dc) as shown in the video.
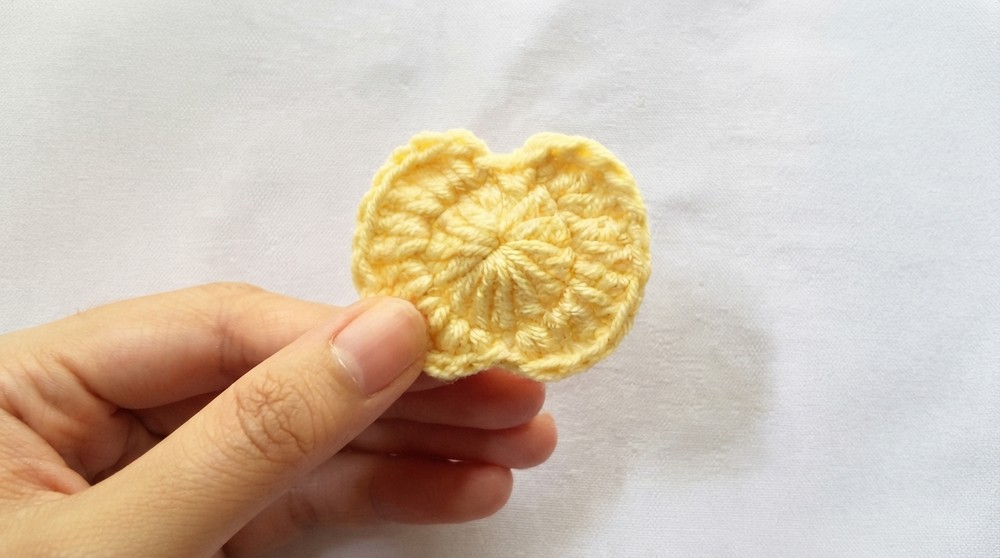
Step 4: Create the Back Side (Same as Front)
- Repeat steps 1 through 3 to create the back side of the apple.
- If using a different color for the back (like yellow), cut and attach accordingly.
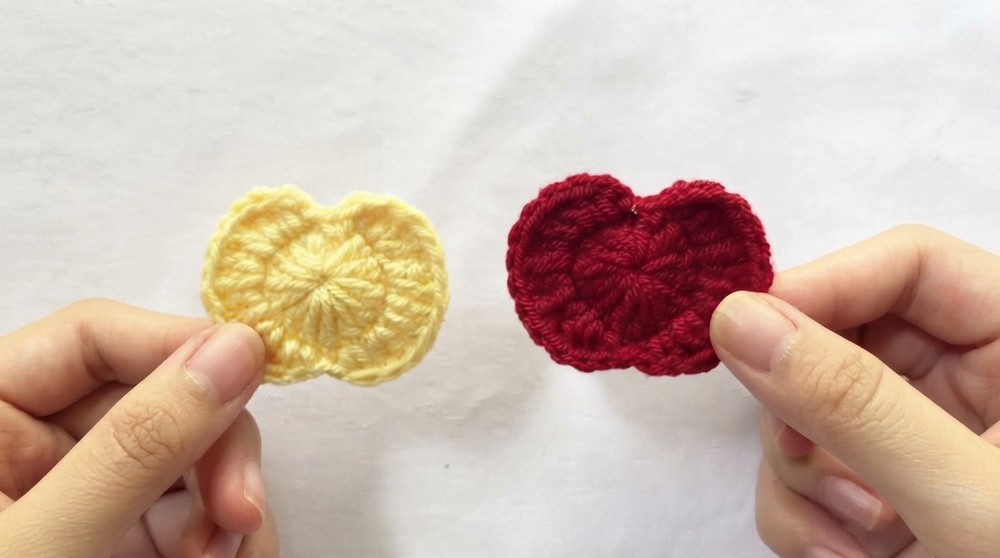
Step 5: Join the Two Apple Faces
- Place the front and back sides together, with the right sides facing outward.
- Begin from the third stitch of both apple pieces. Insert your hook through both pieces and work with red yarn.
- Use single crochet (sc) stitches to join the two halves, ensuring the edges align neatly. Continue until the pouch is joined, leaving an opening at the top.
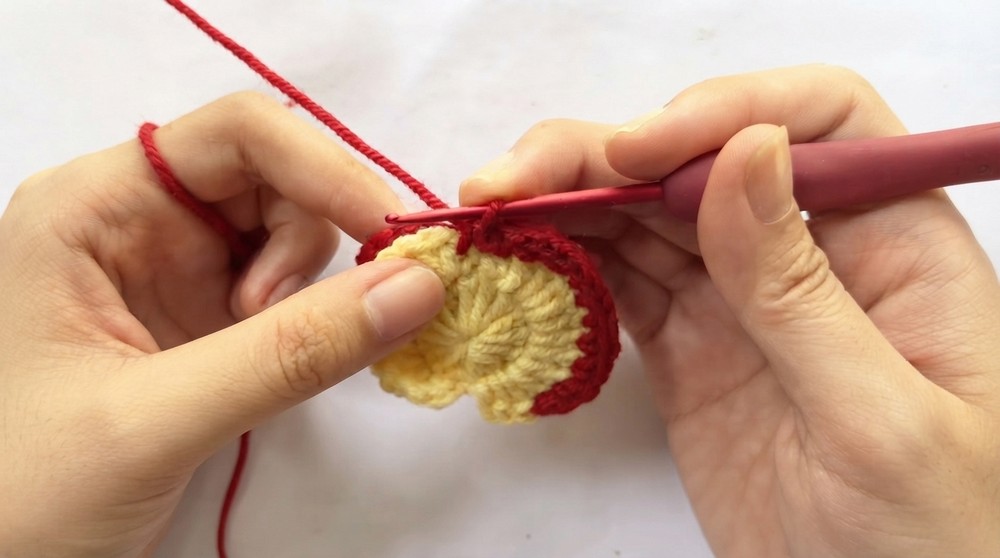
Step 6: Add the Leaf
- Using green yarn, create a slip knot and chain 5 stitches.
- Skip the first chain and crochet: 1 sc into the second chain, 1 sc into each of the next 2 chains, and 1 sc into the final chain.
- Continue to the other side of the chain for a symmetrical look: Work mirror stitches, ensuring the leaf shape is formed.
- Secure the yarn and leave a long tail for sewing the leaf onto the pouch later.
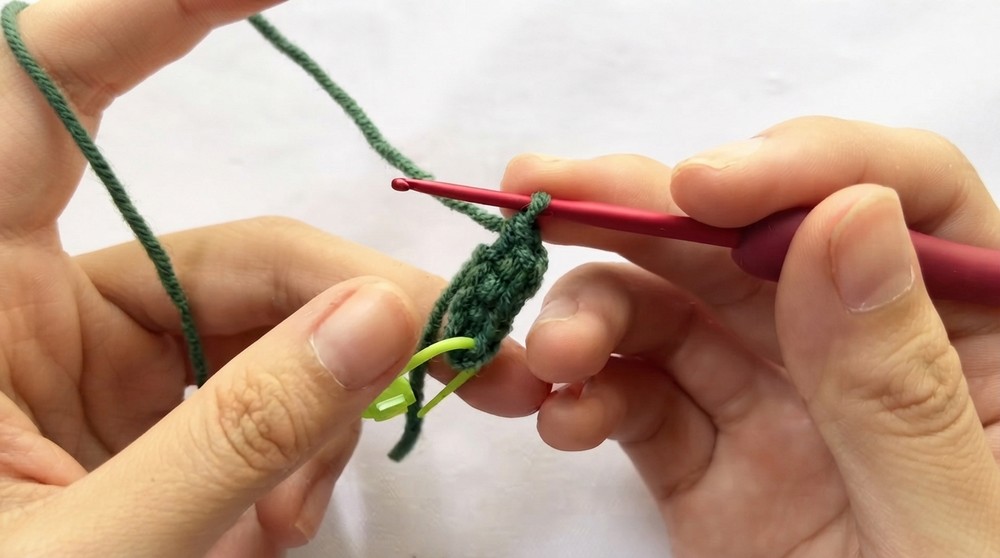
Step 7: Create the Stem
- Using brown yarn, create a slip knot and chain 5 stitches.
- Crochet 1 slip stitch into the second chain and work slip stitches into the remaining 3 chains to form the stem.
- Leave a tail for sewing and fasten off.
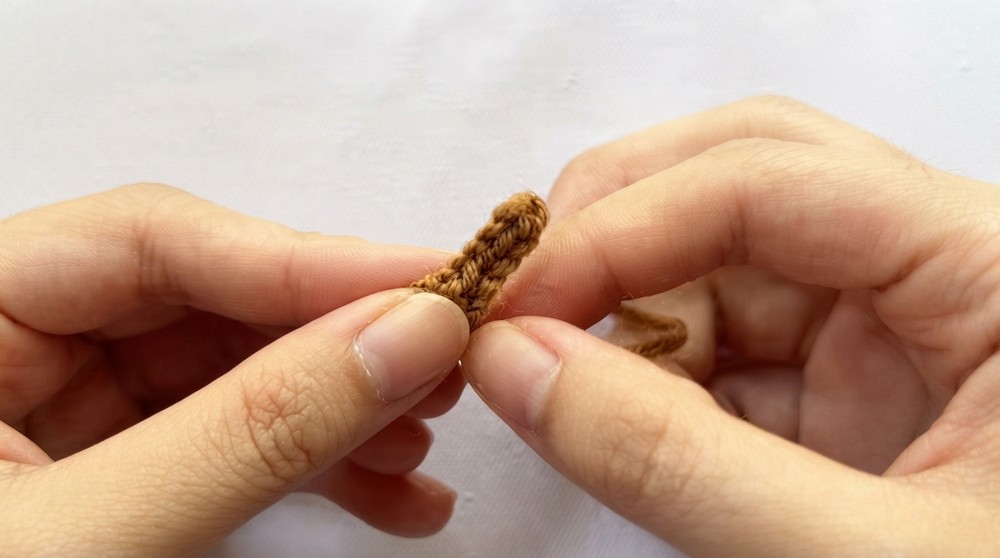
Step 8: Sew Details and Attachments
- Sew the snap button to the opening of the pouch to ensure secure closure.
- Attach the leaf and stem to the top of the apple pouch using the brown ends to align them neatly.
- For a finishing touch, use a contrasting color to embroider apple seeds (optional).
Assembly and Finished Size
- Assembly Steps: Attach all components (leaf, stem, and snap button) securely with darning needles or hot glue for added durability. Ensure the snap button closure is aligned properly for easy opening.
- Finished Size: Approx. 6–8 cm in diameter when completed.
Conclusion
Congratulations on completing your Mini Crochet Apple-Shaped Pouch. This pattern not only teaches you essential skills like shaping and decorating but also provides you with a highly functional and stylish finished product. You can use it to store small items or as a charming gift for loved ones. Try experimenting with different colors for fun variations.