
Free Crochet Top Bralette Pattern to Layer With Outfits
Refresh your wardrobe with this Free Crochet Top Bralette Pattern and make a stylish crochet top to pair with shorts, skirts, jeans, or your favorite summer outfits.
Pattern By Begin with Anita
On a peaceful afternoon, using soft cotton yarn and a trusty crochet hook can lead to something truly practical and stylish. A crochet bralette top is a lightweight and comfortable piece, perfect for wearing on warm days or as a layering option. It adds a handmade touch to your wardrobe and gives you the chance to learn fun crochet techniques along the way.
This bralette pattern is designed using simple yet decorative stitches like the V stitch and front post double crochet (FPDC). The V stitch adds a delicate openness to the fabric, while FPDC introduces a raised texture, making the overall design stand out beautifully. These stitches are not only easy to understand but highly useful for making other items like blankets, shawls, or cardigans.
Free Crochet Top Bralette Pattern With Fun Summer Style
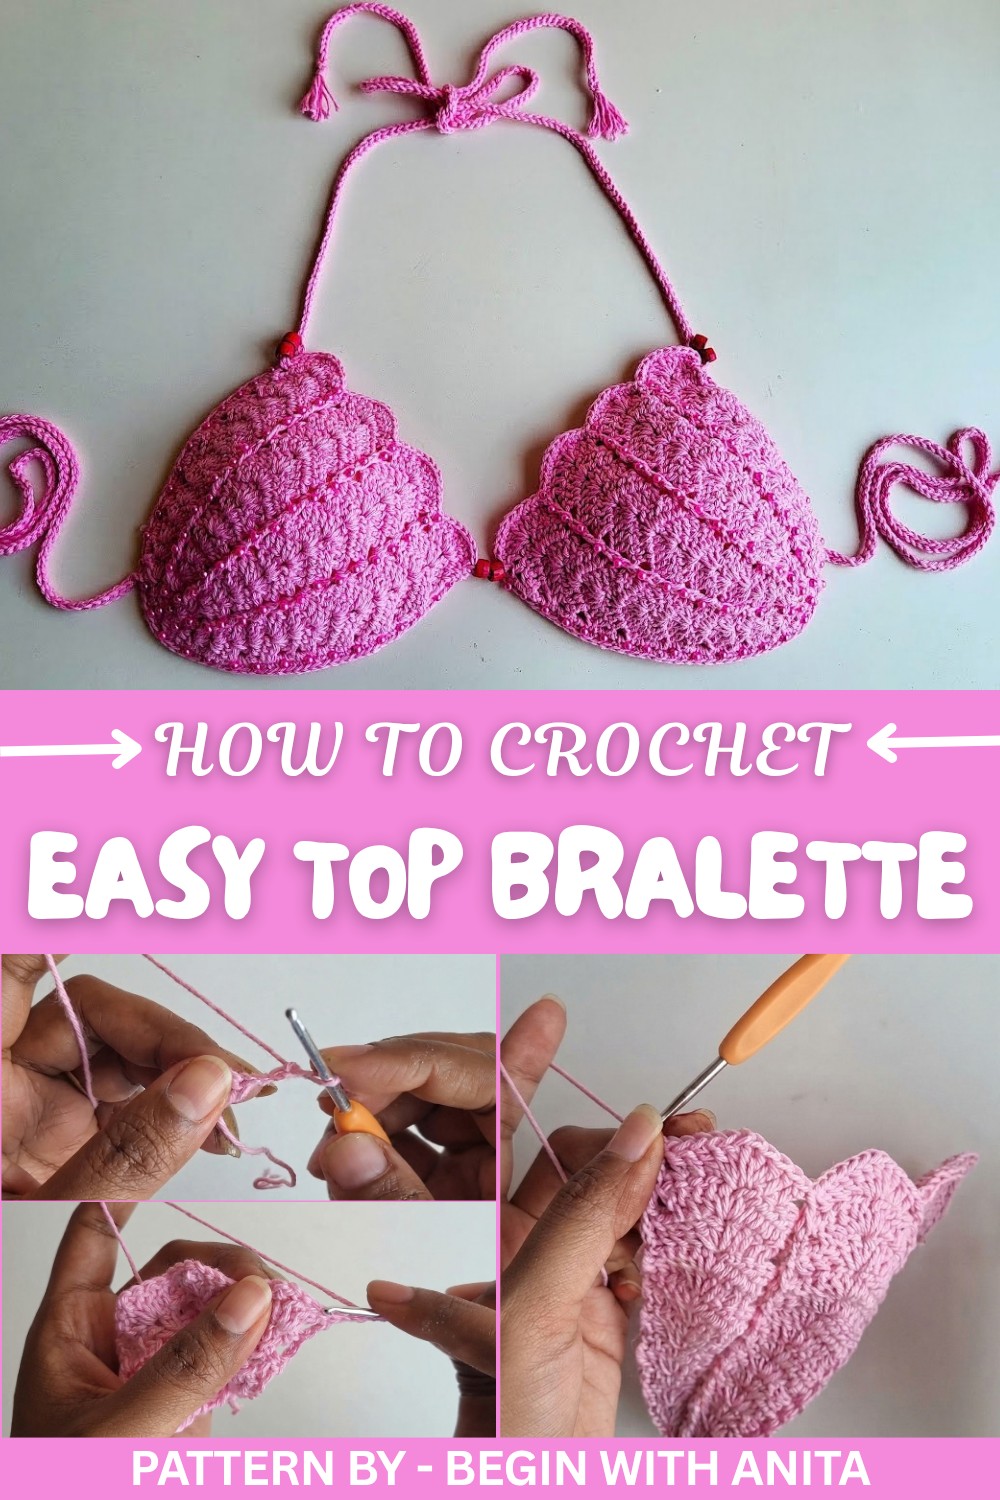
With this project, you can personalize every detail. Use just one color for a clean look, or combine multiple yarn shades for something more vibrant. Adding beads or tassels gives the bralette an extra decorative touch, making it even more special. It’s also customizable for different sizes, which means you can adjust it to fit perfectly by testing it against a pad or measurement as you go.
This crochet project is straightforward to follow and great for beginners wanting to expand their skills. By working through rounds, straps, and simple edging, it’s possible to make a functional, handmade top that is stylish and unique. It’s an enjoyable way to practice crochet techniques while making something useful for yourself or a loved one.
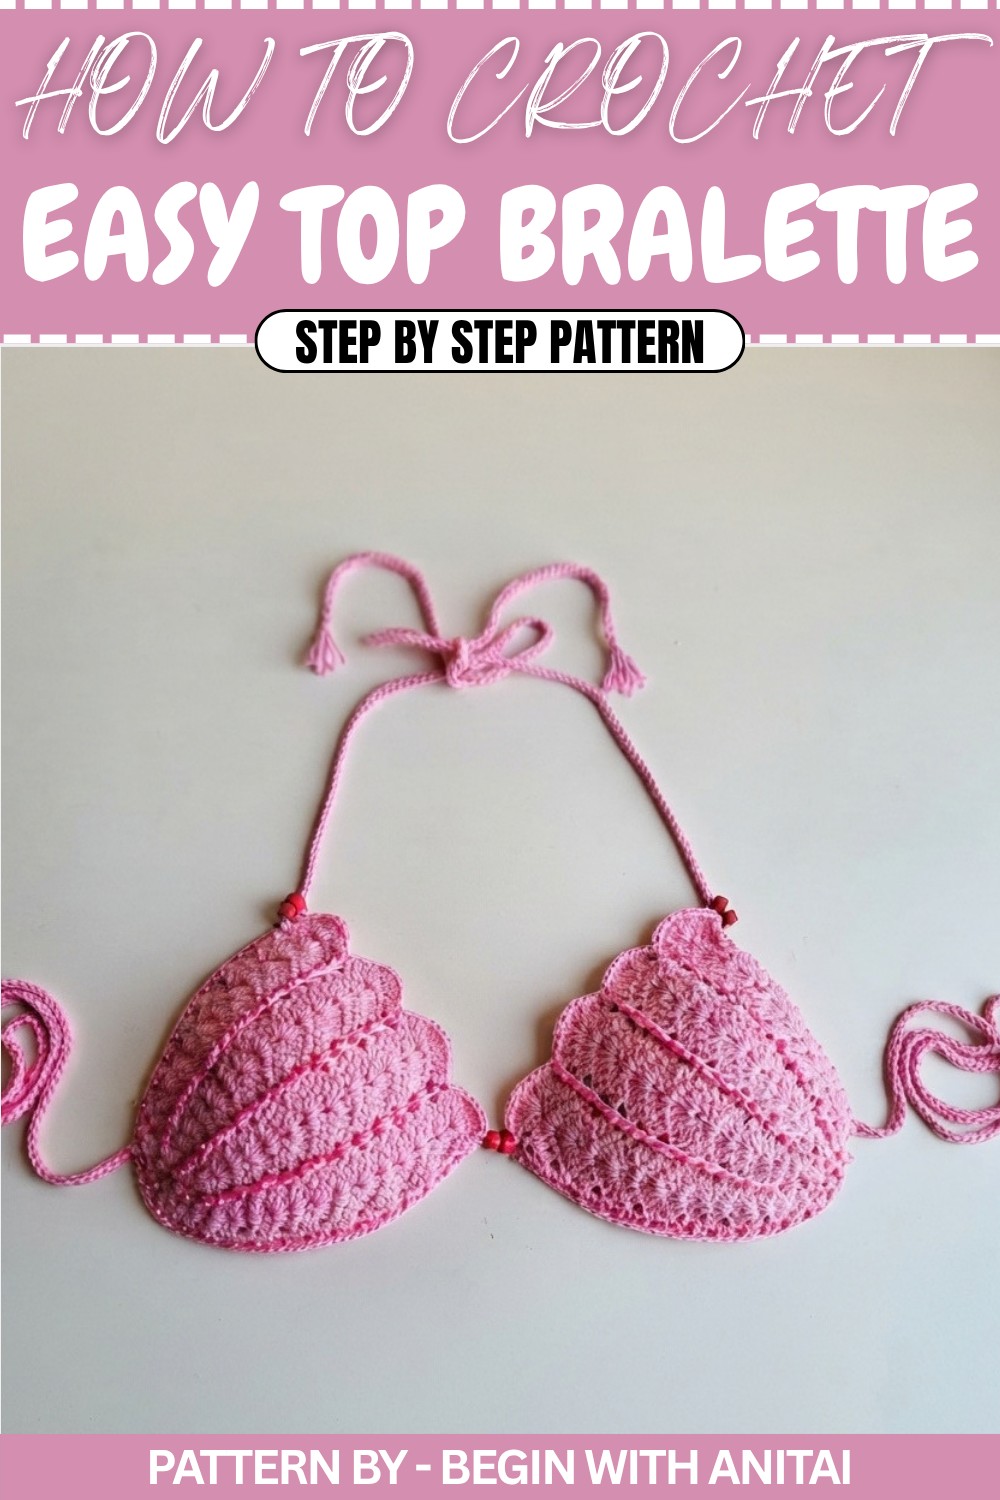
Crochet Pattern for Padded Bralette Top
This pattern is inspired by the padded bralette top tutorial outlined by Anita Maurya. Using a simple crochet technique, a single color or multi color yarn, and decorative beads, we will create a stylish, functional bralette top with tassels and adjustable straps.
Quick Overview of Pattern
- Type: Padded Crochet Bralette Top
- Techniques Used: Double crochet, single crochet, slip stitch, front post double crochet
- Details: Features adjustable shoulder and back straps, bead decoration, tassels, and a padded structure.
Notes
- Always measure the bralette piece against the chosen pad size for accurate fit and adjustments.
- If creating a larger size, start with additional double crochets in the beginning (e.g., 10 instead of 8).
- Gauge consistency is crucial for proper shape and fit.
Skill Level
Intermediate – Familiarity with basic stitches like double crochet, single crochet, slip stitch, and front post double crochet is required.
Materials
- Yarn: Cotton thread, 4 ply yarn, pink (or preferred color)
- Hook: 2.5 mm (main crochet work) and 0.75 mm (for fine detailing)
- Padded Bra Inserts: Push up bra pads (size dependent)
- Beads: Decorative beads for highlighting small details
- Needle: Sewing needle for attaching beads
- Other Tools: Scissors, scale (for tassels)
Measurements / Sizing
- Size Range: Can be adjusted based on pad measurements and by increasing starting rows/columns.
- Guide: For smaller sizes, follow with 8 DC; for larger sizes, start with 10 DC.
Gauge
- Gauge: Not specified; measure against your bra pads periodically for best fit.
Stitch Abbreviations
- CH – Chain
- SC – Single Crochet
- DC – Double Crochet
- FPDC – Front Post Double Crochet
- SL ST – Slip Stitch
Special Stitches
- Front Post Double Crochet (FPDC): Wrap the yarn around the hook, insert the hook around the post of the stitch from the front, pull the yarn through, and complete DC as normal.
- V Stitch: Create a double crochet (DC), a chain space (CH 1), followed by another DC in the same stitch.
The Crochet Pattern
Step 1: Start the Centerpiece
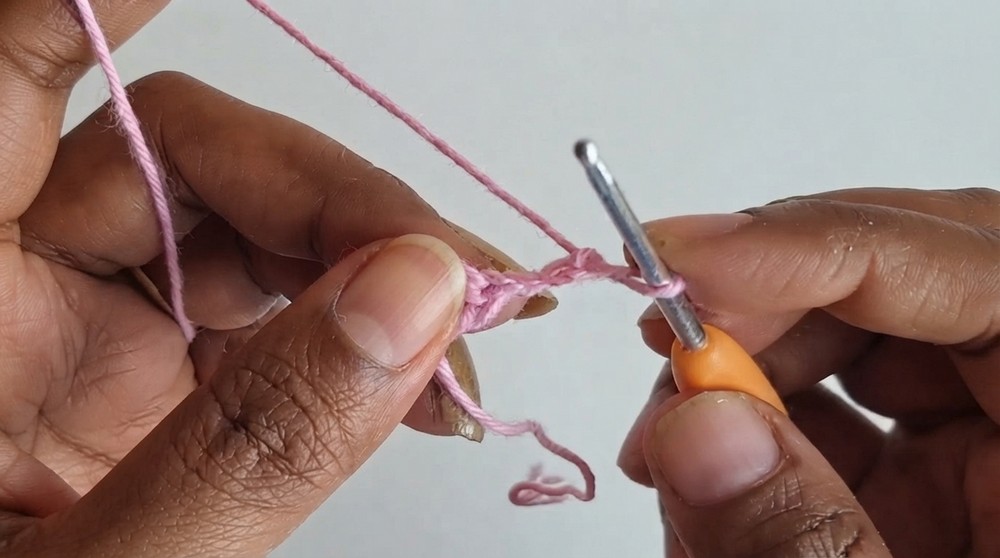
- Create the Ring:
- Make a ring and CH 3.
- First Round:
- Work DC into the ring.
- Create a total of 8 DC.
- Adjust Ring Size:
- Pull the ring tight to form a small circle.
Step 2: Building the Rows
- Second Round:
- CH 3 and turn your work.
- Create a V Stitch: DC into the second DC from the chain, CH 1, and DC in the same stitch.
- Alternate V Stitches and DC across the round.
- Third Round:
- Start by chaining 3 (CH 3).
- In the V Stitch gaps, create 2 DC, CH 1, then another 2 DC (a two DC V Stitch).
- Add Front Post Double Crochets (FPDC) in single DC next to each V Stitch.
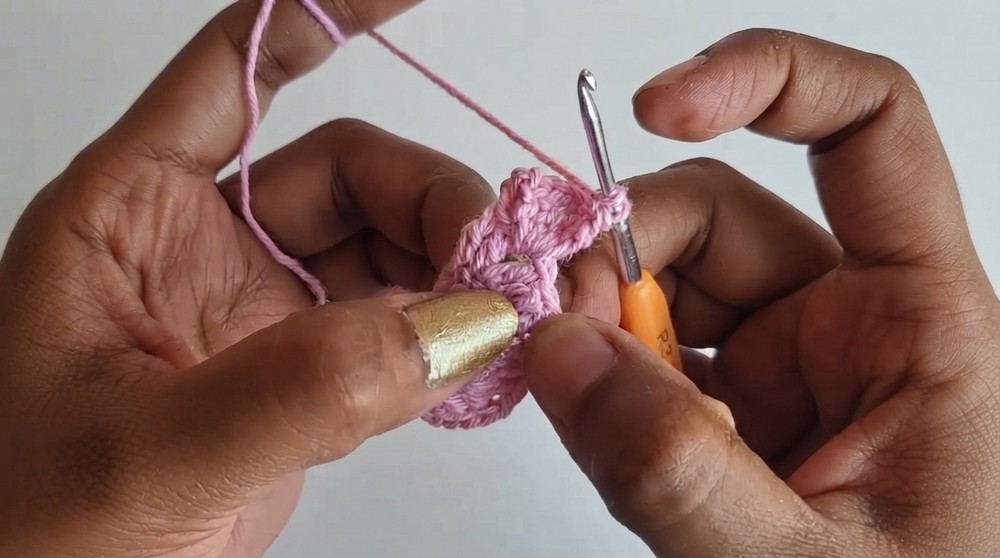
- Fourth to Eighth Round:
- Continue creating rows. Gradually increase DCs within V Stitches in rounds.
- From round 3 to round 5: Use two DC V Stitches.
- For round 6 to round 8: Introduce three DC V Stitches.
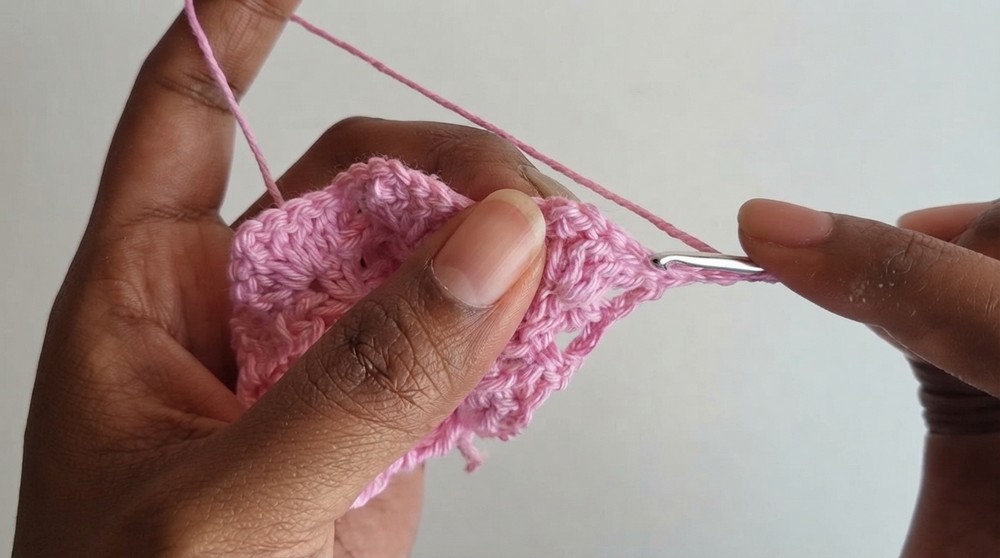
Step 3: Increasing for Shaping
- Ninth Round:
- Create V Stitches with 4 DC inside gaps.
- Continue alternating FPDC along rows.
- Tenth to Sixteenth Rounds:
- Work V Stitches with 5 DC across rounds.
- Ensure dimensions align with your padded bra inserts by measuring regularly.
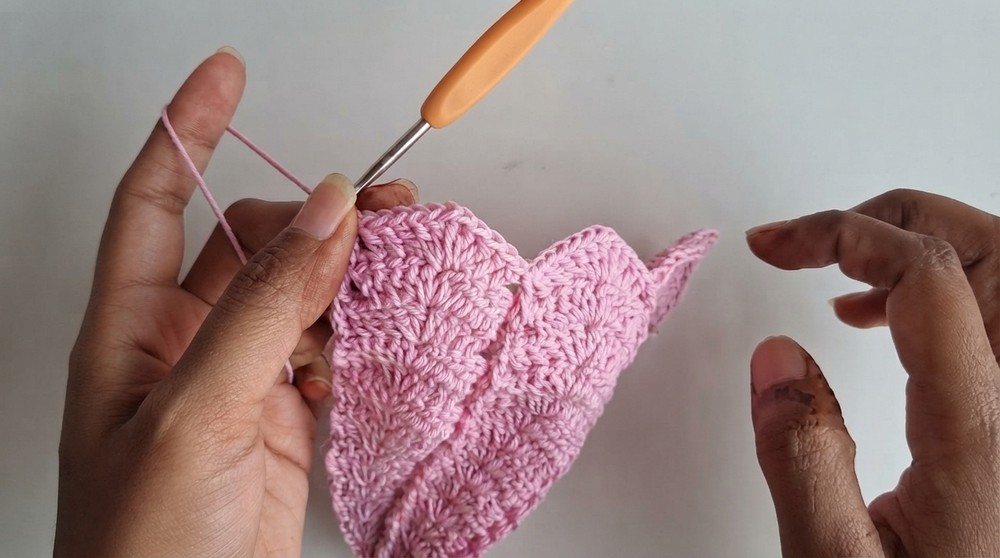
Step 4: Edging
- Single Crochet Edge (17th Round):
- Add an edging around the entire bralette piece.
- Use Single Crochets (SC) along the edges, working carefully over larger gaps.
- For corners, add two SCs per gap for curve definition.
Assembly & Finish
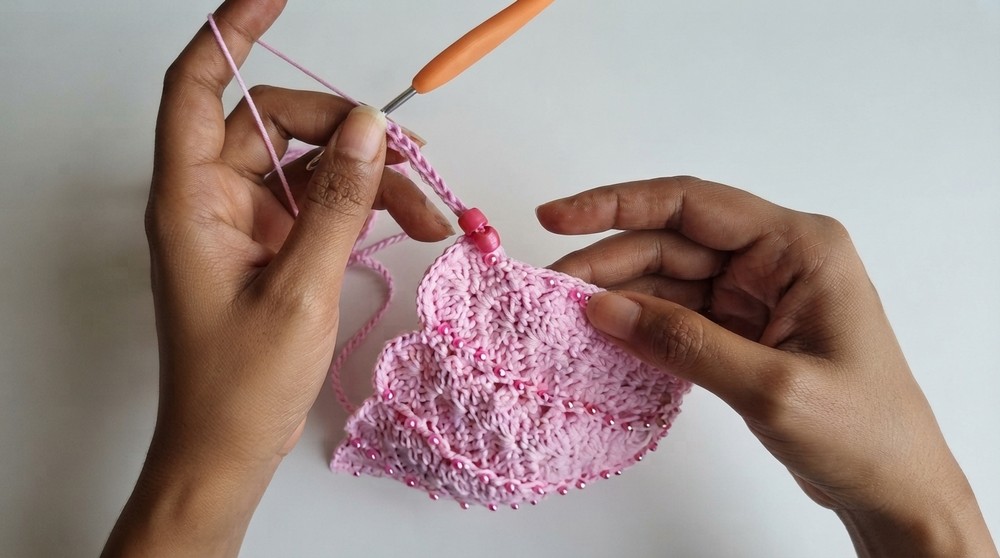
- Attach Beads:
- Using a needle and thread, sew beads onto the bralette in three lines of decoration.
- Position the beads in small gaps to avoid interfering with stretch and pad attachment.
- Pad Attachment:
- Place the crochet top onto padded bra. Ensure that the curved parts of the crochet piece align well with the edges of the pads.
- Using a needle, sew the bralette to the pads using careful stitches to avoid excess pull or visible seams.
- Making Straps:
- Create straps by CH 130, starting with tassels at either end.
- Attach straps to shoulder and back areas, ensuring symmetry.
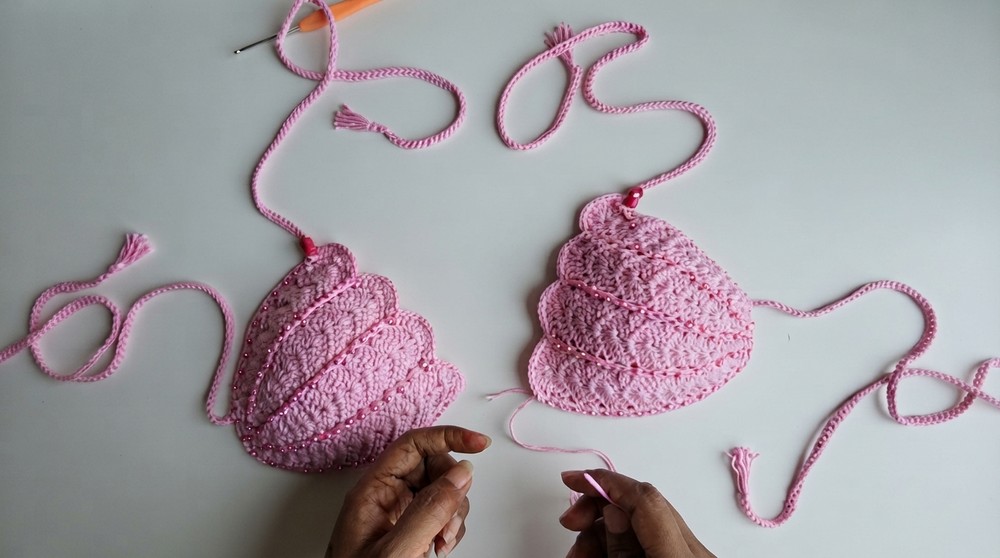
- Tassels:
- Wrap yarn around a scale, loop multiple times, and tie it off securely.
- Attach tassels at strap ends for decorative effect.
Conclusion
Your padded crochet bralette top is complete. With adjustable straps, bead decorations, and a reinforced base, this custom project is stylish and functional. Share your creation and let your creativity shine. I hope you enjoyed this pattern.