
Free Crochet Bell Ornament Pattern With a Festive Touch
Give your Christmas tree a cozy, handmade touch with this free crochet bell ornament pattern, making it simple to create beautiful, colorful bells with ease.
Handmade ornaments have a warmth that store bought decorations often lack. Among the simplest and most charming is a crochet bell ornament. It’s a project that’s both fun to make and versatile in its use, fitting perfectly as a Christmas tree decoration, a festive garland, or even a personal touch on gift wrapping. These bells bring a soft, cozy feel to any holiday setup, making them a lovely addition to your seasonal décor.
Free Crochet Bell Ornament Pattern to Brighten Your Tree
Using the half double crochet (HDC) stitch, which is known for its ease and texture, this project forms a bell that’s lightweight yet holds its shape beautifully. Beginners will find it an excellent way to practice HDC and learn about working in rounds. For those who have been crocheting for a while, it’s a quick, relaxing project to complete. You can even use the same stitch base to experiment with other small items like pouches or table accessories.
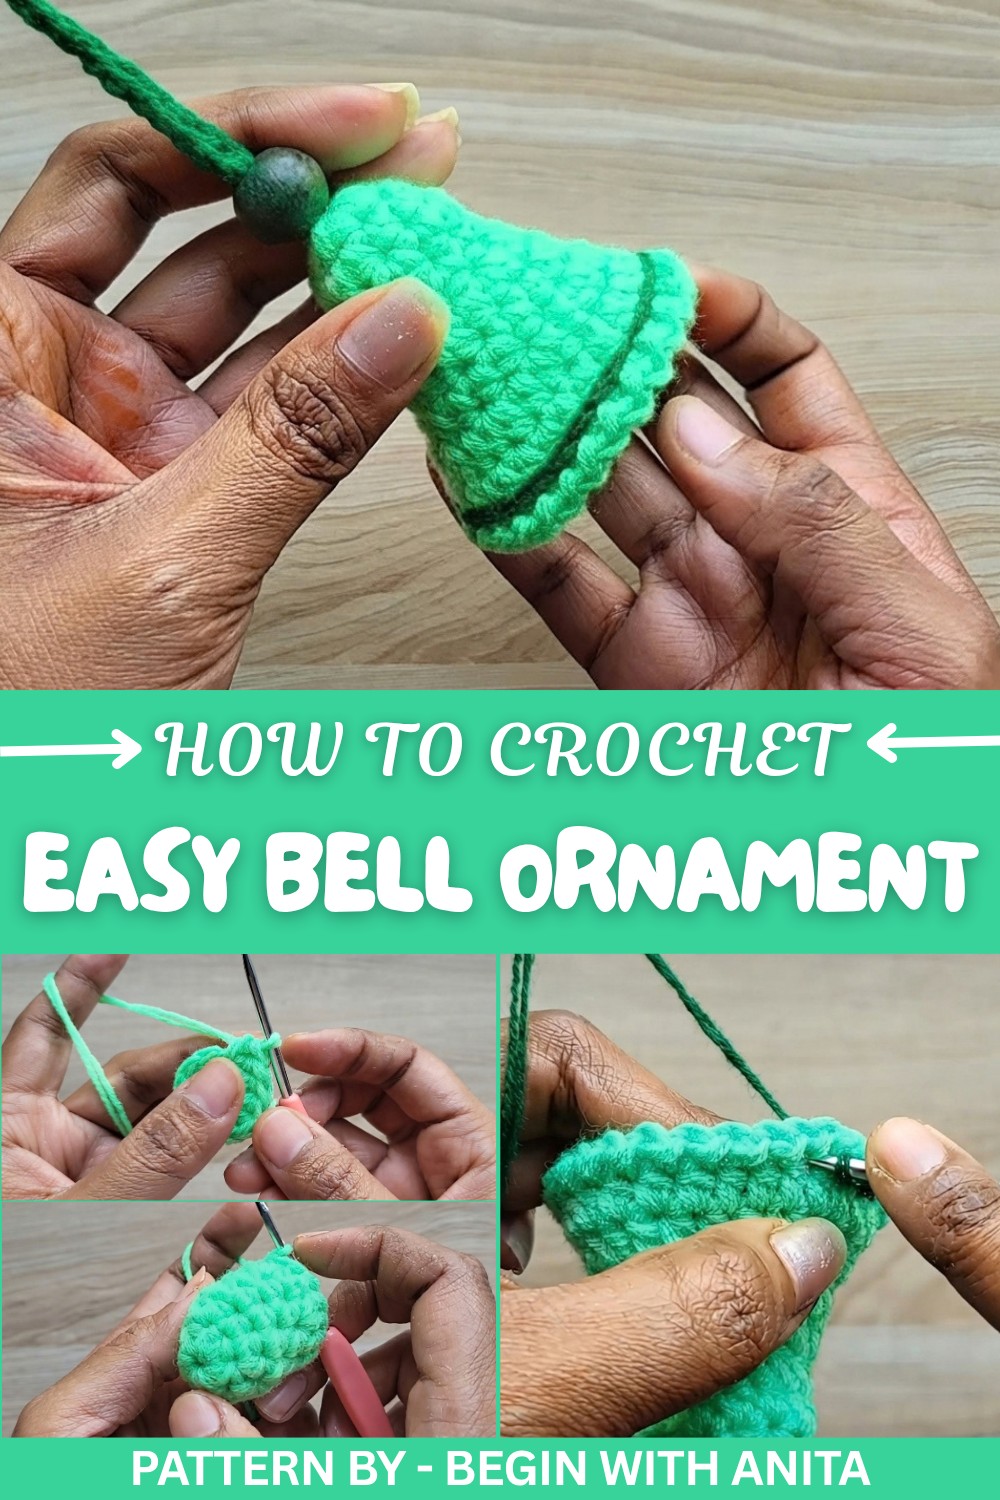
Pattern By Begin with Anita
The size and color of the bell can be customized to suit your preference. Opt for a classic single tone look or mix in a pop of color for stripes. Edging the bottom of the bell with a simple decorative finish or adding wooden beads for weight instantly enhances its appearance.
Whether you’re making these for your own home, as a gift, or as part of an activity with kids, this crochet bell pattern brings joy and fun to any setting. It’s the kind of project that doesn’t feel overwhelming but leaves you feeling proud of how such a small item can make a big difference in holiday decorations.
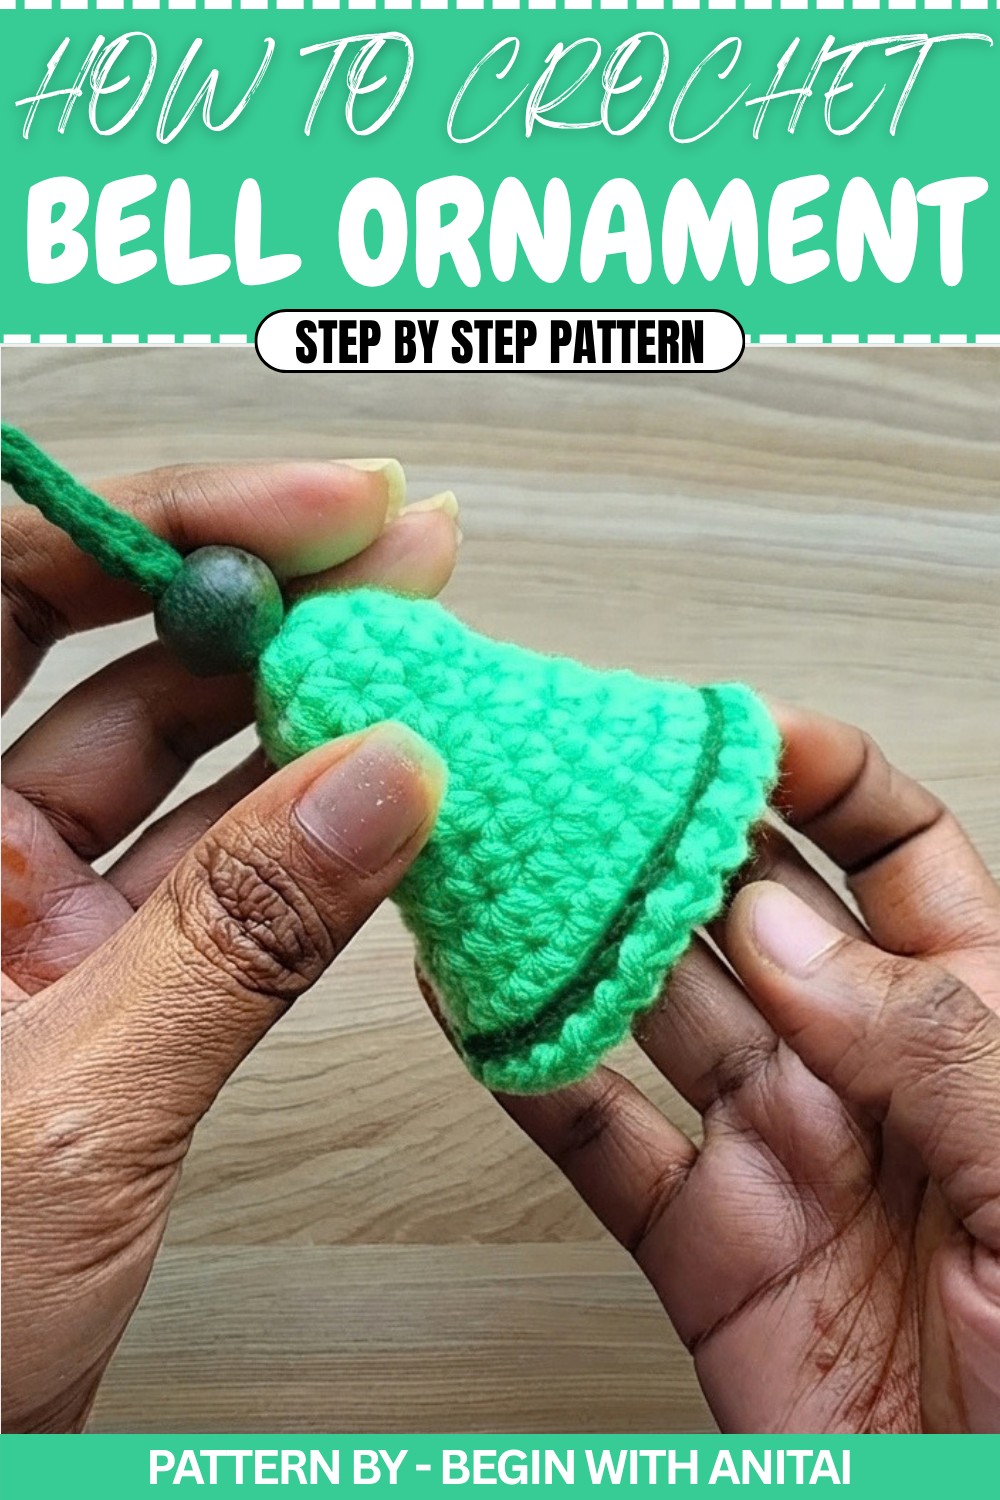
Beautiful Crochet Bell Pattern with Edge Design
In this crochet pattern, we’ll create a stunning and versatile bell using plush yarn. It’s perfect for home décor, gifting, or crafting colorful decorative pieces. The step by step instructions detailed below follow the transcription provided to ensure accuracy. With clear guidance, even beginners can successfully complete this project while enjoying the process of creating something gorgeous.
Quick Overview of Pattern
- Project Title: Plush Crochet Bell with Decorative Edge
- Purpose: Create a vibrant crochet bell with edging and strings.
- Includes: Comprehensive instructions from base to assembly, optional embellishments, and hanging string details.
Notes
- The project involves using plush yarn with doubled strands, ensuring a thick, sturdy finish.
- Working with doubled yarn may require slightly more attention to detail while forming stitches.
- This pattern offers flexibility for advanced crocheters, enabling decorative customization like bead embellishments.
Skill Level
Intermediate: Suitable for those with experience in basic crochet techniques like creating chains, slip stitches, magic rings, and Half Double Crochet (HDC).
Materials
- Yarn: Plush yarn in green and bottle green shades (two strands each)
- Hook: 3.0 mm crochet hook
- Decorative Beads: Wooden beads or any type of beads for embellishment.
- Other Tools: Scissors, tapestry needle
Measurements / Sizing
- Bell Height: Approximately 6–8 cm
- Bell Diameter: About 5–6 cm at the widest point
- String Length: 35 chains (Adjustment optional based on preference)
Gauge
Gauge is not critical for this project, but aim for a tight and even stitch to maintain structure.
Stitch Abbreviations
- CH: Chain
- SC: Single Crochet
- HDC: Half Double Crochet
- SS: Slip Stitch
Special Stitches
Magic Ring
A magic ring, also known as a magic circle, is a way to start crochet in the round. Form a loop with the yarn, pull a loop through it using your hook, and work the stitches into the adjustable ring before tightening it.
Crochet Pattern
Step-by-Step Instructions
Round 1:
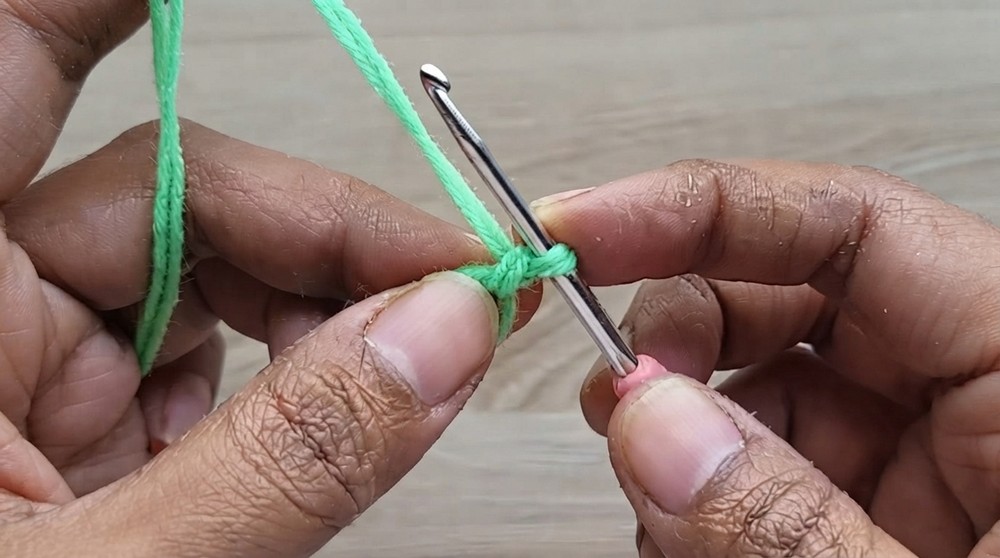
- Use two strands of green yarn. Start with a magic ring.
- Work 8 Half Double Crochets (HDC) into the ring as follows:
- Yarn over the hook. Insert the hook into the ring.
- Pull up a loop (you’ll have 3 loops on the hook).
- Yarn over again and pull through all 3 loops.
- Repeat this to create a total of 8 HDCs in the magic ring.
- Pull the ring tightly to close the center.
- Join the round by making a slip stitch (SS) into the first stitch of the round.
Round 2:
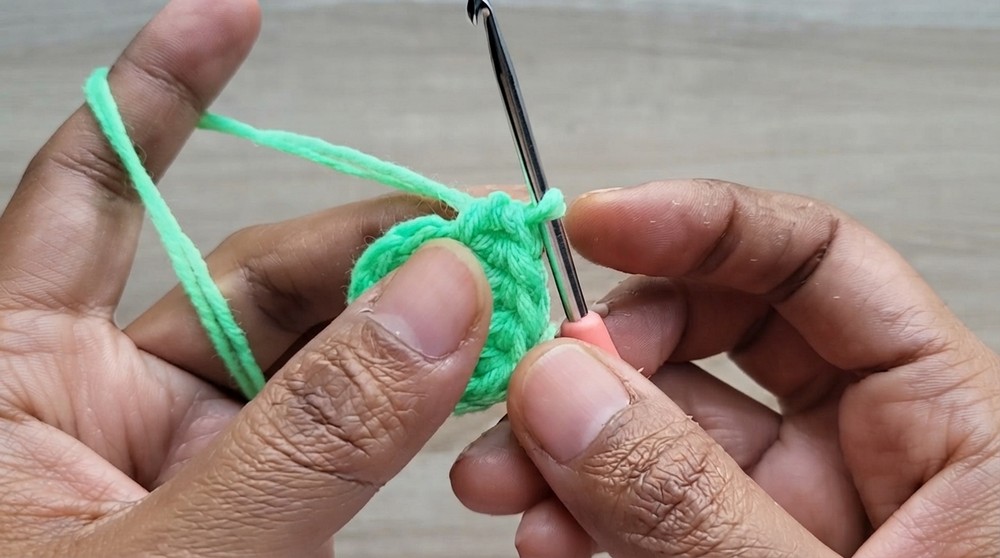
- CH 1 to begin the round.
- Yarn over and insert the hook into the same space as the previous SS. Work 1 HDC in this stitch.
- In the next stitch, work 2 HDCs.
- Repeat the pattern: 1 HDC, 2 HDCs.
- Complete the round by making a slip stitch in the top of the first HDC of the round.
Round 3:
- Begin with CH 1.
- Yarn over and insert the hook in the same space (where you made the SS). Work 1 HDC in each stitch around.
- Continue this process of working 1 HDC in each stitch for the entire round.
- Finish the round with a slip stitch in the top of the first HDC.
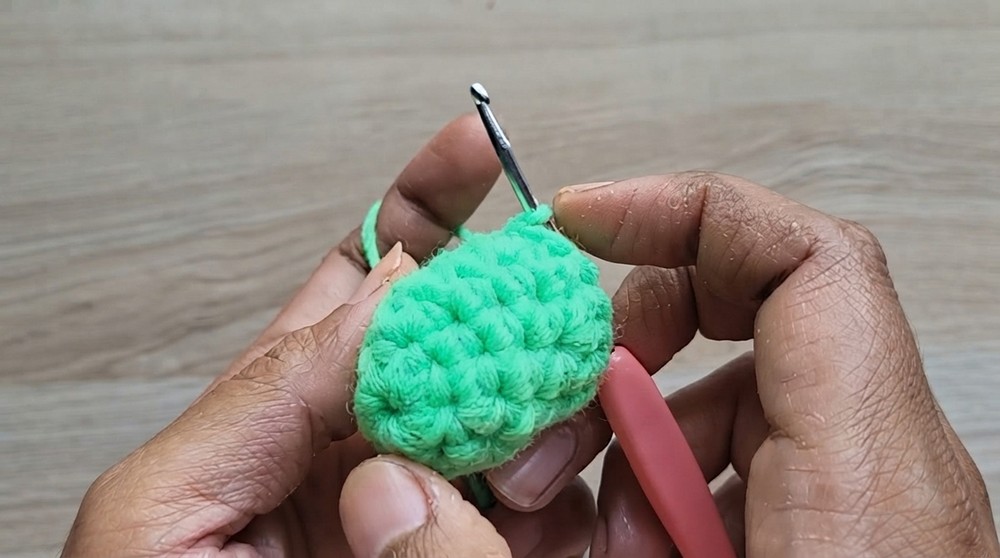
Round 4:
- Start by chaining CH 1.
- Work 1 HDC in the same stitch where the SS was made.
- Repeat the pattern: 1 HDC in each stitch around.
- Once the round is complete, finish with a slip stitch at the top of the first HDC.
Round 5:
- CH 1 to begin the round. Work 1 HDC in the first stitch.
- Work 2 HDCs in the next stitch.
- Continue with the 1 HDC, then 2 HDCs in the next stitch pattern for the entire round.
- After completing the round, make a slip stitch to close it.
Round 6:
- Begin with CH 1.
- Work 1 HDC in each stitch around, inserting the hook into the top loop of every stitch.
- At the end of the round, make a slip stitch to close the round neatly.
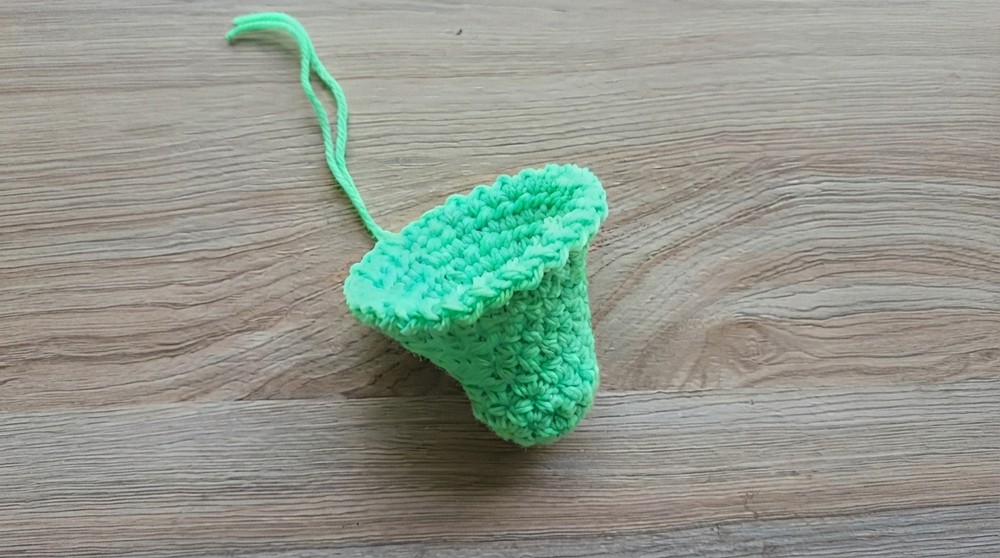
Round 7:
- Chain CH 1 to start.
- In the first stitch of the round, work 1 HDC, and in the subsequent stitch, work 2 HDCs.
- Continue with the pattern: 1 HDC, 2 HDCs in the next stitch for the entire round.
- Make a slip stitch to join the round.
Round 8:
- CH 1 to start this round.
- Work 1 HDC in each stitch around, repeating the process as in Round 6.
- Close the round using a slip stitch at the top of the first HDC.
Edging:
- To add a decorative edge, CH 1 to begin.
- Work as follows:
- Insert the hook into the next stitch and make a slip stitch.
- CH 1, then make another slip stitch in the next stitch.
- Repeat these steps for the entire border, creating a delicate edging finish.
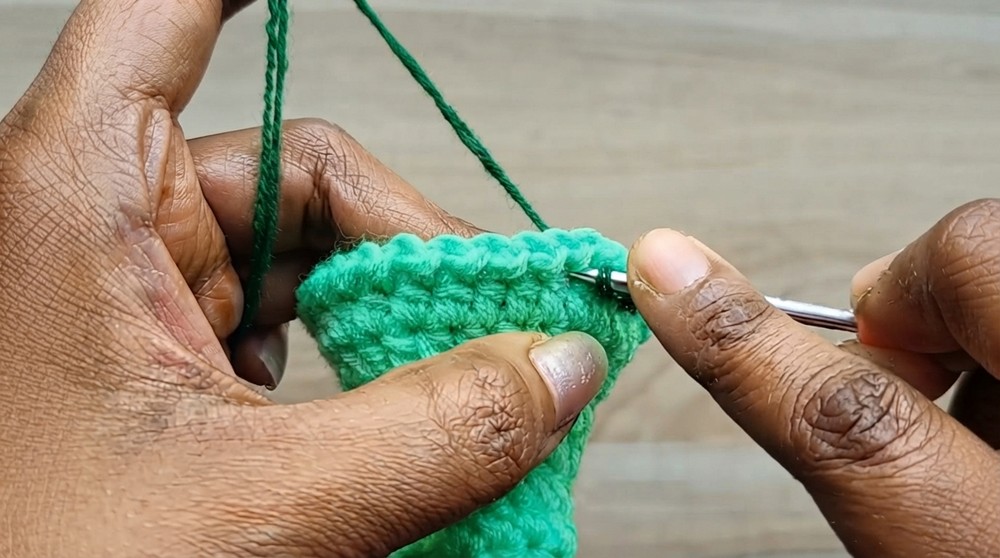
Optional Edging Addition:
- Use two strands of bottle green yarn.
- Work this edging along the lower edge of the decorative border.
- Insert the hook into the gap at the bottom row and make a CH.
- Continue creating chains and inserting the hook into the next gap, pulling the yarn through.
- Work around the border as desired or skip this step if preferred.
String for Hanging:
- Use a single strand of bottle green yarn.
- Make CH 35 for the string length using the crochet hook. Adjust the length as per your preference.
- Finish the chain by cutting the yarn and fastening it off securely.
- Optional: Insert wooden beads or any decorative beads into the string to add charm.
Assembly & Finished Size
- Attach the string at the top of the bell securely using the tapestry needle.
- Pull all stray yarn ends through, fasten them off, and trim the remaining strands to ensure a neat back side.
- Once the bell is complete, you can use it for interior décor or gift wrapping purposes.
Finished Bell Dimensions:
- Height: Approximately 6–8 cm
- Diameter: About 5–6 cm
Conclusion
Congratulations, You’ve completed your adorable crochet bell with a unique decorative edging, hanging string, and optional bead embellishments. This project is perfect for any creative art lover, whether you want to decorate your house or craft gifts for loved ones. Experiment with different yarn colors and bead types to design unique variations.