
Easy Free Crochet Drawstring Pouch Pattern for Stylish Storage
Follow this easy and clear crochet pattern to create a beautiful drawstring pouch that’s perfect for organizing or gifting small treasures.
If you’re looking for a fun and creative way to organize your small items, a crochet drawstring pouch might be just what you need. These pouches are not only practical but also incredibly delightful to make. Think about having a stylish and personalized pouch to keep your jewelry, coins, or even little gifts. It’s an accessory that combines both functionality and beauty, perfect for yourself or as a thoughtful handmade gift.
How to Crochet a Cute Drawstring Pouch for Every Occasion
CrochetLilWeaves' tutorial on YouTube explains how to make this adorable pouch in a simple, step by step manner, making it perfect for beginners and experienced crocheters alike. The video walks you through the process of creating a neat, rounded pouch using basic crochet stitches like chains and double crochet. What stands out is the way the dual drawstrings are seamlessly woven into chain spaces at the top, giving the pouch an elegant closure with a touch of charm.
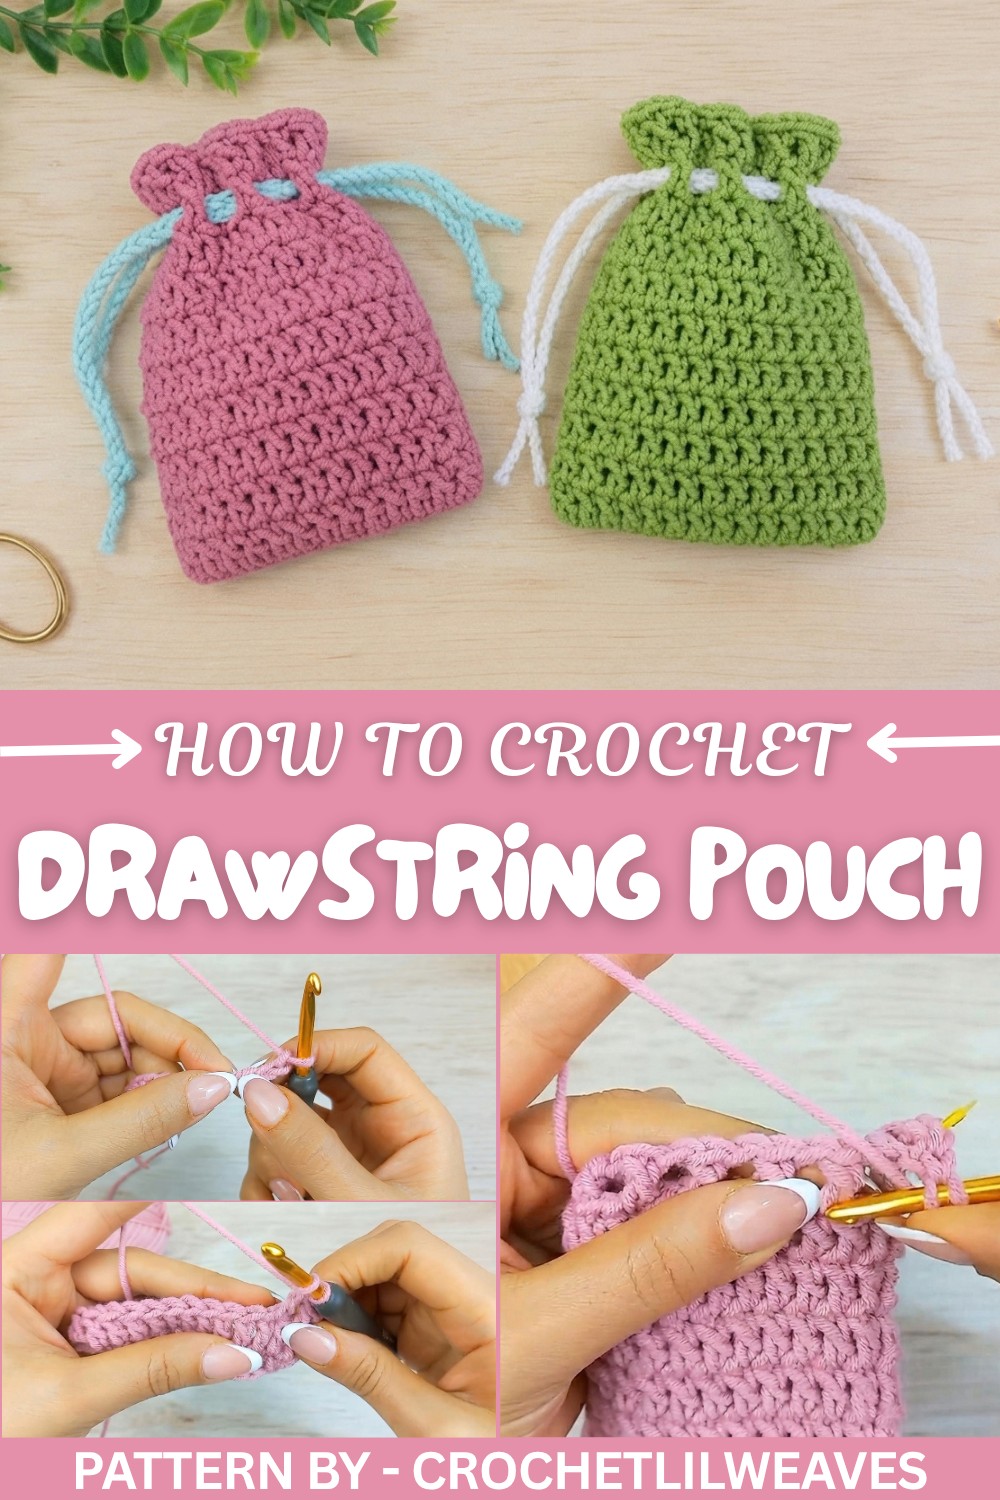
The design of the pouch is compact yet versatile. Its small size makes it excellent for everyday use, whether you need a place to store loose change or a charming way to present a gift. The real appeal lies in how easy it is to customize, choose a variety of yarn colors to suit your style or adjust the size to match your needs. The neat, rounded shape, combined with the decorative drawstrings, gives the pouch a timeless and polished look.
A crochet drawstring pouch is more than just a storage solution; it’s a fun and quick project that showcases your personality and creativity.
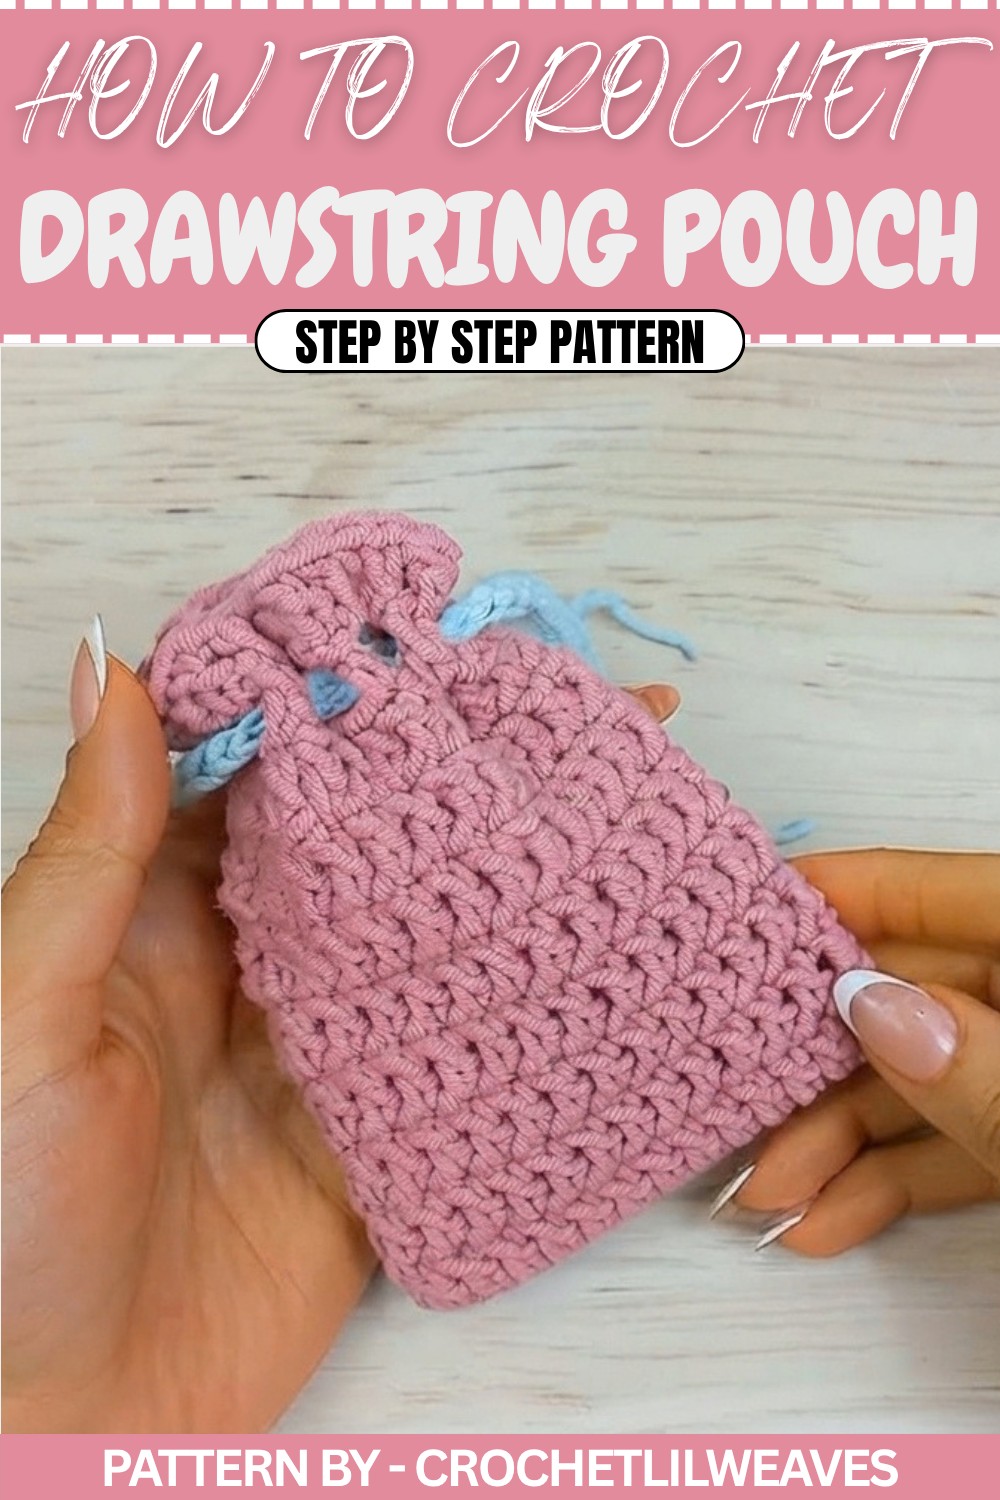
Crochet Tiny and Basic Pouch Pattern
Quick Overview of the Pattern
- Project: Tiny, basic crochet pouch.
- Finished Dimensions: 9.5 cm (width) x 12.5 cm (height).
- Customization: You can change the size by adding multiples of 4 to your foundation chain.
- Techniques Used: Slip knot, chain stitch, double crochet, slip stitch, drawstring weaving.
Notes
- Stitch markers are recommended to mark the first stitch of each round.
- Ensure the pouch lies flat as you work; push down curled edges if necessary.
- Customize the height or width of your pouch by adding or decreasing rounds and modifying the foundation chains.
- The drawstring portion is created using chain spaces in Round 9 and woven at the end.
Skill Level
Beginner Friendly: Familiarity with basic stitches (ch, dc, sl st) is required.
Materials
- Yarn:
- Small amount of worsted weight yarn in two colors:
- Main color for the pouch body.
- Secondary color for the drawstrings.
- Small amount of worsted weight yarn in two colors:
- Hook: 5 mm crochet hook.
- Notions:
- Scissors.
- Yarn needle.
- Stitch marker (optional).
Measurements / Sizing
- Finished Size: 9.5 cm wide x 12.5 cm tall.
- Customization: Add multiples of 4 to your foundation chain for a wider pouch.
Gauge
Gauge is not critical for this pattern.
Stitch Abbreviations
| Abbreviation | Meaning |
|---|---|
| ch | Chain |
| sl st | Slip Stitch |
| dc | Double Crochet |
| st(s) | Stitch(es) |
| yo | Yarn Over |
Special Stitches
Slip Knot:
- Place the yarn on the index finger (front to back).
- Wrap the yarn around the finger twice.
- Pass the first loop over the second loop.
- Pass the first loop over the second loop again and slide it off your finger.
- Tighten the knot and place the yarn on the hook.
The Crochet Pattern
Foundation Chain
- Make a slip knot with your main color yarn.
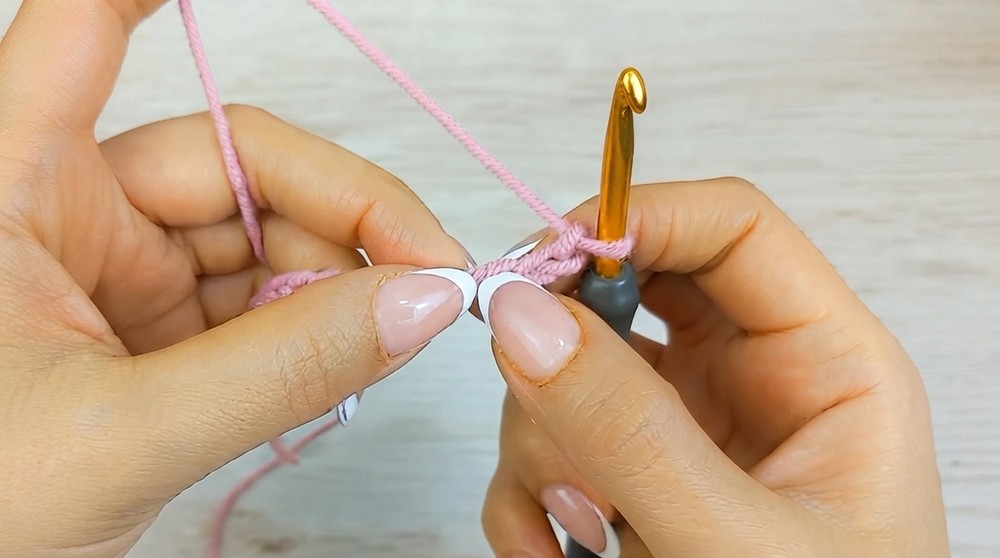
- Chain 15 stitches:
- Yarn over (yo), pull the yarn through the loop on the hook.
- Repeat until you have 15 ch in total.
Round 1 – Foundation Row
- Skip the first two chains and insert your hook into the third chain.
- Work 1 double crochet (dc):
- Yo, insert the hook through the chain and pull up a loop (3 loops on the hook).
- Yo, pull through the first 2 loops.
- Yo, pull through the remaining 2 loops.
- Mark the first stitch with a stitch marker.
- Continue working 1 dc in each chain until the last chain.
- In the last chain, work 2 dc to create an increase.
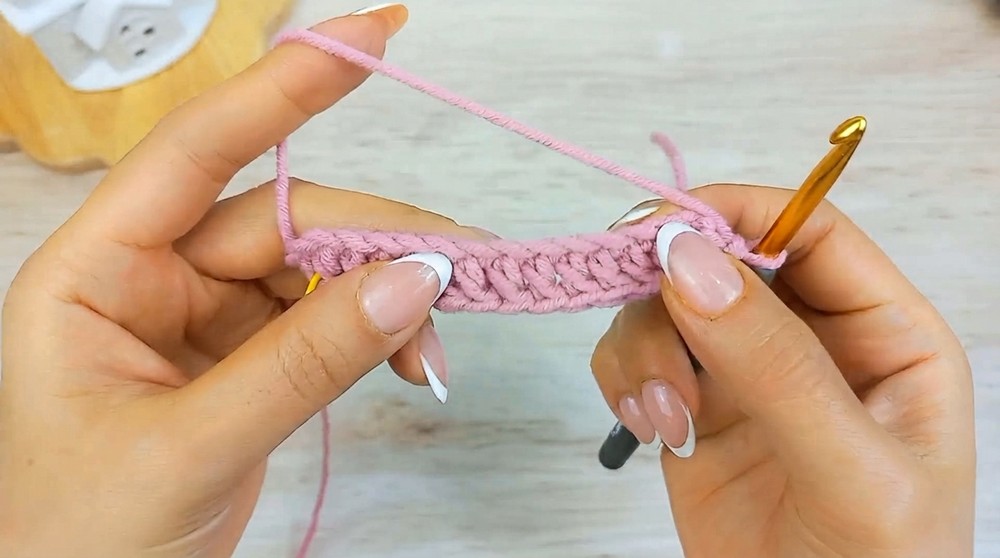
- Rotate your work to the opposite side of the chain.
- Work 1 dc in each chain along the opposite side.
- Join the round:
- Work 1 sl st into the top of the very first dc.
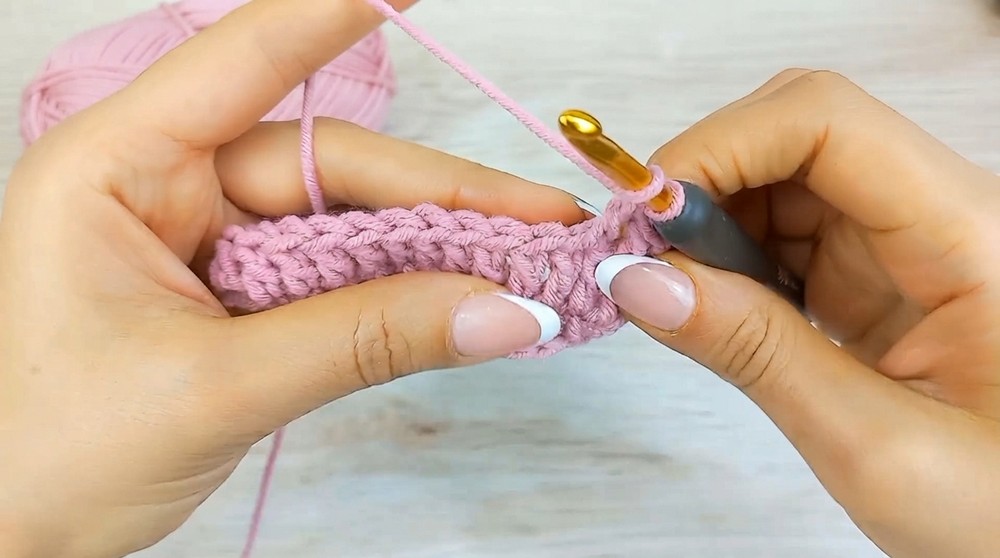
At the end of Round 1:
- Total stitches: 26 double crochet stitches (13 on each side).
Round 2 – Building Height
- Chain 2 (acts as the turning chain for height).
- Work 1 dc into the same stitch as the sl st.
- Mark this stitch as the first of the round.
- Work 1 dc in each stitch across the round (total: 26 stitches).
- Join the round with 1 sl st at the top of the first dc.
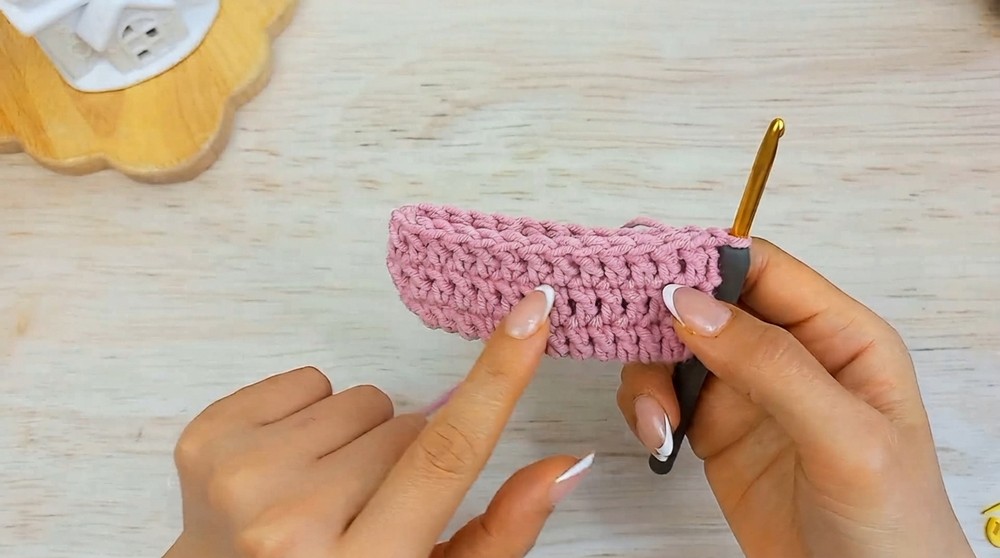
Rounds 3–8 – Repeating for Height
- Repeat Round 2 for 6 more rounds:
- Chain 2 at the start of each round.
- Work 1 dc in each stitch (26 sts per round).
- Join with a sl st at the end of every round.
- Tip: For a taller pouch, add more rounds before proceeding to the drawstring section.
Round 9 – Drawstring Spaces
- Start the round with ch 2.
- Work 1 dc into the same stitch as the sl st. Mark this stitch.
- Create the chain space pattern:
- Ch 1, skip the next stitch, and work 1 dc into the following stitch.
- Repeat: Ch 1, skip 1, 1 dc into the next stitch.
- You will create 6 chain spaces around the pouch.
- At the end of the round, finish with a sl st into the first dc.
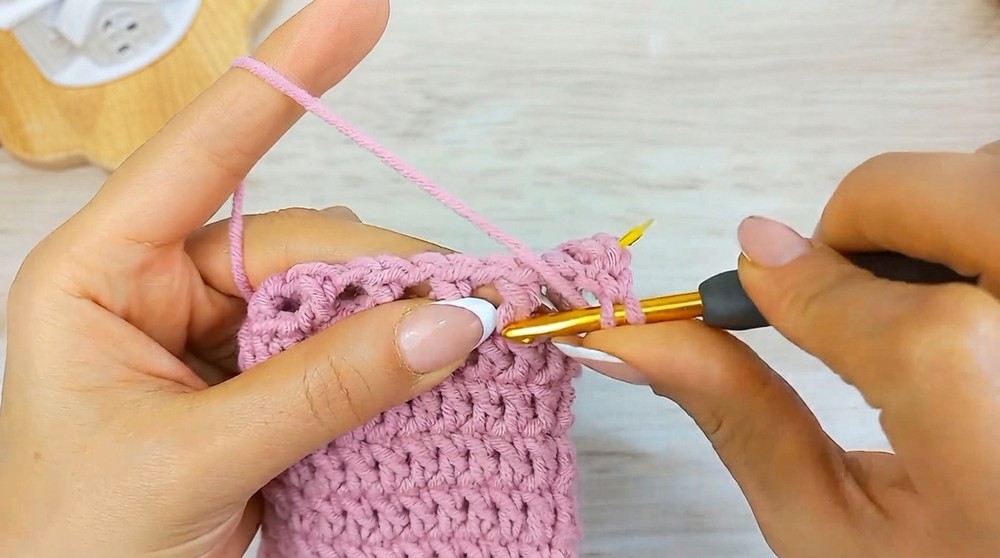
Round 10 – Closing the Spaces
- Start the round with ch 2.
- Work 1 dc into the same stitch as the sl st. Mark this stitch.
- Work 1 dc into each chain space from the previous round, and each dc.
- Make sure to crochet over the chain 1 spaces as well to close the gaps.
- At the end of the round:
- Join with a sl st at the top of the first dc.
- Fasten off and cut the yarn, leaving a short tail.
Strings
Make the String
- Use the secondary yarn color to make the drawstrings.
- Begin with a slip knot.
- Make 40 chains:
- This is twice the width of the pouch plus a small excess at the ends.
- Fasten off and cut the yarn.
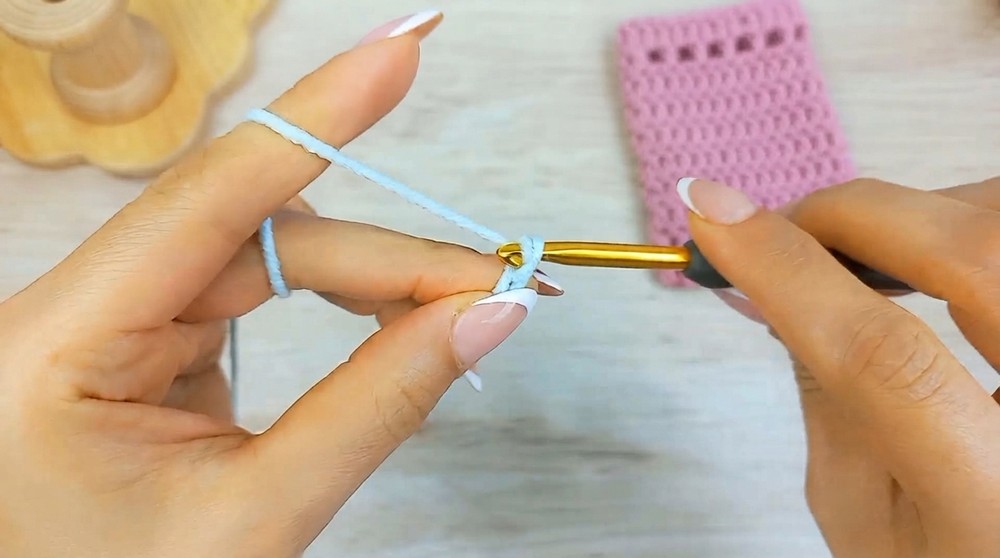
Repeat
- Make a second string following the same steps.
Assembly – Adding the Drawstrings
- For the first string:
- Attach a yarn needle to the string.
- Insert the needle through the first chain space and weave over and under the dc stitches of Round 9, working all around the pouch.
- For the second string:
- Repeat the same weaving process, but start from the opposite side of the pouch.
- Pull both strings to ensure they slide evenly for opening and closing the pouch.
Finished Size
- Approx. Measurements: 9.5 cm wide x 12.5 cm tall.
Conclusion and Ending Words
Congratulations, Your beautiful and functional pouch is now complete. This simple pattern can be customized in size, color, or design to suit your style.