
Free Crochet Star Pattern for Beginners That’s Holiday Ready
Make your tree shine bright with adorable crochet stars using this free pattern that’s easy, fun, and perfect for adding your unique creative touch.
Creating a star is one of my favorite quick and fun projects, and I’m so excited to share it with you. This delightful little crochet star pattern is not only charming but incredibly versatile. Simple yet eye catching, its classic five pointed shape gives it that timeless, festive feel, perfect for holidays, décor, or as an everyday accessory. Whether you’re creating Christmas tree ornaments, adorable garlands, unique keychains, or whimsical charm accents, this star is sure to bring a smile to your face.
Simple Crochet Star Pattern to Add Festive Fun to Your Home
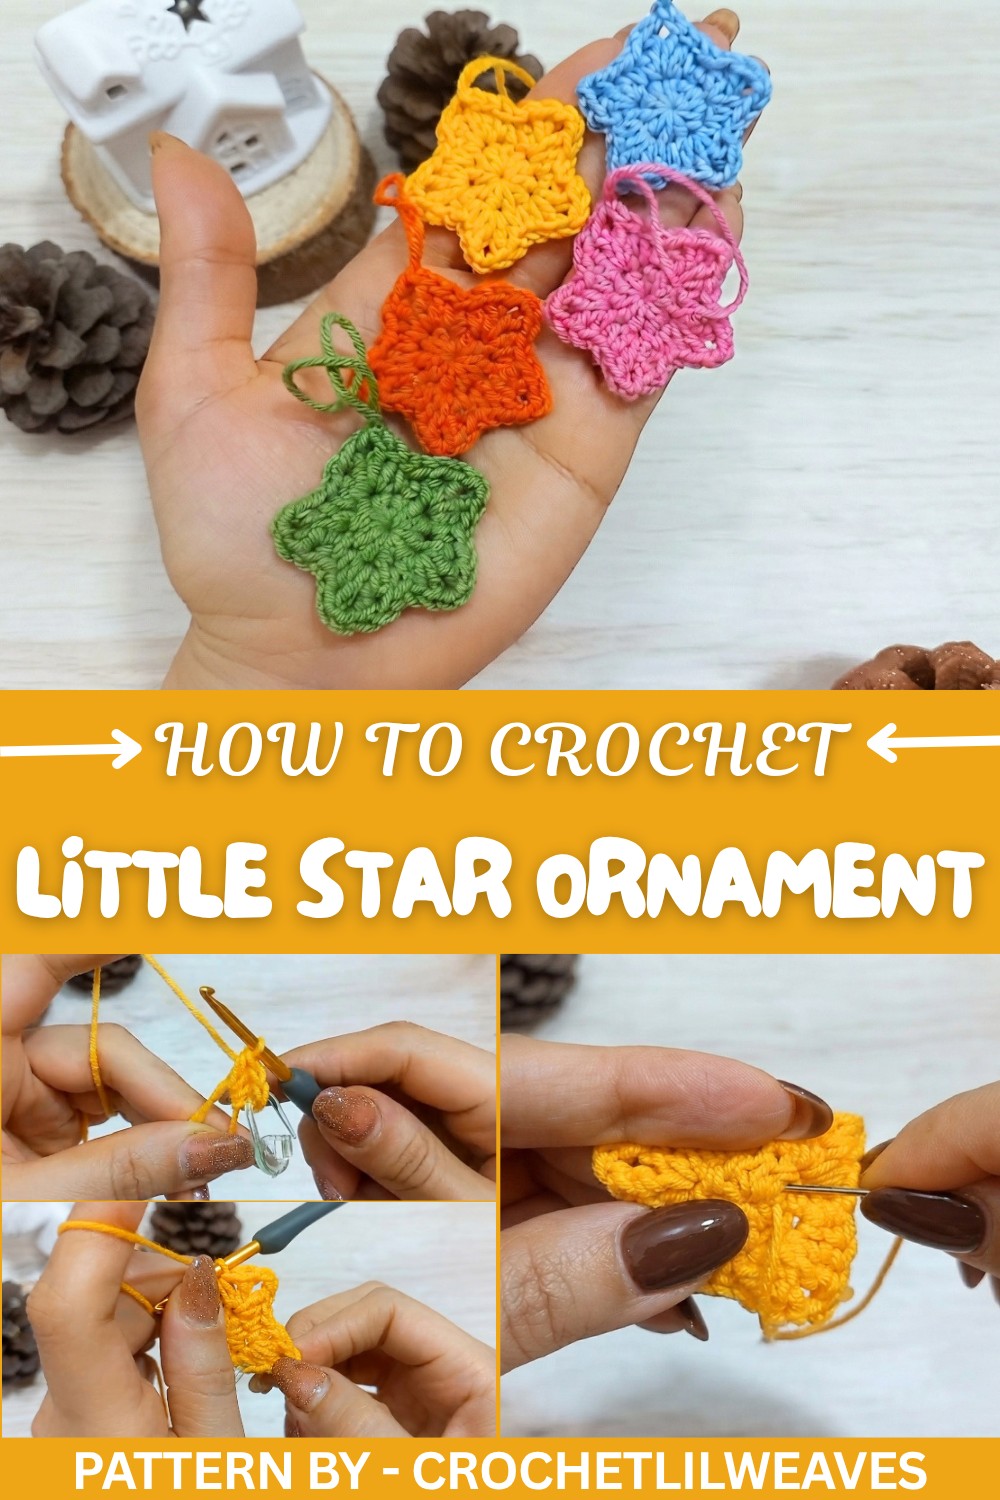
The star’s design features a textured look with a combination of basic crochet stitches. It starts with a magic ring and works in just two rounds. The first round gives you a solid and sturdy base for the star, while the second round brings it to life with gently tapered points. With their crisp lines and definition, the stitches can truly shine, especially when worked in smooth, soft yarn like cotton or shiny threads for that extra festive sparkle. I like using lightweight yarn for this pattern because it gives the star a more delicate and refined texture, perfect for tiny hanging decorations.
Pattern By CrochetLilWeaves
This pattern is inspired by the beauty of twinkling stars in a night sky. There’s something so magical about their shape and sparkle, and I wanted to create a version just as dazzling but achievable for crocheters of all levels. Plus, it uses a tiny amount of yarn, making it perfect for scrap busting.
A tip for success: be patient when working with the magic ring. It can feel a little tricky at first, but once you get it, you’ll wonder why you didn’t try it sooner. And remember to block your finished star, this really helps the points stay sharp and symmetrical. I hope you love making this crochet star pattern as much as I did.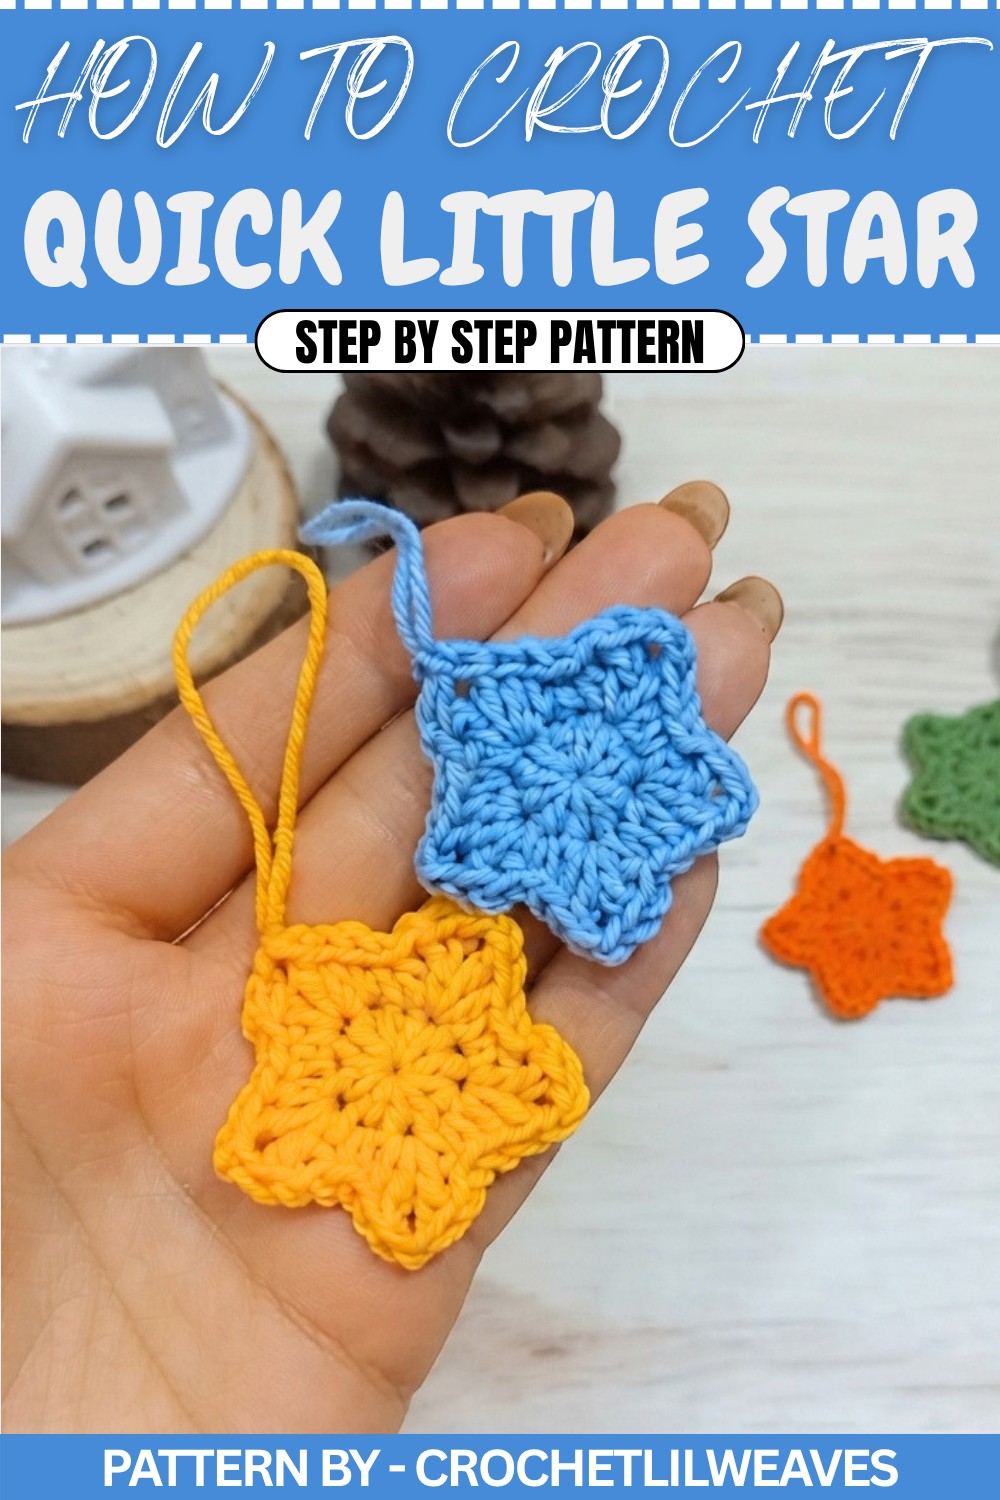
Crochet Hanging Star Pattern
Today, you’ll be working on an easy and beautiful hanging crochet star. This versatile mini star can be used as a Christmas tree decoration or a back charm for your bags. The project requires just two rounds to create and is perfect for crocheters of all skill levels. Let’s get started.
Quick Overview of the Pattern
- Make a magic ring as the foundation.
- Round 1 establishes the circle shape with 10 half double crochet stitches.
- Round 2 adds texture and forms the star points.
- Finish by adding a hanging loop and weaving in the yarn ends.
Notes
- Avoid counting the beginning chains as stitches for accurate results.
- Stitch markers are helpful to manage the first stitch of each round.
Skill Level
Beginner.
Materials
- Small amount of Category 2 (fine) yarn in any color.
- 3.0 mm (US Size D/E) crochet hook.
- Scissors.
- Metal or plastic needle.
- Stitch marker.
Measurements / Sizing
The final project measures about 2–3 inches in diameter.
Gauge
Exact gauge is not critical.
Stitch Abbreviations
- ch: chain
- sc: single crochet
- hdc: half double crochet
- dc: double crochet
- sl st: slip stitch
- MR: magic ring
Special Stitches
Magic Ring (MR) – The foundation for creating the center circle of the star.
Step by Step Crochet Pattern
Round 1
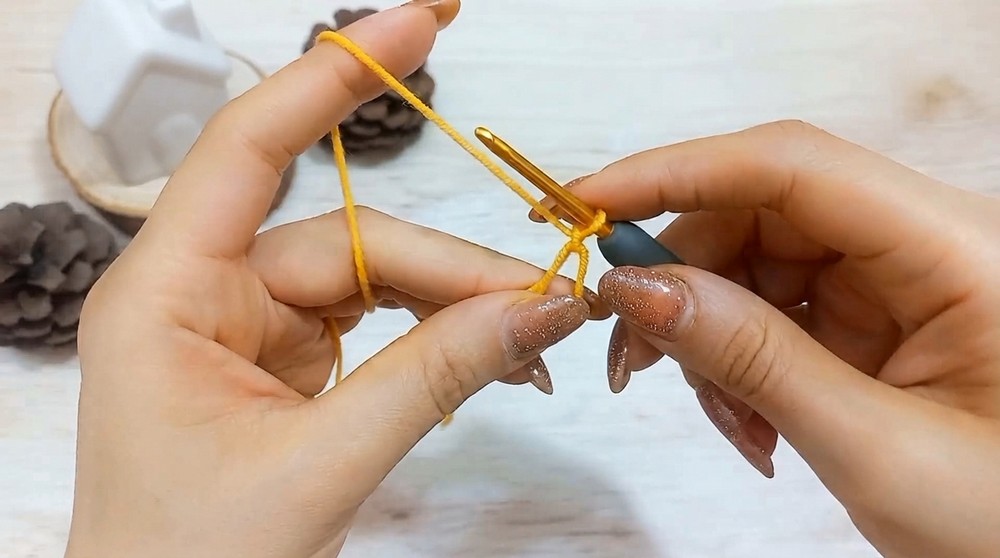
- Create a magic ring and make 2 ch.
- Work 10 hdc into the magic ring.
- Pull the tail tightly to close the ring.
- Join the round with a sl st into the first hdc.
Round 2
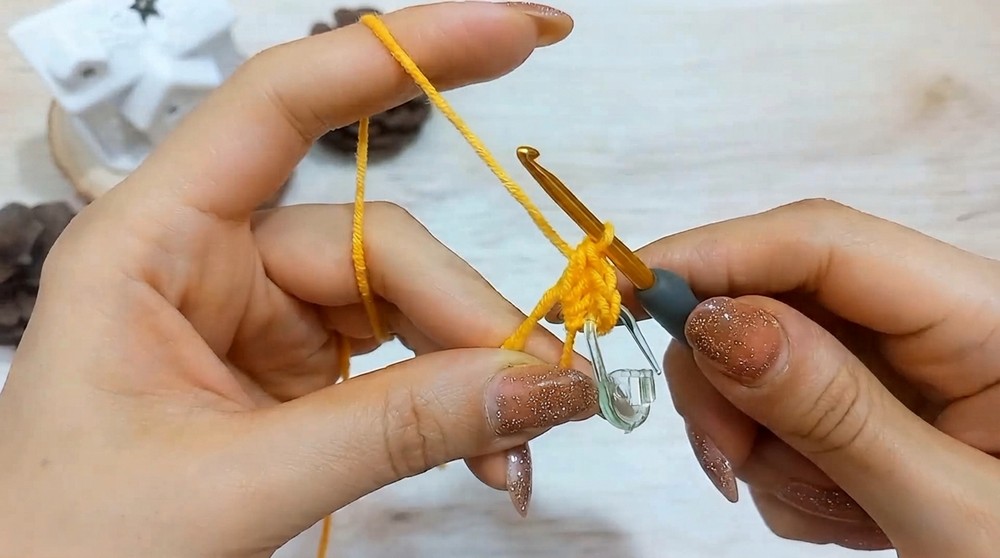
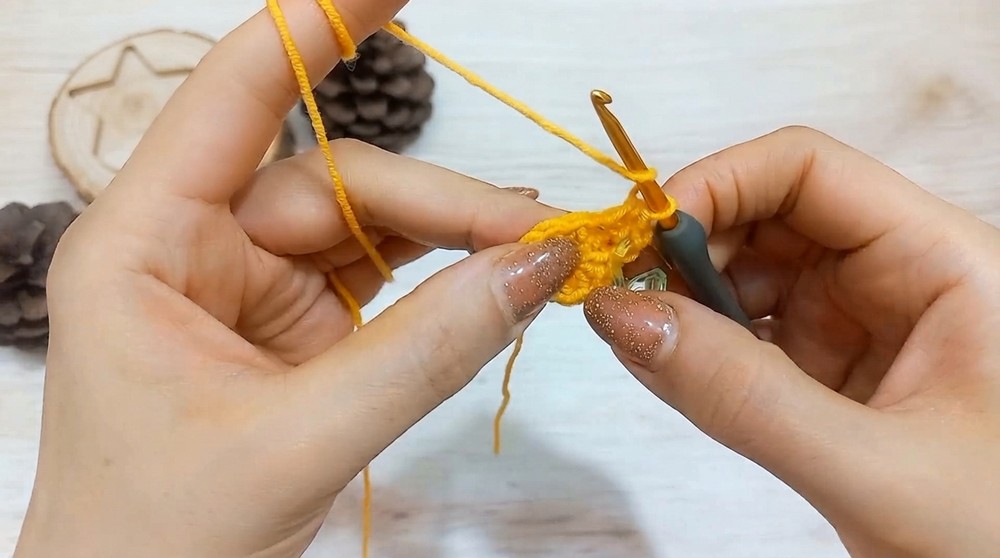
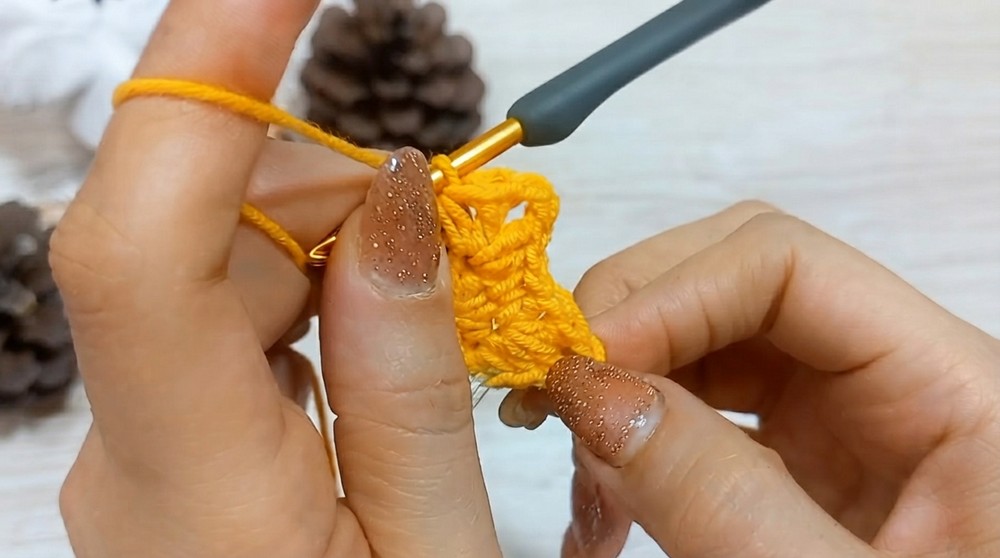
- Ch 1, then make 1 sc into the same stitch as the joining sl st. Place a stitch marker in this sc.
- In the next stitch, create the following sequence for the first star point:
- 1 hdc, 1 dc, ch 2, 1 dc, 1 hdc in the same stitch.
- Work 1 sc into the next stitch to separate the star points.
- Repeat the group of stitches (hdc, dc, ch 2, dc, hdc) and sc into the next stitch until you have 5 star points.
- Join the round with a sl st into the marked sc to complete the star.
Finishing Touches
- Work 1 sl st into the next stitch, then another sl st into the chain-2 space of the first star point.
- Add a hanging loop by chaining 1 and pulling up a long loop. Cut the yarn and tighten the loop securely.
Weaving in Ends
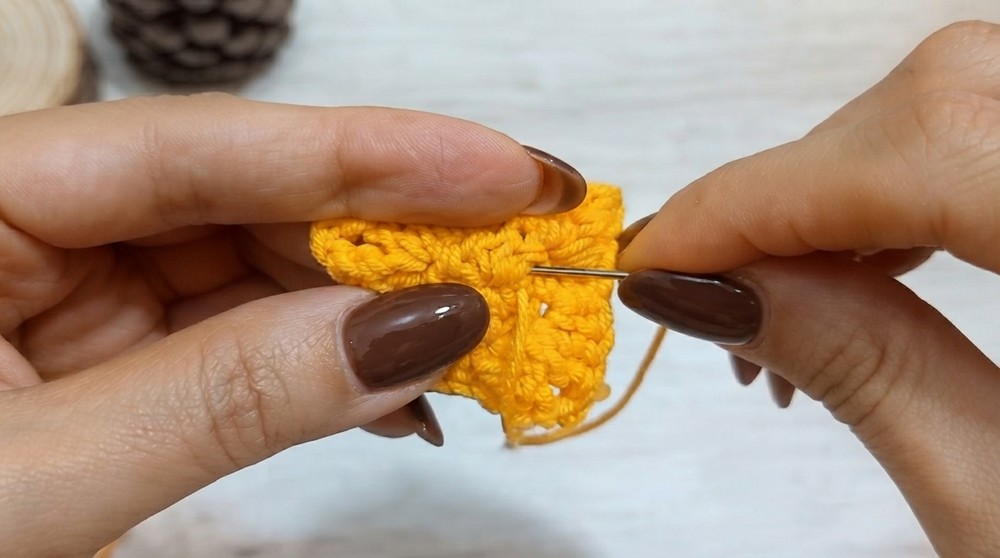
- Use a tapestry needle to weave both the beginning and ending yarn tails neatly through the stitches.
- Trim excess yarn after hiding the ends.
Assembly & Finished Size
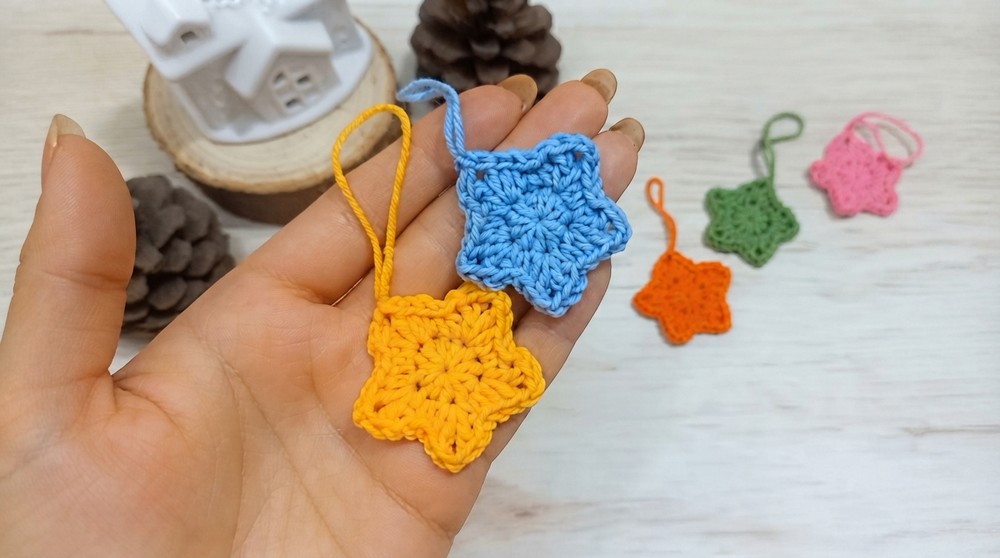
Shape the five points evenly using your fingers for a precise star look. Attach the hanging loop to display it as a decoration or charm.
Tips and Customization Ideas
- Yarn Choice:
Use cotton or metallic yarn for a crisp, decorative finish, or soft acrylic for a cozy look. - Size Variation:
To make a larger star, use a thicker yarn (e.g., category 3 or 4) with a larger hook and maintain the same stitch counts. - Color Options:
Crochet multiple stars in different colors for a festive garland or bunting.
Work the center (Round 1)in one color and the points (Round 2) in another for a two tone effect. - Uses:
- Christmas tree ornaments
- Bag charms
- Keychain decorations
- Window or wall hangings
Conclusion
This pattern yields a neat, five pointed hanging star worked in only two rounds, starting from a magic ring. The combination of hdc and dc stitches with chain spaces gives each point a crisp and defined shape. After weaving in the tails and shaping the chain spaces, the star appears symmetrical and delicate, perfect as a decorative charm.
The project is quick, uses very little yarn, and offers an excellent opportunity to practice basic stitches, working in the round, and using the magic ring technique. With slight changes in yarn and hook size, you can create a whole constellation of stars for various decorative purposes.