
Free Easy Crochet Bow Keychain Pattern That Is Quick and Fun
Add a touch of charm to your accessories with this Free Easy Crochet Bow Keychain Pattern and stitch a cute bow keychain with just a few simple steps.
Sometimes the simplest crochet projects bring the most joy, and this crochet bow is a perfect example. Over at "CrochetLilWeaves," the creator thoughtfully walks beginners and experienced crocheters alike through the steps of making this charming bow keychain. This bow is not just pretty but also practical, making it delightful to crochet and perfect as a small gift for someone special.
The bow’s structure is made up of two distinct pieces: an upper piece with flowing curves and a lower, more compact piece that gives it stability and form. When assembled, the bow takes on an elegant shape with symmetrical loops and a neat center wrap. Its appealing texture comes from a mix of basic and slightly advanced stitches, such as slip stitches, single crochets, half double crochets, and double crochets. It’s great for practicing a variety of stitches while creating something that looks polished and professional.
Free Easy Crochet Bow Keychain Pattern With Fun Colors to Try
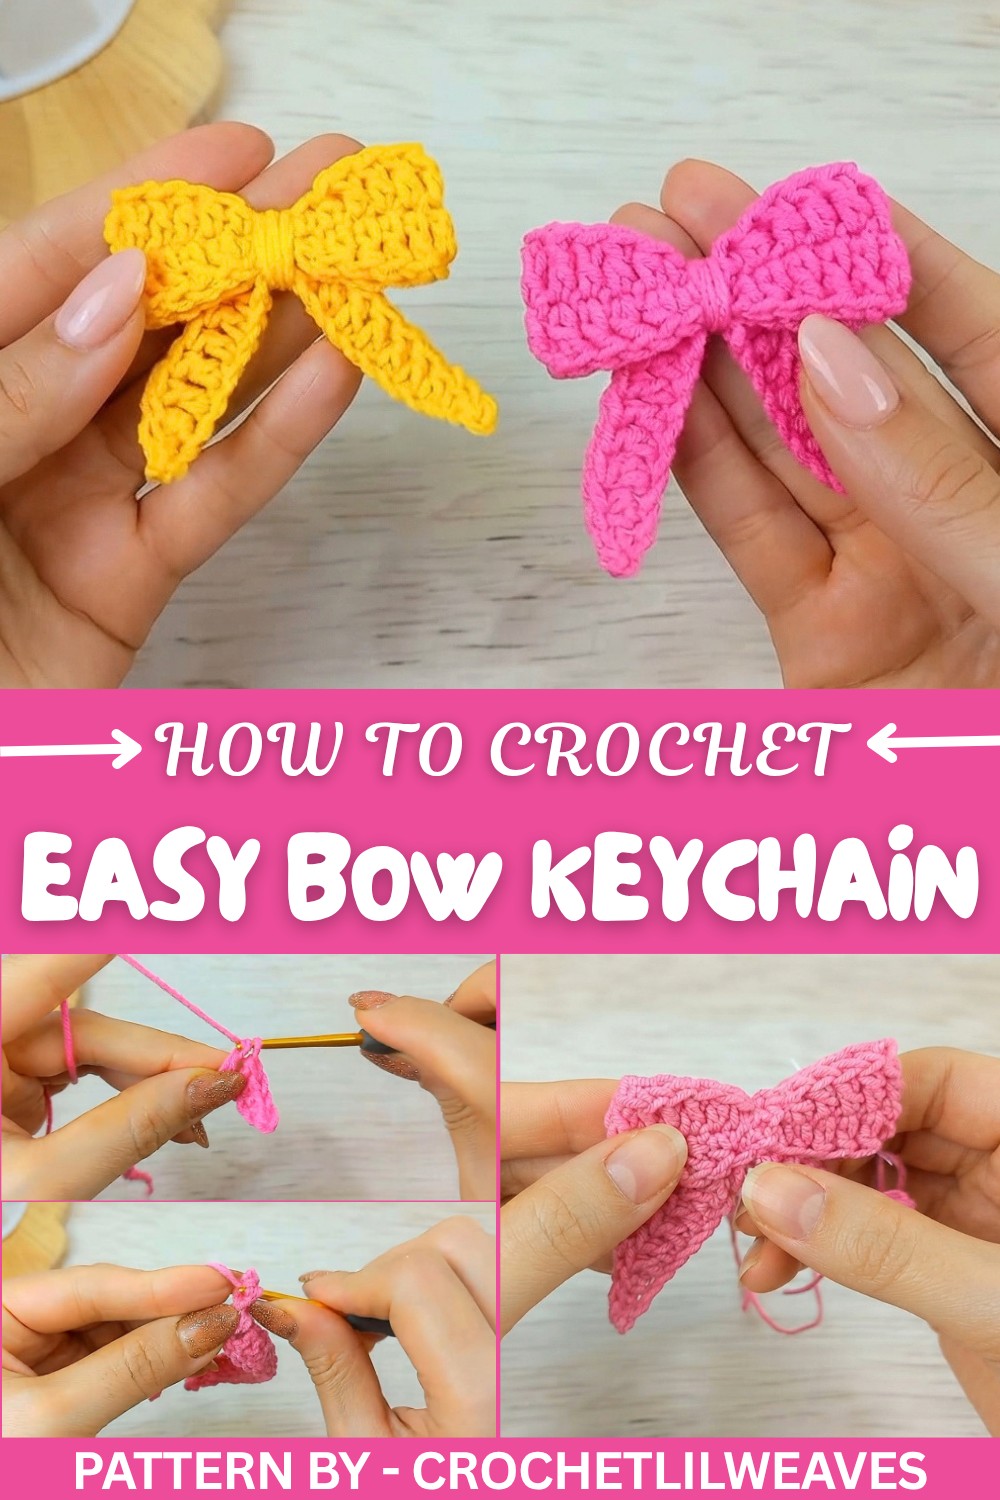
This crochet bow’s beauty lies in its simplicity, it’s easy to stitch up yet looks sophisticated when done. Whether clipped onto a bag, used as a keychain, or added as an embellishment to handmade gifts, it brings a personal and creative touch to any item. Working with soft yarn brings out the smooth texture of the bow and adds to its attractive design.
The assembly process is straightforward, and helpful tips, like wrapping the final tail securely around the bow’s center, ensure your piece looks clean and finished. The bow perfectly balances functionality and charm, making it a must try project for crocheters of all levels.
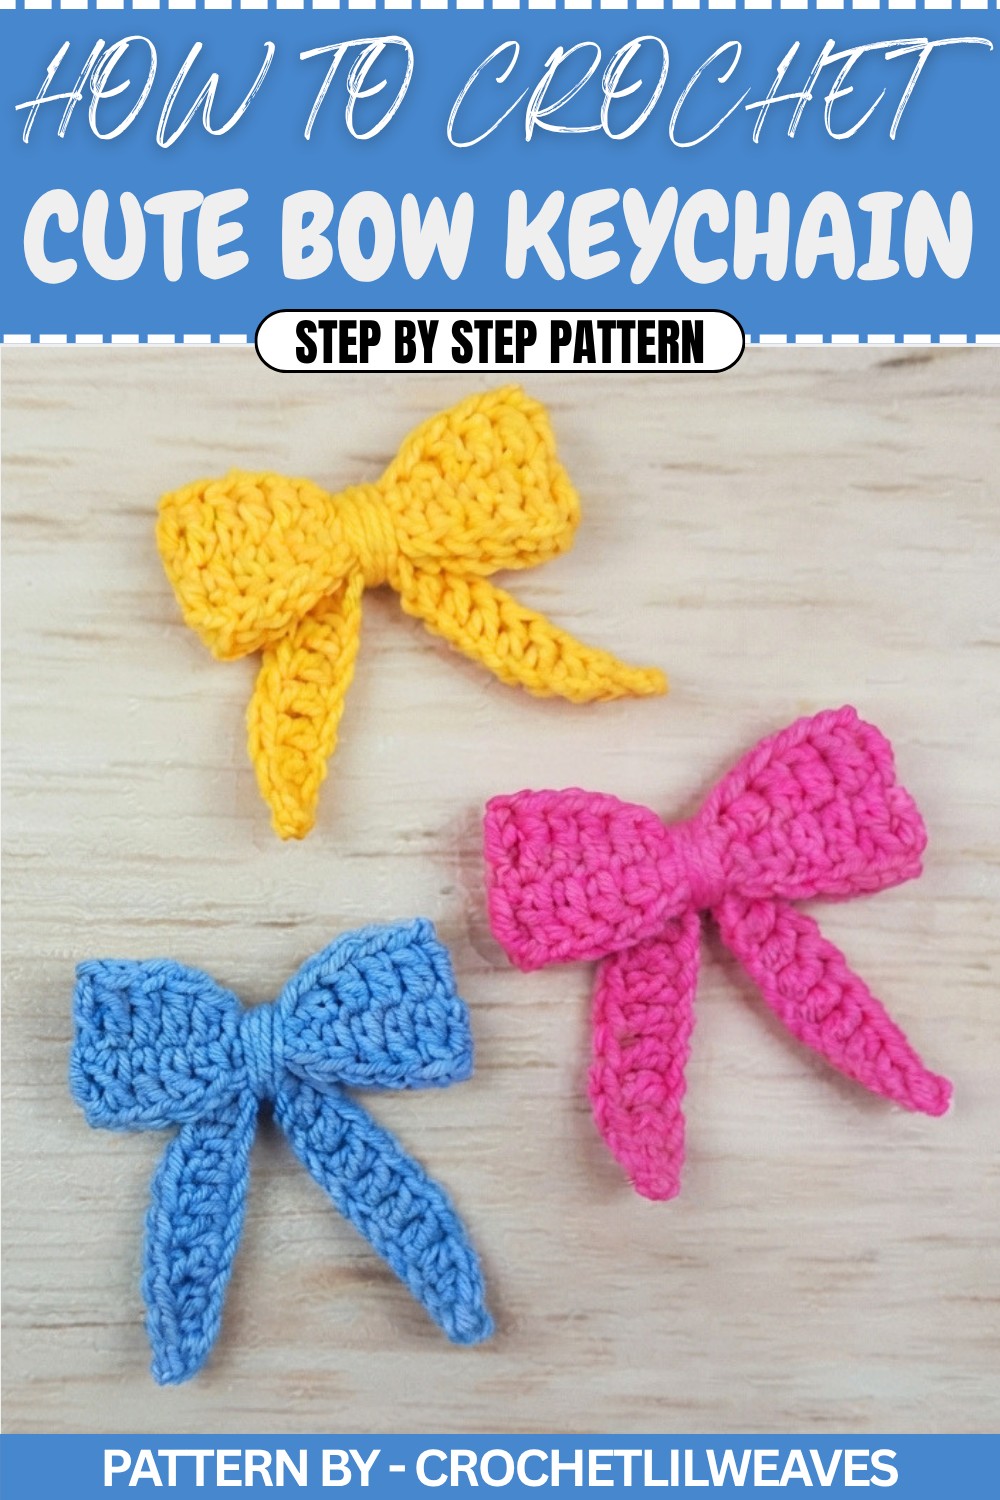
Simple Crochet Bow Pattern
Create a beautiful and simple crochet bow step by step. This project is super beginner friendly and perfect for both personal use or as a gift. The bow is made in two separate pieces, which we will later assemble into a cohesive design.
Quick Overview of the Pattern
- A cute and straightforward crochet bow pattern.
- The project consists of two pieces: the upper and lower parts.
- Basic stitches such as chains, slip stitches, single crochet, half-double crochet, and double crochet are used.
- The two pieces are assembled, and the center is wrapped to complete the bow.
- The finished piece can be used as a keychain, a hair accessory, or decoration.
Notes
- Carefully follow the stitch instructions to ensure symmetry in both pieces.
- Keep the tension even throughout for consistent results.
- You can customize the size by adjusting the number of chains and rows for the upper or lower piece.
- Use scissors to trim loose yarn tails, and weave them neatly for a polished finish.
- Have all materials ready before starting to ensure smooth progress.
Skill Level
Beginner friendly.
Materials
- Yarn: Medium weight yarn in any desired color.
- Hook: 3 mm or 3.5 mm crochet hook (to match the yarn weight).
- Scissors: For trimming yarn.
- Tapestry Needle: For sewing and weaving in ends.
Measurements / Sizing
- The size of the crochet bow will depend on the number of chains.
- With 26 chains for the upper piece and 21 chains for the lower piece, the finished bow size is approximately 10 cm in width.
Gauge
Gauge is not critical for this project, as the bow can be made in varying sizes.
Stitch Abbreviations
- CH: Chain
- SC: Single Crochet
- HDC: Half Double Crochet
- DC: Double Crochet
- SL ST: Slip Stitch
Special Stitches
None. This bow relies on basic crochet stitches.
The Crochet Pattern
Part 1: Upper Piece
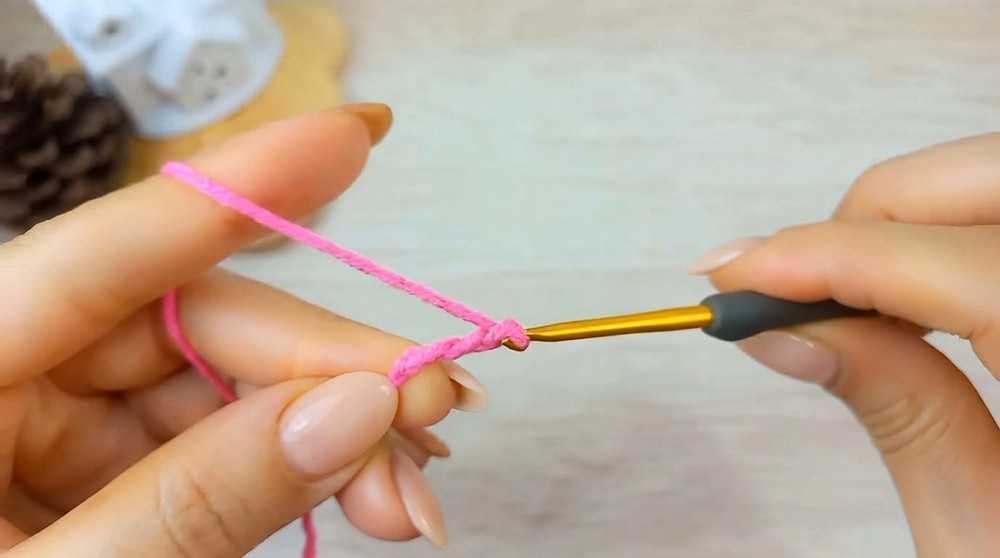
- Start with a Slip Knot
- Wrap the yarn around your index finger twice. Pass the first loop over the second, then repeat and tighten into a knot. Insert your crochet hook into the loop and pull it tight.
- Foundation: CH 26
- Wrap the yarn around your hook and pull it through to form the first chain.
- Repeat the process until you have 26 chains.
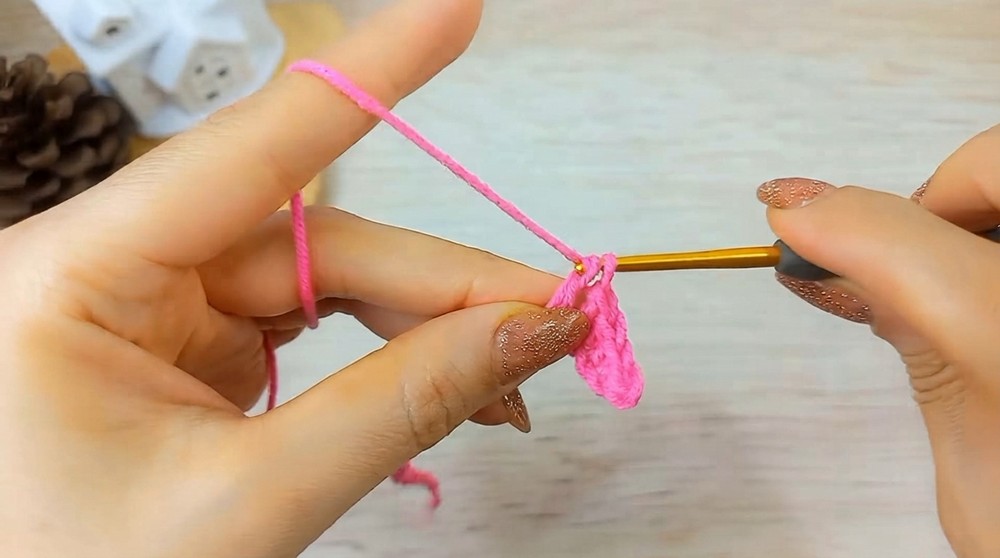
- Row 1
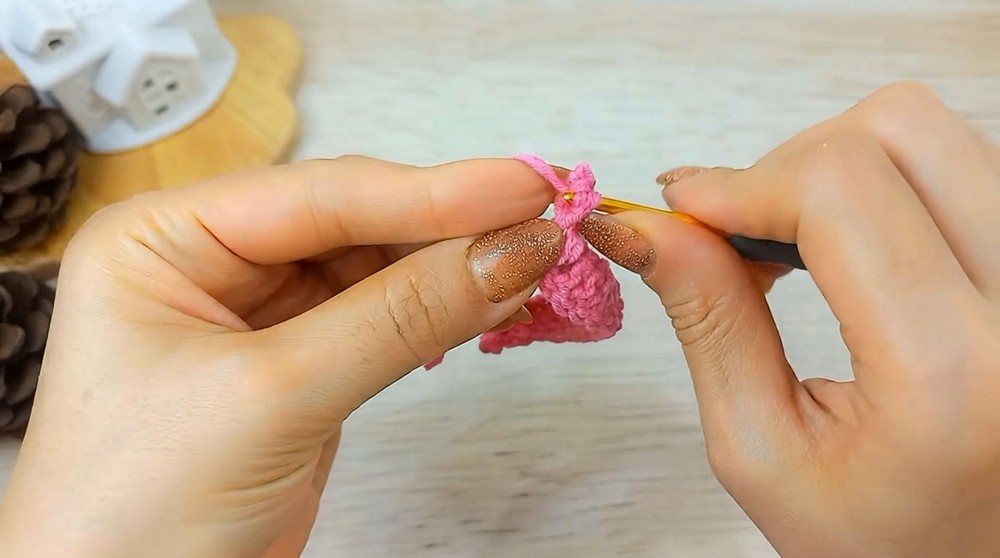
- Skip the first chain. In the second chain, create 1 SL ST
- Into the next chain, create 1 SC
- Into the next chain, create 1 HDC
- Into the next chain, start making double crochet stitches:
- Yarn over, insert the hook into the chain, pull up a loop, yarn over, pull through 2 loops, and yarn over to pull through the last 2 loops.
- Continue to make 7 DC stitches (4 more DCs in total).
- Row 2
- Transition to the middle of the piece by working backward on the foundation chain:
- Into the next chain, make 1 HDC.
- Create 1 SC in the next chain.
- End this section with 1 SL ST in the next chain.
- Transition to the middle of the piece by working backward on the foundation chain:
- Row 3
- Reverse the pattern now to create symmetry:
- Into the next chain, make 1 SC.
- In the following chain, work 1 HDC.
- Next, create 7 DCs in total, one into each chain across the next stitches, following the same method.
- Work 1 HDC into the next chain.
- Work 1 SC in the next chain.
- Wrap up with 1 SL ST in the last chain.
- Reverse the pattern now to create symmetry:
- Finishing the Upper Piece
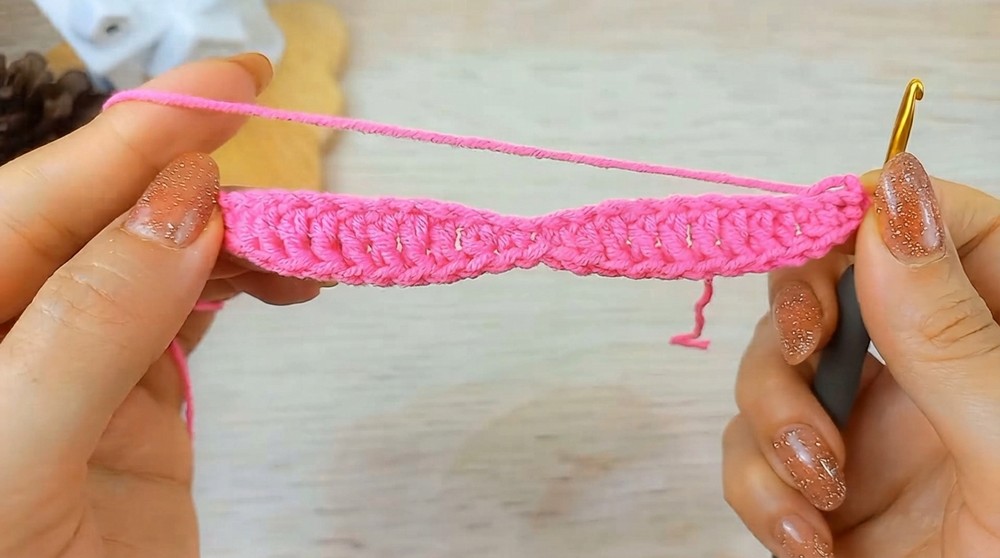
- After completing the second half of the bow, make a CH 1, cut the yarn, and leave a long tail for sewing. Pull the loop tight to secure the yarn.
- The upper piece is complete!
Part 2: Lower Piece
- Start with a Slip Knot
- Create a slip knot as explained in the upper piece.
- Foundation: CH 21
- Work 21 chains.
- Row 1
- Starting from the second chain:
- Work 1 SL ST in the second chain.
- Work 1 SC in the next chain.
- Work 1 HDC in the next chain.
- Create 14 DC stitches, one in each of the next 14 chains.
- Work 1 HDC in the next chain.
- Work 1 SC in the second to last chain.
- Work 1 SL ST in the final chain.
- Starting from the second chain:
- Finishing the Lower Piece
- Create a CH 1, cut the yarn, and leave the tail long for sewing. Tighten the loop and secure the yarn.
- Tie the beginning tail and ending tail together to secure the shape of the lower piece.
Assembly & Finished Size
- Assemble the Bow
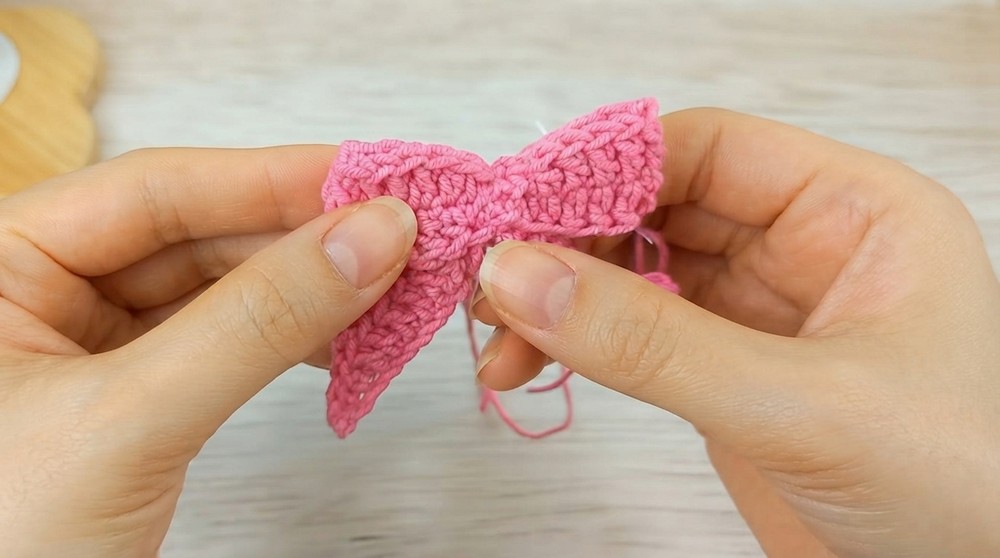
- Place the upper piece over the lower piece with the backside facing up.
- Fold the pieces to find the central points of both. Bring the starting and ending points together at the center.
- Join the Parts
- Use the long tail of the upper piece to sew the central points together. Stitch securely to keep the bow in place.
- Wrap the Center
- Once the pieces are joined, wrap the yarn tail around the center of the bow several times, forming a tight band to define the bow shape.
- Final Touch
- Make a knot at the back to secure the wrap and cut the excess yarn.
- Weave in any remaining loose ends.
Conclusion
Congratulations, Your adorable crochet bow is now complete. This versatile project is perfect for various uses like keychains, hair accessories, or even gifts. Feel free to experiment with different colors and yarn types to make it uniquely yours.