
Free Crochet Sunburst Granny Square Pattern Made Easy
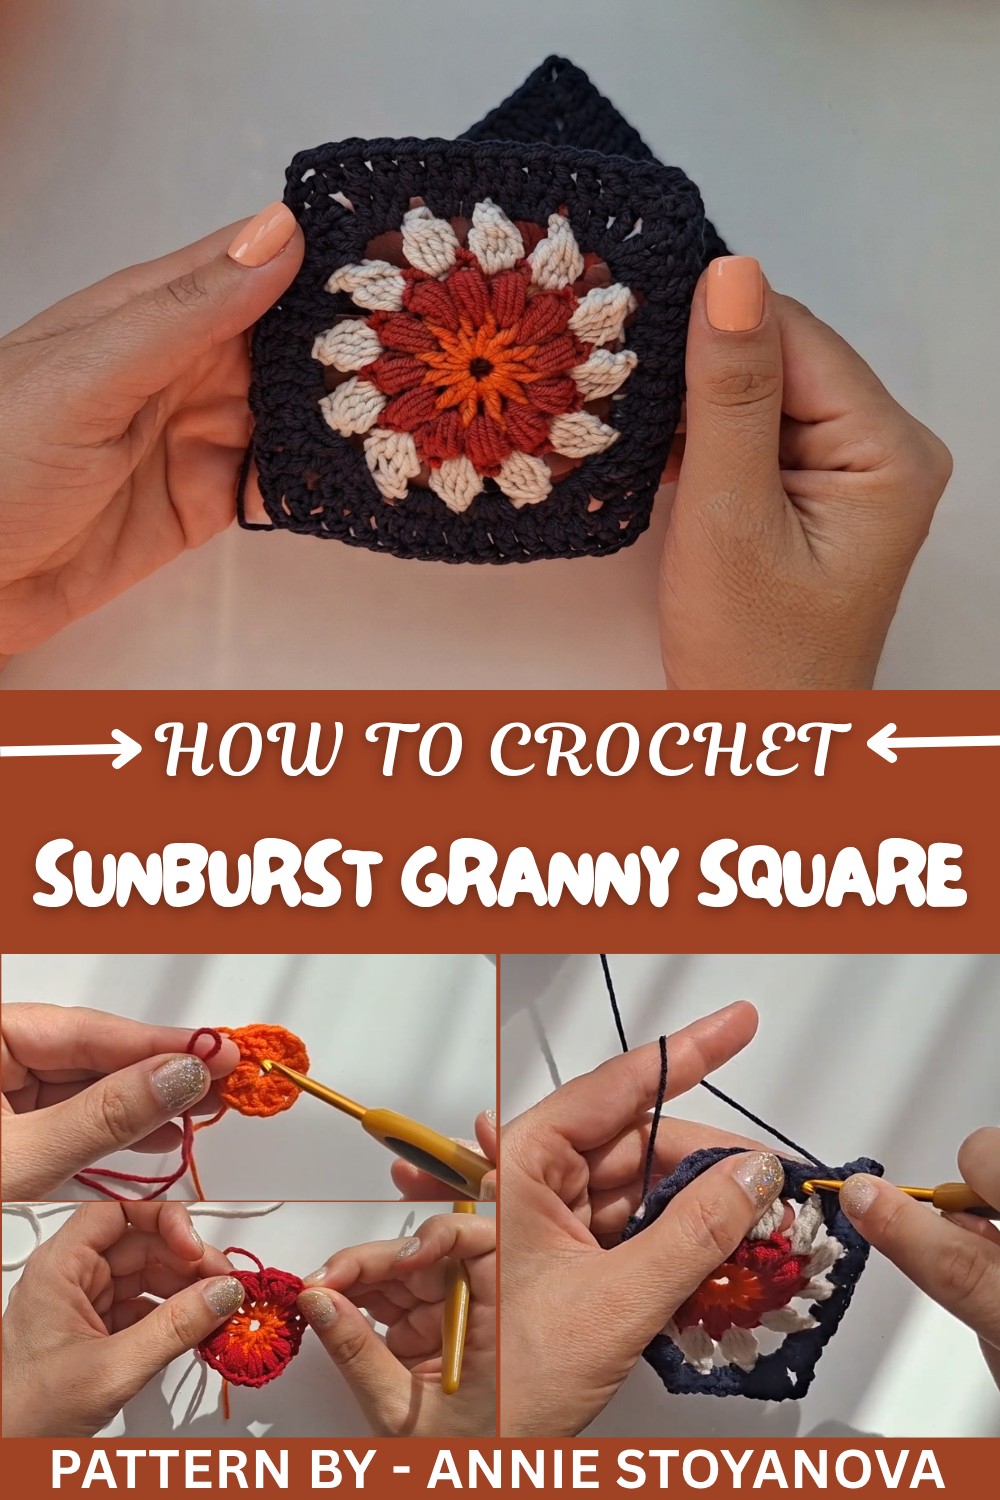
Add bright colors to your crochet with this free crochet sunburst granny square pattern that helps you make pretty squares for blankets, bags, and gifts.
There’s something truly magical about taking colorful yarn and turning it into something special with just a hook and your imagination. One of the most cheerful and eye catching patterns you’ll fall in love with is the sunburst granny square. It’s vibrant, full of texture, and feels like sunshine in the palm of your hand. Whether you’re a beginner or have a bit of practice under your belt, this pattern is simple enough to follow while still being creative.
Pattern By Annie Stoyanova
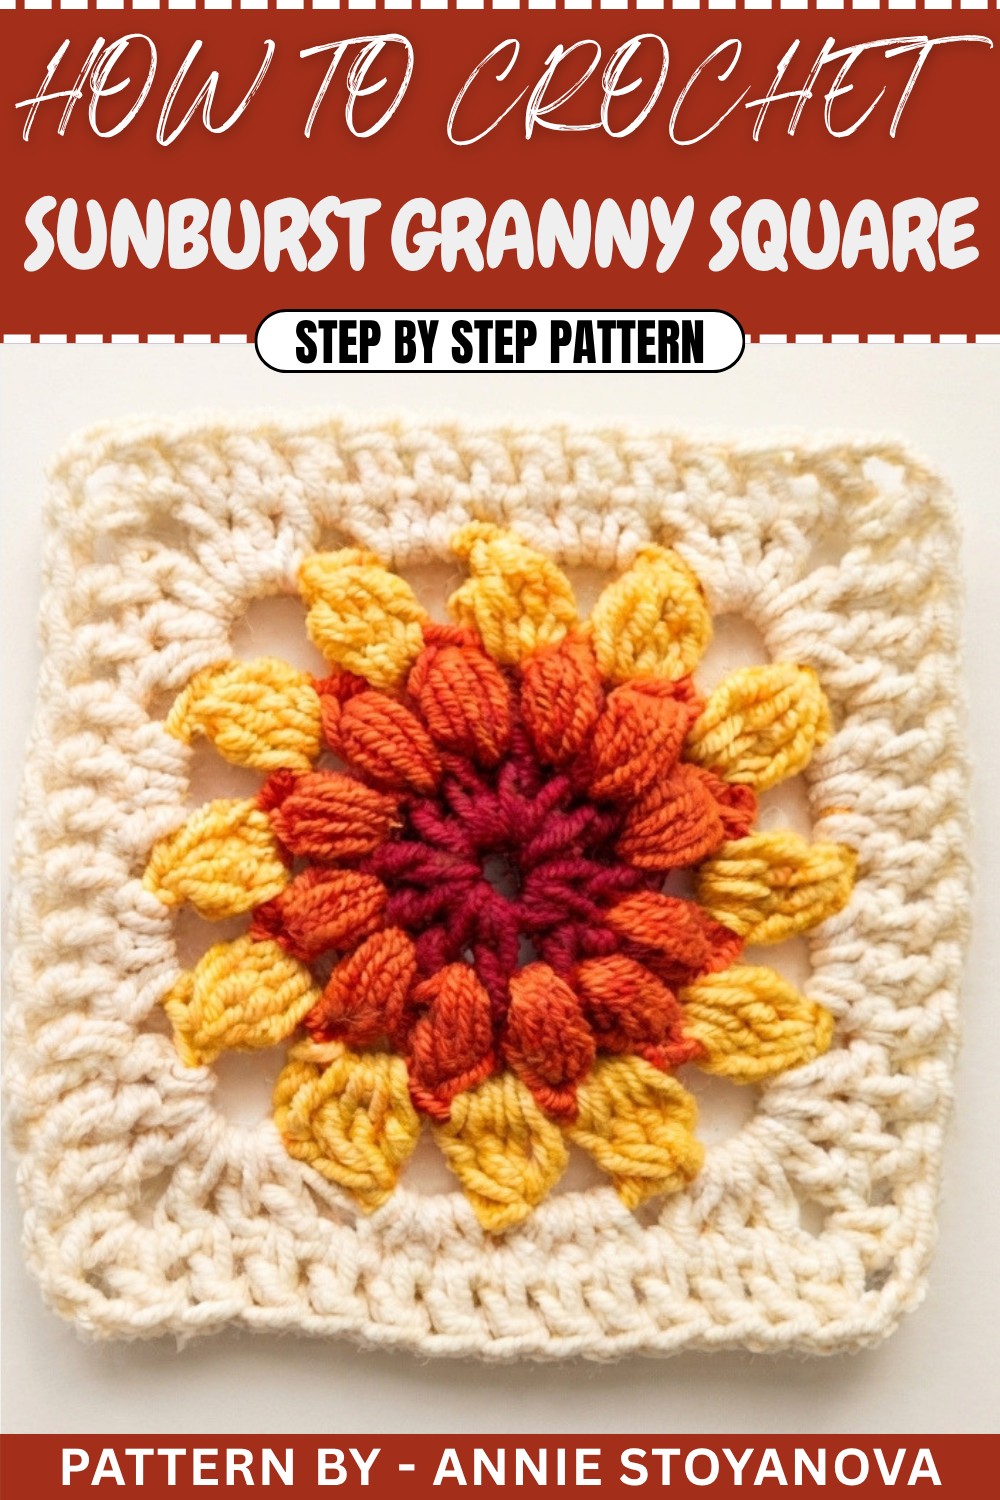
What makes this little square special? It’s all about the combination of basic stitches like double crochet and a slightly more decorative puff stitch, creating the “sunburst” effect. The puff stitches fan out beautifully in the middle, looking just like rays of sunlight radiating from the center. This gives the square its playful but polished feel. And choosing a combination of bold, bright colors or soft pastels can make every square feel unique and personal to your style.
Beautiful Crochet Sunburst Granny Square
This granny square is not just pretty—it’s incredibly versatile. You can crochet many sunburst squares and stitch them together for a cozy blanket, a stylish bag, or even a scarf. Want to make something smaller? You can turn individual squares into coasters or festive buntings for your home. The possibilities are endless, and they’re perfect as gifts for friends and family too.
For beginners, this pattern is a friendly introduction to puff stitches, and it’s a wonderful opportunity to practice weaving in colors and creating neat corners. If you’ve ever wanted to crochet a project that’s full of color and happiness, then these sunburst granny squares are a fantastic choice.
Introduction
In this tutorial, we will learn how to create a gorgeous granny square. This step by step guide will walk you through each round of the pattern to produce a stunning and intricate design using puff, bubble, and double crochet stitches. Follow along for clear instructions to craft a perfect granny square, great for blankets, cushions, or decorative projects.
Quick Overview of Pattern
- Foundation Row: Create a circle with a chain of five and join with a slip stitch.
- Round 1: Work 12 double crochets within the circle.
- Round 2: Crochet puff stitches in any space, joining a second color.
- Round 3: Add bubble stitches in chain spaces using a third color.
- Border Rounds: Use double crochet stitches to create elegant borders and corners.
- Finishing Touches: Trim and weave in the ends, then block the square.
Notes
- Always hold yarn tails firmly when changing colors to secure stitches.
- Each round builds upon the previous one, so ensure your tension is even for consistent results.
- Blocking the granny square at the end will improve its shape and overall appearance.
Skill Level
Intermediate – Suitable for those with basic crochet skills and familiarity with puff and bubble stitches.
Materials
- Yarn: Alize Cotton Gold (or any lightweight cotton yarn of your choice)
- Hook: Size 4mm crochet hook
- Scissors: For trimming yarn tails
- Tapestry Needle: For weaving in loose ends
- Blocking Tools: To shape the finished square
Measurements / Sizing
The final granny square size may vary depending on your tension and yarn, typically around 12cm x 12cm.
Gauge
Gauge is not specified for this project. However, to maintain even stitches, keep tension consistent when working.
Stitch Abbreviations
- ch: Chain
- sl st: Slip Stitch
- dc: Double Crochet
- hdc: Half Double Crochet
- puff st: Puff Stitch
- bubble st: Bubble Stitch
Special Stitches
Puff Stitch:
- Yarn over, insert hook into designated space.
- Pull up a loop and extend it slightly.
- Repeat the same step four times.
- Yarn over and pull through all loops on the hook.
Bubble Stitch:
- Yarn over, pull up a loop into the designated space.
- Pull through two loops. Leave the stitch unfinished.
- Repeat three more times until you have four partial double crochets.
- Yarn over and pull through all loops on the hook.
The Crochet Pattern
Foundation Row
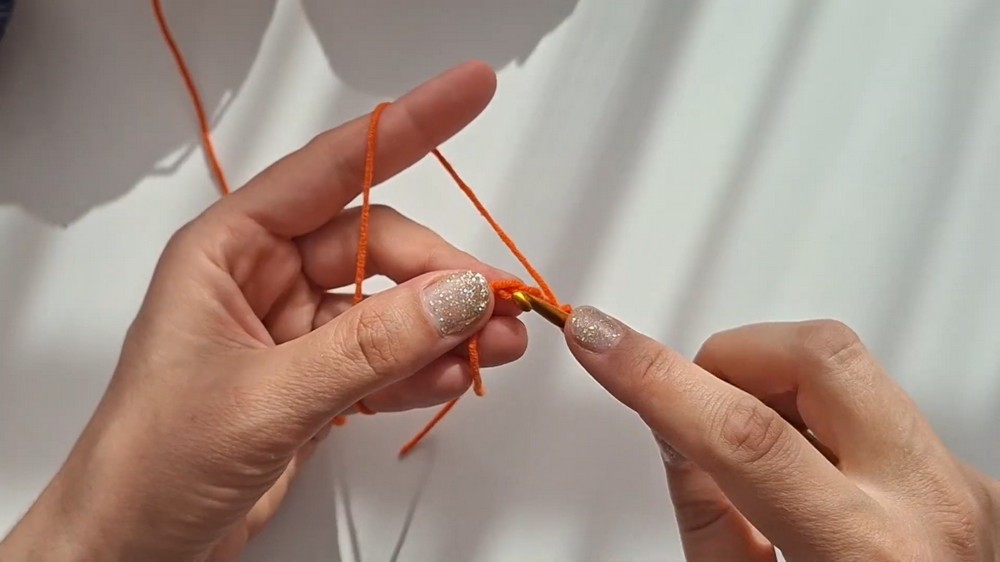
- Chain 5: 1, 2, 3, 4, 5.
- Join with sl st into the first stitch to form a circle.
Round 1
- Ch 3: This counts as the first dc.
- Insert hook into the center of the circle and complete 11 more dc.
- You will now have 12 dc in the circle.
- Join the round with a sl st into the first stitch (the ch-3).
Round 2 (Puff Stitches with Color Change)
- Add a second color and pull it through any space between the posts.
- Ch 1 to secure the color change. Ensure to hold loose ends out of the way.
- Start the puff stitches:
- Puff Stitch: Yarn over, insert the hook into the same space, and pull up a loop. Repeat this step four times. Yarn over and pull through all loops on the hook.
- Ch 2: To separate puff stitches.
- Continue working the puff stitches in each chain space until reaching the last space. You will join the round with a sl st into the first puff stitch.

Round 3 (Bubble Stitches with Color Change)
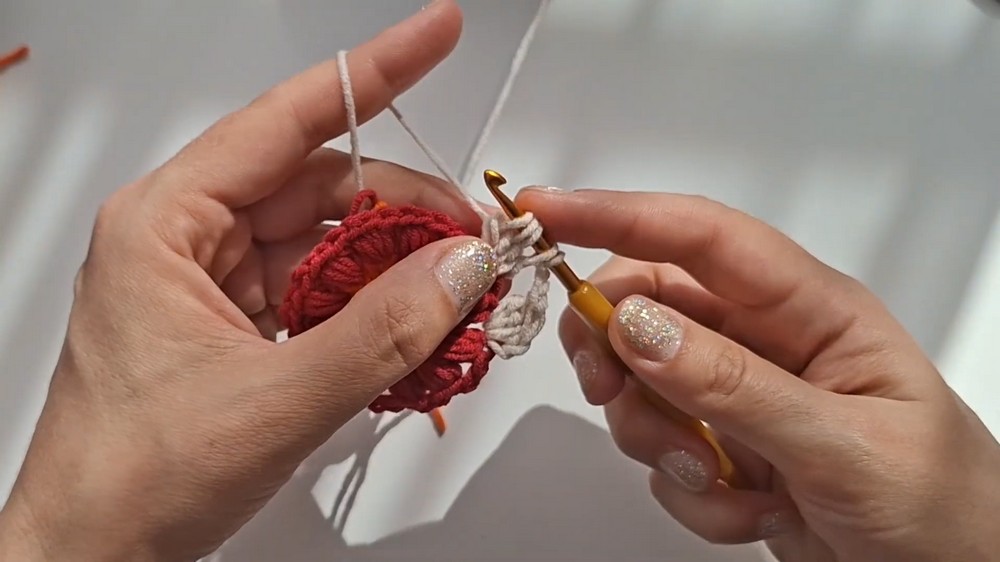
- Add a third color in any chain-2 space near your previous tail.
- Ch 2: Counted as part of the first bubble stitch.
- To form a bubble stitch:
- Yarn over, insert hook into the same space, and pull up a loop.
- Pull through two loops and leave it incomplete. Repeat this three more times until there are four partial double crochets.
- Yarn over and pull through all loops on the hook.
- Ch 3 between bubble stitches.
- Continue this for all chain spaces. Join the round with a sl st to the first bubble stitch.
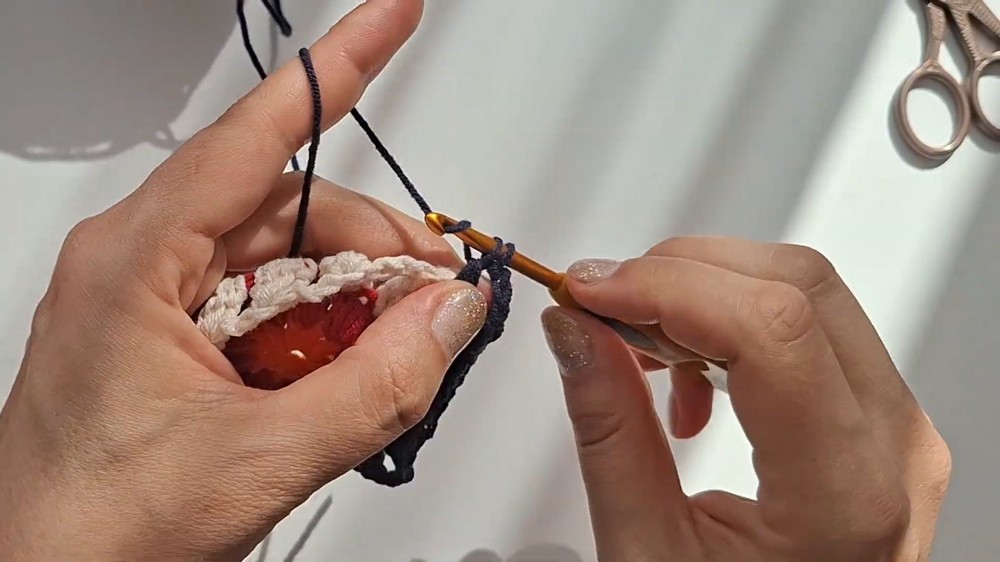
Border (Double Crochets for Structure)
- Add a darker color yarn to start the border and secure with a ch 3.
- In the first space, work the following stitches:
- 3 dc into space, followed by ch 3, then 3 dc into the same space. This forms the corner.
- In the chain spaces between corners, work 3 hdc into each one.
- Move to the next corner space and repeat: 3 dc, ch 3, 3 dc.
- Continue this pattern for all corners and chain spaces until reaching the beginning of the round.
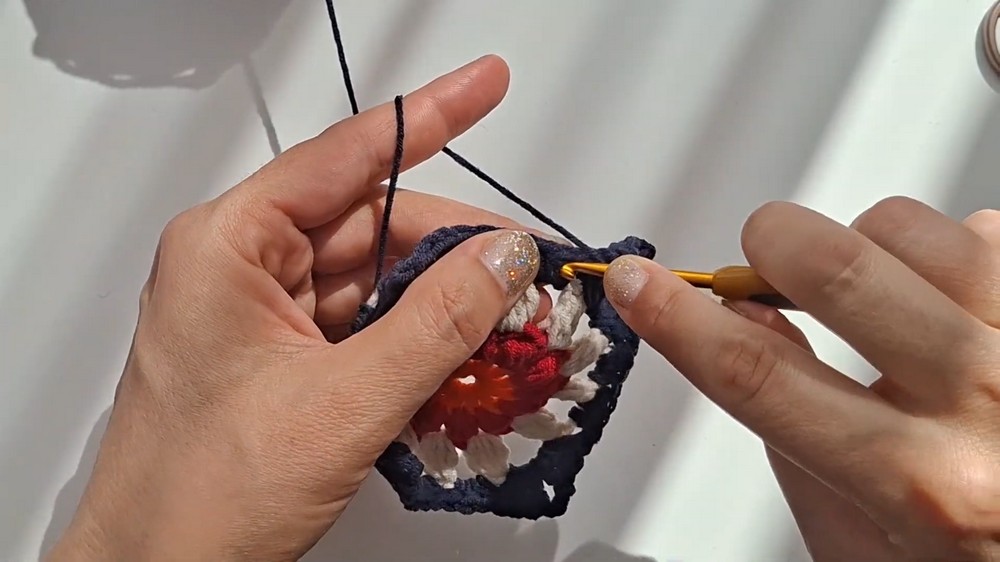
Final Round (Finishing Double Crochets)
- Begin with a ch 3 to count as the first stitch.
- Place a dc into every chain space between posts.
- At each corner, work: dc, ch 2, dc in the space to maintain the square structure.
- Continue until finishing the round and join with a sl st into the first dc.
Assembly & Finished Size
- Weave in all loose ends using a tapestry needle.
- Block the square by pinning it to a suitable surface and lightly steaming if needed.
- The finished granny square will measure approximately 12cm x 12cm, perfect for connecting to other squares in a larger project.
Conclusion
Congratulations on completing your stunning granny square. This versatile design can be used in various crochet projects, such as blankets, cushions, or wall decorations. Don’t forget to share your finished work with others and enjoy experimenting with different colors and yarns.