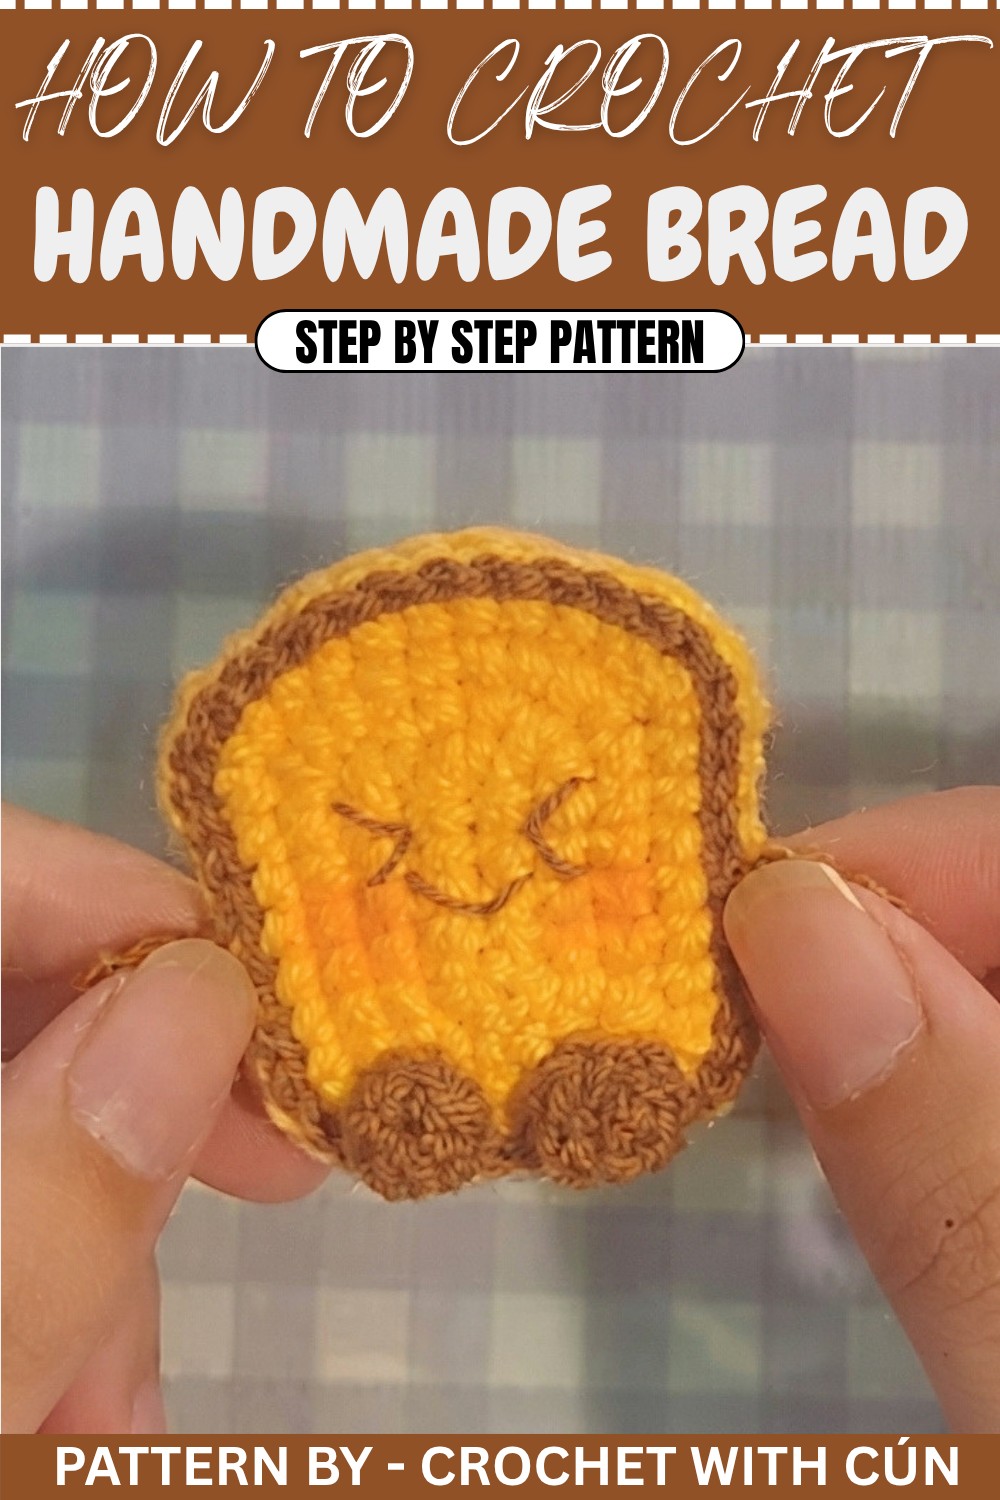
Beginner-Friendly Crochet Bread Free Pattern With Easy Stitches
Upgrade your kitchen décor effortlessly while protecting tabletops with this crochet bread pattern that adds charm to any space.
There’s something truly charming about creating everyday items that bring a smile and a touch of whimsy to your home. That’s exactly the joy you’ll find with the Crochet Bread Free Pattern, a delightful project shared by the wonderful Crochet with Cún channel. This warm and inviting piece converts simple yarn into a soft, squishy bread loaf that looks almost good enough to eat—perfect as a playful decoration or a fun addition to a child’s play kitchen.
Charming Crochet Bread Free Pattern To Add A Cozy Touch
The finished crochet bread is wonderfully textured, mimicking the fluffy, inviting surface of real bread with gentle, rounded edges and subtle color variations that give it an authentic pop. Its shape is simple yet recognizable: a classic loaf that feels satisfying to hold and display. Whether you choose classic white, whole wheat hues, or even more vibrant, unexpected shades, there’s room to personalize this project to suit your style or your home’s vibe.
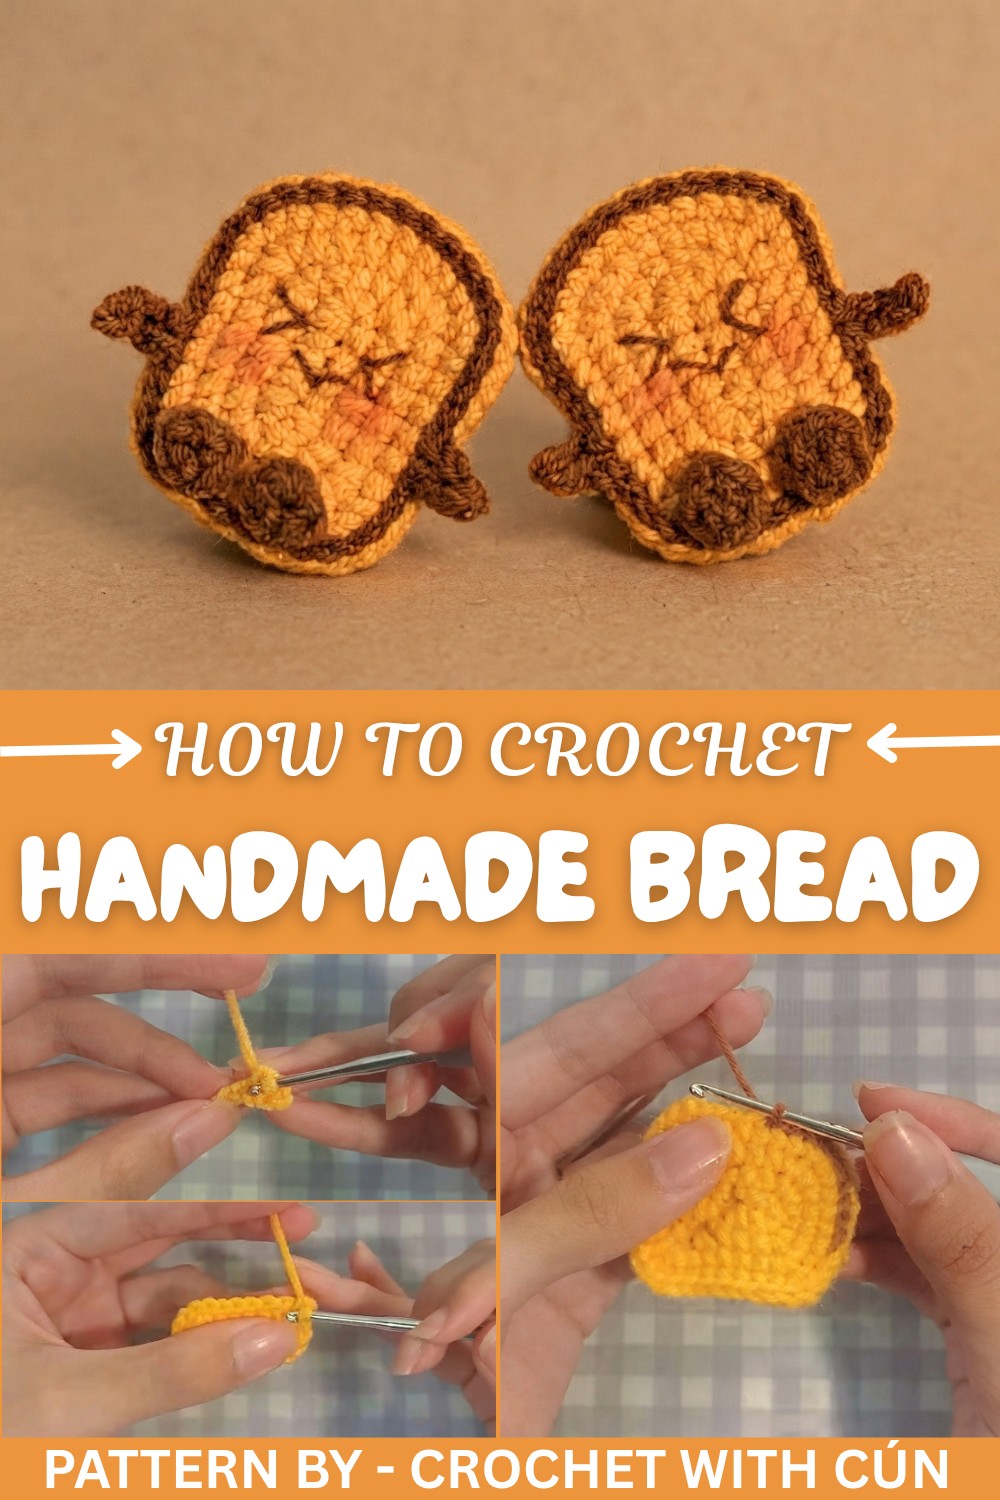
This pattern is wonderfully approachable, making it a great choice for beginners looking to build confidence or intermediate makers eager to find new shapes and textures. Along the way, you’ll get a feel for creating soft, three-dimensional forms and learn how to bring a cozy, everyday object to life using just yarn and a hook.
At its heart, working on this crochet bread offers more than just a finished piece—it’s about slowing down, enjoying the simple process of making, and adding a touch of handmade warmth to your space. So if you’re ready to make a project that’s equal parts cute and comforting, take a moment to visit Crochet with Cún’s channel and dive into the free pattern. Your new favorite yarn loaf awaits.
Easy Crochet Bread Free Pattern - Full Tutorial
Bring a touch of playfulness and warmth to your crocheting time with this endearing slice plushie crochet pattern. With clear, thorough steps and gentle increases, you’ll work up two matching base slices, assemble characterful facial features, and seamlessly add tiny limbs for extra charm. The structured rounds and practical joining method mean even newer crocheters can achieve polished, professional results while developing confidence in foundational techniques like building up short rows, joining with slip stitches, and working in the round. Each section is straightforward, helping you achieve a neat, cheerful finish ideal for gifts, keychains, or just to enliven a cozy space.
Quick Overview Of Pattern
- Work two base crochet bread using continuous single crochet with strategic increases for rounded shaping.
- Add a charming face detail via embroidery.
- Crochet two small round feet using the magic ring technique.
- Seam slices together with a brown border, incorporating arms directly into the edging as you go.
- Complete by attaching the feet for a lively finishing touch.
Notes
- Pattern uses US crochet terms.
- Stitches are to be worked in the round unless specified.
- Stuffing is optional; plushie may be flat or lightly filled.
- Slip stitches for joining should be made snug but not too tight for uniform edges.
- Embroidery and gluing steps can be personalized for expression.
Skill Level
Beginner to Confident Beginner
You’ll use basic stitches (chain, single crochet, slip stitch), magic ring, simple increases, and a bit of embroidery. Assembly and joining are clearly explained to help those with limited sewing experience.
Materials
- Yellow yarn (main slice color, worsted or DK weight recommended)
- Brown yarn (crust/border and limbs)
- 2.5 mm crochet hook (or hook size compatible with your yarn)
- Wool sewing needle or tapestry needle
- Hot glue gun (for feet attachment)
- Fiberfill/stuffing (optional for a soft 3D look)
- Black embroidery thread or thin yarn (for face details)
- Scissors
Measurements / Sizing
- Approximate size: 8–9 cm wide and 8 cm tall (when worked with 2.5 mm hook and medium-weight yarn)
- Schematic: The slice is semi-circular with gently rounded ends and arms/feet extending from the lower and side edges.
Gauge (and Stitch Pattern if applicable)
- Gauge: 10 sc and 12 rows ≈ 2.5 × 2.5 cm (not critical for this plushie; adjust hook/yarn for desired size)
- Main stitch used: Single crochet (sc)
Stitch Abbreviations
| Abbreviation | Meaning |
|---|---|
| ch | chain |
| sc | single crochet |
| sl st | slip stitch |
| inc | increase (2 sc in same st) |
| st(s) | stitch(es) |
| MR | magic ring |
Special Stitches
- Magic Ring (MR):
Form a small loop, insert hook through center, yarn over, pull through, ch 1, then work stitches directly into the loop. Pull tail to tighten. - Increase (inc):
Work 2 single crochet into the same indicated stitch.
The Crochet Pattern
Base Slice (Make 2)
Round 1:
- Ch 7.
- Starting in the 2nd ch from hook, work 5 sc.
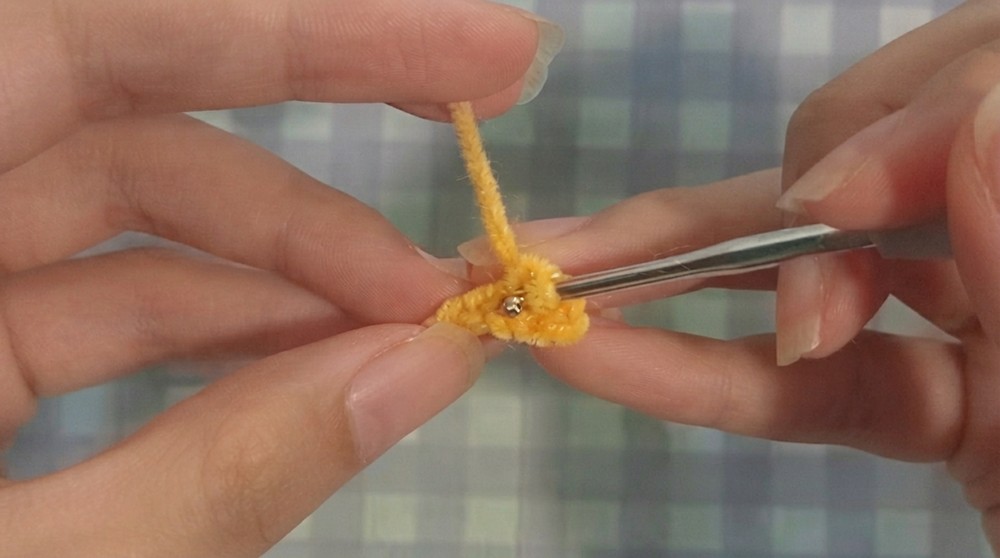
- In the last ch, work 5 sc (all in one stitch, this will curve round the end).
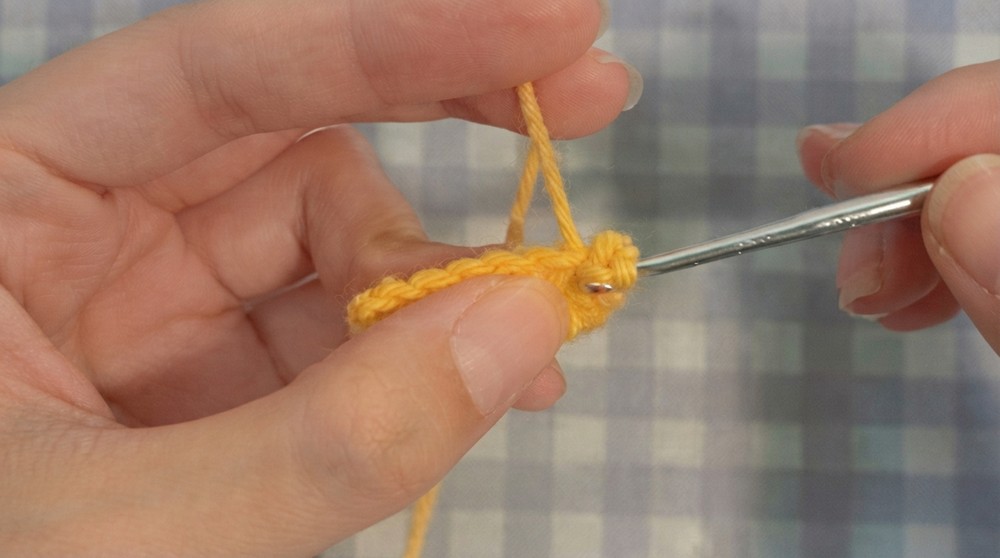
- Continue along the opposite side of the chain: Work 4 sc.
- In the final remaining ch, work 1 inc (2 sc in same stitch).
- Join with a sl st to the top of the first stitch to complete the round.
Round 2:
- Ch 1.
- Increase in first stitch: 2 sc in same st.
- Work 4 sc in next 4 stitches.
- Work 3 sc in the next stitch (tip curve).
- Work 3 sc across the next 3 stitches.
- Work 3 sc in the next stitch.
- Work 4 sc in the next 4 stitches.
- Increase in the next stitch (2 sc).
- Work 1 sc in the final stitch.
- Join with a sl st to the first stitch to close the round.
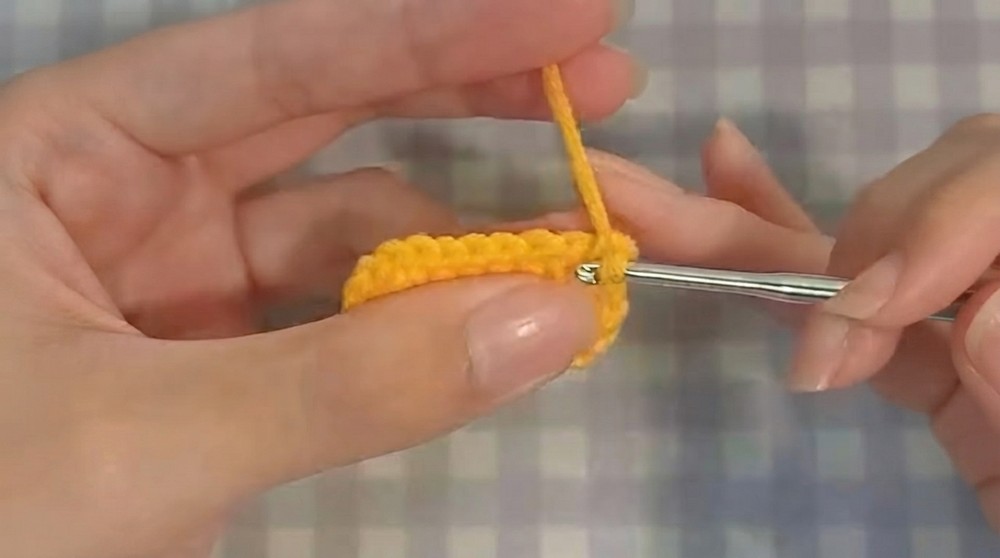
Round 3:
- Ch 1.
- 1 sc in the first stitch.
- 3 sc in the next stitch.
- 5 sc across the next 5 stitches.
- 3 sc in the next stitch.
- Repeat (5 sc, 3 sc in 1) two more times for rounded shaping.
- Work 1 sc in each of the last 2 stitches.
- Join with a sl st to the first stitch.
Round 4:
- Ch 1.
- 1 sc in the first stitch.
- 1 sc in the second stitch.
- 3 sc in the next stitch.
- 6 sc in the next 6 stitches.
- 3 sc in the next stitch.
- 9 sc in the next 9 stitches.
- 3 sc in the next stitch.
- 6 sc in the next 6 stitches.
- 3 sc in the next stitch.
- 1 sc in each of the last 3 stitches.
- Join with a sl st, cut yarn, and fasten off.
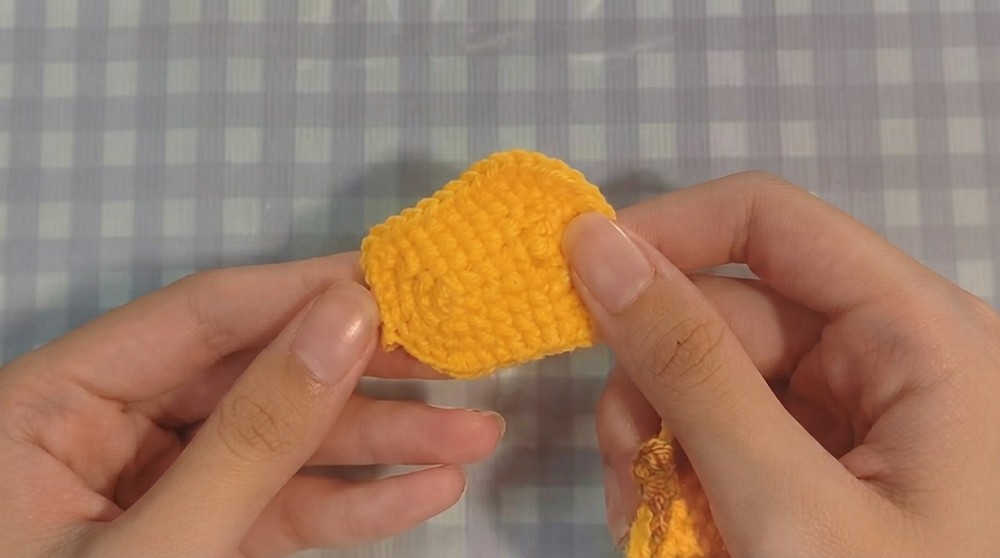
Tip: Repeat all base slice steps to construct a second matching piece.
Facial Features (on ONE bread)
- With black embroidery thread or thin yarn, embroider two eyes and mouth as you wish, following the rows and stitches to center.
- Reference typical character placements for an appealing look.
- Secure yarn ends neatly on the back.
Feet (Make 2)
Round 1:
- Form a magic ring.
- Work 5 sc into the ring.
- Pull closed.
- Join with a sl st to the first stitch, cut yarn and fasten off.
- Leave a tail for joining or gluing.
Assembly & Border
- Align both bread pieces back-to-back (wrong sides facing in).
- Attach brown yarn through both layers at an edge to start the border.
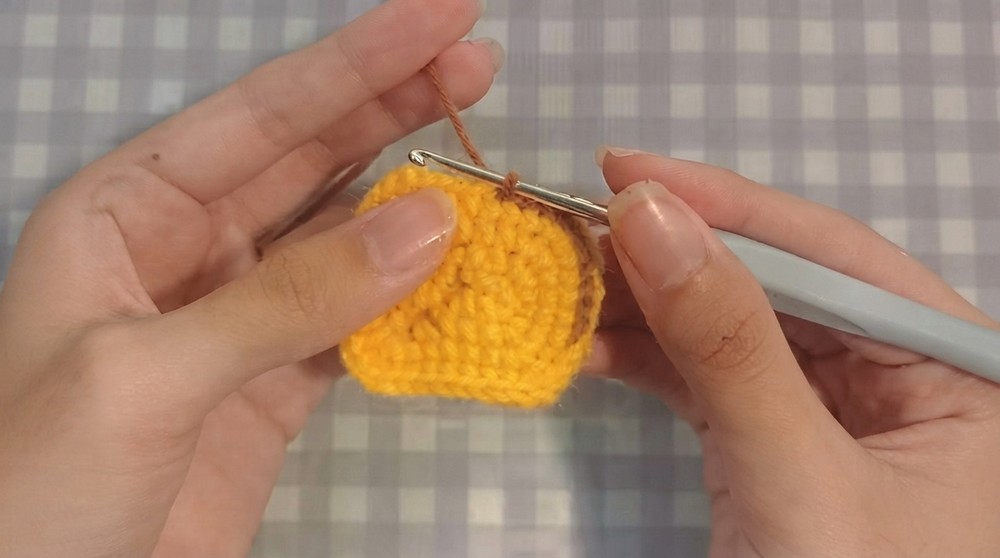
- Slip stitch evenly around the outer curve, joining both layers securely.
Adding Arms
- When reaching the middle of the straight (side) edge:
- Ch 4.
- Turn, sl st in the 2nd ch from hook, then 2 sc down the chain.
- Sl st back into the body at the same joining st.
- Continue slip stitching along the edge.
- On the opposite side (at equal midpoint): Repeat the above arm instructions for symmetry.
- Continue slip stitching to finish the remaining edge.
- Fasten off and neatly weave in the yarn tail.
Final Touch
- Attach feet:
With a small amount of hot glue, secure feet at the front lower edge. - Adjust and position as desired for balance and personality.
Assembly & Finished Size
- Finished Size: About 8–9 cm wide and 8 cm tall, depending on tension.
- Optional: Lightly stuff before completely closing for a plush effect, or leave flat for coasters and keychains.
- All ends should be securely woven in for safety and neatness.
Conclusion and Ending Words
A cheerful crochet bread adds a soft accent and delightful character to any space or collection. Through thoughtful increases and smooth edging, each round connects logically to build the recognizable shape and inviting face. The flexible addition of arms and feet ensures lively charm, while careful assembly results in a plushie that withstands both admiration and gentle handling. Personalize the face or choose bold color variations for a unique effect. Whether given as a sweet token or set on a desk for smiles, this plush project highlights the satisfying progress that comes from stepwise, attentive crocheting. Your completed piece stands as a testament to both skill and a love for detail.