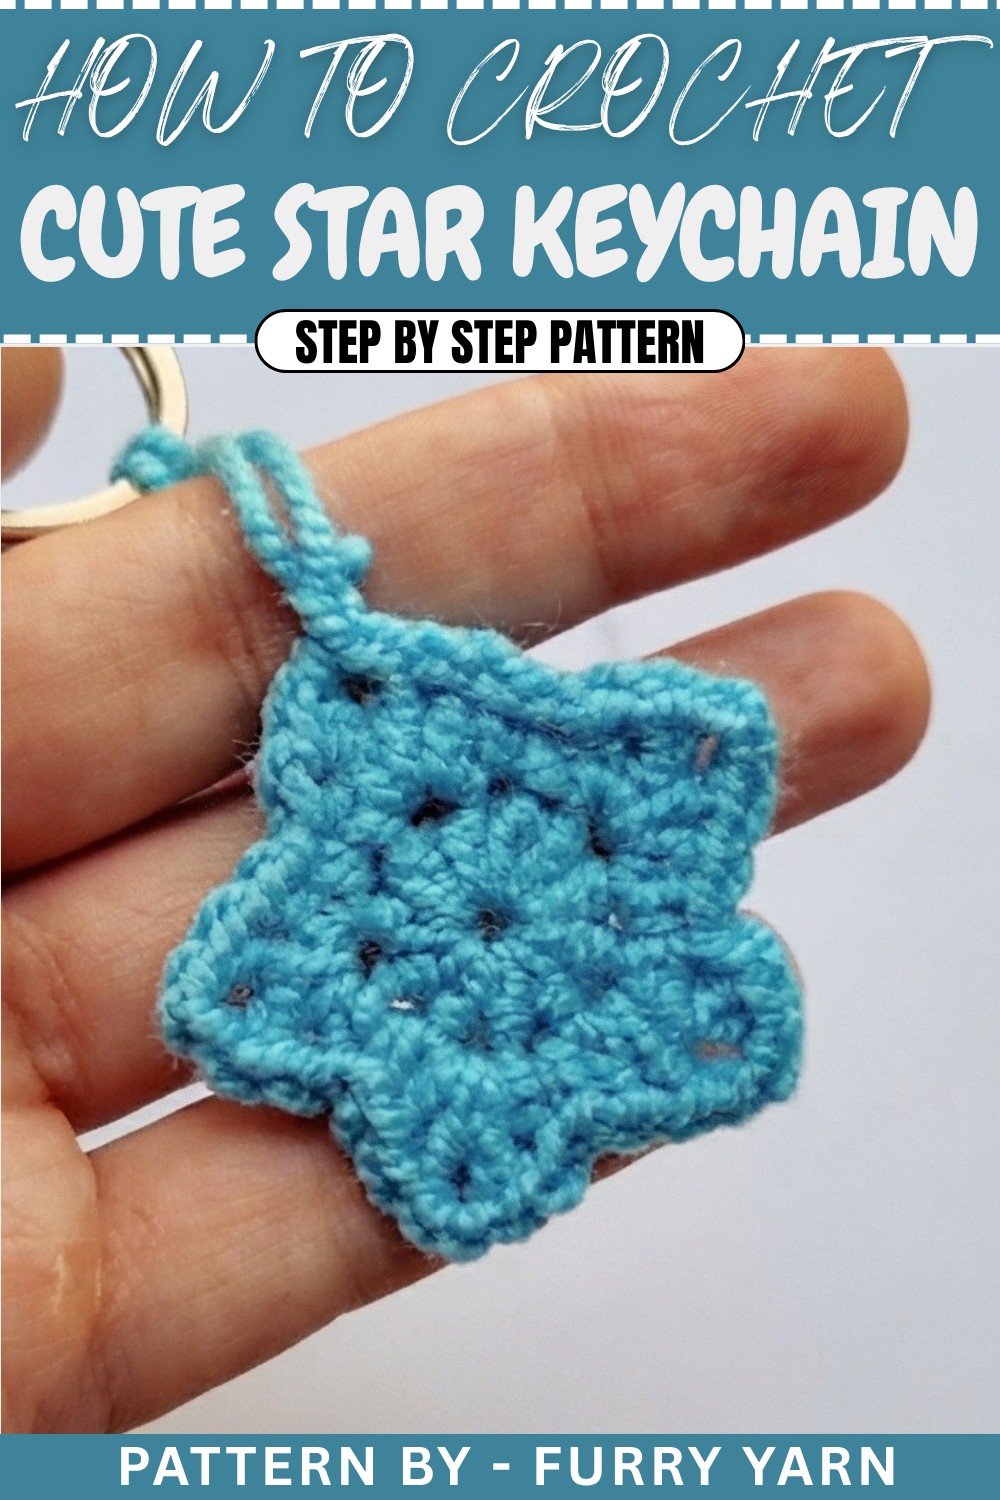
Cute Crochet Star Keychain Free Pattern With Simple Details
Create a bright accent for your accessories with this easy crochet star keychain pattern, featuring clear instructions for beginners.
If you’re looking for a small, sweet project that adds a bit of charm to your everyday essentials, a crochet star keychain is a delightful choice. This tiny, twinkling accessory not only brightens up your keys or bags but also brings a touch of handmade warmth wherever you go. The "Crochet Star Keychain Free Pattern," shared by Furry Yarn on YouTube, invites you to create this adorable star with simple stitches and a fun finishing touch.
Easy Crochet Star Keychain Free Pattern With A Handmade Look
The finished star is compact yet eye-catching, with a charming five-point shape that’s both classic and playful. Its texture is soft but structured enough to hold the star’s form nicely, making it perfect for carrying around without worry. Once made, you can easily attach it to your keys, backpack, purse, or even gift it as a sweet token for friends. The project’s flexibility lets you customize colors to match your style or mood—think bright and bold hues for a pop of cheer or soft pastels for a subtle glimmer.
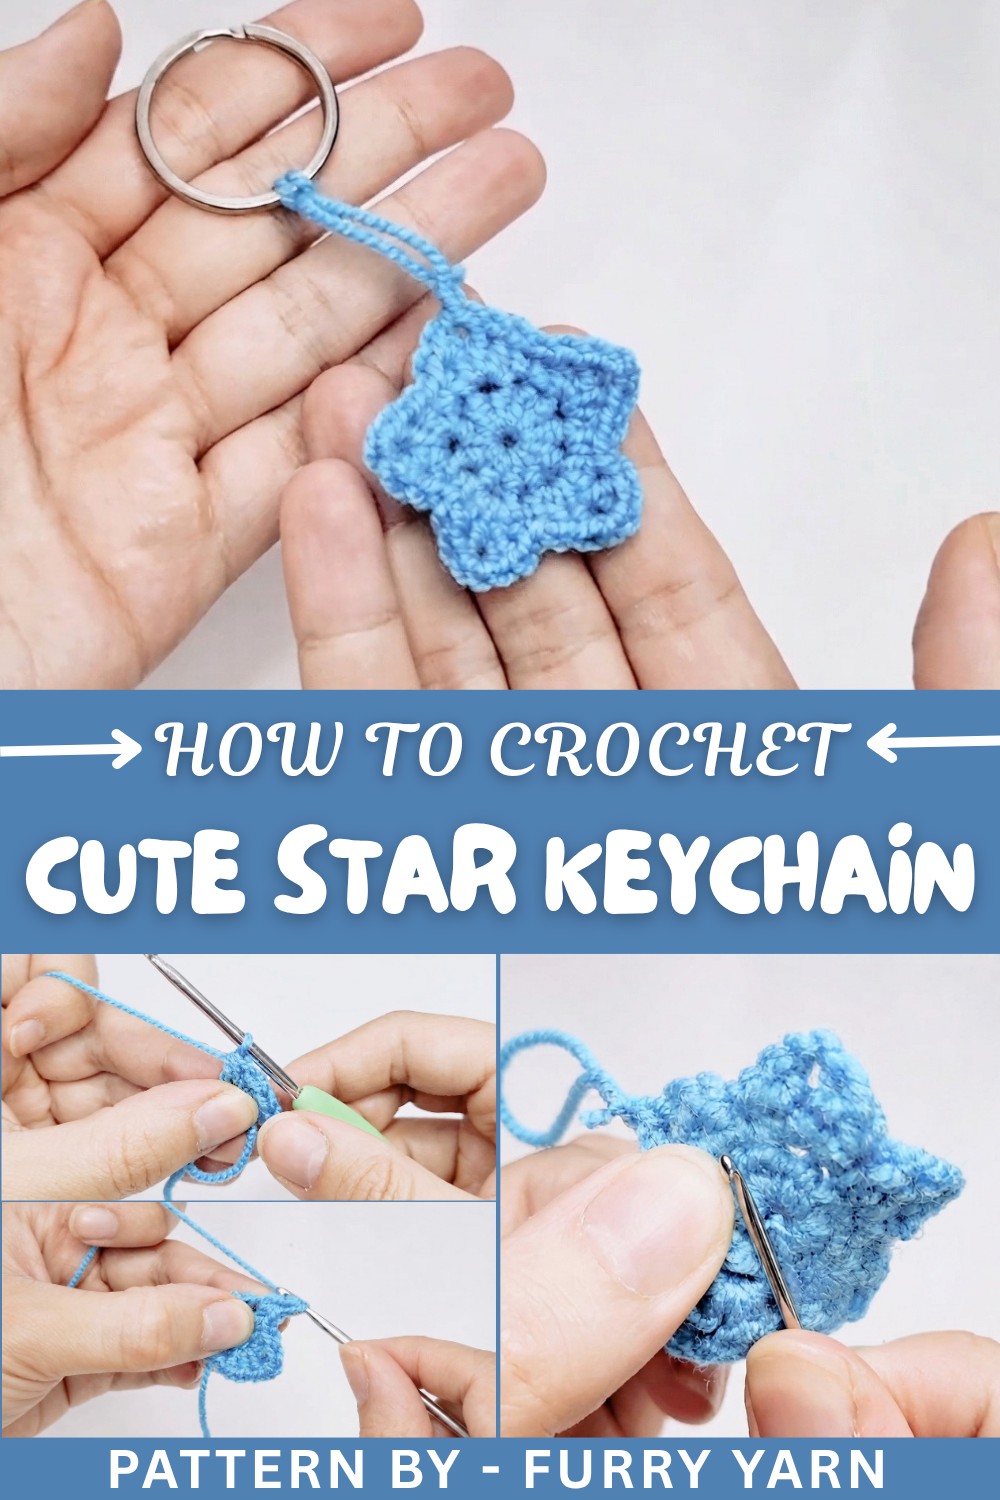
This project is a fantastic fit for beginners eager to try their hand at shaping small motifs with basic stitches. Along the way, you’ll get comfortable with techniques like magic rings, half double crochet, and slip stitches. It’s a gentle challenge that rewards with a neat, starry result without overwhelming complexity. Plus, learning to finish off with a keyring attachment adds a useful skill for those looking to make practical accessories.
Crocheting this star keychain is not only quick and satisfying but also a great way to practice tension control and stitch consistency. It’s the kind of project that leaves you with a cute creation and a little boost of confidence, perfect for gifting or keeping on hand as a personal charm.
Mini Crochet Star Keychain Free Pattern
Adding a handmade touch to accessories is both rewarding and stylish, and nothing catches the eye like a tiny crochet star keychain. This charming design uses just a small amount of yarn and basic stitches, making it an accessible project for crafters of any level who wish to express their creativity through colorful motifs. Whether paired with a favorite bag, used as a zipper pull, or gifted to a friend, this project gives you the chance to personalize everyday items. Follow along with clear instructions and see how quickly a few rounds can result in a beautiful star.
Quick Overview Of Pattern
- Begin with a MAGIC RING as your foundation.
- Work 10 HALF DOUBLE CROCHETS (HDC) into the magic ring.
- Shape the star points using a sequence of SINGLE CROCHETS (SC), HALF DOUBLE CROCHETS (HDC), DOUBLE CROCHETS (DC), and CHAIN STITCHES (CH).
- Complete five points, anchoring each with a SINGLE CROCHET (SC).
- Add SLIP STITCHES (SL ST) for a neat edge and tie off your yarn.
- Attach a key ring to the finished piece.
Notes
- Experiment with different yarns and hooks for size variations.
- Keep an even tension for consistent points.
- Project is worked in rounds, not rows.
Skill Level
Beginner
Basic crochet knowledge of stitches like MAGIC RING, SC, HDC, and DC is helpful, but instructions are fully detailed for all levels.
Materials
- Yarn (any color or weight)
- Crochet hook matching yarn choice
- Scissors
- Keychain ring or jump ring
Measurements / Sizing
The finished star measures around 1.5–2 inches (4–5 cm) across.
Gauge
Gauge is not critical for this project; your finished size may vary slightly with yarn/hook choice.
Stitch Abbreviations
- MR – Magic Ring
- CH – Chain
- SC – Single Crochet
- HDC – Half Double Crochet
- DC – Double Crochet
- SL ST – Slip Stitch
Special Stitches
- MAGIC RING (MR): Make a loop, insert hook, yarn over, pull through, work stitches into the ring.
- HALF DOUBLE CROCHET (HDC): Yarn over, insert hook, yarn over, pull up a loop (3 loops on hook), yarn over, pull through all three.
- DOUBLE CROCHET (DC): Yarn over, insert hook, yarn over, pull up a loop, yarn over, pull through two, yarn over, pull through last two.
The Crochet Pattern: Step-by-Step Instructions
Round 1: Magic Ring & Foundation Base
- Form a MAGIC RING (MR):
Start by making a MAGIC RING. - CHAIN 1 (CH 1):
With the ring open, CHAIN 1 to begin your round.
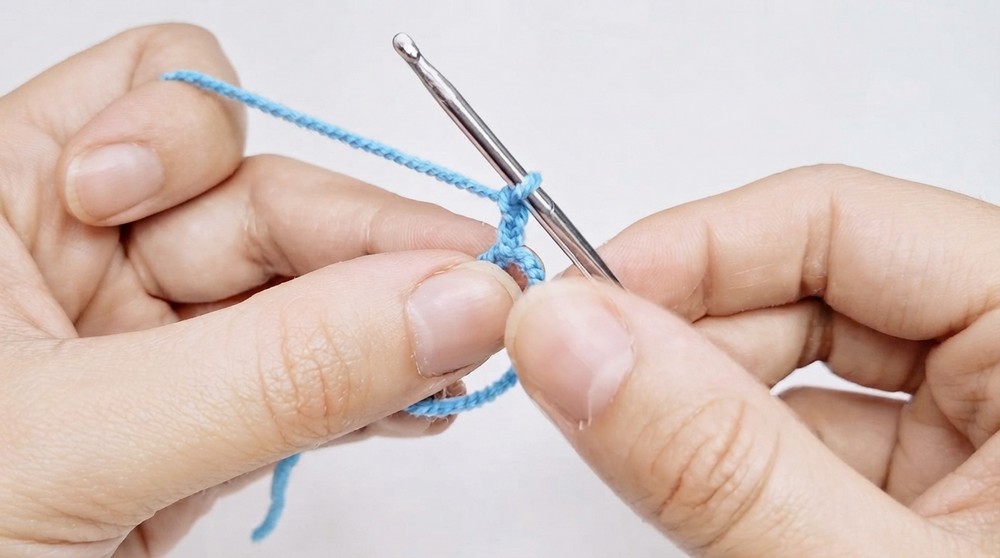
- 10 HALF DOUBLE CROCHETS (HDC) into the Magic Ring:
- Yarn over, insert the hook into the MAGIC RING, yarn over and pull up a loop (3 loops on hook).
- Yarn over and pull through all 3 loops to complete 1 HDC.
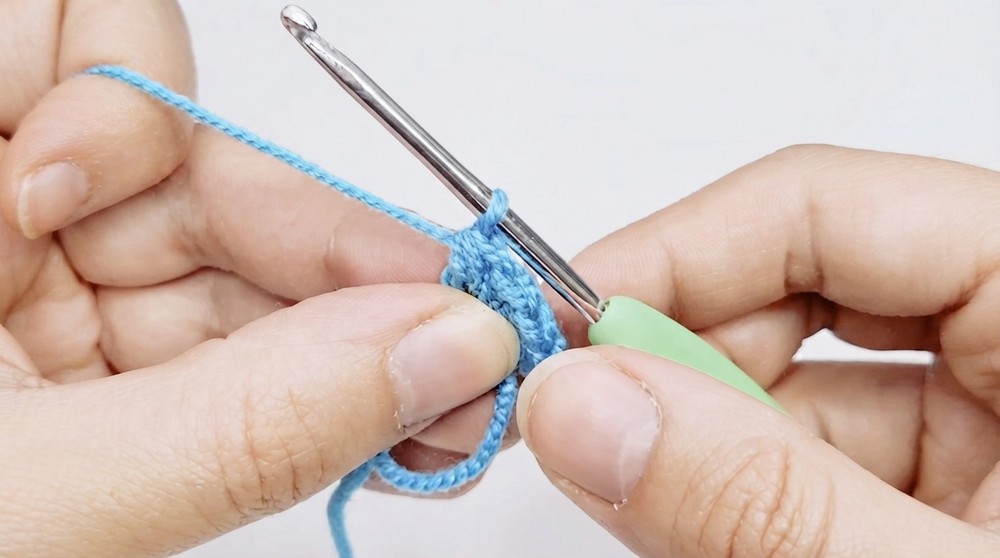
- Repeat for a total of 10 HDC in the ring.
-
- Pull the yarn tail to close the ring tightly, forming a solid center.
- Slip Stitch (SL ST) to Close:
- Insert hook into the first HDC.
- Yarn over, pull through both loops for a SL ST.
- This closes your first round.
Round 2: Crocheting the Star Points
Each point requires a combination of key stitches into adjacent stitches and repeated for all 5 points.
Star Points Pattern:
Repeat the sequence below 5 times in total:
- CHAIN 1 (CH 1):
Start with CH 1. - 1 SINGLE CROCHET (SC) in Same Stitch:
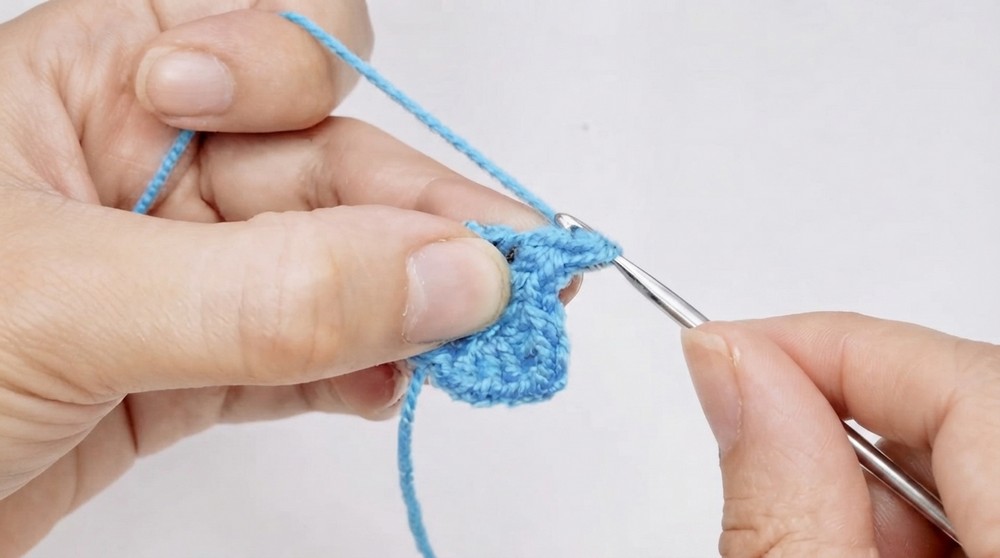
Make 1 SC in the same stitch. - In the Next Stitch: Work the Point Out as Follows:
- 1 HALF DOUBLE CROCHET (HDC)
- 1 DOUBLE CROCHET (DC)
- CHAIN 2 (CH 2)
- 1 DOUBLE CROCHET (DC)
- 1 HALF DOUBLE CROCHET (HDC)
-
- (All into the same stitch!)
- Anchor the Star Point:
In the following stitch, make 1 SC.
Continue:
- In the next stitch, repeat the sequence:
- 1 HDC, 1 DC, CH 2, 1 DC, 1 HDC into one stitch
- 1 SC in the next stitch to anchor
Continue until you have a total of 5 points worked all the way around.
Round 3: Shaping & Edging
Finishing and Edging:
- Slip Stitch (SL ST) to Join:
Insert your hook into the initial stitch, SL ST to close the round and finalize the shape. - Shape the Star:
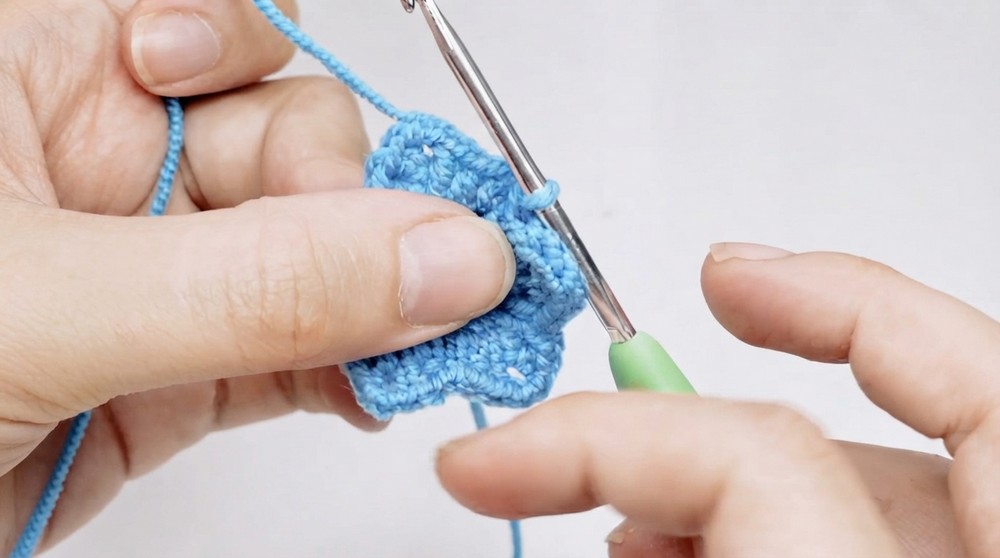
Pinch and pull each point lightly to sharpen and even them out. - Optional Edging:
- SL ST into the next stitch.
- SL ST into the tip (corner space) of a star point for extra definition.
- Fasten Off:
- CHAIN 1 (CH 1), pull the yarn end through snugly.
- Cut the yarn.
Assembly & Finished Size
1. Secure Yarn Ends:
Flip your star to the back and tie the working and starting yarn tails together with two tight knots.
2. Weave & Trim:
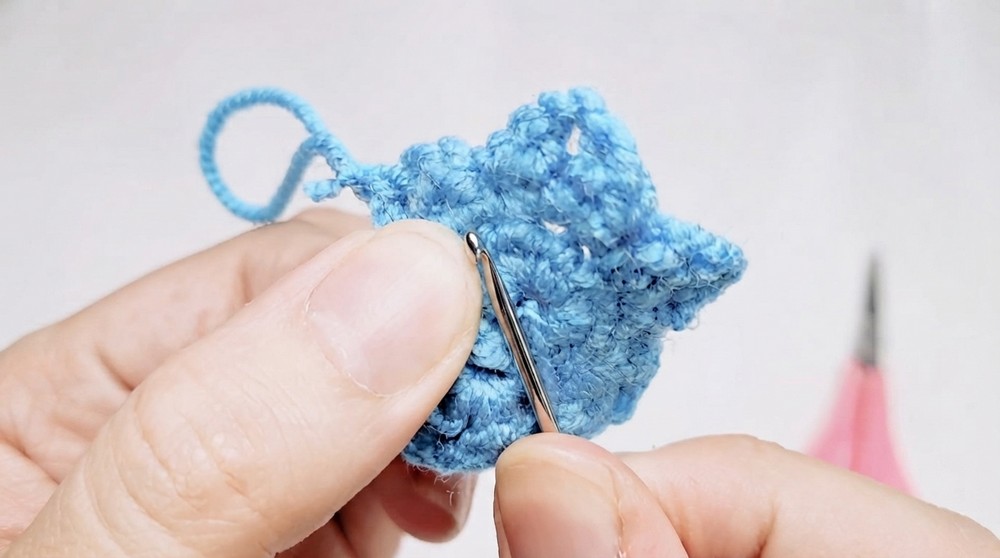
Weave the yarn tails into the back of the stitches using your hook or a yarn needle, trimming any excess yarn.
3. Attach the Keychain:
Use a strand of yarn or an extra loop, thread it through the very top star point, attach your keychain ring or jump ring, and secure it tightly. Trim any ends.
4. Adjust:
Shape your star for a neat, symmetrical finish.
Finished size:
Final piece measures 1.5 to 2 inches across, depending on your yarn and hook.
Conclusion and Ending Words
With only a few simple steps and basic techniques, you can build a playful touch that fits in the palm of your hand. This star isn’t only versatile—it can be bright and bold or soft and subtle depending on your yarn choice. By using different color combinations and attaching it to keychains or gift tags, you introduce cheer wherever it goes. The process is straightforward and the results are always satisfying. With your new star keychain, brighten up daily routines or bring a handmade element to special occasions throughout the year.