
Lovely Free Crochet Rose Pattern Blossoms for Every Occasion
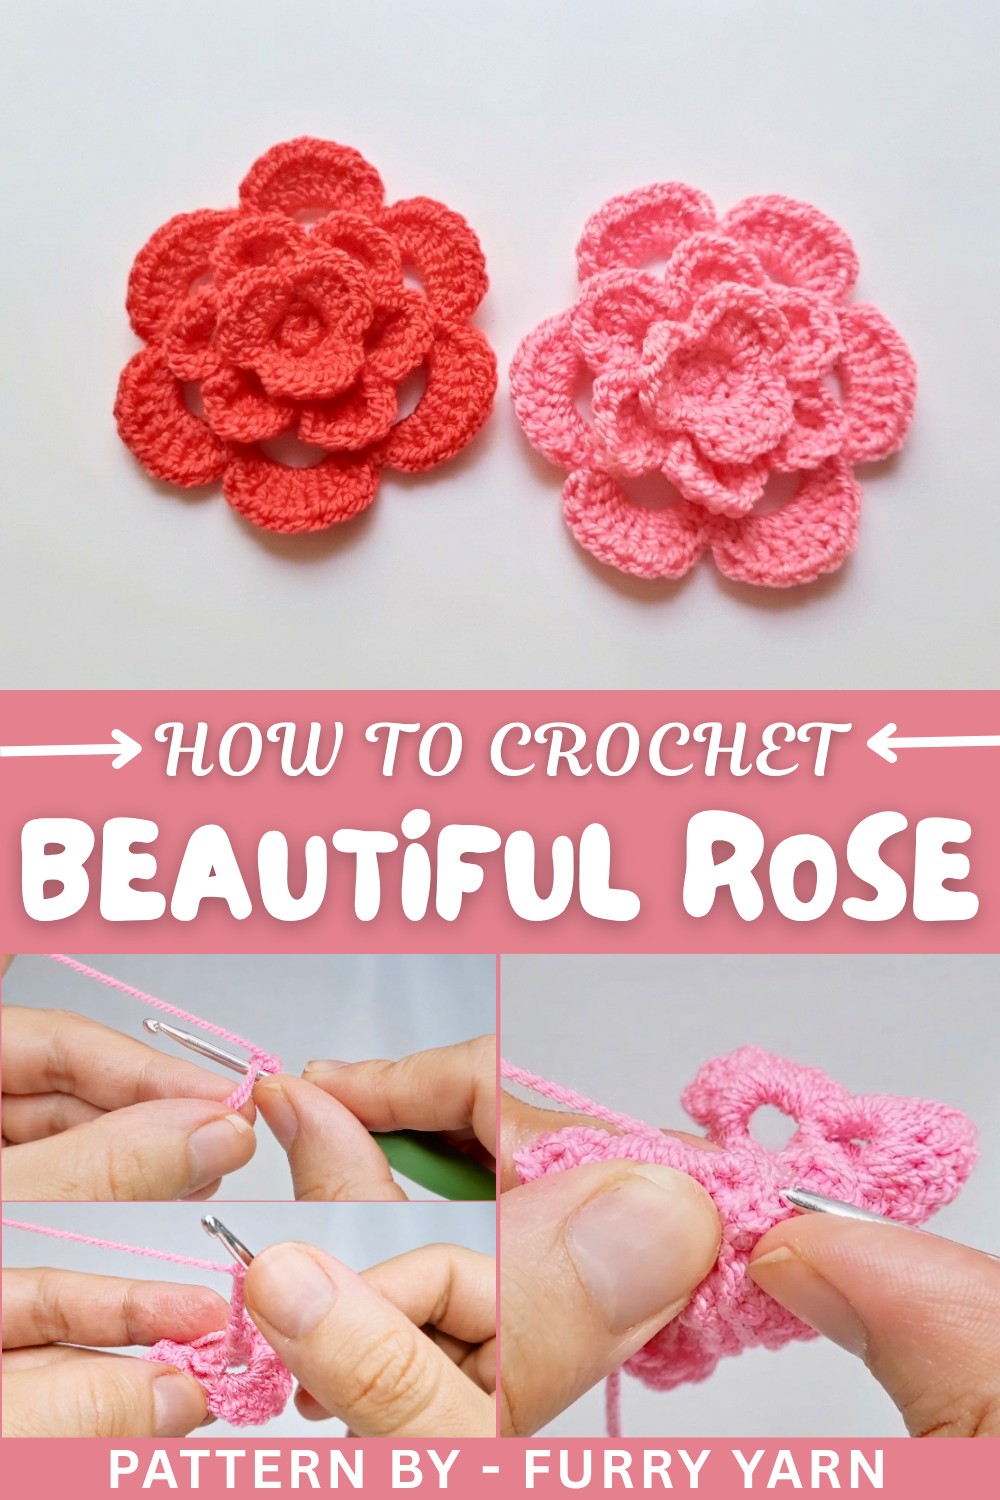
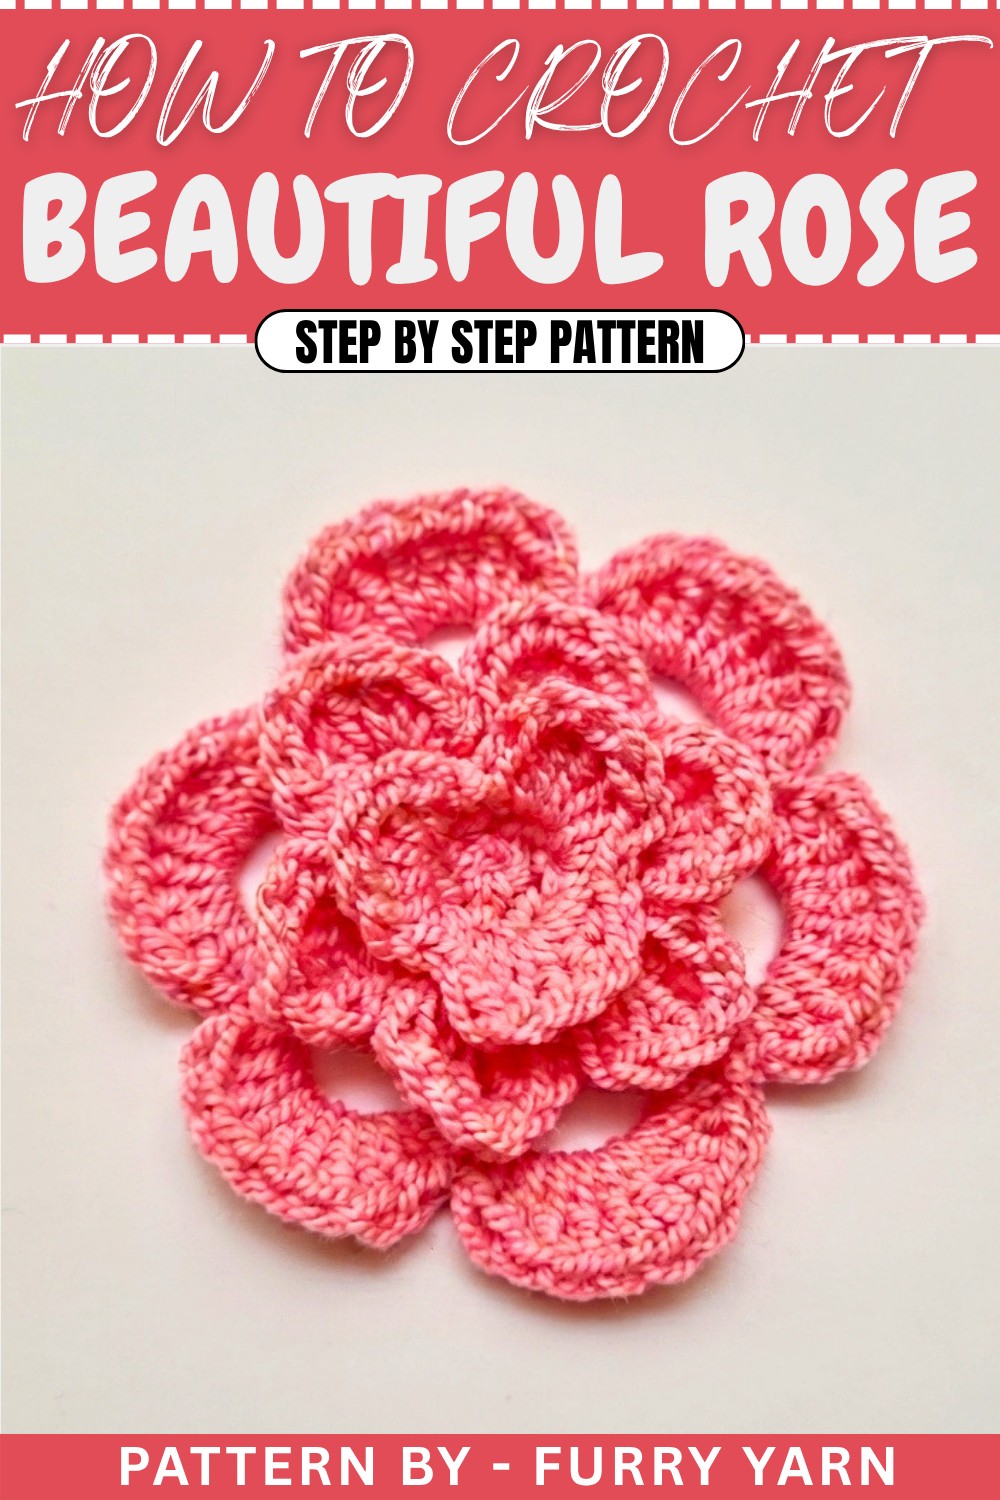
Brighten any project fast with the Free Crochet Rose Pattern for classic, chic roses that add charm and personality.
Flowers have a timeless charm, and making a crochet rose brings that beauty right to your hands. Adding a touch of handmade elegance to a gift, a hat, or even framing it as a decoration. This crochet rose captures the delicate layers of petals using simple but effective techniques like the magic ring to start your flower neatly, along with single crochet and double crochet stitches to shape each graceful petal. The way these stitches build upon each other creates a soft, textured look that really makes the rose stand out. Because of its size and structure, it can be used as a lovely applique, a brooch, or a charming bookmark. What makes this project so appealing is that it’s friendly for beginners but still feels special and rewarding to make.
Beautiful Crochet Rose Pattern Perfect for Bouquets and Brooches
Gratitude to Furry Yarn
A big thank you to Furry Yarn for sharing such a clear and gentle tutorial that guides you every step of the way. Their easy-to-follow video expalins even the trickiest parts, making it simple for anyone to learn and enjoy. The supportive vibe on the Furry Yarn channel turns crocheting into a joyful experience where creativity flows freely—perfect for both kids and adults exploring their crocheting skills.
Creative Ideas Beyond the Rose
Once you’re comfortable with this rose pattern, your creativity can bloom into many more projects. You might try crocheting a whole bouquet for seasonal decorations or sewing roses onto scarves and bags to personalize everyday items. These flowers can also become parts of larger floral motifs in blankets or wall hangings. The stitches you learn here open doors to countless beautiful designs that celebrate color and texture in every stitch.
Crochet Pattern: How to Crochet a Rose
Uses of This Pattern
Crochet roses are versatile, beautiful, and quick projects that can be used for many purposes. They are perfect for embellishing hats, headbands, scarves, clothing, or bags. Additionally, you can use them to create a stunning bouquet, gift toppers, or even as brooches or hairpins. This pattern creates a layered rose design that mimics the look of a real rose, making it perfect for decorative purposes.
Skill Level & Terminology
- Skill Level: Beginner with basic crochet skills.
- Terminology: This pattern uses US crochet terms.
Materials & Tools
- Yarn: Lightweight (category 3) or medium-weight (category 4) yarn in your preferred rose color.
- Crochet Hook: 3 mm crochet hook (or size appropriate to your yarn).
- Scissors: For cutting yarn neatly.
- Tapestry Needle: For weaving ends and finishing touches.
Gauge
Gauge is not critical for this project. The rose size depends on the yarn and hook used, which allows for flexibility.
For reference:
- 4 single crochet stitches x 4 rows = 1 inch x 1 inch
Abbreviations List
Below is a helpful list of abbreviations used in this pattern:
- ch: Chain
- sc: Single Crochet
- dc: Double Crochet
- sl st: Slip Stitch
- yo: Yarn Over
Special Stitch Instructions
- Magic Ring: Create a loop with the yarn. Insert the crochet hook through the ring, yo, pull through, and chain 1 to secure. This creates an adjustable ring where you can work your starting stitches.
Finished Size
The completed rose will measure approximately 3–4 inches in diameter, depending on your yarn thickness and crochet hook size.
What You'll Learn from This Pattern
This project teaches fundamental crochet techniques, including:
- Working in rounds using the magic ring method for circular crochet designs.
- Creating layers and texture for three-dimensional projects using a combination of single crochet, double crochet, and chaining.
- Finishing techniques, such as fastening off and weaving in tails for neatness.
Crochet Rose Pattern
Part 1: Create the Magic Ring
- Magic Ring Foundation:
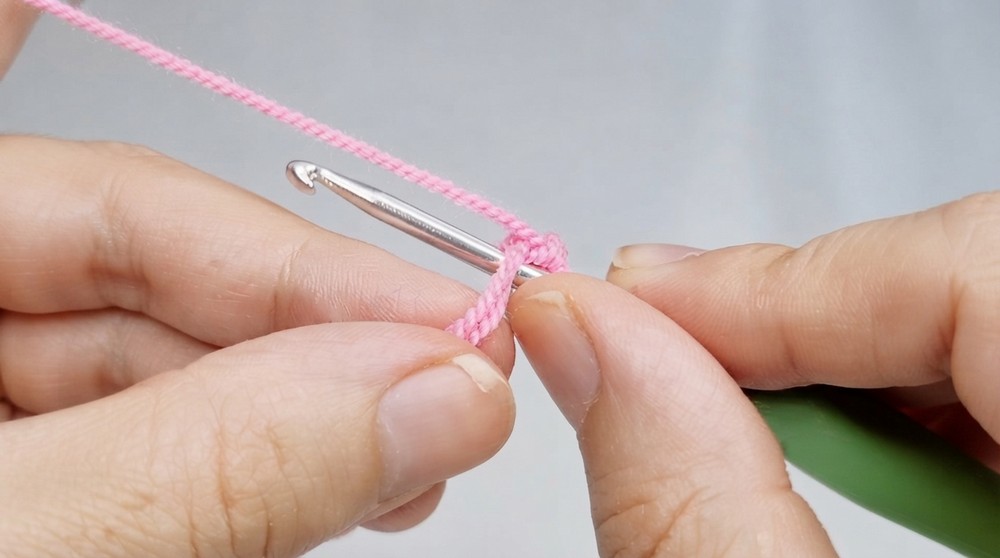
- Make a magic ring: Wrap the yarn around your fingers, insert the hook into the loop, yo, pull through, and secure with a loop.
- Round 1:
- Work 6 sc into the magic ring: Insert hook, yo, pull up a loop, yo, pull through two loops. You should now have 6 stitches in the ring.
- Close the Ring:
- Pull the starting yarn tail firmly to close the circle. Insert your hook into the first sc made. Yo and pull through to create a sl st.
For beginners: If you find the magic ring tricky, you can start with a chain of 4, join into a circle with a sl st, and work 6 sc into the loop instead.
Part 2: Creating Loops for the Petals
- Set Up for Row 2:
- Ch 3 to start the row. Skip one stitch, and in the next stitch, work 1 sc.
- Repeat to Create Loops:
- Repeat: Ch 3, skip one stitch, and work 1 sc into the next stitch.
- Do this for a total of three loops.
- Complete the Row:
- In the last stitch, join with a sl st into the starting sc.
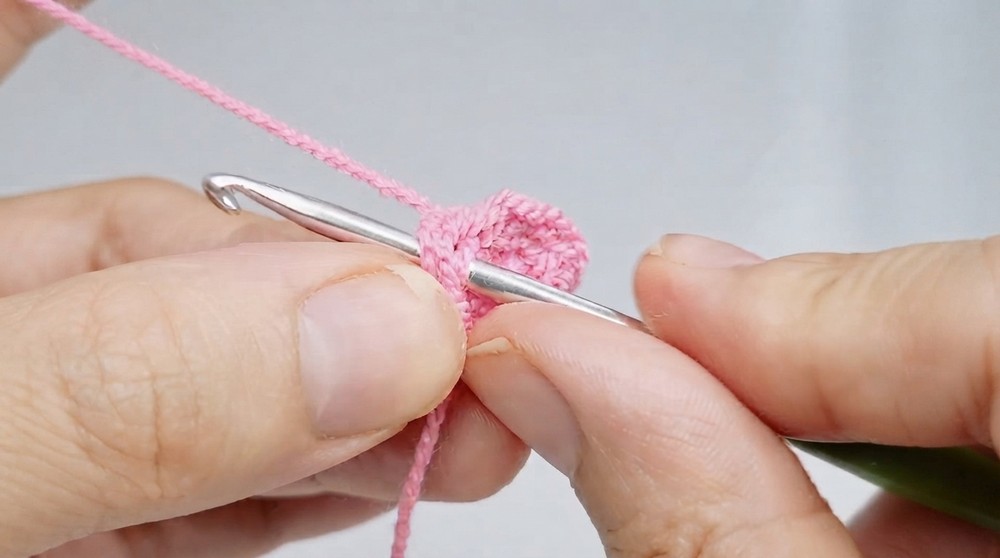
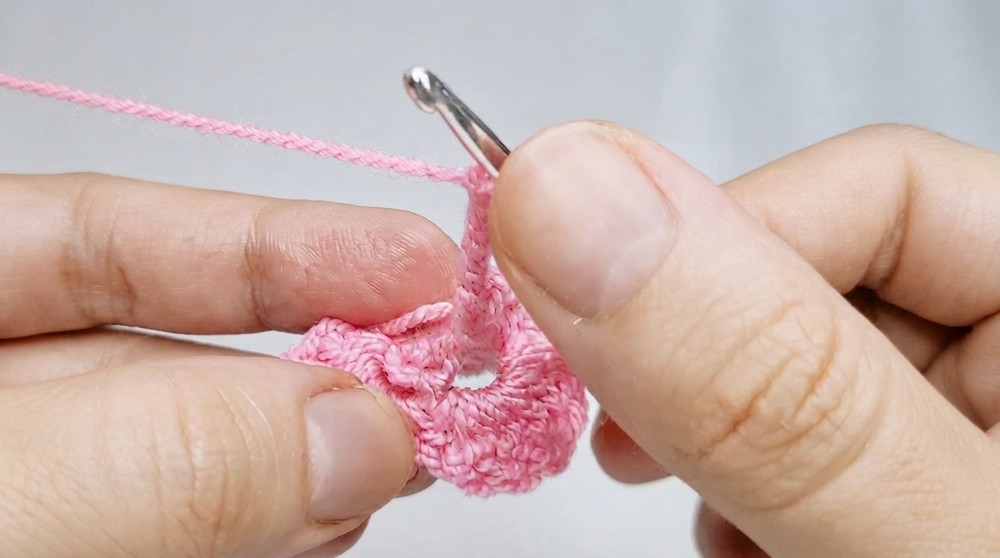
After this step, you will have three chain loops evenly spread across the circle. These loops will form the base for the petals of your rose.
Part 3: Adding the First Layer of Petals
- Row 3 (First Petal):
- Work 1 sc into the first chain loop.
- In the same loop, work 5 dc: Yo, insert hook, yo, pull up a loop, yo, pull through two loops; yo, pull through remaining two loops.
- Finish the petal by adding 1 sc into the same loop.
- Repeat for All Loops:
- Repeat the above steps for all three loops to complete the first layer of petals.
- At the end of the row, join with a sl st into the first sc of the row.
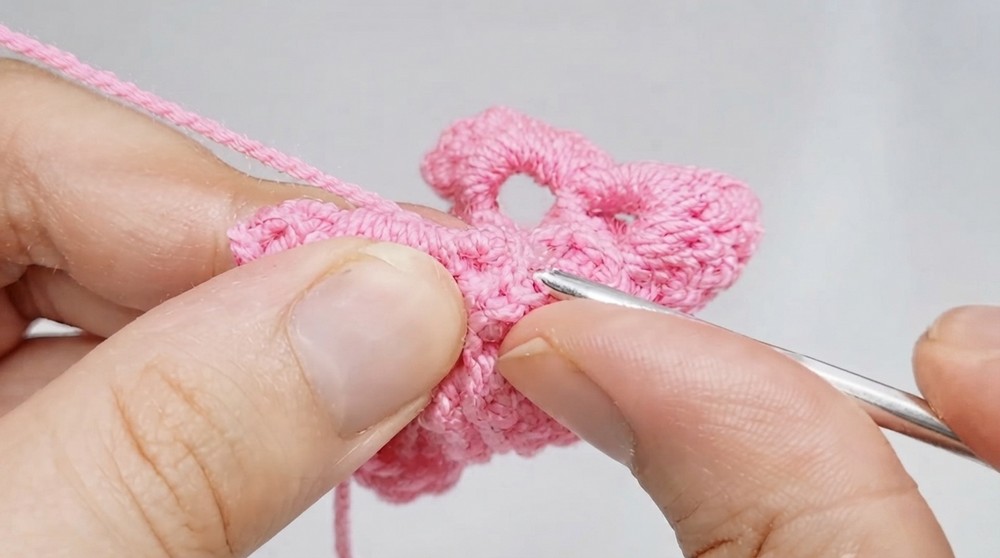
At this point, you will have a circular base with three petals. It’s beginning to resemble a blooming rose!
Part 4: Create the Second Layer of Petals
- Row 4 (Form New Loops):
- Ch 4, insert your hook between the last petals, and work 1 sc to form a loop.
- Repeat this sequence 6 times around the petals: Ch 4, sc into the next space between existing petals.
- Complete the Row:
- After completing 6 loops, join with a sl st into the base of the starting sc.
- Row 5:
- Into each new loop created in Row 4: Work 1 sc, 6 dc, and 1 sc to complete every petal.
- Work all six petals in the same way.
- At the end of the row, join with a sl st into the starting sc.
After completing this step, your rose will have six petals in its second layer, giving it a fuller appearance.
Part 5: Final Row of Petals
- Row 6 (Form Larger Loops):
- Ch 6 and secure with a sl st into the stitch two spaces ahead. Each loop is spaced across three stitches.
- Repeat ch 6, sk 3 st, 1 sc in fourth stitch around until you have 8 large loops.
- Row 7:
- Into each loop, work:
- 1 sc, 8 dc, 1 sc.
- Repeat for all 8 loops, creating fuller and larger petals for the third layer.
- Into each loop, work:
- Finish Work:
- At the end of Row 7, make a sl st into the first sc, and ch 1.
- Cut the yarn, tie a knot, and weave the loose ends neatly at the back of the rose.
The rose now features a beautiful three-layer petal design, making it a perfect embellishment for any project.
Assembly & Finishing
- Weave In Ends:
- Use a tapestry needle to hide all the yarn tails beneath the stitches at the back of the rose. This ensures a clean finish.
- Use:
- The rose can now be used as a standalone applique or sewn onto other items. Add embellishment like beads or buttons for the center if desired.
Why I Love This Pattern
This crochet rose pattern allows for easy creativity. You can create roses in varied sizes and colors by simply changing the yarn weight or hook size. The layered petal effect gives the rose a beautiful, three-dimensional look, making it ideal for decoration or accessories.
Potential Difficulties & Solutions
1. Tight Magic Ring Issues:
- If you are new to the magic ring, it can be hard to get the tension right. Practice with a looser loop, and adjust the tail last to tighten. Alternatively, use a basic chain loop instead.
2. Uneven Petals:
- Be mindful to count stitches consistently during the dc rows forming the petals. Pause occasionally to check each petal for accuracy.
3. Color Changes:
- Securely knot the yarn when switching colors, and weave in ends tightly for a clean and professional finish.
Final Thoughts
This rose pattern provides a fantastic opportunity to practice foundational crochet techniques like the magic ring and double crochet while offering a beautiful finished project. The three-layered petal structure gives the rose a realistic bloom, perfect for creative projects or as standalone ornaments. Get creative with colors and embellishments, and enjoy crafting roses that will never fade.