
Stylish & Unique Crochet Popsicle Earrings Pattern for Hot Days
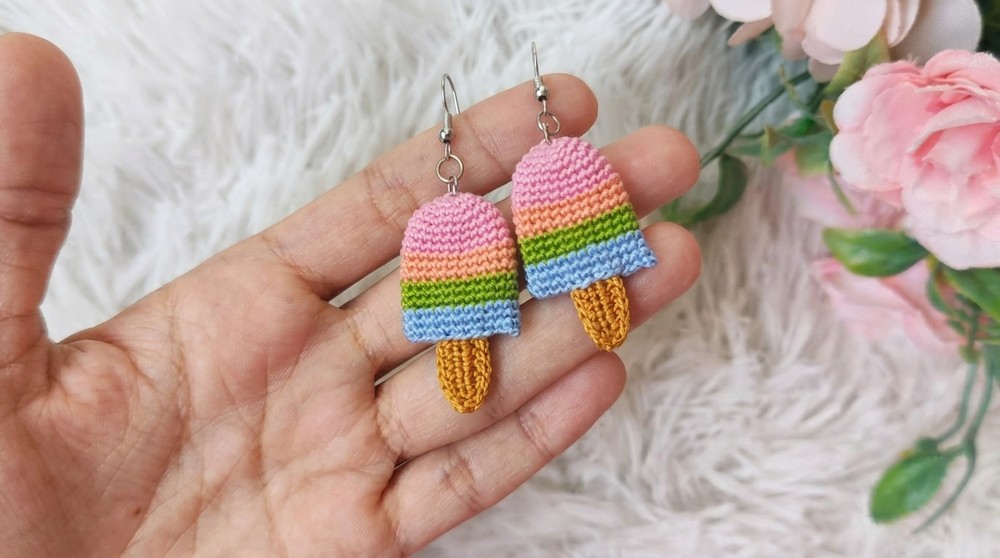
Smart way to brighten your outfit is with the Free Crochet Popsicle Earrings Pattern for playful, summer-inspired accessories.
If you love quirky accessories that add a fun twist to your style, these crochet popsicle earrings are just the thing! With their charming shape and cheerful colors, they bring a playful summer vibe to any outfit. Using double crochet and single crochet stitches, this pattern builds a sweet popsicle design that’s both lightweight and easy to wear. The thoughtful color changes add depth and fun stripes, making each earring look vibrant and unique. Perfect for casual days or as a delightful gift, these earrings are a creative way to express your personality through your jewelry.
Explore More with This Pattern
Beyond earrings, this cute popsicle motif can inspire many other fun crochet projects. Try enlarging the pattern to create playful coasters or decorative appliqués for bags and hats. With some creativity, you can even make a garland of mini popsicles for summer parties or keychains to brighten your everyday essentials. The colorful stripes allow you to mix and match yarn shades, opening up endless possibilities to customize your crochet creations in this delightful style.
Charming Crochet Popsicle Earrings Pattern for Sweet Looks
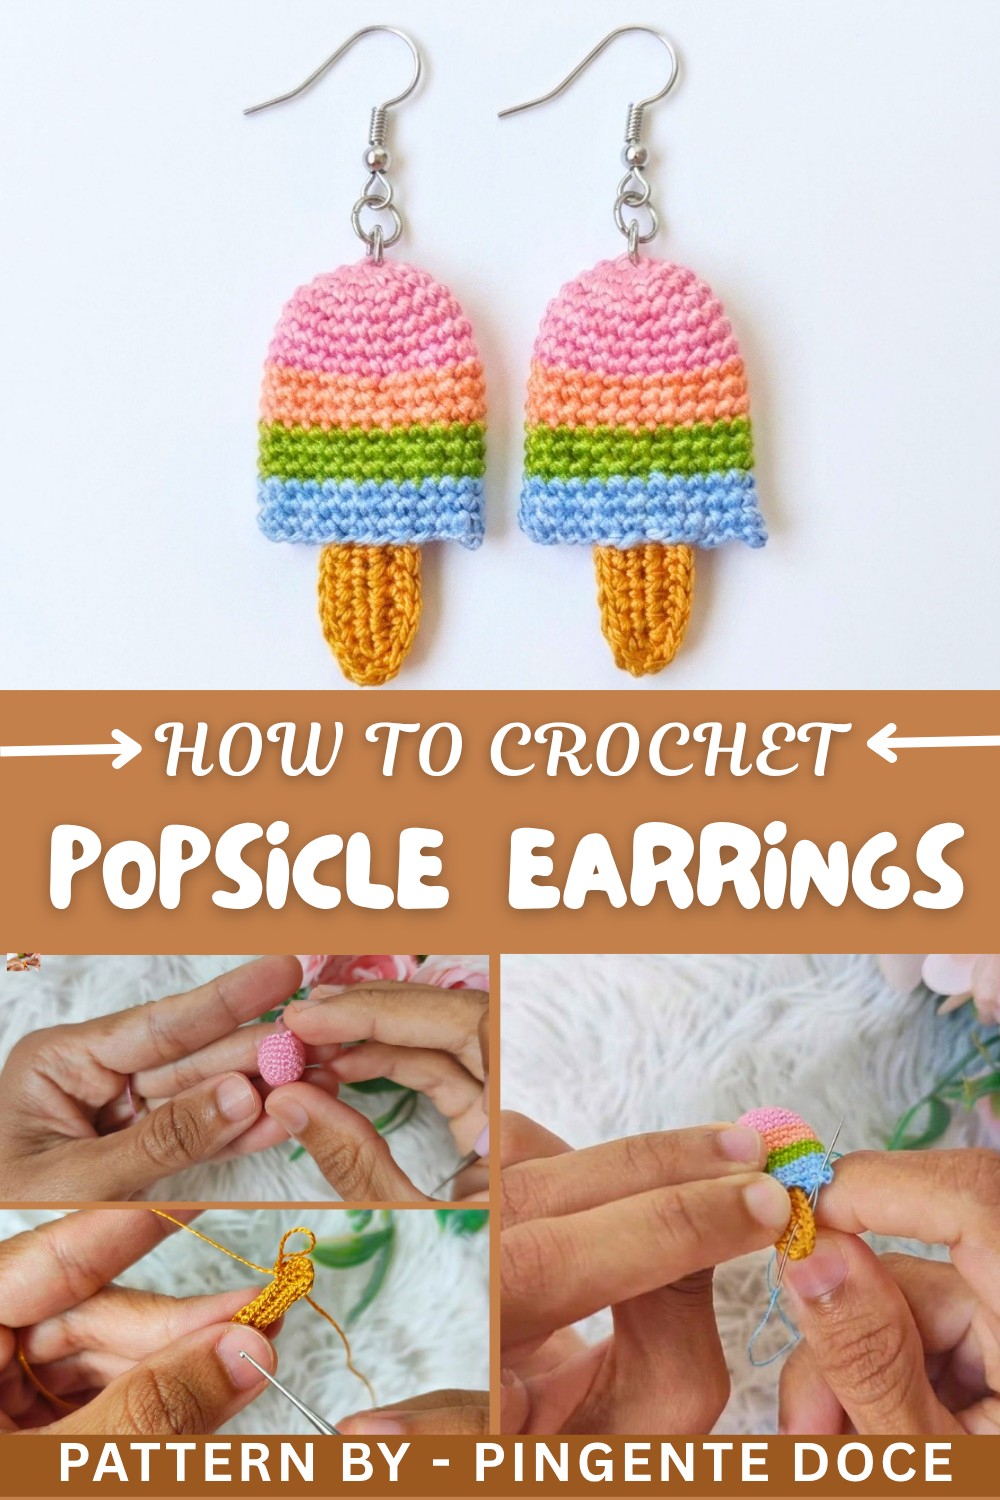
The project starts with a magic ring and six double crochets to build a sturdy base. Then, with rounds of increasing stitches, you shape the popsicle’s main body, switching colors to create beautiful layered stripes. The final details, like the popsicle stick, are crocheted separately and attached with care using fabric glue and stitching for durability. The combination of slip stitches and crochet rounds ensures a neat finish, giving the earrings a polished look. This pattern is beginner-friendly, offering clear steps that encourage you to practice important stitch techniques while crafting something playful and wearable.
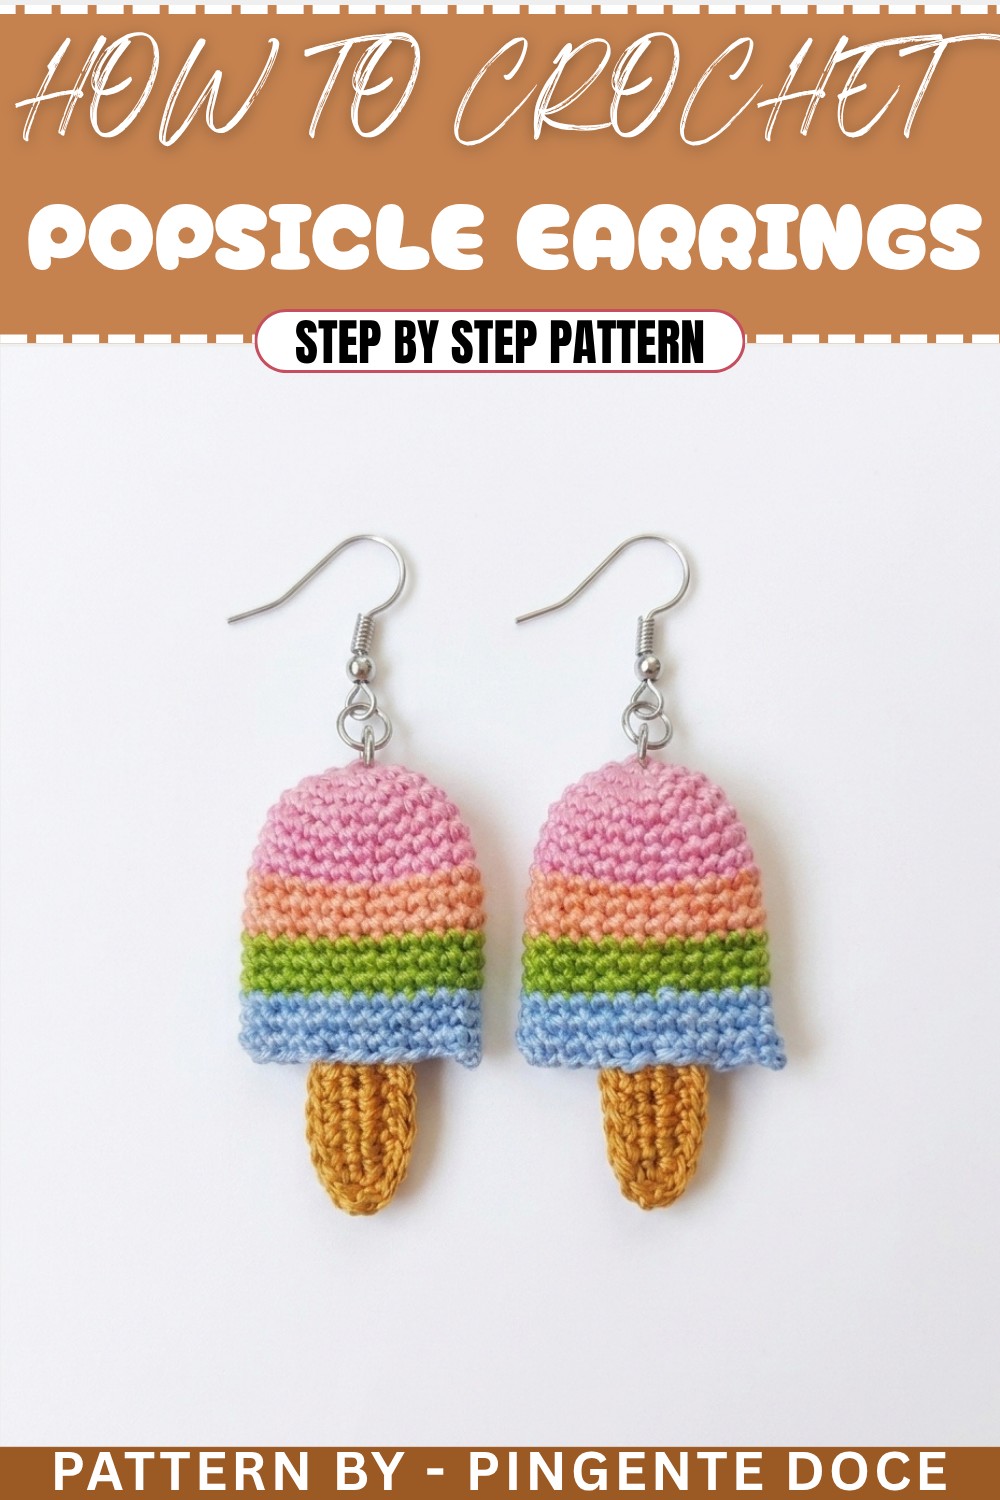
Crochet Popsicle Earring Pattern
This crochet popsicle earring pattern is an easy and fun project. These adorable earrings are perfect for summer and make cute fashion statements or unique gifts. The step-by-step instructions guide you through creating a colorful and whimsical popsicle design using basic crochet stitches and simple assembly techniques. Customize the colors to better suit your personal style or even make them as small keychain accessories instead of earrings!
Skill Level & Terminology
- Skill Level: Beginner to Intermediate. This pattern is great for crocheters familiar with basic stitches like single crochet (sc) and double crochet (dc).
- Terminology: US crochet terms are used throughout this pattern:
- Single crochet (Sc) = US terminology.
- Double crochet (Dc) = US terminology.
- Slip Stitch (Sl st) = US terminology.
Materials & Tools
- Threads: Anchor threads in the following colors:
- Pink (popsicle base).
- Salmon (middle stripe).
- One additional color for the second stripe (e.g., purple, yellow, or green).
- Brown (popsicle stick).
- Crochet Hook: A 1mm crochet hook.
- Scissors: For cutting excess thread.
- Sewing Needle: For weaving in thread ends and assembly.
- Ear hooks: Two earring hooks for assembly.
- Rings and pliers: Two jewelry rings and tools to attach earring hooks.
- Silicone Fabric Glue: Optional for assembling parts securely.
- Polyfill/Fiber Fill (Optional): Use a small amount for stuffing the popsicle.
Gauge
Gauge is not critical for this project. Using the specified yarn and hook, the earring will measure approximately 2.5 inches in height (including stick) and 1.25 inches in width. Adjust the hook or thread size for larger or smaller popsicles.
Abbreviations List
- MR – Magic Ring
- Ch – Chain
- Sl st – Slip Stitch
- Sc – Single Crochet
- Dc – Double Crochet
- Inc – Increase (two stitches in the same base stitch)
Special Stitch Instructions
- Magic Ring (MR): Form a loop by crossing the tail of your yarn over the working yarn. Insert the hook into the loop, yarn over, pull through, chain 1, and begin working into the ring. Once complete, pull the tail to close the loop.
- Increase (Inc): Work two single crochets (sc) in one stitch of the base.
What You'll Learn & Why You'll Love This Pattern
- What You'll Learn: This pattern will teach you to work in rounds using a magic ring, master basic stitches (sc, dc), and change yarn colors smoothly. You'll also learn how to assemble small crochet projects for use as wearable craft pieces.
- Why You'll Love It: These popsicle earrings are adorable and so fun to make! They’re an excellent introduction to working in spirals, creating stripes, and finishing pieces neatly. With many possible color combinations, these are a wonderful addition to your collection.
The Pattern
Base of the Popsicle: Pink Thread
- Start with the magic ring: Create a MR using the pink thread.
- Round 1: Work 6 sc into the magic ring. Pull the tail to tighten the ring. Join the round with a Sl st into the first sc. Ch 1. (6 st)
- Round 2: Work 2 sc in each stitch of the base. At the end of the round, you should have 12 sc in total. Join the round with a Sl st. (12 st)
- Close the magic ring: Pull the tail to secure the ring tightly and tie a small knot. Trim any excess thread.
- Round 3: Work 1 sc, 1 inc (1 sc in the first stitch, 2 sc in the next) around the edge. Repeat this pattern until you have 18 sc. Join the round with a Sl st. (18 st)
- Round 4:
- Ch 1. Work 1 sc in the first stitch.
- In the next stitch, work 1 dc.
- In the next stitch, work an Inc (2 sc in the same stitch). Repeat this sequence—1 sc, 1 dc, 1 inc—around. At the end of the round, you should have 24 stitches.
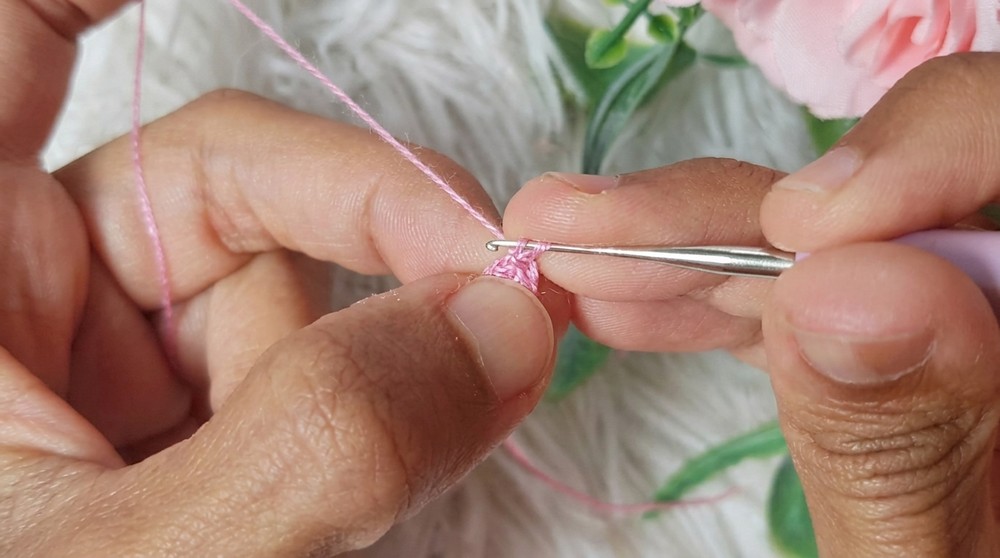
For Beginners: Congratulations! You’ve created the foundation of the popsicle. Take it slow with increases to avoid overlaps or uneven spacing.
Rounds 5 to 7: Creating Popsicle Base Shape
- Work 1 sc in each stitch around. There will be 24 sc in each round.
- Join each round with a Sl st, and start with Ch 1. Continue this for 3 total rounds.
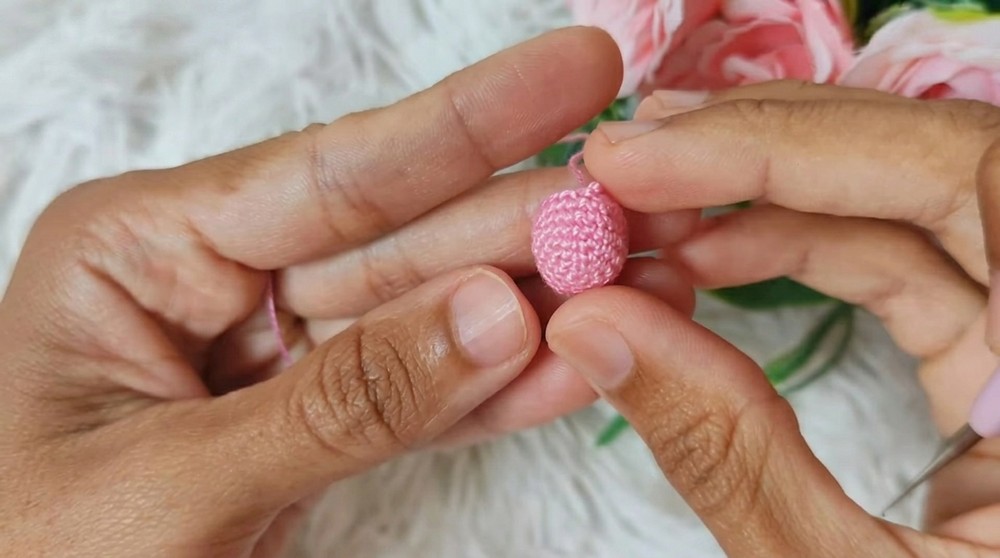
Simple Tip: These rounds create the height of the popsicle’s base. Keep your tension relaxed for a smooth finish.
Color Changes: Stripes
- At the end of Round 7, stop just before completing the last stitch. Instead of finishing the sc with pink, introduce salmon-colored thread.
- Pull the salmon thread through the two loops and close the round with a Sl st. Ch 1 to secure the new color.
- Work 1 sc in each stitch around, hiding the leftover yarn tail as you go. Continue for a total of 3 rounds (Rounds 8-10) in salmon.
- Repeat this process for two more colors (e.g., purple and yellow), working 3 rounds for each color.
For Beginners: Color changes can be tricky if the threads are loose. Make sure the new yarn is pulled snugly when beginning a new round. Tidy up the tails for a polished finish.
Creating the Popsicle Stick: Brown Thread
- Make a Slip Knot with brown thread.
- Chain 10.
- Starting in the second chain from the hook, work:
- 2 sc in the first stitch.
- 1 sc in each of the next 6 stitches.
- In the last chain, work 4 sc (this creates a round end for the stick).
- On the other side of the chain, work:
- 1 sc in each of the next 6 stitches.
- In the first chain, work 2 more sc to complete the round.
- Close the stick with a sl st in the first sc. Fasten off.
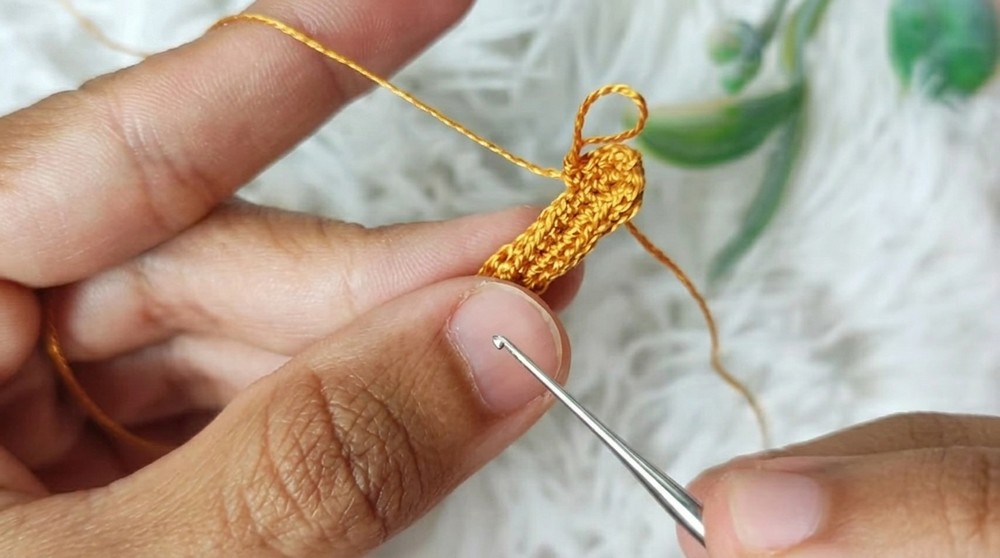
For Beginners: A slight curve is normal for the stick. Pull your stitches gently to ensure a straight finish.
Assembly & Finishing
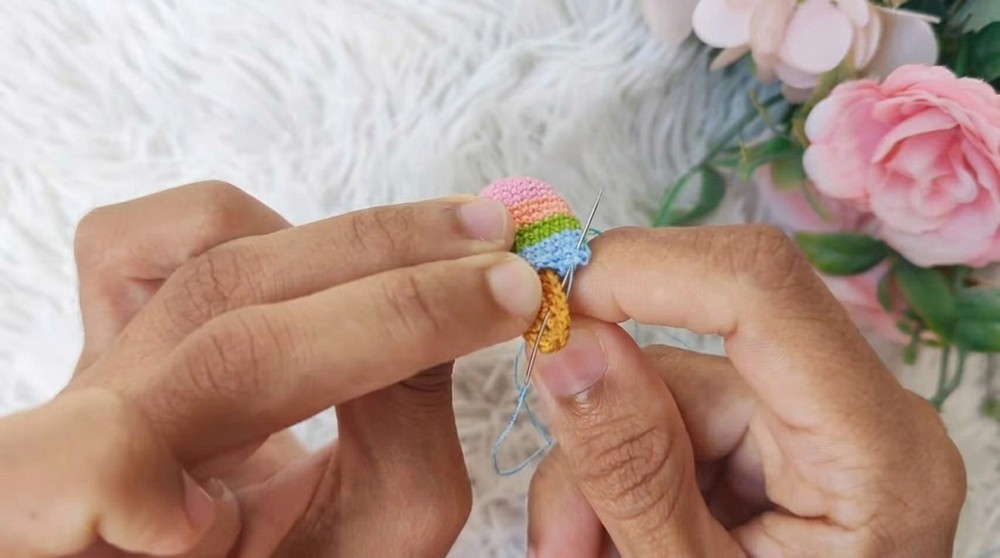
- Create two identical popsicle pieces following the pattern above. Do not cut the yarn at the end of the second piece.
- Join the two pieces: Place one on top of the other and use sc stitches around the edge, inserting the hook through both pieces. This will secure them together.
- Add the popsicle stick: Insert the stick between the two pieces as you crochet around, ensuring it’s centered at the bottom.
- Finish & Stuff (Optional): If desired, add a small amount of polyfill inside the popsicle for volume.
- Glue or Sew the Popsicle Stick: Use a small amount of silicone glue to secure the stick. You can also sew it in place for extra stability.
- Attach earring hook: Use pliers and jump rings to connect the earring hook to the top of the popsicle.
Difficulties & Solutions
1. Uneven or loose color changes:
- Solution: When switching colors, hold the new thread tight against the top of the project, and complete the last stitch of the old color using the new thread.
2. Uneven popsicle edge during assembly:
- Solution: Align the two pieces carefully before joining. Use stitch markers to ensure alignment as you crochet.
Final Thoughts
This crochet popsicle earring pattern is an enjoyable and creative project for people of all skill levels. You’ll learn to create a magic ring, work with different stitches (sc, dc), join multiple pieces, change colors seamlessly, and properly finish a crochet accessory. Whether you're making these earrings for yourself, for loved ones, or for sale, they’re sure to brighten anyone’s day with their charm! By conquering this tutorial, you'll bolster your confidence and be ready for more intricate crochet projects.