
Quick & Easy Crochet Heart Earring Pattern for Special Occasions
Add instant love to your outfits while avoiding ordinary with a Free Crochet Heart Earring Pattern for playful, modern appeal.
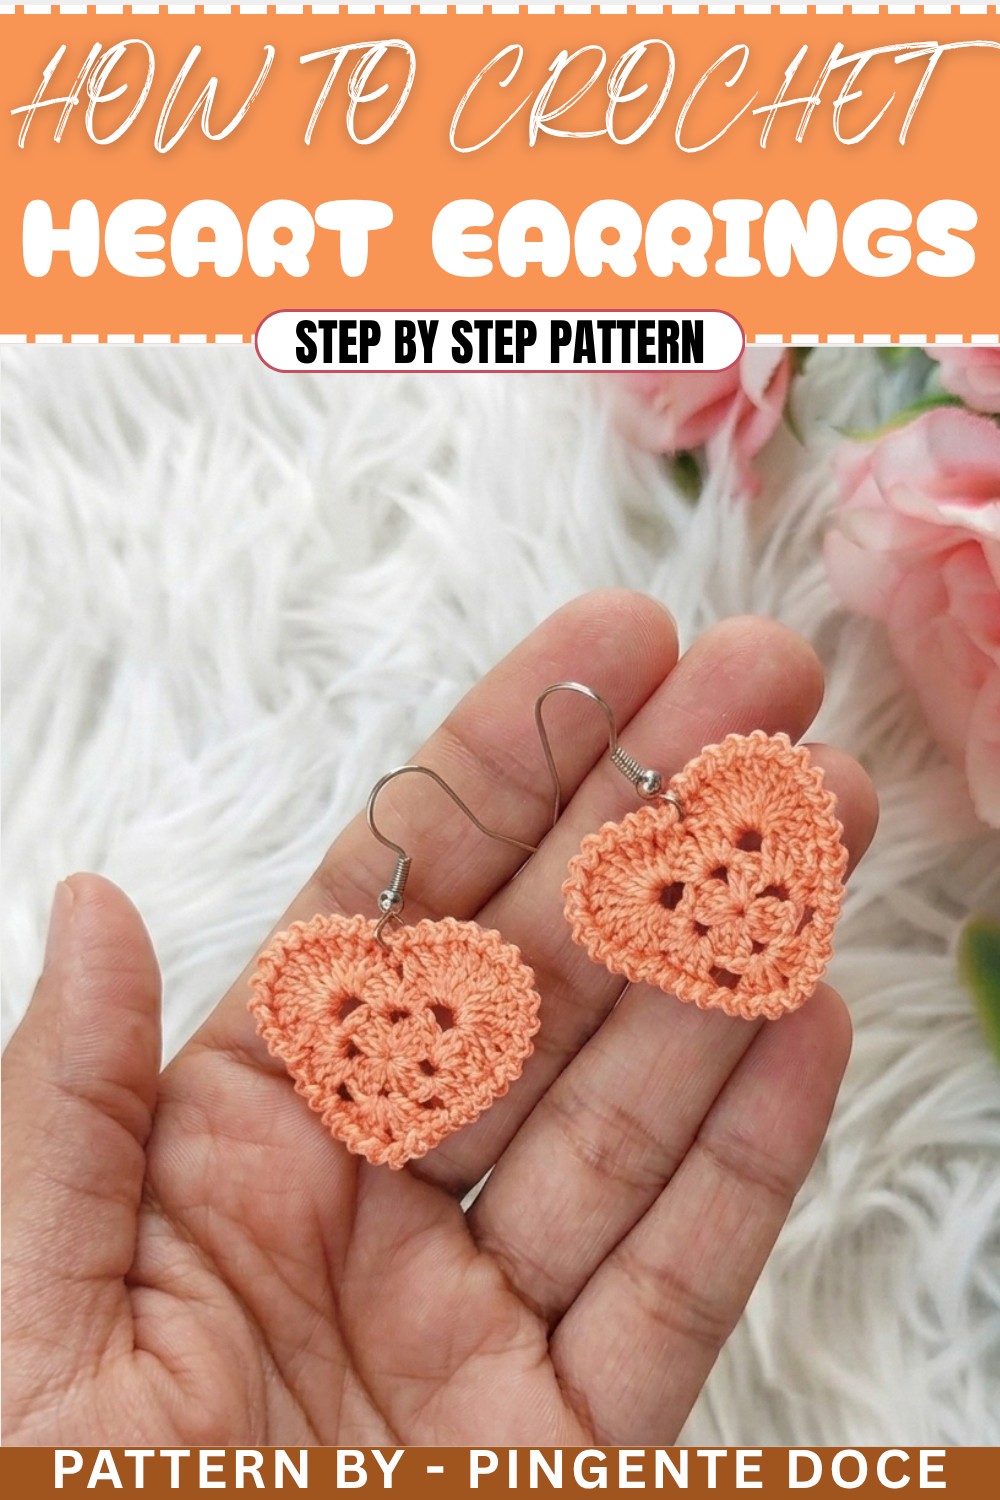
When I first picked up my crochet hook to make these sweet heart-shaped earrings, I was instantly charmed by how simple stitches could create such delicate beauty. The lovely heart motif pattern is crocheted using double crochets and chains worked inside a magic ring, which gives the shape a perfect rounded base and a nice, airy texture. These earrings feel light and elegant, making them a wonderful accessory for everyday wear or special occasions like Mother’s Day or a thoughtful gift for someone you love.
Free Crochet Heart Earring Pattern for Everyday Glam
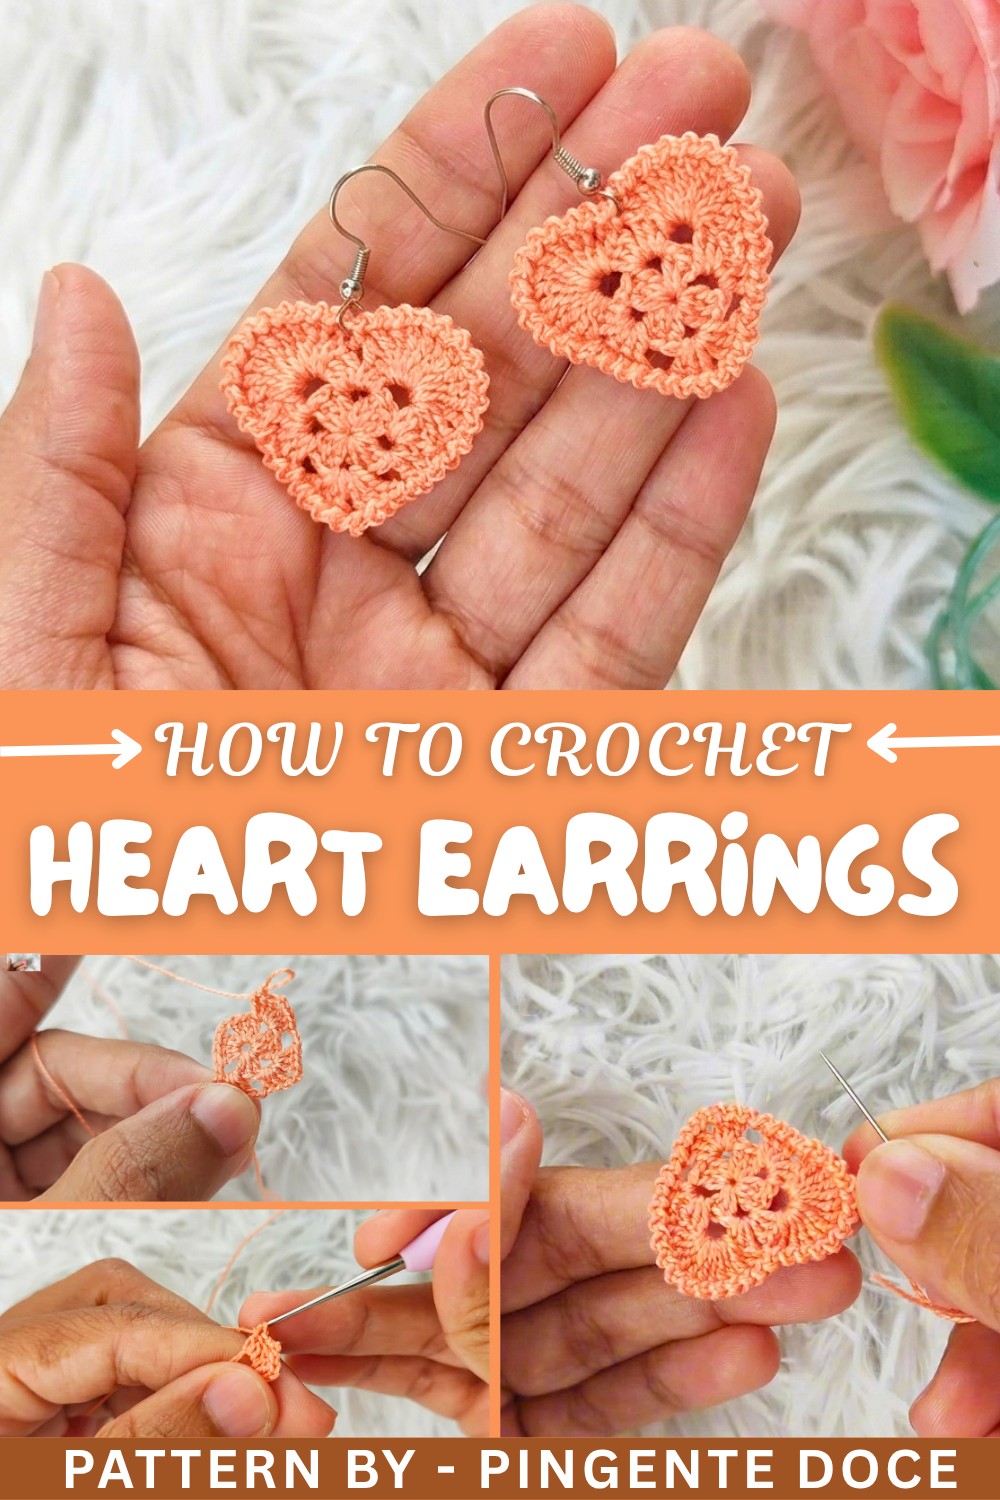
One of the things I enjoy most about this pattern is how beginner-friendly it is. The magic ring technique lets you start cleanly, while the repetition of double crochets and chain spaces makes it easy to follow and memorize the steps. The finishing touch—slip stitches worked around the edge—adds a neat border that keeps the hearts looking polished. You can customize them easily by choosing your favorite colors or adding a bit of fabric glue on the back to give the piece a little extra stiffness and durability. The fine Egyptian cotton thread and 1 mm crochet needle help keep the stitches small and detailed, perfect for making jewelry that looks delicate yet sturdy.
Create More with This Pattern
This heart pattern is versatile and lends itself beautifully to more than just earrings. Imagine making cute appliques to decorate bags, hats, or scarves, bringing a personal, handmade touch to your wardrobe. Larger versions make charming decorations for cards or gift tags, especially for Valentine’s Day or anniversaries. You could also crochet a garland of these hearts to brighten up a party or cozy space. The simple yet elegant stitches give plenty of room to play around with size, color, and placement, opening many fun possibilities.
Crochet Heart Earring Pattern
This pattern guides you through creating beautiful crochet earrings using a super fine Egyptian cotton thread. With basic stitches such as the magic ring, double crochet, and slip stitches, this project balances simplicity and sophistication. Perfect for special occasions, gifting, or just accessorizing, these earrings combine beauty and ease into one delightful pattern.
Make a pair of elegant circular crochet earrings to add a handmade touch to your jewelry collection! The detailed pattern creates a lightweight, timeless pattern using rounds of double crochet and chain stitches. Whether you’re gifting for Mother’s Day, crocheting souvenirs, or wearing them for a night out, this pattern offers the perfect opportunity for creativity and skill-building.
Uses of This Pattern
- Accessories: Beautiful statement earrings for all outfit styles—casual and formal.
- Gifts and Souvenirs: A thoughtful handmade gift for special occasions like Mother's Day or holidays.
- Crafts for Sale: Trendy handmade items for craft fairs or marketplaces.
Skill Level & Terminology
- Skill Level: Beginner-Friendly. Requires knowledge of basic stitches such as magic ring, double crochet, and slip stitch.
- Terminology: U.S. Crochet Terms
Materials & Tools
- Thread: Anchor thread (super fine Egyptian cotton, size 8) or any fine cotton thread.
- Crochet Hook: 1 mm crochet hook, or one matching your thread type.
- Additional Tools: Scissors, sewing/tapestry needle, fabric glue (mixed with water), jewelry pliers, earring hooks, and optional rings.
Gauge
Gauge is not crucial for small-scale projects like earrings. However, maintain firm tension for even stitches.
Abbreviations List
- MR: Magic Ring
- ch: Chain
- sl st: Slip stitch
- dc: Double crochet
Special Stitch Instructions
- Magic Ring (MR): Wrap the yarn around your fingers, insert your hook, pull up a loop, and secure with a chain stitch to create a circle.
- Slip Stitch (sl st): Insert the hook into the stitch, yarn over, and pull through all loops on the hook.
- Double Crochet (dc): Yarn over, insert the hook into the stitch, yarn over again, pull up a loop, yarn over and pull through two loops, and yarn over again to pull through the final two loops.
Finished Size
The earrings measure approximately 2 inches in diameter, making them lightweight, elegant, and versatile.
Pattern Overview
This circular earring pattern is worked in three main rounds. Each round builds on the previous one, creating spaced clusters of double crochets. The final row applies slip-stitch edging for a polished finish. Harden the completed earring with fabric glue for durability and an elegant structure.
The Pattern Itself
Part 1: Base Round (Magic Ring and First Layer)
- Create the Magic Ring (MR):
- Wrap the thread securely around your fingers. Insert your hook into the loop and pull up a loop. Chain 3 ch (counts as the first double crochet).
- First Set of Double Crochets:
- Inside the MR, work 2 dc, 2 ch.
- Repeat (3 dc, 2 ch) three more times.
- Pull the Ring Closed:
- Pull the tail of the thread to tighten the circular magic ring completely.
- Close the Round:
- Secure with a sl st in the third chain of the starting ch.
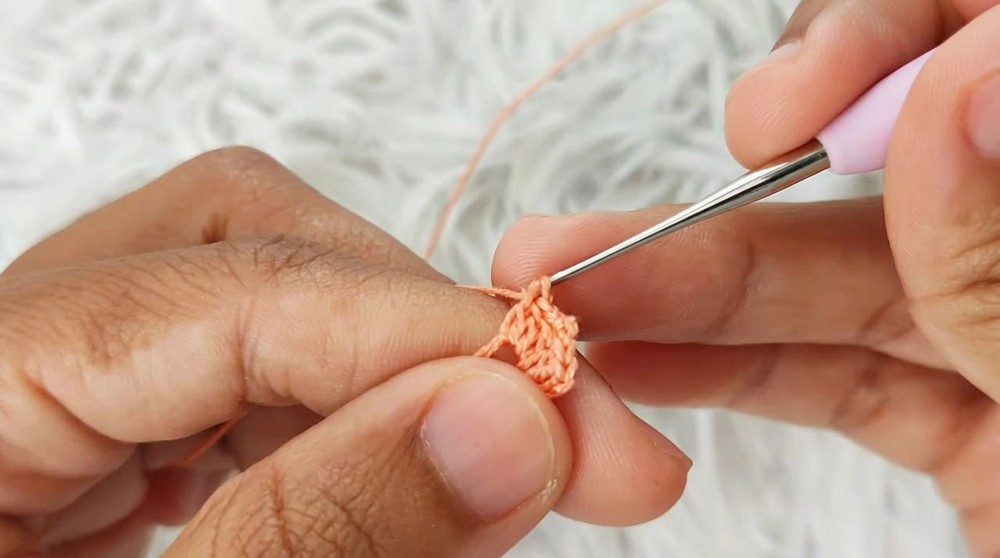
Notes: You should now have four groups of (3 dc, 2 ch) spaced around the ring. This forms the foundational structure of the earring.
Part 2: Second Round (Expanding the Circle)
- Chain Start:
- Begin with 5 ch (3 ch for height and 2 ch for spacing).
- Work into Each Chain Space:
- In the first chain space, work 3 dc, 2 ch.
- Move to the next chain space and repeat (3 dc, 2 ch).
- Repeat Around:
- Work (3 dc, 2 ch) into each chain space until you’ve completed all four spaces.
- Close the Round:
- Secure with a sl st into the third chain of the starting ch.
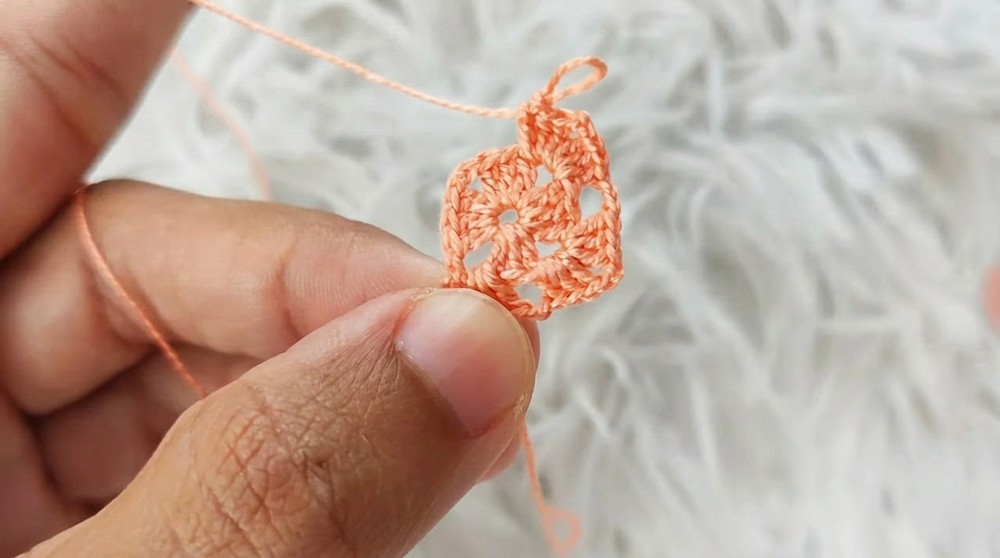
Notes: This round creates a more pronounced and elegant structure by adding a layer of clusters. Ensure even spacing as you work.
Part 3: Third Round (Double-Crochet Arches)
- Building Arches:
- In the first chain space, work 11 dc evenly.
- Continue Around:
- Repeat 11 dc in each subsequent chain space.
- Finish the Round:
- Secure with a sl st into the first stitch and close the work neatly.
Notes: The double-crochet arches form the outward structure, creating decorative curves around the edges.
Part 4: Final Edging (Polishing with Slip Stitches)
- Chain and Slip Stitches:
- Chain 1 ch, then work a sl st into the next stitch.
- Repeat a sequence of ch 1, sl st across regular spaces.
- Slip Stitch for Chain Spaces:
- For chain spaces, work sl st without additional chains.
- Complete the Edging:
- Secure the edge with the final sl st and cut the thread cleanly.
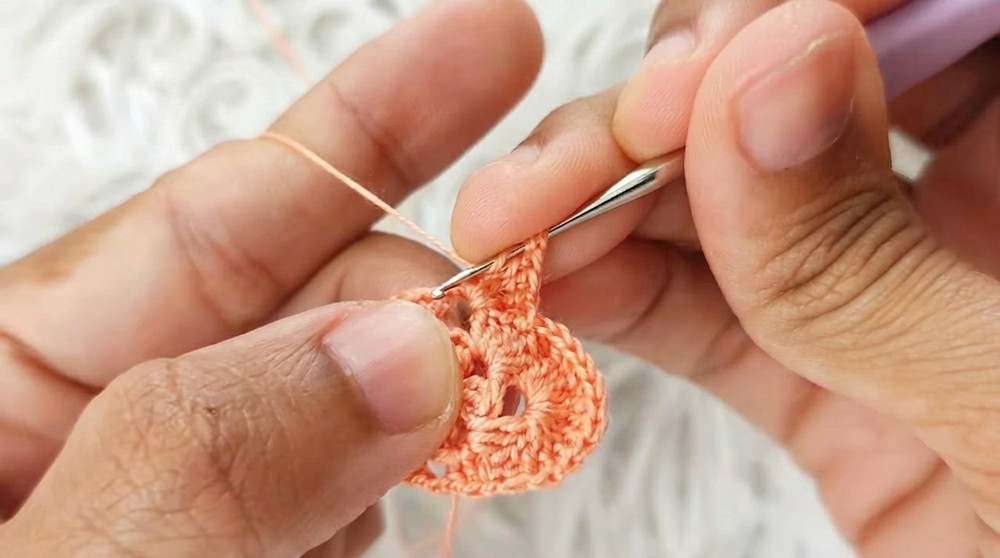
Notes: This finishing step adds subtle decorative detail and gives the earring a polished and professional look.
Assembly & Finishing
- Harden the Earring:
- Mix fabric glue with a small amount of water.
- Apply the glue mixture sparingly to the back of the earring for stiffness and durability. Allow it to dry completely.
- Attach Hardware:
- Optional: Use jewelry pliers to attach earring posts, hoops, or hooks.
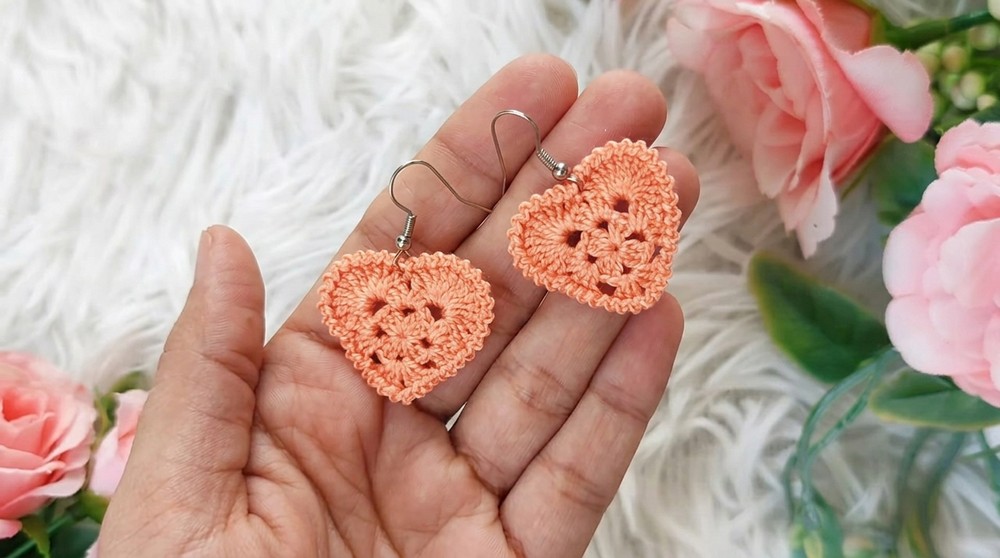
Notes: Ensure the earring hardware is securely attached for durability during wear.
What You’ll Learn
- Magic Ring Technique: Master the magic ring for perfect circular bases in crochet projects.
- Cluster and Layer Mastery: Learn to build texture and volume using double crochet clusters.
- Slip Stitch Edging: Understand how to polish edges for professional-quality projects.
- Jewelry Assembly: Gain confidence in combining crochet techniques with basic jewelry-making skills.
Pattern Difficulties and Solutions
Common Challenges
- Adjustment of Magic Ring: Sometimes the ring may loosen over time.
- Solution: Secure the tail firmly while transitioning to the first round. Pull gently after completing the round to tighten.
- Spacing Double Crochets Evenly: Uneven spacing may distort the shape.
- Solution: Count stitches carefully for each chain space and use stitch markers if needed.
- Glue Application: Excess glue may create visible marks or stiffness.
- Solution: Apply glue in thin layers using a small brush and allow sufficient drying time.
Why You’ll Love This Pattern
This circular crochet earring pattern is both elegant and versatile. Lightweight, beautiful, and easy to customize, it’s a wonderful handmade gift idea. The layers of stitches combined with decorative edging make it a timeless accessory. Whether for personal use or gifting, this pattern will quickly become one of your favorites for quick, rewarding projects.