
Crochet Floripa Butterfly Earrings Pattern for Everyday Creativity
Find cheerful charm and leave basic earrings behind with a Free Crochet Floripa Butterfly Earrings Pattern for trendy sparkle.
Looking for a fun project that brings a touch of nature into your accessories? These butterfly earrings pattern adds a lovely flutter to your style with their soft, wing-like shapes and gentle curves. Made with fine thread and a 1 mm crochet hook, they maintain a lightweight feel that's perfect for all-day comfort. What gives this pattern its charm is the blend of magic ring foundation, double crochet, triple crochet stitches, and special double loop high point crochet that create a textured, almost 3D effect on the wings.
Other Lovely Creations Using This Pattern
The techniques and shapes used in this butterfly pattern can be applied to other creative projects. You could crochet matching brooches, hair clips, or even small decorative patches for clothing and bags. When made larger or combined with several butterflies, these motifs can turn into necklaces, bracelets, or charming wall decor too. This pattern offers lots of ways to add a graceful butterfly touch to your craft collection!
Unique Crochet Floripa Butterfly Earrings Pattern for Signature Accessories
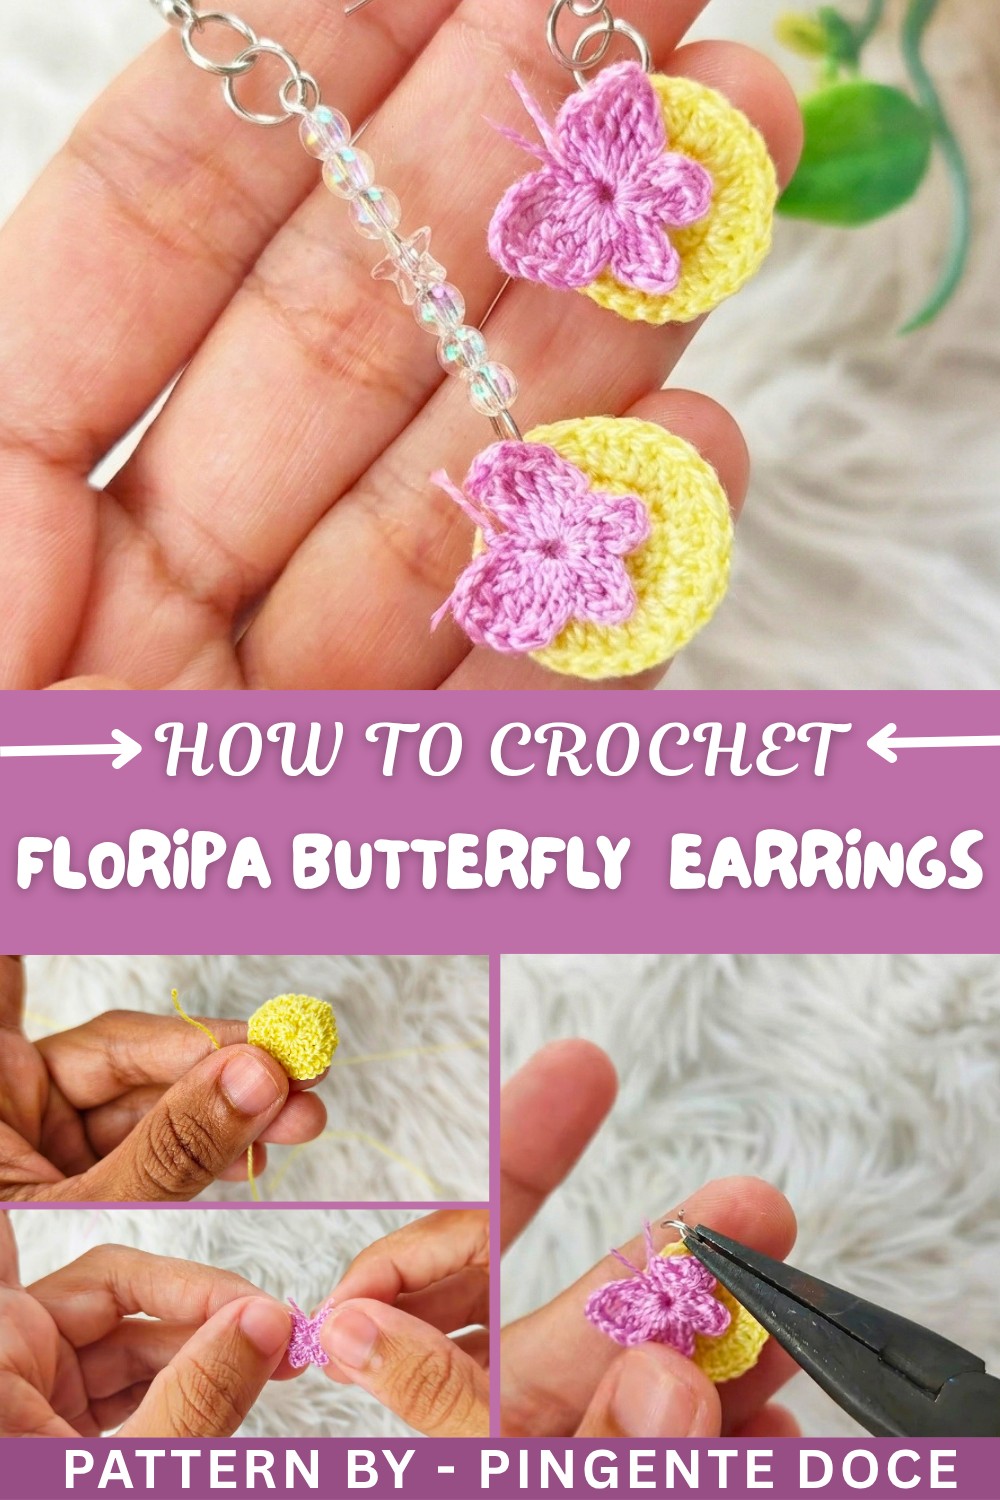
The pattern starts with a magic ring and grows into the butterfly wings through carefully placed stitches that build layers and dimensions. Using the double loop high point stitches adds richness and flair, while slip stitches and chains help form the shapes neatly. The project involves making two separate pieces that are later joined, making it easy to control the shape and size. Adding a touch of fabric glue or resin can help harden the pieces, giving them more structure. You also have the option to personalize your earrings with beads or small charms by attaching them to the earring pin. This makes the pattern both creative and adaptable for beginners and experienced crocheters alike.
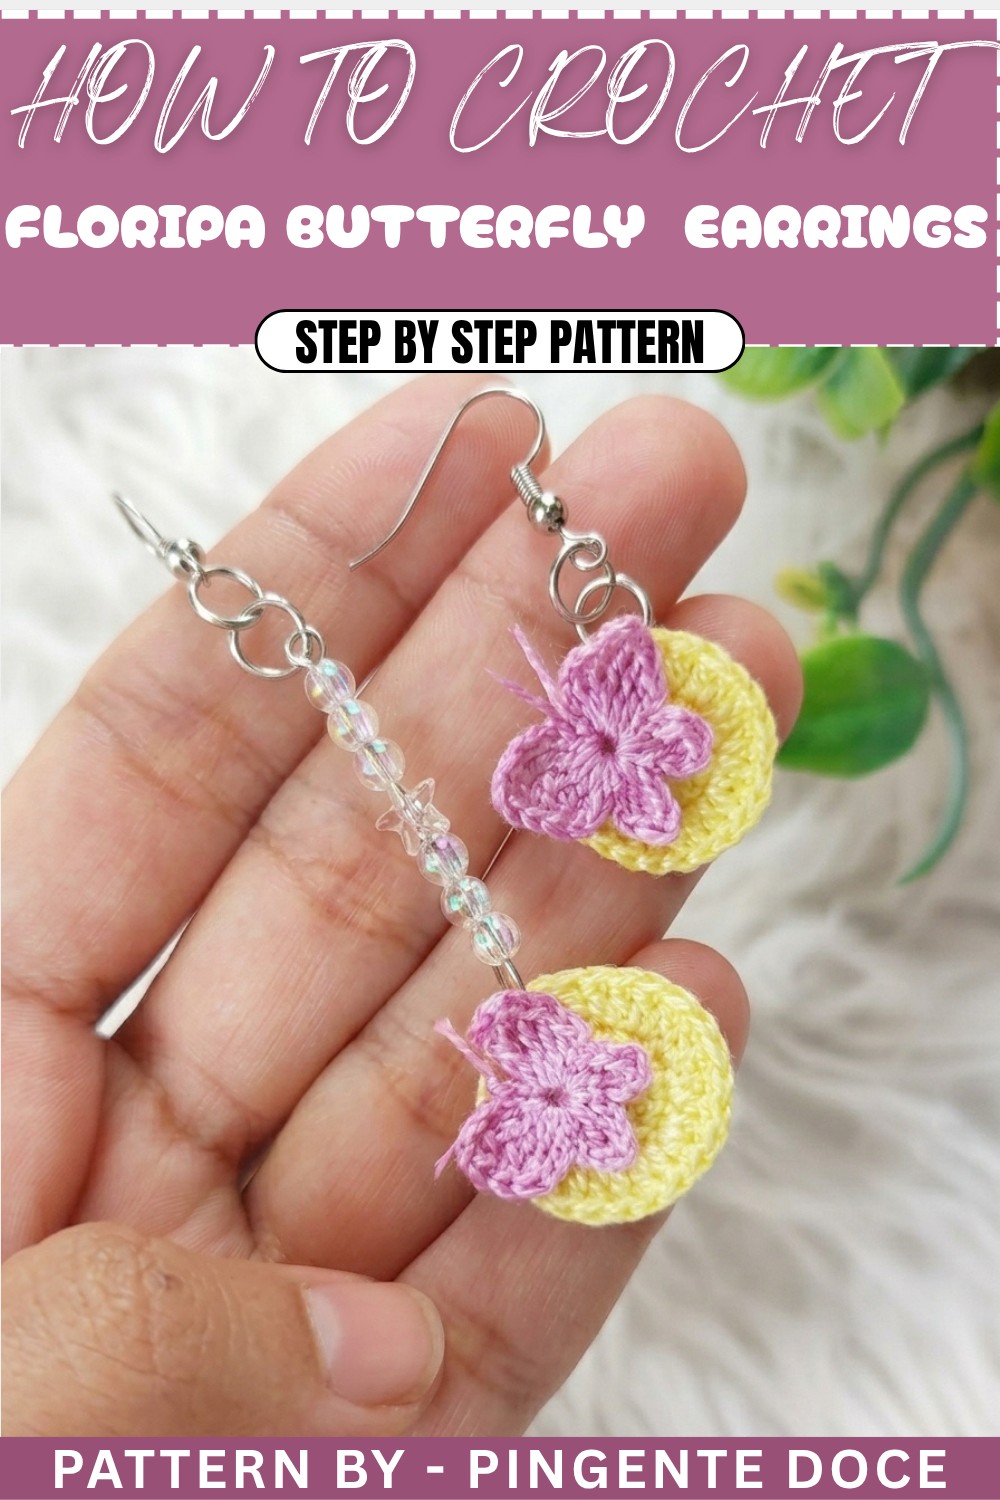
Crochet Floripa Butterfly Earrings Pattern
The Floripa Butterfly Earrings are a beautiful and unique handmade crochet accessory that adds a touch of elegance and whimsy to your wardrobe. Whether you create them for personal use, gifting, or selling, these asymmetrical earrings showcase your craftsmanship while offering a bold and artistic appeal. With clear instructions and a mix of basic and decorative stitches, you’ll enjoy the simplicity of making a stunning accessory.
Uses of This Pattern
- Fashion Accessory: A statement piece for casual or evening wear.
- Gift Idea: Perfect, personalized gifts with countless customization options.
- Creative Outlet: Experiment with different thread colors and beads for unique designs.
Skill Level & Terminology
- Skill Level: Intermediate (ideal for crafters comfortable with basic stitches and techniques like magic ring, triple crochet, and picot stitches).
- Terminology: U.S. Crochet Terms
Materials & Tools
- Yarn/Thread:
- Encor thread or any fine crochet thread in harmonious colors like pastels or metallic tones.
- Preferably two colors: one for the butterfly base and one for decorative details.
- Tools:
- Crochet hook: 1 mm (choose size based on thread weight).
- Scissors for trimming excess and tassel cutting.
- Tapestry/sewing needle for weaving in ends.
- Fabric glue or resin: Optional for stiffening the crochet parts and securing thread ends.
- Jewelry findings: Earring hooks, hoops, wire pin, and beads.
- Jewelry pliers: For assembly of hooks and rings.
Gauge
Gauge is not essential for this decorative project, but maintaining even tension is important for a balanced butterfly design.
Abbreviations List
- MR: Magic Ring
- ch: Chain
- sc: Single Crochet
- dc: Double Crochet
- sl st: Slip Stitch
- tc: Triple Crochet
Special Stitch Instructions
Magic Ring (MR):
- Form a loop with the working yarn, crossing it over the tail end.
- Insert the hook through the loop, yarn over, and pull through to secure.
- Crochet a chain to begin your stitches within the ring.
Triple Crochet (tc):
- Yarn over three times, insert the hook into the stitch and pull up a loop.
- Yarn over and pull through two loops at a time until only one loop remains on the hook.
Picot Stitch:
- Chain 2.
- Insert the hook into the first chain space, yarn over, and pull through to make a slip stitch.
Finished Size
The completed earrings measure approximately 3 inches long (without tassels) and 1 inch wide. The addition of optional tassels can add more length.
The Pattern Itself
Part 1: Crochet the Round Base
1. Start with the Magic Ring:
- Create a magic ring with your chosen color thread.
- Work 12 double crochets (dc) into the ring. Do not count the two initial chains as stitches.
- Pull the loose end of the magic ring firmly to tighten the loop.
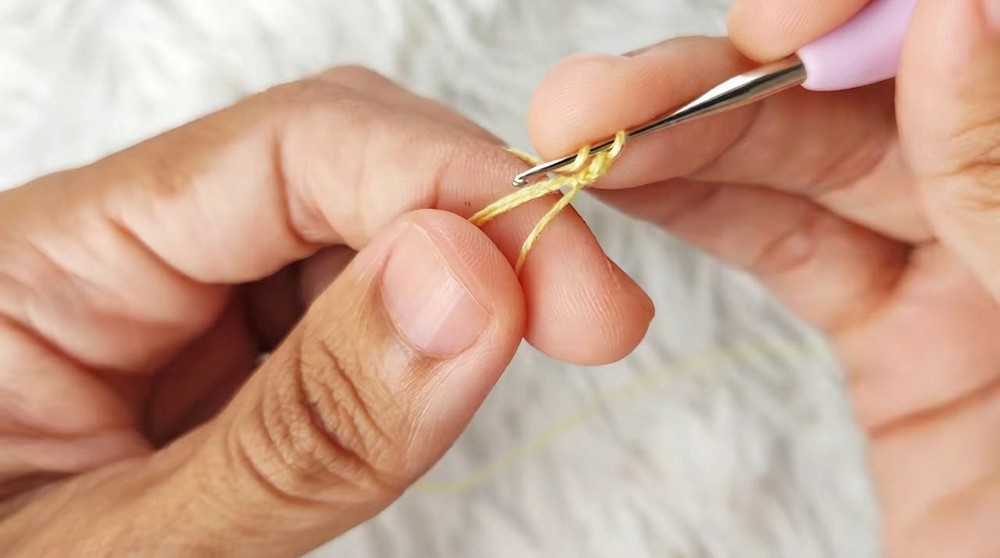
2. Close the First Round:
- Insert your crochet hook into the first double crochet, skipping the initial chains.
- Make a slip stitch (sl st) to secure the round and finish.
Success! You’ve created the foundation for the butterfly base. This should resemble a small, uniform circle.
3. Second Round: Increase the Circle:
- Begin with 2 chains (ch).
- In the same stitch, work 2 dc (increase). Skip the initial chains, as they do not count.
- Continue working 2 dc into each base stitch round until there are 24 stitches in total.
4. Finish the Second Row:
- Tie off the yarn by either sewing with a tapestry needle for a clean finish or working a slip stitch in the final stitch.
- Use the sewing needle to weave in loose ends at the back of the piece, hiding them neatly.
- Trim off any excess thread close to the crochet piece.
You’ve now completed one side of your butterfly base! Repeat this step to make the second identical round piece.
Part 2: Harden the Butterfly Base
5. Firm the Crochet:
- Apply a small amount of fabric glue evenly on the back of both crochet base pieces.
- Spread the glue carefully, ensuring it doesn’t saturate the design. Optionally, you may use resin for a cleaner finish.
- Let the glue dry completely before continuing.
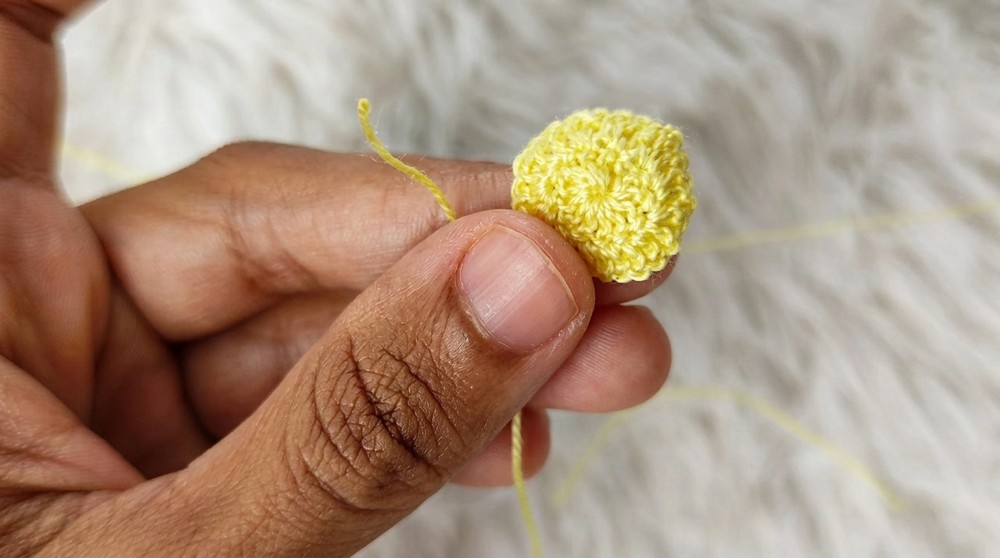
With hardened bases, your butterfly earrings will hold their shape and look polished. This step is perfect for creating durable accessories!
Part 3: Butterfly Wings
6. Start the Magic Ring:
- Using a contrasting color thread, create another magic ring (MR) for the wings.
- Work 6 chains (ch) to start the first wing.
7. Work the Wings:
- Loop your yarn three times for a triple crochet stitch (tc). Insert the hook into the MR and pull up the working yarn.
- Work the stitch by pulling through two loops at a time until one loop remains.
- To shape the wing:
- Loop twice for a double-loop double crochet. Work this stitch two times into the MR.
- Work 1 double crochet (dc) into the ring.
- Finish with 2 chains (ch) followed by a slip stitch (sl st).
8. Second Wing:
- Make 2 chains (ch), loop onto the hook, and work:
- 1 dc, 1 double-loop double crochet, and another dc, all into the MR.
- Work 3 chains (ch) and finish with a sl st.
9. Third Wing:
- Work 3 chains (ch), loop twice, and create one double-loop double crochet.
- Work another dc, followed by 2 chains and a sl st.
10. Fourth Wing:
- Repeat the steps for double-loop dc, tc, and a picot stitch for the upper wings.
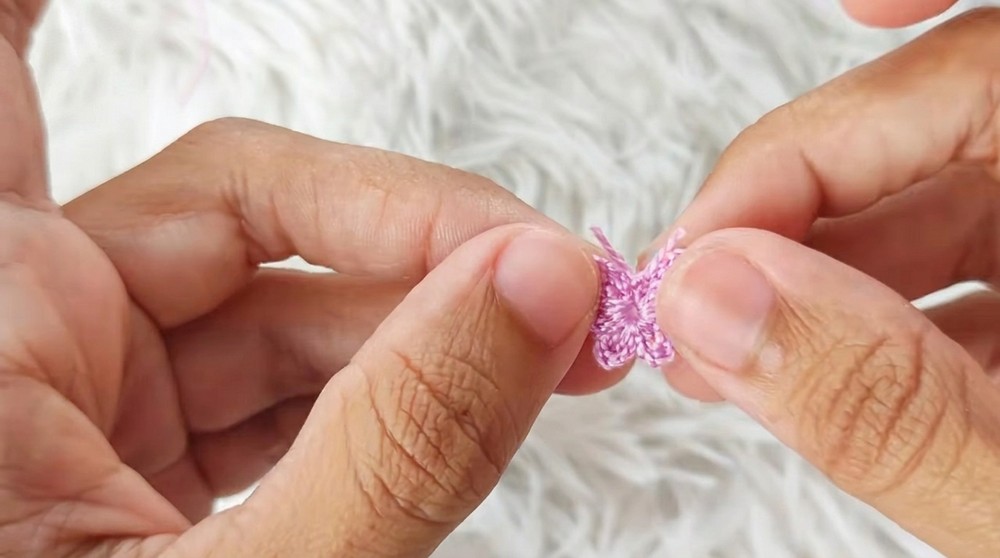
Your wings are now complete! Repeat to make the second butterfly piece.
Part 4: Assembly and Finishing Touches
11. Attach the Pieces:
- Position the butterfly wings on top of the rounded base. Use fabric glue to attach the wings to the base. Spread glue at the seams carefully to keep your butterfly symmetrical.
12. Add Antennae:
- Tie the leftover thread scraps into two small knots at the top of each wing to form the antennae.
- If necessary, apply resin or glue to these knots for extra durability.
13. Final Jewelry Assembly:
- Attach earring hoops to the top of the butterfly using jewelry pliers. Thread in additional beads using an earring pin.
- Alternatively, use hoops and hooks for a dangling style.
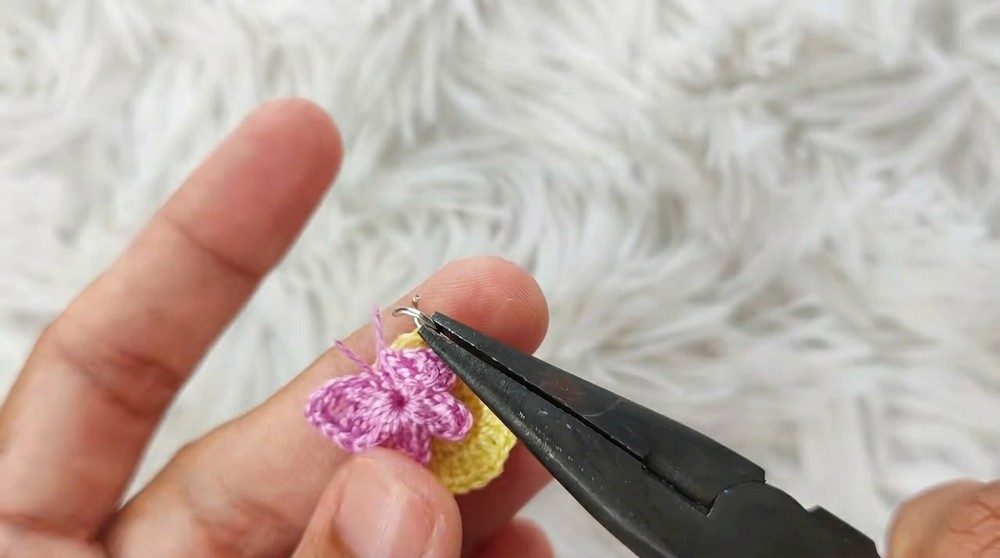
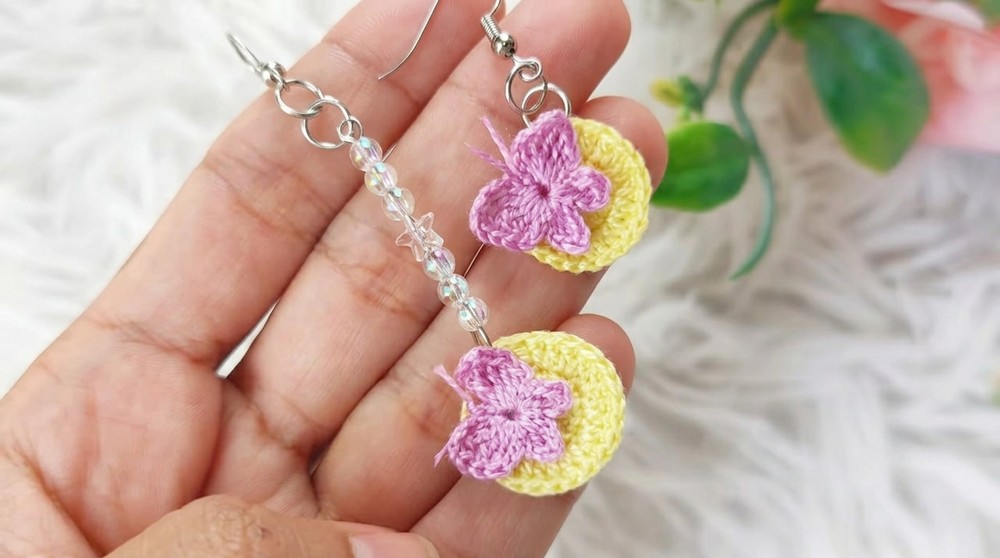
Your Floripa Butterfly Earrings are ready to be worn! Their asymmetrical look adds an artistic flair to your outfits.
What You’ll Learn
- Magic Ring Mastery: Build a solid core for circular designs.
- Picot and Triple Crochets: Incorporate decorative stitches to craft beautiful details.
- Hardened Crochet Finish: Learn how to strengthen pieces with resin or fabric glue for durability.
- Earring Assembly Skills: Practice working with jewelry materials to create high-quality handmade accessories.
Difficulties & Their Solutions
Common Challenges
- Loose Magic Ring:
- The magic ring might unravel over time due to improper fastening.
- Solution: Ensure you pull the loose thread tightly and knot it securely before continuing.
- Uneven Wings:
- Uneven wings can distort the butterfly’s shape.
- Solution: Carefully count stitches during the wing formation. Use stitch markers if needed to ensure symmetry.
- Stiffening Issues:
- Overuse of fabric glue or resin may lead to staining or uneven stiffening.
- Solution: Apply glue sparingly, focusing on the back side of the crochet piece.
Why You’ll Love This Pattern
This Floripa Butterfly Earrings Pattern is the epitome of elegance, combining nature-inspired shapes with the creative touch of crochet design. The project offers a chance to sharpen your technical crochet skills while crafting a stunning asymmetrical earring set. The sky is the limit when it comes to color combinations, giving you endless creative options.