
Crochet Mushroom Keychain Pattern for Cute Handmade Charm
Upgrade your accessories instantly due to the Free Crochet Mushroom Keychain Pattern for a cute, pocket-sized statement piece.
Adding a splash of nature’s charm to your everyday items is a fun way to brighten your day. This little mushroom keychain pattern brings a cozy, woodland feel to your bag or keys, using soft yarn and easy crochet techniques. You'll use fundamental stitches such as single crochet, increase, and decrease, plus a neat trick called the magic ring to start your rounds tightly. These stitches come together to form the mushroom's stem and cap with clean, rounded shapes that look just right.
Learn Step by Step Crochet Mushroom Keychain Pattern for Unique Decor
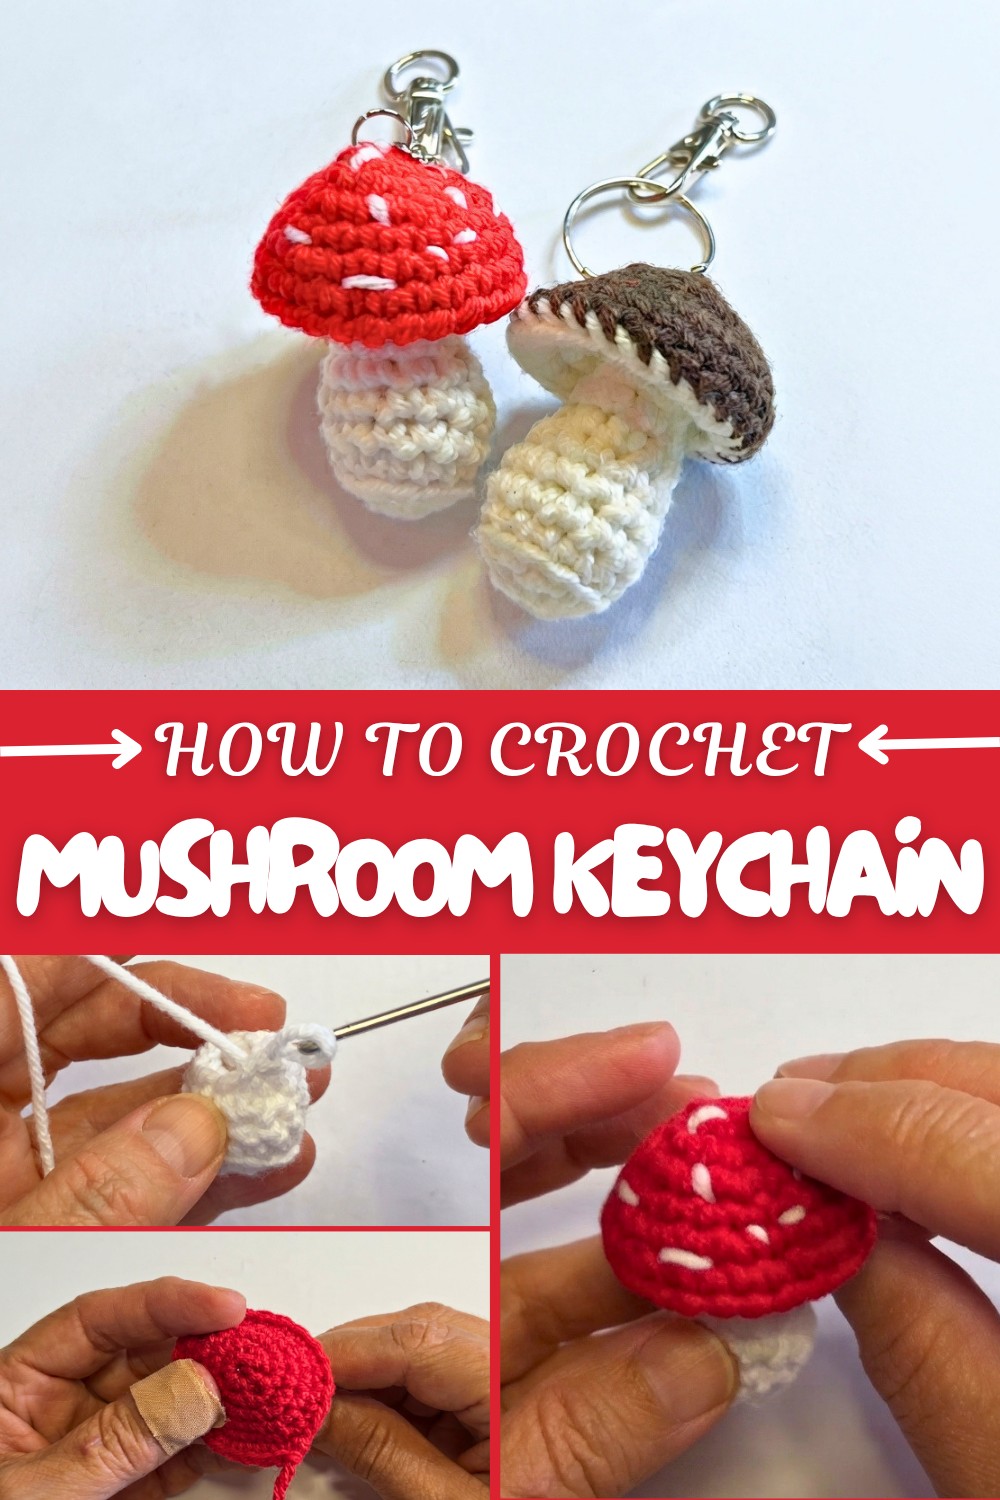
Working in rounds helps shape the mushroom in a smooth, seamless way, while stuffing it gives it a soft, plump finish. The pattern also teaches you how to sew small details, like spots on the cap, adding to its cute appeal. This project is perfect for beginners because the stitch counts are clear and repeated, making each step easy to follow. This pattern isn’t just a delightful decoration; it’s also a great way to practice important crochet skills. Its size makes it quick to finish, and once done, it can be a charming gift or a fun accessory to keep with you every day.
More projects you can try
Learning this mushroom pattern opens up many creative possibilities. The same stitches and techniques work well for making other nature-themed charms like acorns, leaves, or pinecones. You could also use them to crochet small toys, amigurumi animals, or pretty decor pieces. The skills gained here will help you confidently tackle a variety of cozy, miniature crochet projects that are both fun and useful.
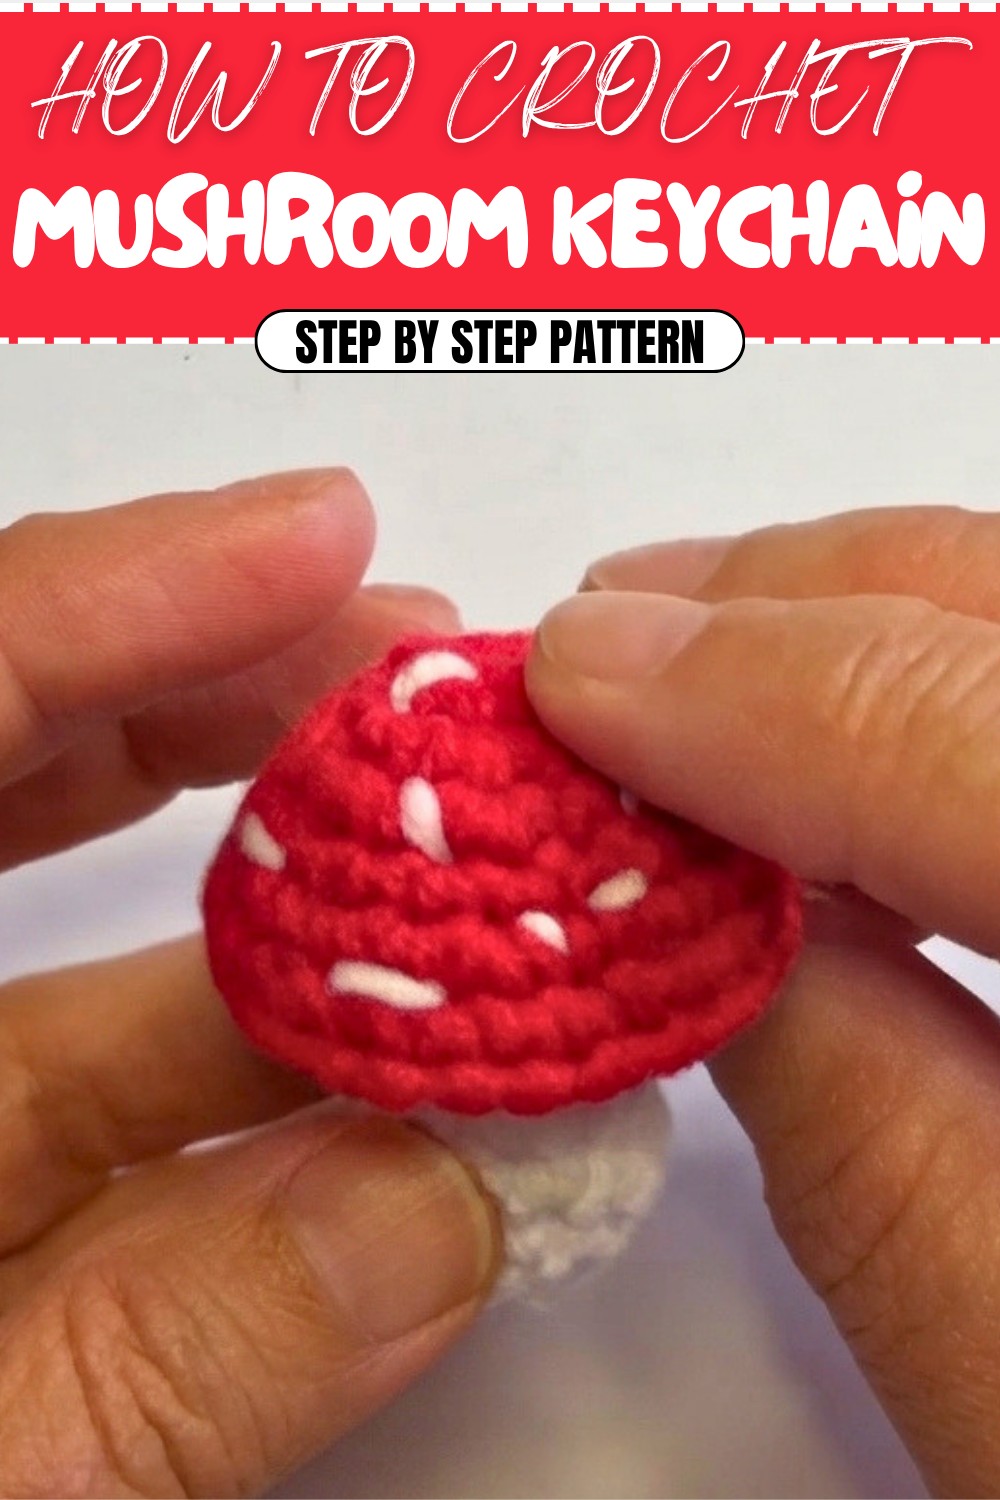
Crochet Pattern: Mushroom & Toadstool Keychain
Welcome to this easy-to-follow crochet pattern for creating a Mushroom & Toadstool Keychain! Whether you’re making it as a gift, a keychain, or just for fun, this adorable pattern allows you to craft whimsical mushrooms in any colorway you prefer. With their small size and simple construction, they are perfect for beginners wanting to practice crocheting in the round or for experienced crocheters looking for a quick, fun project.
You'll crOCHEt the stem, cap, and optionally embellish the toadstool’s cap with spots to give it a classic, fairytale appearance. This pattern uses basic stitches, making it beginner-friendly while still yielding polished results.
Skill Level & Terminology
- Skill Level: Beginner
- Terminology: US Crochet Terms
This pattern is straightforward and introduces techniques like working in continuous rounds, increasing, decreasing, and working in the back loop.
Materials & Tools
- Yarn:
- Milk Cotton Yarn in four colors:
- White: for the stem and spots
- Red: for the cap (toadstool)
- Other colors for mushrooms or decoration
- Optional: Green for straps or grass decorations
- Milk Cotton Yarn in four colors:
- Hook: 2.0 mm crochet hook
- Other Tools:
- Scissors
- Stitch marker (to track rounds)
- Tapestry needle (for sewing and weaving in ends)
- Polyfill stuffing
- Keyrings for final assembly
- Pliers (optional, for attaching the keyring)
Gauge
Gauge is not strictly important for this project, but for reference:
- 2.0 mm crochet hook with Milk Cotton Yarn yields a fabric tight enough to prevent stuffing from showing.
Abbreviations List
| Abbreviation | Meaning |
|---|---|
| MR | Magic Ring |
| ch | Chain |
| sc | Single Crochet |
| sc2tog | Single Crochet 2 Together (Decrease) |
| st | Stitch |
| inc | Increase (2 sc in one st) |
| BLO | Back Loop Only |
| sl st | Slip Stitch |
Special Stitch Instructions
- Magic Ring (MR):
Wrap the yarn around your fingers to form a ring. Insert the hook into the ring, yarn over, pull up a loop, and work the required number of stitches into the ring. Pull the tail tight to close the loop. - Single Crochet 2 Together (sc2tog):
Insert the hook into the first st, yarn over, pull up a loop. Insert the hook into the next st, yarn over, pull up a loop (3 loops on the hook). Yarn over and pull through all 3 loops. - Back Loop Only (BLO):
When working into stitches, insert your hook into the back loop only (leaving the front loop unworked).
Finished Size
The completed Mushroom or Toadstool Keychain will measure approximately 7–9 cm (3–3.5 inches) tall, depending on your chosen yarn and tension.
What Stitches Are Used in This Pattern?
This pattern uses single crochet (sc) throughout, with increases and decreases to shape the pieces. You'll also work in the back loop only (BLO) for texture and clean shaping.
The Pattern Itself
Step 1: The Stem
- Round 1:
- Create a MR, ch 1, and work 6 sc into the ring. (6 sts)
- Round 2:
- Work 1 sc in the first st, 2 sc in the next st, and repeat around. (12 sts)
- Round 3 (BLO):
- Work 1 sc in each st in the BLO around. (12 sts)
- Rounds 4–5:
- Work 1 sc in each st (both loops) for two rounds. (12 sts in each round)
- Round 6:
- 4 sc, sc2tog (decrease), 4 sc, sc2tog. (10 sts)
- Round 7:
- 3 sc, sc2tog, 3 sc, sc2tog. (8 sts)
- Rounds 8–10:
- Work 1 sc in each st in continuous rounds. (8 sts in each round)
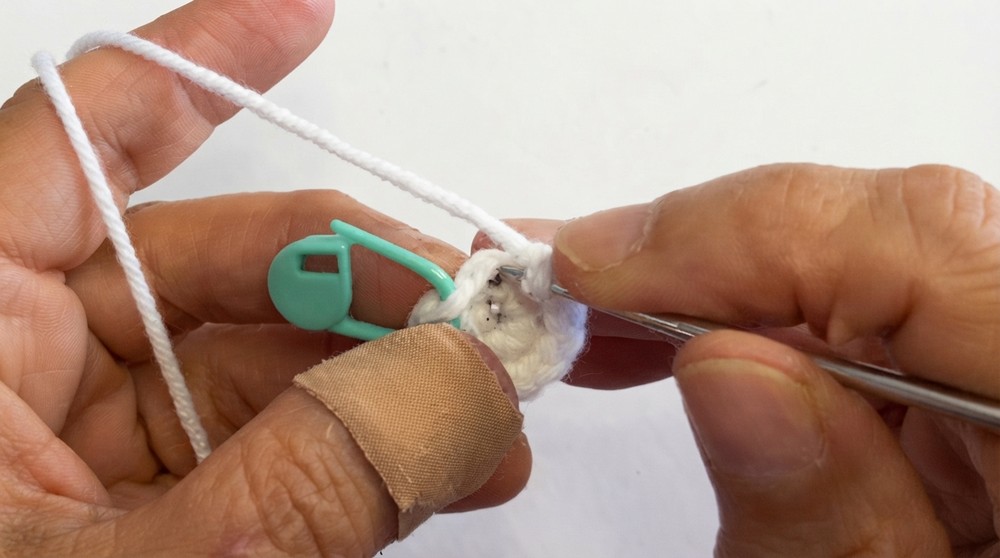
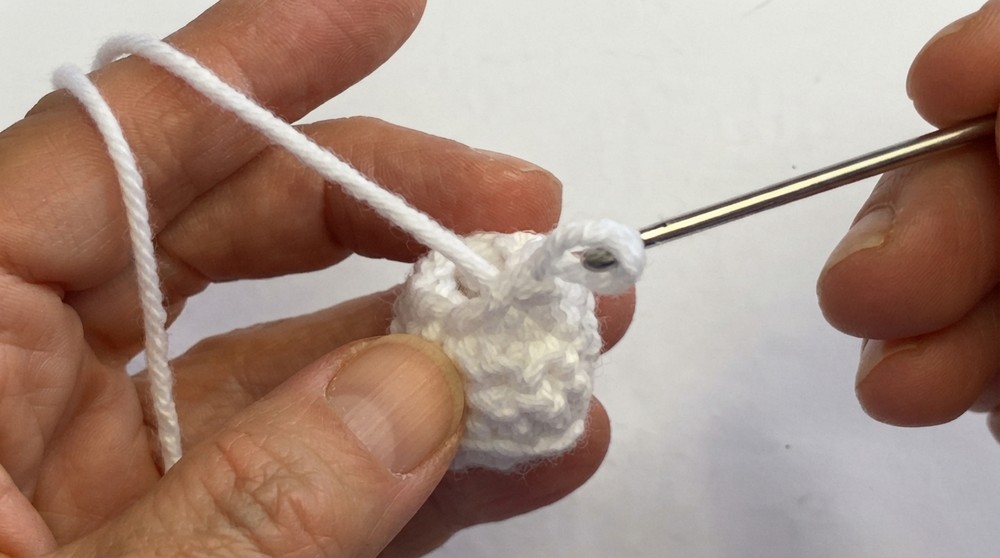
Tip: Stuff the stem firmly at this point before continuing to ensure it holds its shape.
- Round 11 (Increase):
- 1 sc, 2 sc in the next st, repeat around. (12 sts)
- Round 12:
- 1 sc, 2 sc, repeat around. (18 sts)
- Round 13:
- 1 sc, 1 sc, 2 sc, repeat around. (24 sts)
- Round 14:
- Work 1 sc in each st evenly. (24 sts)
After completing the stem, fasten off and leave a long tail for sewing.
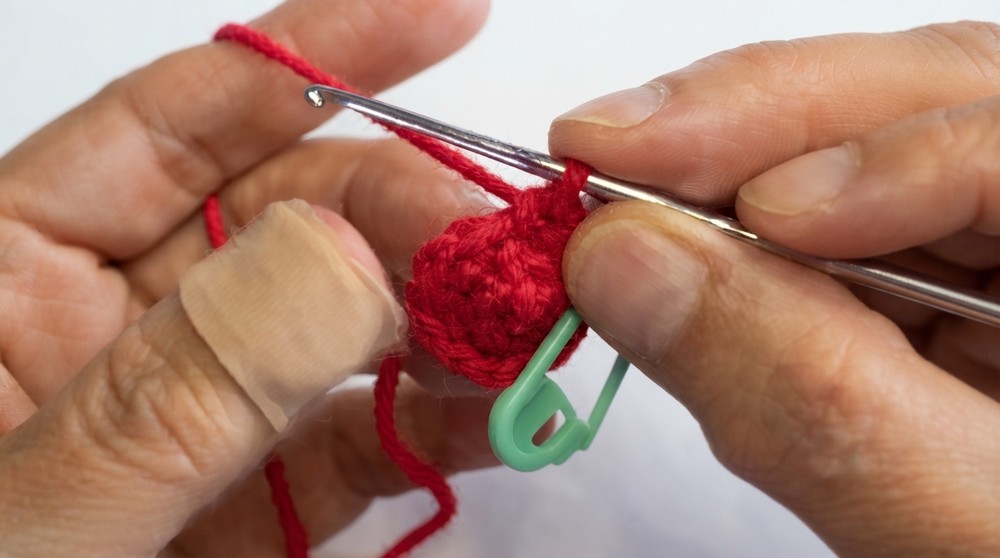
Step 2: The Cap
- Round 1:
- Create a MR, ch 1, and work 6 sc into the ring. (6 sts)
- Round 2:
- 1 sc in the first st, 2 sc in the next st, repeat around. (12 sts)
- Round 3:
- 1 sc, 2 sc, repeat around. (18 sts)
- Round 4:
- Work 1 sc in each st evenly around. (18 sts)
- Round 5:
- 1 sc, 1 sc, 2 sc, repeat around. (24 sts)
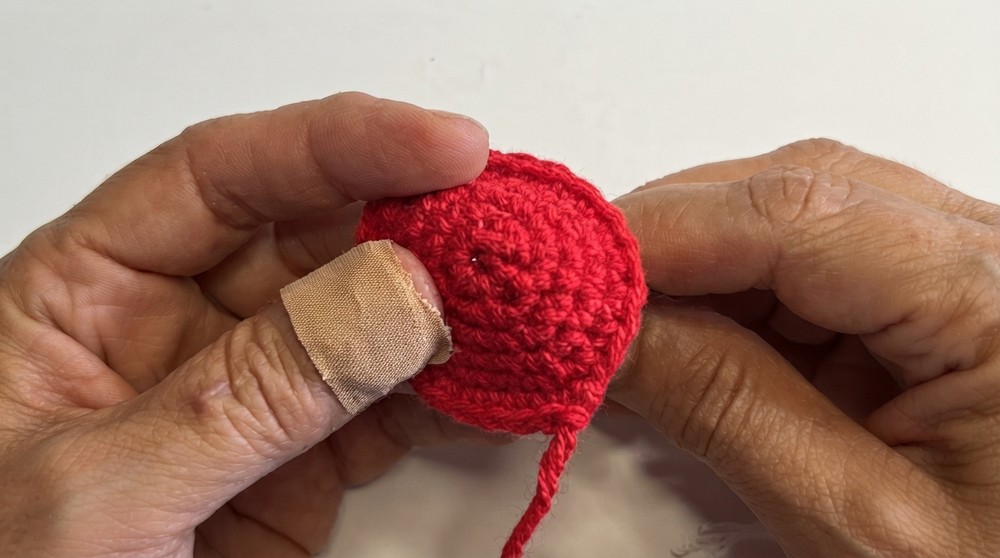
- Round 6:
- Work 1 sc in each st evenly around. (24 sts)
- Finish:
- Pull up a long yarn tail (approx. 50 cm) and fasten off.
Step 3: Adding Decorative Spots
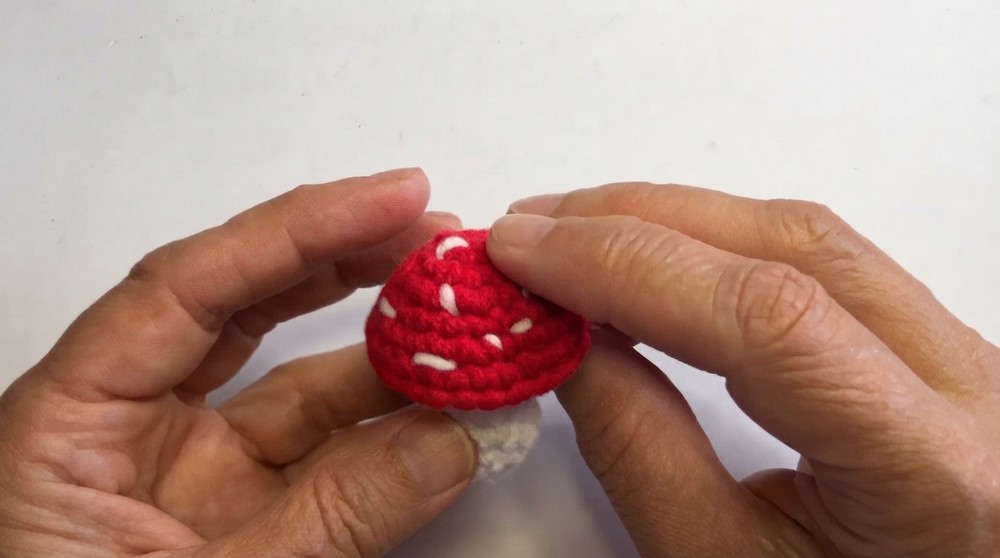
- Using white yarn, sew spots of varying sizes onto the cap.
- You can crochet small circles using a MR with six sc, fasten off, and sew them in place.
- Randomize the placement for a natural look!
Tip: The number and placement of spots are entirely up to you. Fewer spots suit a simple mushroom, while more spots create a classic toadstool look.
Step 4: Assemble the Keychain
- Sew the Cap to the Stem:
- Use the long tail from the cap to sew the cap to the top of the stem.
- Align both openings and sew through both loops of the bottom of the cap and the top loops of the stem. Tie off and weave in the ends.
- Stuffing:
- Add a bit of stuffing before sewing the parts fully closed to make it firm and hold its shape.
- Add the Keyring:
- Secure a keyring to the top of the cap using pliers, or sew a yarn loop to attach the keyring.
Assembly & Finishing
After assembling your Mushroom or Toadstool, adjust the stuffing to ensure the finished piece stands firm and looks well-proportioned. Weave in any remaining ends and trim the edges for a clean finish.
Tip: You can customize by adding embroidered details or crocheting small grass tufts at the base of the stem for added charm.
What You’ll Learn from This Pattern
- How to work in continuous rounds with increases and decreases.
- Basic assembly techniques for amigurumi to ensure polished results.
- Adding decorative and functional embellishments like spots and keyrings.
Why I Love This Pattern
This pattern is not only quick and fun but also incredibly versatile! The mushroom and toadstool styles allow for endless creativity, and they make great gifts or selling items. I love the whimsical, fairytale aesthetic that instantly brightens up bags or keys. It’s easy to scale up or down, and it’s beginner-friendly while offering room for advanced customization.