
Eco-Friendly Cute Crochet Smurf Amigurumi Pattern for Playtime
Refresh your handmade gifts with the Free Crochet Smurf Amigurumi Pattern, making the perfect cute companion for fans and collectors alike.
There’s a special joy in making something with your own hands that you can treasure forever. This adorable Smurf amigurumi pattern is a fun and simple way to start your crochet journey. You will use single crochet stitches worked in rounds to shape the head, body, arms, legs, and cute little details like ears and nose. These basic stitches are easy to learn and are the foundation for many crochet projects, helping you practice increases and decreases for shaping.
Learn How Can You Crochet Smurf Amigurumi Pattern for Your Collection
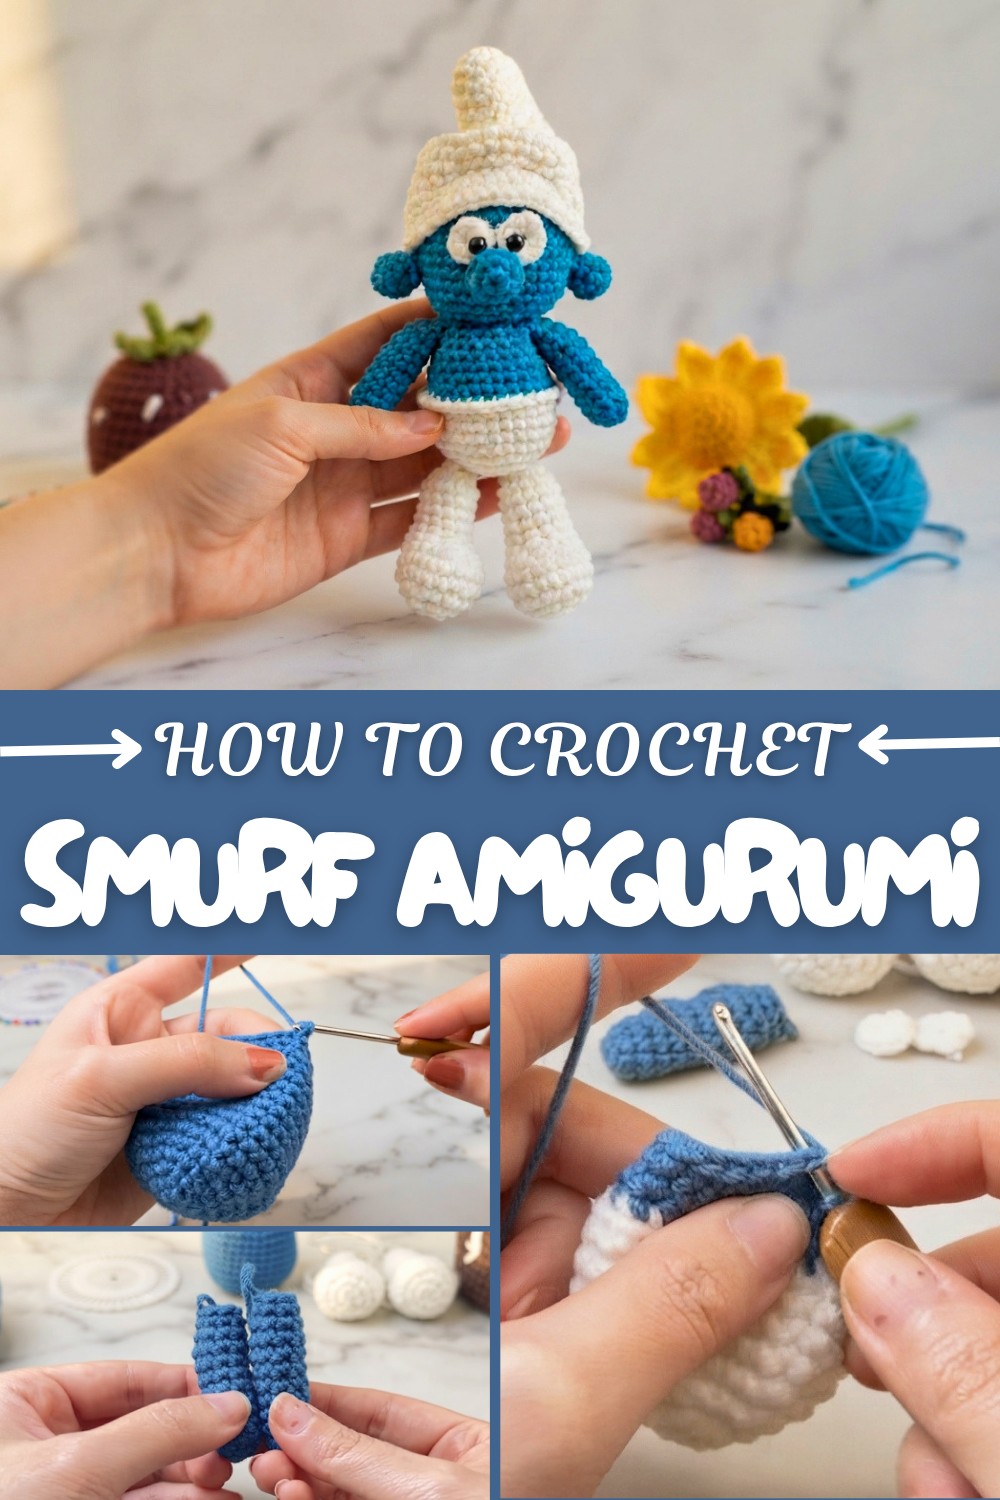
The instructions are clear and beginner-friendly, guiding you through each step with ease. Slip stitches are used to join rounds neatly, and chains help you start new rounds smoothly. Crocheting in the round gives your toy a seamless look that is perfect for stuffing and shaping into a firm, cuddly figure. Hand sewing the parts together adds a lovely personal touch, making your Smurf come to life with character.
Once you feel comfortable with these stitches and techniques, you can use the skills you gained to create many other amigurumi projects such as animals, dolls, and fantasy creatures. This pattern is a great way to build confidence and spark your creativity while making adorable handmade crochet toys that bring joy to yourself and others.
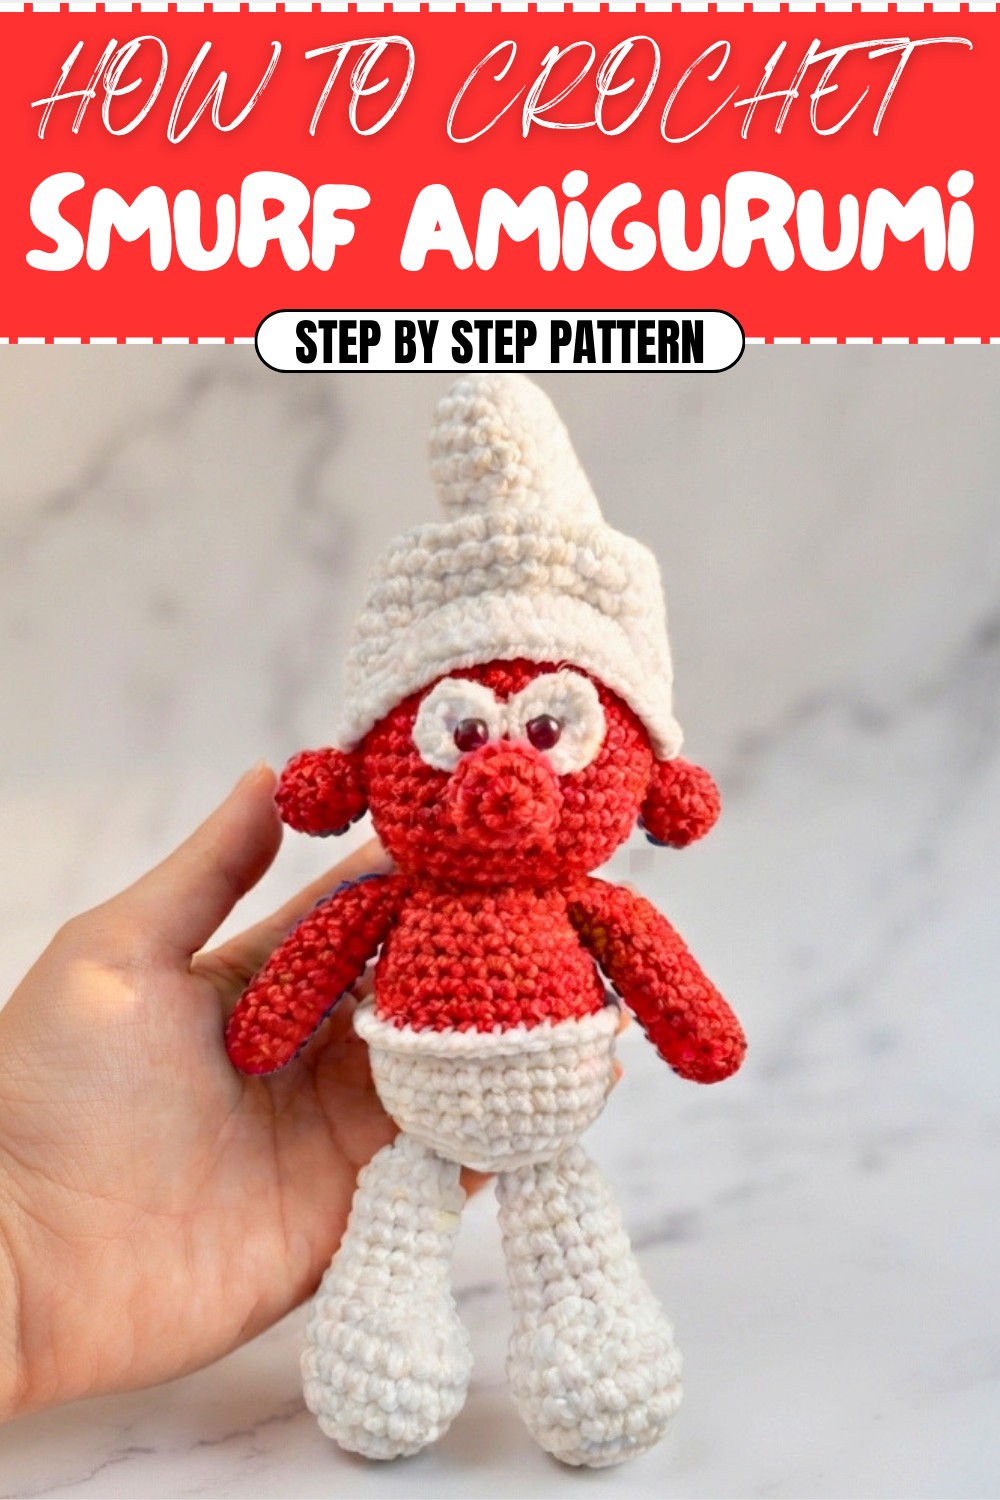
Smurf Amigurumi Crochet Pattern
Bring this charming Smurf amigurumi to life with this step-by-step crochet pattern! Using simple shapes, fun techniques like the magic ring, single crochet, increases, and decreases, you’ll create a delightful toy with adorable features including its iconic blue head, white hat, and charming smile.
Skill Level & Terminology
- Skill Level: Beginner
- Terminology: US Crochet Terms (US sc = UK dc, US inc = UK inc, US dec = UK dec).
Materials & Tools
Yarn:
- Blue yarn: For the head, arms, and nose.
- White yarn: For the hat, legs, and belt.
- Optional: Embroidery thread or black yarn for facial details.
Hook:
- 2.5mm crochet hook (US size C/2).
Additional Supplies:
- Stuffing: Polyester fiberfill or similar for amigurumi stability.
- Fabric Glue: To secure facial features.
- Sewing Needle: For attaching pieces.
- Scissors: For trimming yarn tails.
- Stitch markers: Optional, for tracking rows.
Plain explanation: You need blue and white yarn, a small hook for detailed stitches, stuffing to keep the Smurf plump, and basic crafting tools to make finishing simple.
Gauge
Gauge is not critical for this project. However, keep your stitches tight to prevent gaps in the stuffing. Aim for 8 single crochet stitches and 8 rows per inch.
Plain explanation: Always crochet tightly with even tension to ensure no fiberfill shows through your Smurf, regardless of gauge.
Abbreviations List
Here’s a list of stitches and terms you’ll encounter:
- mr: Magic Ring
- sc: Single Crochet
- sl st: Slip Stitch
- inc: Increase (2 sc in the same stitch)
- dec: Invisible Decrease (crochet two stitches together).
Plain explanation: These abbreviations are shorthand for common stitches. You can refer back here if you get stuck.
Special Stitch Instructions
Invisible Decrease (dec):
- Insert your hook into the front loop only of the next two stitches, yarn over, and pull through both loops.
- Yarn over again and pull through the remaining loops on the hook.
This technique makes decreases smooth and ideal for amigurumi.
Magic Ring (mr):
- Wrap yarn around two fingers to create a loop.
- Insert your hook into the loop, yarn over, and pull up a loop.
- Work the required stitches into the ring, then pull the tail tightly to close.
Finished Size
- Height: Approximately 8 inches (20 cm).
- Width: About 4 inches at the widest point (hat brim).
What You’ll Learn From This Pattern
- Amigurumi Construction: Learn how to combine basic shapes for detailed designs.
- Invisible Decreases: Perfect your techniques for seamless transitions in shaping.
- Magic Ring Mastery: Easily start circular pieces for amigurumi designs.
- Detailed Assembly: Gain insight into joining and securing complex parts of a toy.
The Pattern Itself
Step 1: Head
- Round 1:
- Using blue yarn, create a mr, and work 6 sc into the ring.
- Sl st to join, and chain 1. (6 sts)
- Round 2:
- Inc in every stitch. (12 sts)
- Round 3:
- (1 sc, 1 inc) repeat 6 times. (18 sts)
- Round 4:
- (1 sc, 1 inc, 1 sc) repeat 6 times. (24 sts)
- Round 5:
- (3 sc, 1 inc) repeat 6 times. (30 sts)
- Round 6:
- (2 sc, 1 inc, 2 sc) repeat 6 times. (36 sts)
- Rounds 7–14:
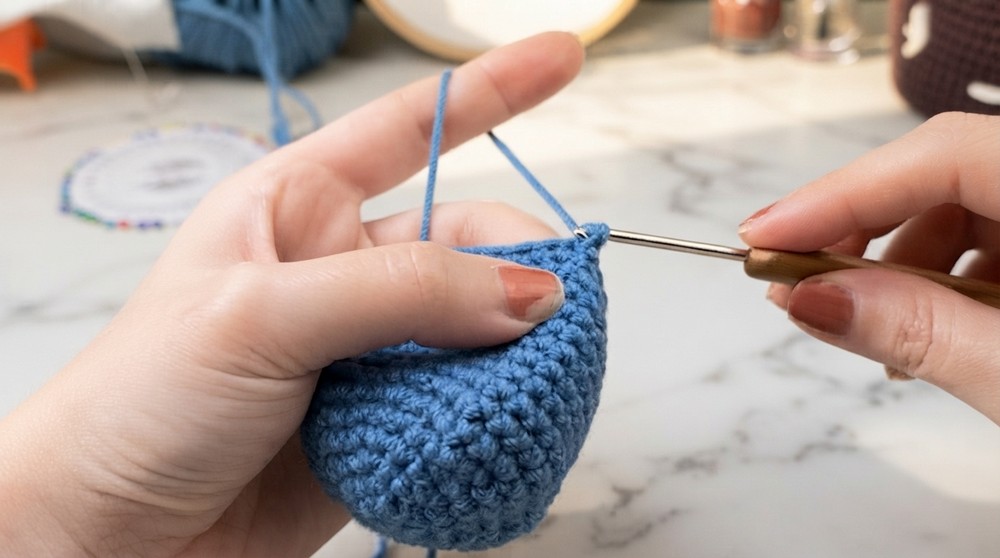
- Sc in each stitch around. (36 sts per row)
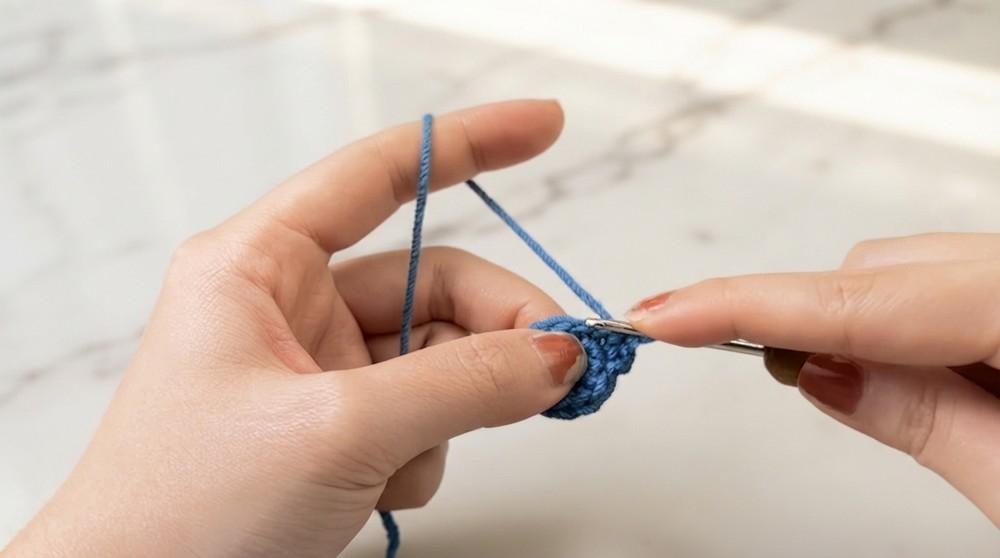
Plain explanation: The head begins with a magic ring and grows evenly through increases. You'll maintain the shape with 8 rows of consistent stitches.
- Round 15:
- (2 sc, 1 dec, 2 sc) repeat 6 times. (30 sts)
- Round 16:
- (3 sc, 1 dec) repeat 6 times. (24 sts)
- Round 17:
- (1 sc, 1 dec, 1 sc) repeat 6 times. (18 sts)
- Finish:
- Stuff the head firmly with fiberfill. Leave no gaps but avoid overstuffing.
Step 2: Legs (Make 2)
- Row 1:
- Using white yarn, ch 4.
- Work 1 inc, 1 sc, and 3 sc into the same stitch.
- Row 2:
- Crochet as per the pattern displayed in the video, evenly shaping the sole.
- Rows 4–5:
- Sc in each stitch across.
- Row 6:
- Work 3 decreases, followed by 4 sc. Continue shaping with advanced decreases for a tapered leg.
- Rows 8–12:
- Sc evenly in each stitch.
- Row 13:
- Decrease evenly to close the top of the leg.
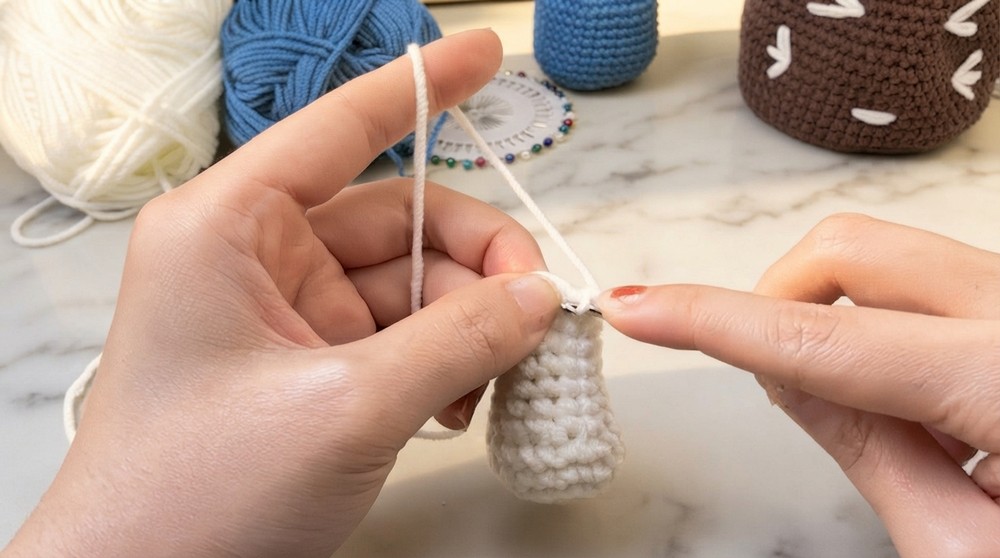
Plain explanation: The legs are shaped from the bottom up and are stuffed gradually to maintain structure.
Step 3: Arms (Make 2)
- Round 1:
- Using blue yarn, crochet a mr with 6 sc.
- Rounds 2–9:
- Continue evenly until the arm reaches the proper length (approx. 3 inches).
- Round 10:
- Begin decreases: Work 1 dec, then sc in the remaining stitches.
- Round 11:
- Decrease evenly until closed.
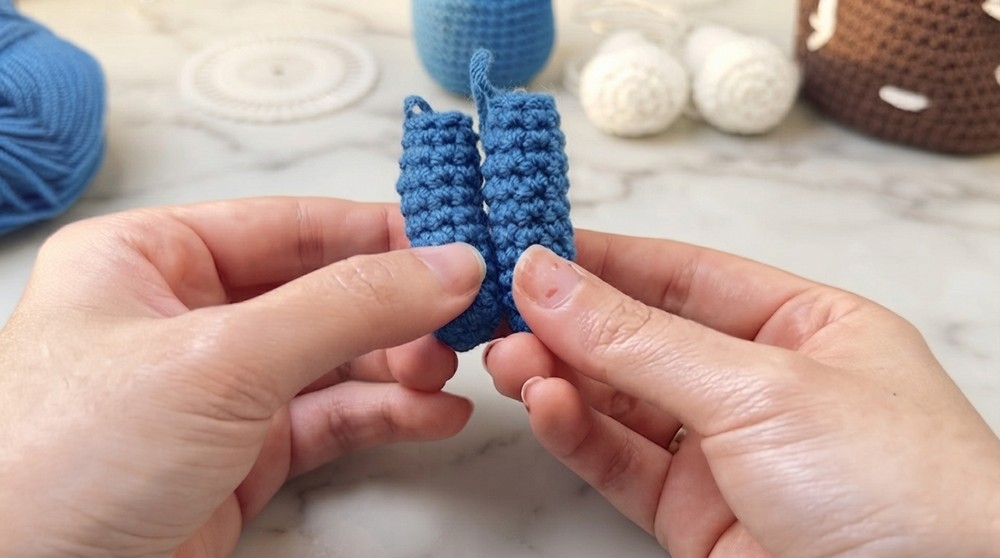
Plain explanation: The arms are worked in continuous rounds and decrease at the upper end for attachment.
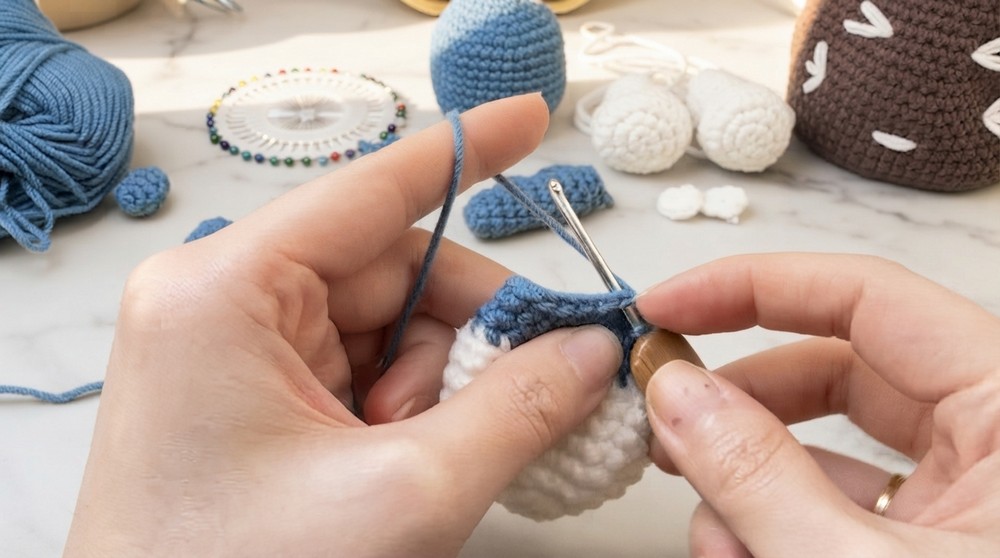
Step 4: Body
- Round 1:
- Create a mr using white yarn, and work 6 sc into the ring.
- Rounds 2–9:
- Work evenly in white yarn for the base shape.
- Attach Blue Yarn:
- Switch to blue yarn starting at row 10.
- Set Up for Legs:
- Begin tapering stitches for body base attachment.
- Attach the arms at Row 16:
- Use markers for symmetry. Each arm is sewn neatly into place.
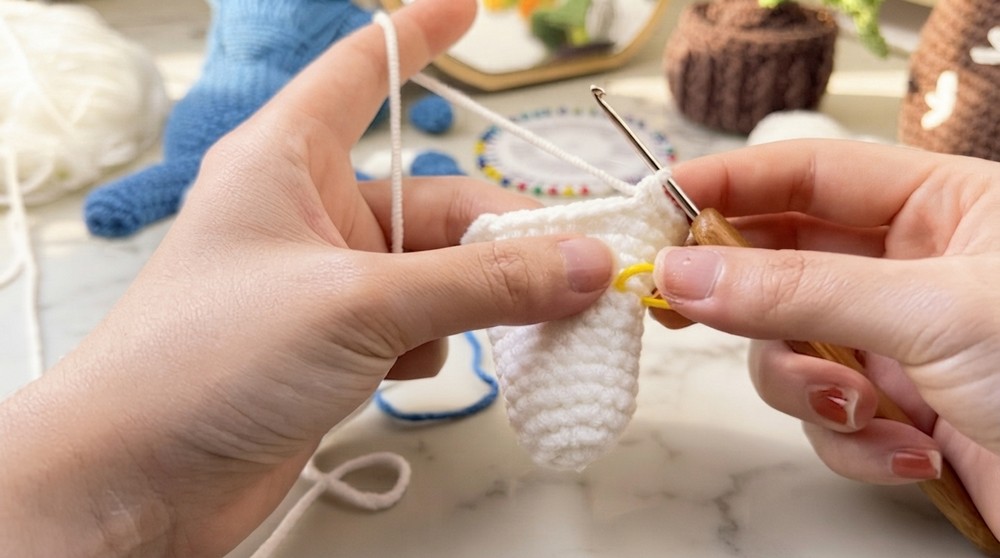
Step 5: Hat
- Round 1–21:
- Crochet white yarn using mr and evenly shape the brim.
- Attach:
- Secure hat to the Smurf’s head using glue or sewing.
Assembly & Finishing
- Facial Features:
- Create the nose, eyes, and ears following the shapes outlined above, and glue or sew them to secure placement.
- Join Body Parts:
- Attach the head to the body and secure the legs evenly.
- Details:
- Add optional embroidery for the Smurf’s facial expression to give added personality.
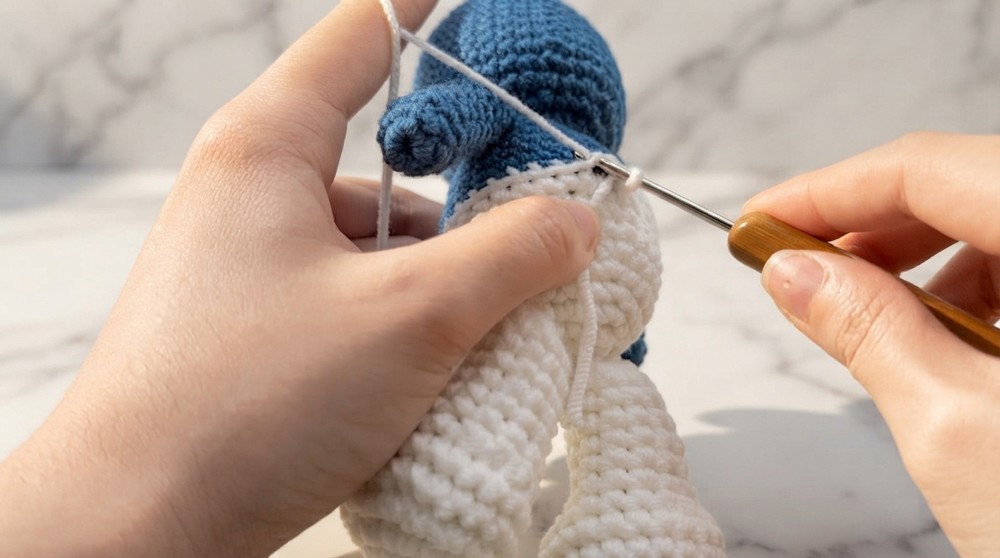
Plain explanation: Sew or glue all features onto the base shapes, ensuring symmetry for a polished toy.
Why You’ll Love This Pattern
This Smurf pattern is both fun and entertaining, with its detailed yet simple structure making it ideal for gifting or displaying proudly. You’ll find joy in crafting its whimsical hat, tapered body, and expressive eyes—all while sharpening your crochet skills. The finished project is guaranteed to bring smiles wherever it goes, from kids' collections to your own shelf!