
How to Crochet Scorpio Amigurumi Pattern for Zodiac Fun
Instantly personalize gifts with the Free Crochet Scorpio Amigurumi Pattern, letting zodiac fans enjoy their sign in plush form.
Learn the joy of bringing a tiny creature to life with just yarn and a hook. This fun project teaches you how to crochet a charming little scorpion using the single crochet stitch, known for creating a tight and sturdy fabric perfect for amigurumi toys. You’ll also use the double crochet stitch to add texture and detail, making your scorpion stand out with its unique shape.
Free and Whimsical Crochet Scorpio Amigurumi Pattern for Star Sign Lovers
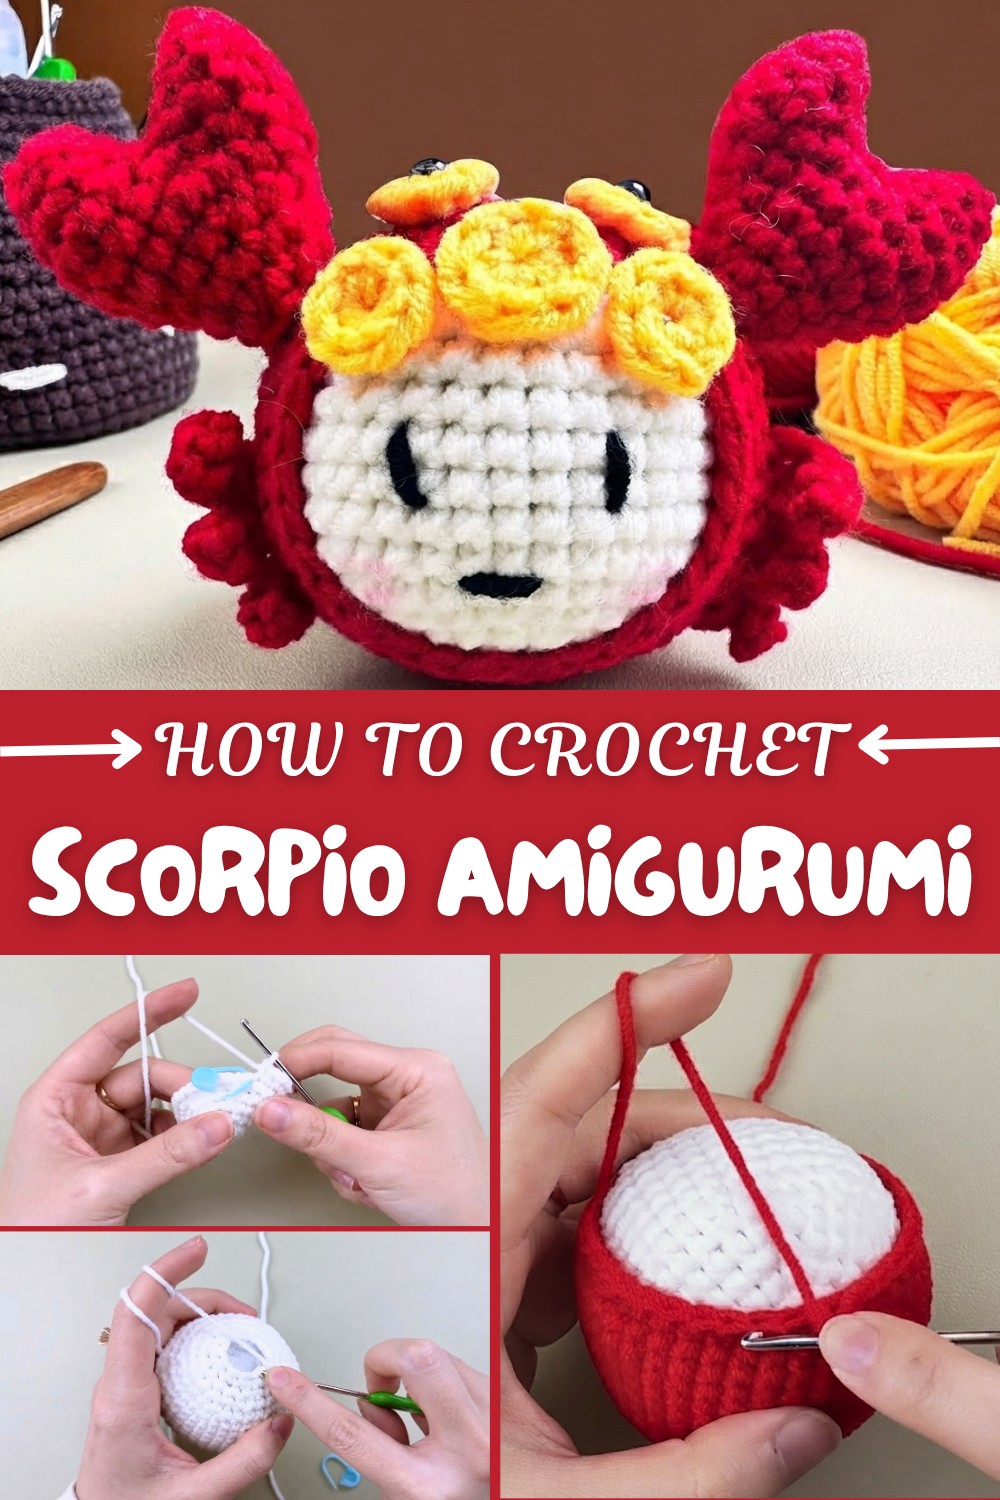
Working in rounds, the pattern guides you through important crochet skills such as creating magic rings, increasing and decreasing stitches for shaping, and joining rounds with slip stitches. Step by step, you’ll crochet the scorpion’s body, legs, pincers, tail, and eyes, stuffing each part to give it soft fullness and personality. This hands-on experience is both calming and rewarding, allowing you to create a cute, handmade decoration or gift.
The stitches and skills you learn here are highly adaptable. Once you finish your scorpion, you can use the same methods to create a variety of small animals or insects. Try making spiders, crabs, or even mythical creatures by changing stitch patterns or colors. This pattern opens the door to a world of creative amigurumi projects perfect for beginners and seasoned crocheters alike.
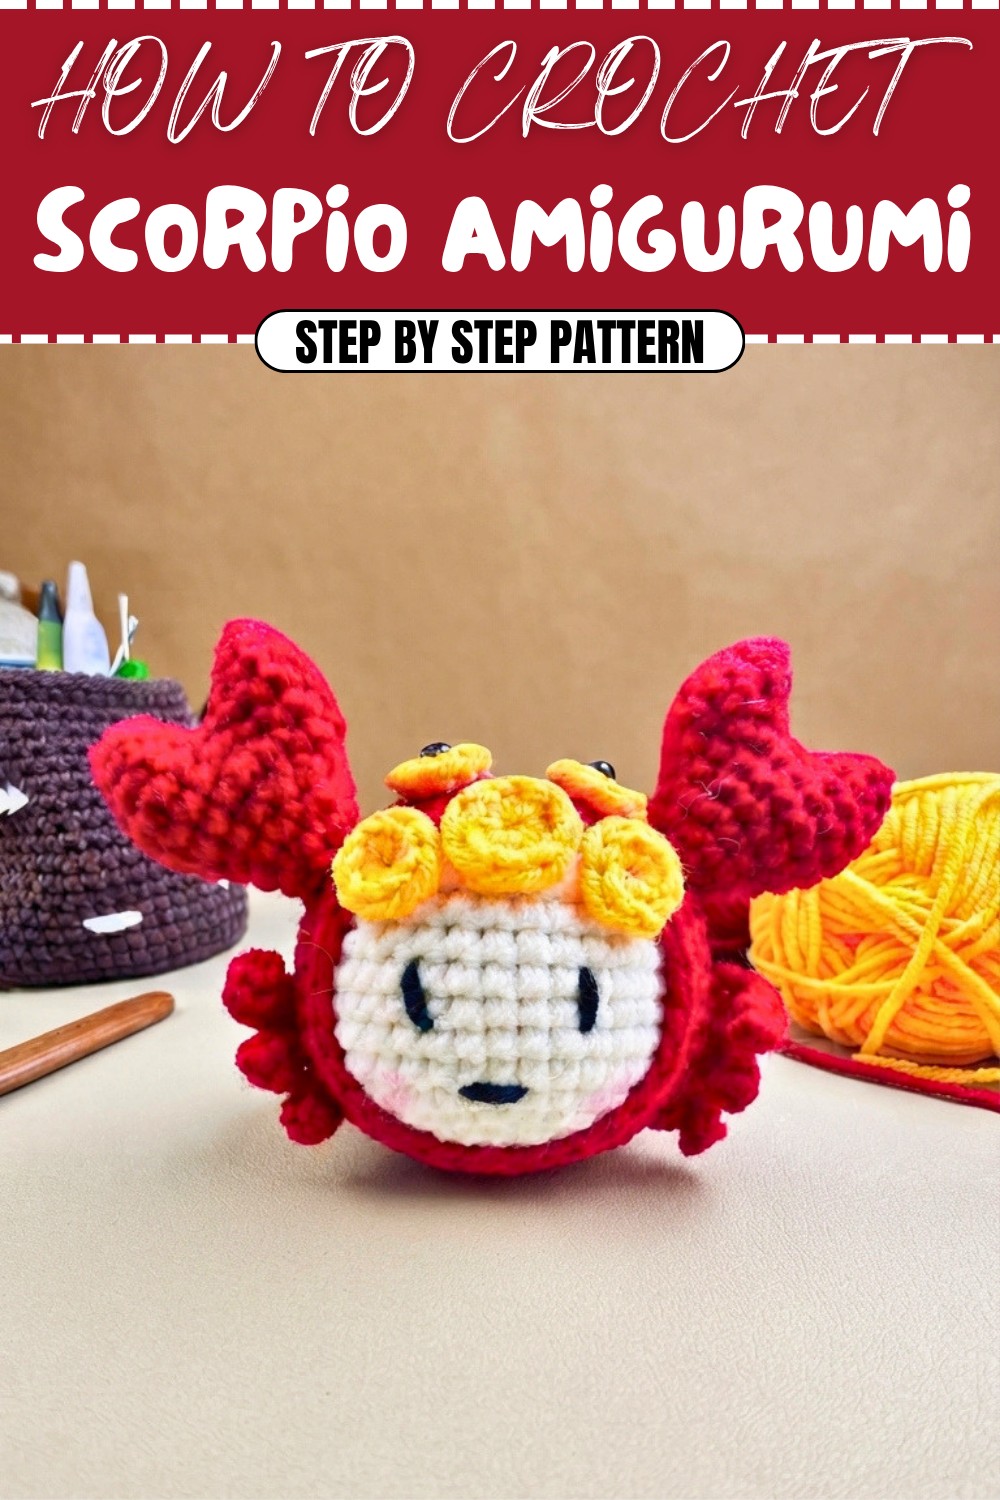
Tiny Scorpion Crochet Pattern
This detailed crochet pattern helps you create a tiny scorpion, perfect for display or as a unique handmade gift. The pattern includes five individual parts: the body, tail, legs, pincers, and detailed assembly instructions. Throughout this guide, you’ll learn how to shape and join amigurumi pieces while mastering basic and intermediate crochet techniques.
Skill Level & Terminology:
- Skill Level: Intermediate.
- Terminology: US crochet terms.
Materials & Tools:
- Yarn: Worsted-weight yarn (black or any color of your choice).
- Hook: US size E (3.5mm) crochet hook.
- Stuffing: Polyester fiberfill to shape the body, legs, and pincers.
- Accessories: Safety eyes (10mm).
- Tools: Yarn needle, stitch markers, scissors, and fabric glue.
Gauge:
Not crucial for this pattern, but ensure you create tight stitches to avoid gaps where stuffing could show through.
Abbreviations:
- MR: Magic Ring.
- SC: Single Crochet.
- DC: Double Crochet.
- Inc: Increase (two stitches in the same stitch).
- Dec: Decrease (single crochet two stitches together).
- Sl St: Slip Stitch.
- Ch: Chain.
Special Stitch Instructions:
Magic Ring:
- Loop the yarn around your fingers to form a circle. Insert your hook into the center, pull up a loop, chain one to secure, and start crocheting into the ring.
Finished Size:
Approximately 4 inches long, including the tail.
What You'll Learn from This Pattern:
This project allows you to master skills such as working in rounds, shaping amigurumi, and assembling small components. It’s a great exercise for learning precise stitch placement for intricate designs.
Why We Love This Pattern:
The scorpion is a unique and fun design that combines creativity and technical crochet skills. Its compact size makes it an ideal addition to amigurumi collections. The finished product is as adorable as it is impressive!
The Pattern Itself:
Body
Round 1: Create a MR, and work 6 SC into the ring. Sl St to the first stitch, Ch 1.
Round 2: Work 2 SC in each stitch (Inc) around. Repeat 6 times (12 stitches). Sl St to join, Ch 1.
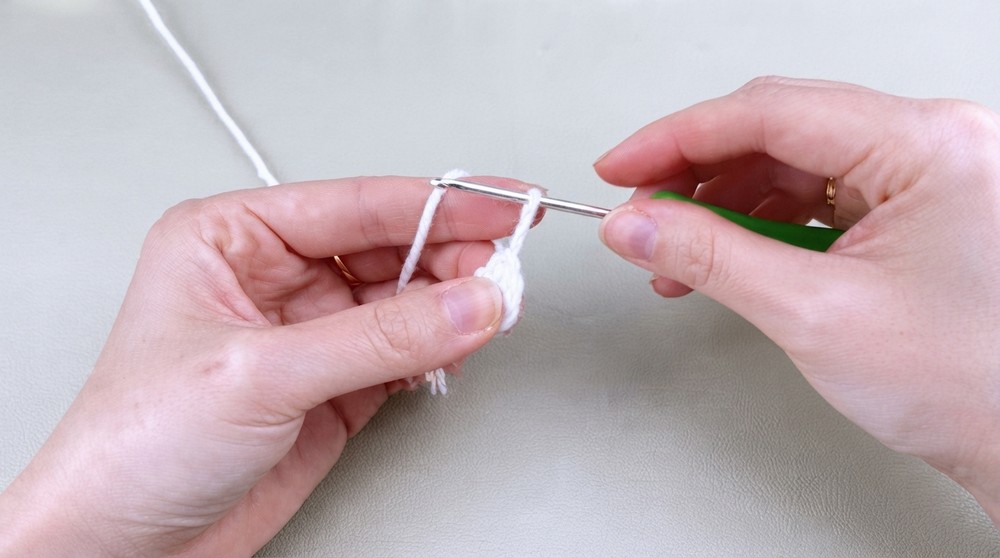
Round 3: Work 1 SC, 1 DC in the next stitch. Repeat 6 times (18 stitches). Sl St, Ch 1.
Round 4: Work 1 SC, 1 DC, 1 SC. Repeat 6 times (24 stitches). Sl St, Ch 1.
Round 5: Work 3 SC, 1 DC. Repeat 6 times (30 stitches). Sl St, Ch 1.
Round 6: Work 2 SC, 1 DC, 2 SC. Repeat 6 times (36 stitches). Sl St, Ch 1.
Round 7: Work 5 SC, 1 DC. Repeat 6 times (42 stitches). Sl St, Ch 1.
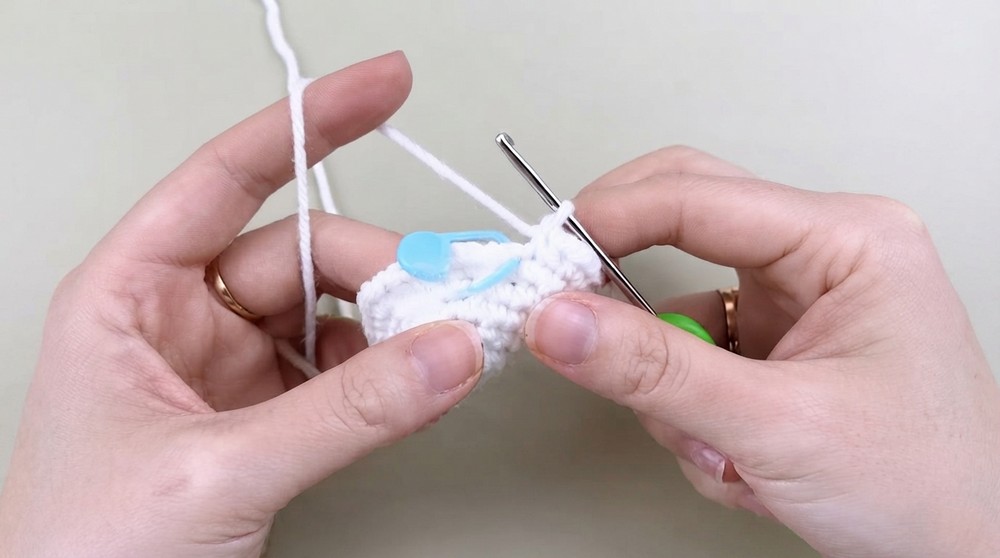
Rounds 8–14: Work 42 SC evenly without increasing or decreasing.
Round 15: Work 5 SC, 1 Dec. Repeat 6 times (36 stitches). Sl St, Ch 1.
Round 16: Work 4 SC, 1 Dec. Repeat 6 times (30 stitches). Sl St, Ch 1.
Round 17: Work 3 SC, 1 Dec. Repeat 6 times (24 stitches). Sl St, Ch 1.
Round 18: Work 1 SC, 1 Dec, 1 SC. Repeat 6 times (18 stitches).
Stuff firmly with fiberfill. Fasten off leaving a 15-20 cm tail for sewing.
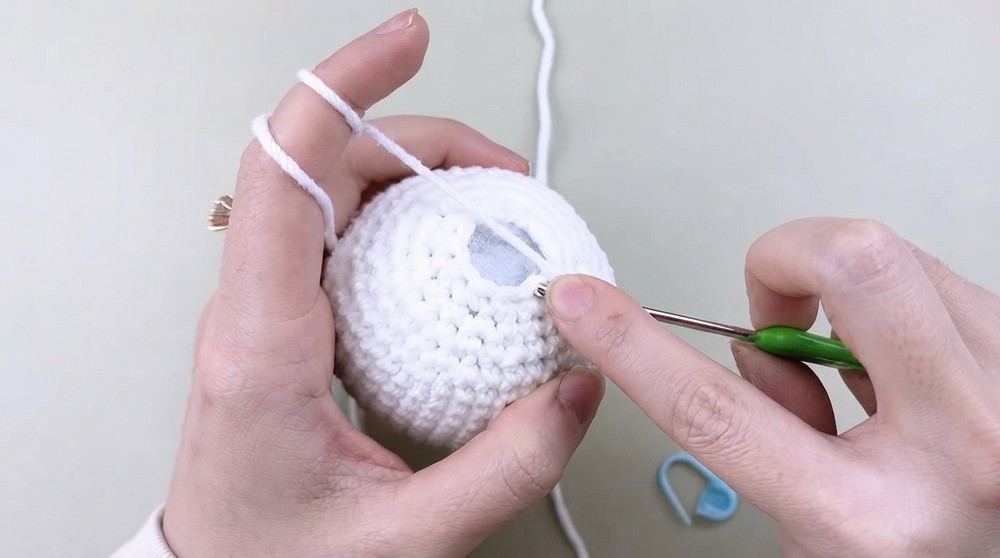
Tip: The body is the base for your scorpion. Be sure to stuff evenly to maintain its round shape.
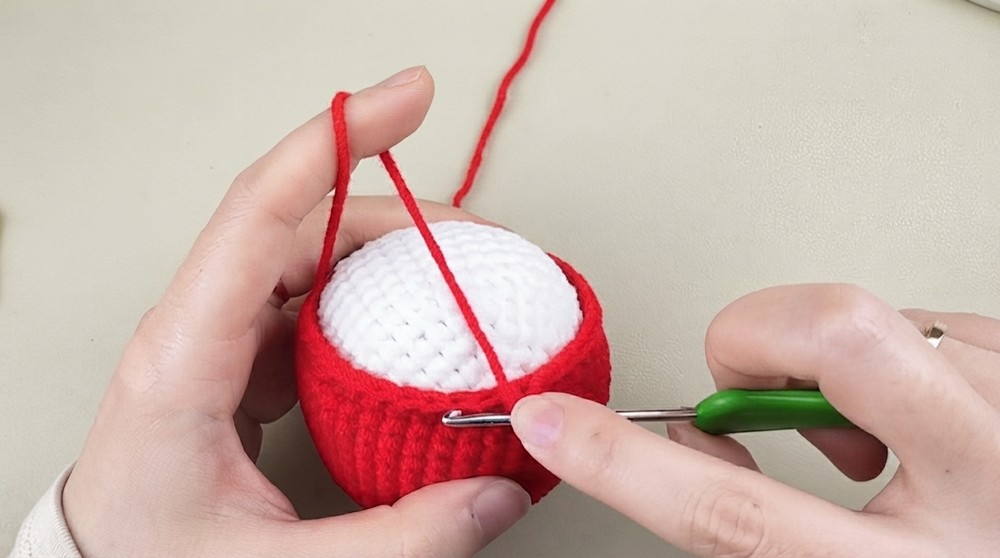
Tail
Round 1: Create a MR, and work 4 SC into the ring. Sl St, Ch 1.
Round 2: Work 1 SC, 1 DC, repeat 2 times (6 stitches). Sl St, Ch 1.
Rounds 3–10: Work 6 SC evenly without alterations.
Round 11: Work 1 SC, 1 DC, repeat 3 times (9 stitches). Sl St, Ch 1.
Round 12: Work 2 SC, 1 DC, repeat 3 times (12 stitches).
Stuff lightly and shape the tail into an upward curve.
Note for Beginners: The tail is crocheted tightly to maintain its structure. Use pins to hold its shape before sewing.
Pincers
Round 1: Create a MR, and work 3 SC into it. Sl St, Ch 1.
Round 2: Work 2 SC in each stitch (6 stitches). Sl St, Ch 1.
Round 3: Work 1 SC, 1 DC, repeat 3 times (9 stitches). Fasten off, cut the yarn, and make a second identical piece.
Connect the two pieces with 21 SC evenly distributed across both ends. For the next two rounds, crochet 21 SC evenly without increases or decreases.
Tip: Stuff the pincers lightly and ensure symmetry before attaching them to the body.
Legs
Round 1: Create a MR with 4 SC, Sl St, Ch 1.
Round 2: Work 1 SC, 1 DC, repeat across (6 stitches). Sl St, Ch 1.
Round 3: Crochet 6 SC evenly. Sl St, Ch 1. Fasten off, leaving a tail for sewing.
Repeat the same steps to make 6 identical legs.
Note: Position the legs symmetrically on the sides of the scorpion body during assembly.
Assembly & Finishing:
- Attach the Tail: Curve the tail slightly upward and sew it securely to the back of the body using the long tail.
- Attach the Pincers: Place the pincers at the front of the scorpion, ensuring symmetry. Sew them securely.
- Attach the Legs: Space the 6 legs evenly on both sides of the body and sew them firmly in place.
- Add the Eyes: Use fabric glue or yarn to attach safety eyes. Embroider details for the mouth using black yarn.
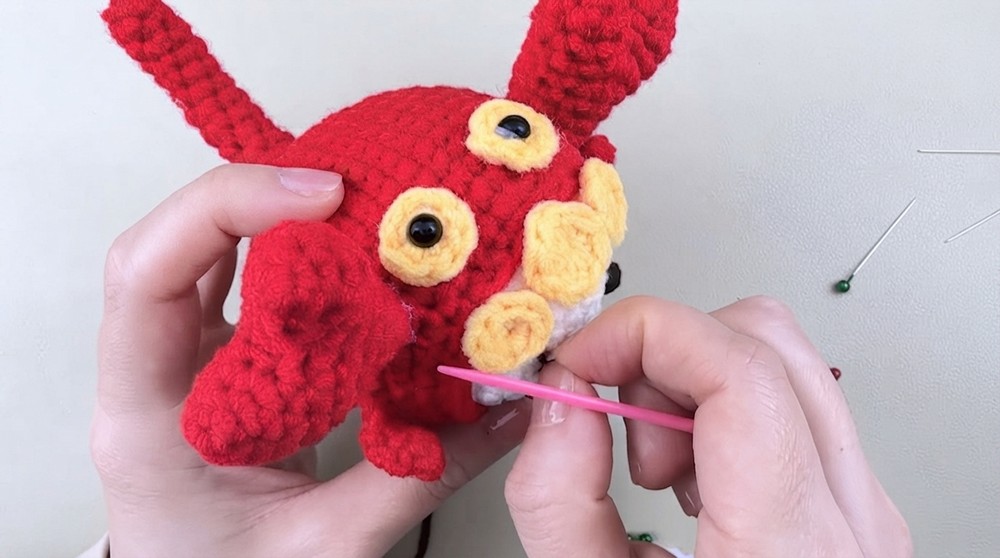
- Shape and Finalize: Use pins to hold pieces in place before sewing. Glue as needed for added stability.
Why You’ll Love This Pattern:
This tiny scorpion is fun to make, and its lifelike features make it a standout decor piece. It teaches amigurumi techniques like shaping curved parts, symmetrically attaching multiple components, and adding finer details like legs and pincers. The process is satisfying, and the result is a unique, personality-filled creation!