
Easy And Free Granny Squares Pattern for Modern Looks
Instantly refresh your projects with the Free Crochet Granny Squares Pattern, featuring vibrant motifs for blankets, bags, and more.
There’s a classic charm in creating little crochet squares that come together to form something truly special. These squares start from a simple center ring and grow outward with soft, textured stitches called granny clusters, made up of groups of double crochet stitches. The pattern’s foundation lies in working in rounds, which makes it easy to add more layers and change colors for vibrant effects. Using basic yarn and the recommended hook size, these squares are quick to make and perfect for practicing your crochet skills.
Colorful Crochet Granny Squares Pattern for Unique Projects
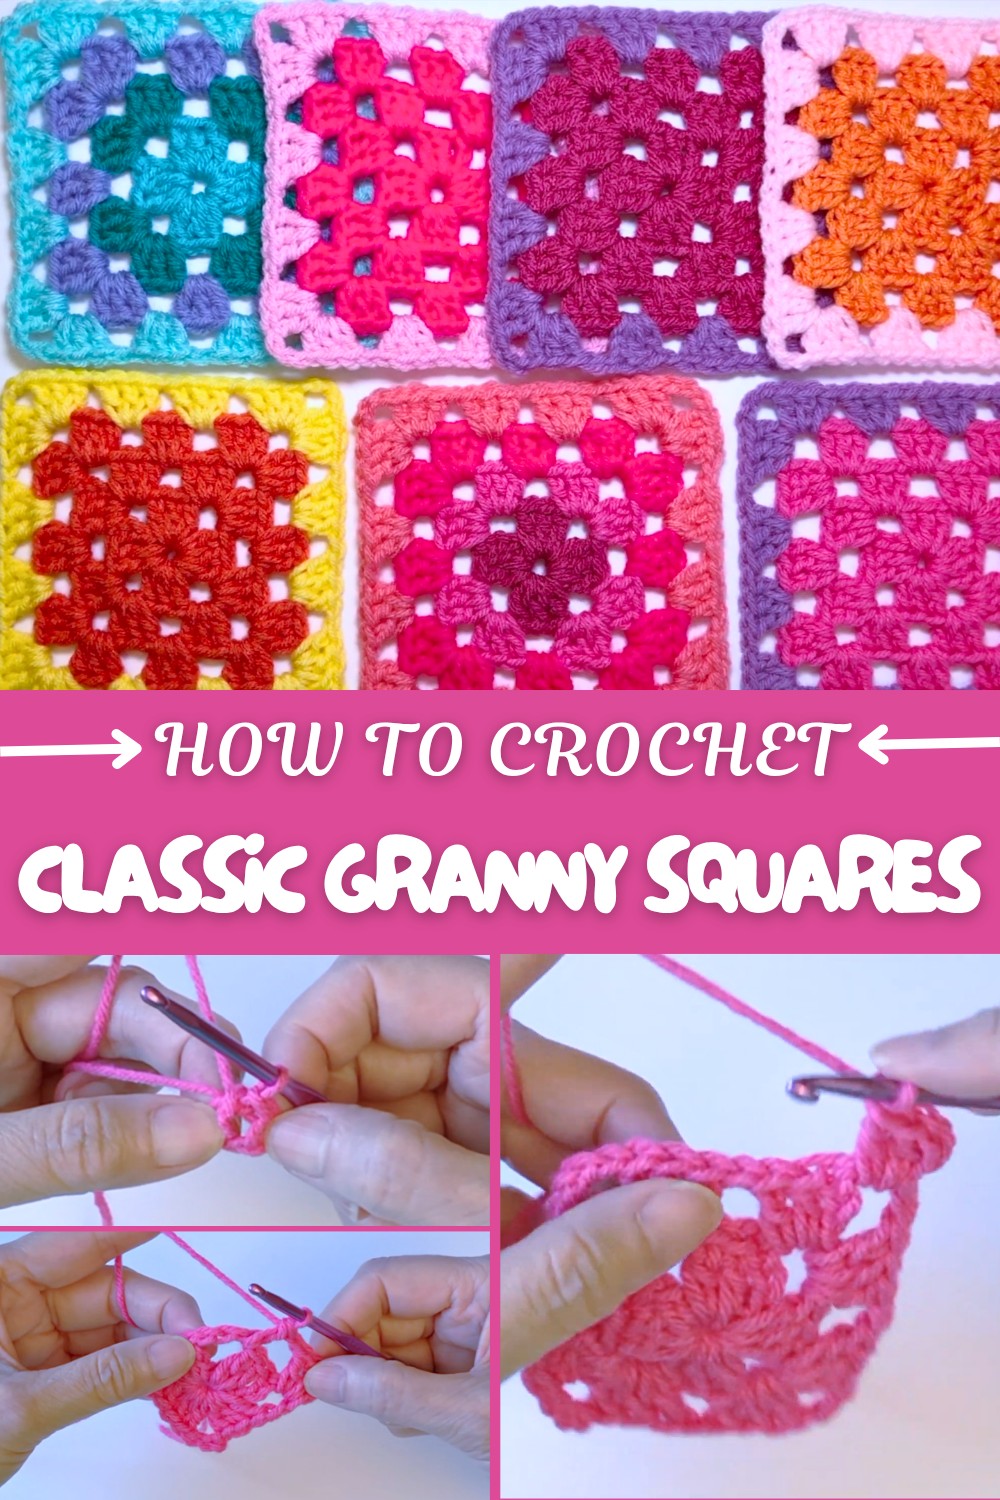
One of the most delightful aspects of this pattern is the way clusters of double crochets and chain spaces form neat, square corners that give the piece its shape. Each corner includes chain stitches that create open spaces, letting you customize how dense or open your square becomes. This method is beginner-friendly and fun, as you watch your work grow row by row with clear, repeatable steps. You’ll find it satisfying to finish rounds smoothly by joining with slip stitches or half double crochets, keeping the edges tidy.
These little squares have endless possibilities. You can join them to make cozy afghans or blankets, colorful scarves, or even trendy garments designed by creative hands. The pattern’s versatility lets you mix and match colors and textures, turning your leftover yarn into vibrant masterpieces. Once you master these squares, you’ll open the door to countless creative projects that add warmth and personal style to your home and wardrobe. Whether you make just one square or a whole collection, this pattern provides a simple yet beautiful foundation for your crochet journey.

Crochet Pattern: Basic Granny Square
Learn how to crochet the timeless Basic Granny Square, an essential building block for countless projects like afghans, blankets, scarves, and clothing. This versatile pattern is perfect for utilizing leftover yarn and creating colorful, unique designs. In this tutorial, you’ll master working in rounds to create a square motif composed of “granny clusters” made up of double crochet.
Granny squares are a classic crochet technique that never goes out of style. These squares are easy to make, quick to stitch, and customizable to fit any project. This pattern starts with a center ring and works outwards in rounds. You can adjust the size and colors to suit your creative needs, making them perfect for beginners and experienced crocheters alike.
Skill Level & Terminology
- Skill Level: Beginner
- Terminology: This pattern uses US crochet terms.
Granny squares are an essential skill in crochet, making this tutorial ideal for beginners who want to master working in rounds or experiment with color changes.
Materials & Tools
To create your granny square, you'll need:
- Yarn: Any yarn (size 4 medium-weight yarn for this tutorial) and color(s).
- Hook: Recommended crochet hook size for your yarn (typically 5 mm for medium-weight yarn).
- Notions:
- Yarn needle
- Scissors
Gauge
Gauge is not critical for this project, as granny squares can vary in size depending on the yarn and hook you choose. However, maintaining consistent tension is essential for clean, uniform squares.
Abbreviations
Here’s a list of abbreviations used in this pattern:
- ch: Chain
- sl st: Slip stitch
- dc: Double crochet
- hdc: Half double crochet
- granny cluster: Three consecutive double crochet stitches (dc, dc, dc into the same stitch).
Special Stitch Instructions
Granny Cluster (dc, dc, dc):
- Yarn over, insert your hook into the stitch, and pull up a loop.
- Yarn over and pull through 2 loops. Yarn over again and pull through the remaining 2 loops (first dc complete).
- Repeat this process two more times in the same stitch to create the granny cluster.
Half Double Crochet (hdc):
- Yarn over, insert your hook into the stitch, and pull up a loop (3 loops on hook).
- Yarn over and pull through all 3 loops on the hook.
Finished Size
The finished size of your granny square will depend on how many rounds you complete:
- A small square with 3 rounds will measure approximately 4 inches by 4 inches (using size 4 yarn).
- Add more rounds to make larger squares.
What You’ll Learn & Why You’ll Love This Pattern
You’ll learn foundational crochet techniques:
- Working in rounds starting from a center ring.
- How to create granny clusters and corner spaces for neat, square motifs.
- Techniques for joining rounds and changing colors.
These classic squares are endlessly versatile, making them the cornerstone of many crochet projects. You’ll love how easy they are to create, customize, and incorporate into larger designs!
The Pattern Itself
Step 1: Create the Center Ring
- Ch 4, then join into a ring with a sl st in the first chain.
- Pull tightly to secure the ring.

The center ring forms the foundation of the granny square. Make sure your slip stitch securely closes the ring to prevent gaps or unraveling.
Step 2: Round 1 – Establish Granny Clusters
- Ch 3 (counts as a dc), then work 2 dc into the ring. This completes the first granny cluster.
- Ch 3 to form the first corner space.
- Work 3 dc into the center ring, then ch 3 (second corner space).
- Repeat this two more times: 3 dc into the ring, ch 3 for the remaining corners.
- You should now have 4 granny clusters separated by ch-3 corner spaces.
- To close the round:
- If continuing with the same color: Chain 1, yarn over, and work 1 hdc into the top of the starting ch-3, joining into the middle of the corner space.
- If changing colors: Chain 3, sl st into the top of the ch-3 from the start. Fasten off securely.

This first round sets up the structure of the granny square with clusters and corners. The hdc joining technique is seamless and avoids bulk.
Step 3: Round 2 – Work into Corner Spaces
- From the corner space, ch 3, then work 2 dc into the corner space (first cluster of the corner).
- Ch 1, work 3 dc into the next corner, then ch 3 for the first corner space.
- Work another 3 dc into the same corner space to create a completed square corner.
- Ch 1, continue repeating:
- 3 dc into corner space, ch 3, 3 dc into the same space to complete corners.
- Ch 1 between clusters along the sides.
- At the last corner where you started, work 3 dc into the corner, then ch 1, hdc to join into the top of the ch-3 from the start.

In Round 2, the sides of the square start forming while maintaining clear, symmetrical corners.
Step 4: Round 3 – Expand Sides with Extra Clusters
- Ch 3, then work 2 dc into the corner space (first cluster of the corner).
- Work 3 dc into the side space (the chain space between two corners).
- Continue working:
- 3 dc into corner space, ch 3, 3 dc into the same corner for completed corners.
- 3 dc into each side space.
- At the last corner, work 3 dc in the corner space and join as before.

Round 3 expands the size of the granny square, introducing additional side clusters between corners.
Step 5: Adding More Rounds
- Repeat Round 3 instructions, adding side clusters between corners as the square grows larger.
- Continue until the square reaches your desired size.
The square’s flexible design allows you to scale it up by adding additional rounds of clusters.
Step 6: Changing Colors
- Fasten off your current yarn after completing a round.
- Attach the new yarn with a slip knot in any corner space.
- Begin with ch 3, then continue the pattern as established.
Color changes add vibrancy to your granny square and allow for creative combinations!
Step 7: Weave in Loose Ends
- After completing the final round, use a yarn needle to weave in all loose ends.
- Ensure knots and joins are neat and secure.
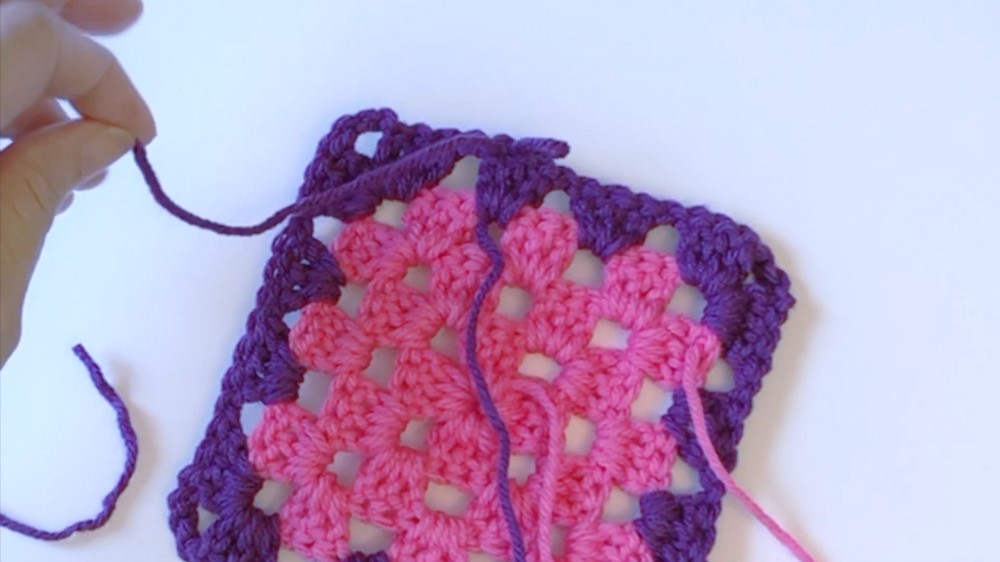
Weaving in ends ensures durability and gives your square a polished finish.
Assembly & Finishing
Granny squares are most versatile when joined together into larger projects. To join squares:
- Use slip stitches or sewing for seamless joins.
- Block squares for consistent sizing.
What You’ll Learn from This Pattern
You’ll master foundational crochet techniques, including:
- Working in rounds from a center ring.
- How to create and join granny clusters.
- Techniques for seamless corner spaces and color changes.
Why You’ll Love This Pattern
The Basic Granny Square is beloved for its simplicity and versatility. Whether crafting blankets, scarves, or clothing, these squares serve as the basis for stunning crochet projects. Best of all, they’re customizable and excellent for using up leftover yarn!