
Warm Crochet Triangular Shawl Pattern for Effortless Elegance
Solve chilly days in style using the Free Crochet Triangular Shawl Pattern, perfect for layering and adding a chic touch to outfits.
There’s a special kind of joy that comes from creating something warm and beautiful with your own hands, especially when it’s a shawl that wraps you in comfort on chilly days. This project introduces you to the lovely world of crochet through a charming triangular shawl made with easy-to-learn stitches. Using double crochet and V stitches, you’ll build a delicate yet cozy fabric that grows steadily from the center, shaping a perfect triangle. These stitches are simple but versatile, giving your shawl a gentle texture and flow that’s both elegant and practical.
Ready to Crochet Try This Free Triangular Shawl Pattern for Everyday Looks
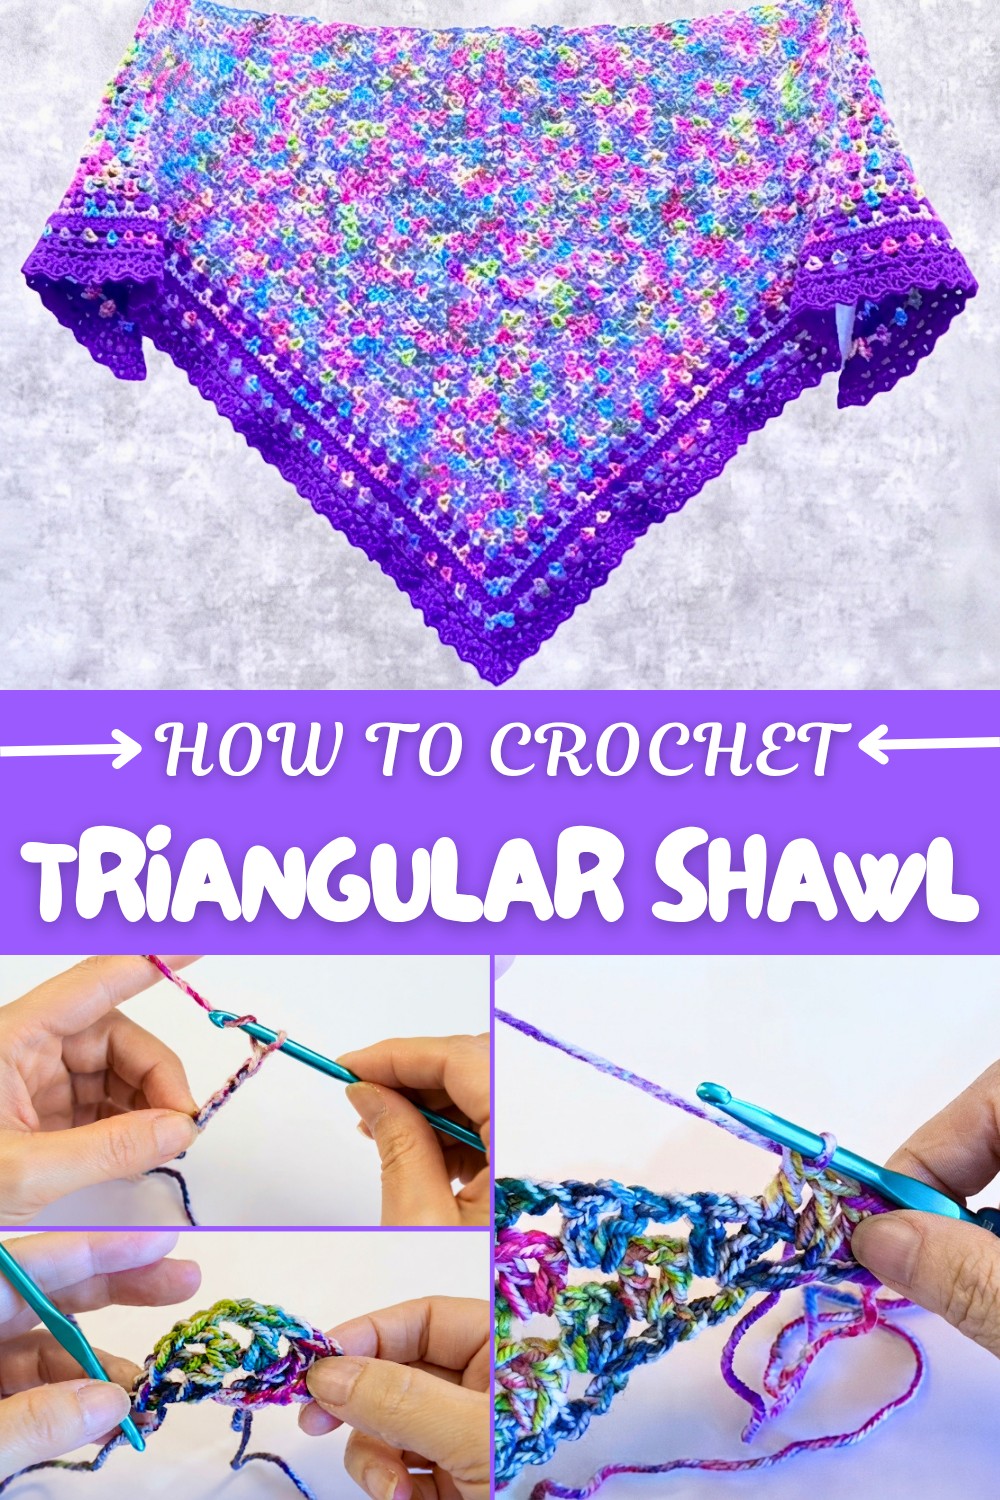
This shawl measures about 32 inches from bottom to top, making it ideal for layering over your shoulders or adding a splash of handmade style to any outfit. The pattern uses repeated rows with neat increases along the edges to keep your triangle expanding evenly. Chains create airy spaces that balance the solid double crochet, giving the shawl a light feel despite its warmth. Changing colors is easy too, so you can customize your project with your favorite shades and make it truly unique.
What makes this pattern even more exciting is how the stitches you learn here open doors to many other crochet projects. Mastering double crochet and V stitches sets you up to create scarves, blankets, ponchos, and more. This simple yet elegant pattern is the perfect foundation for beginners to build confidence and creativity while making cozy, handcrafted treasures to enjoy all year round.
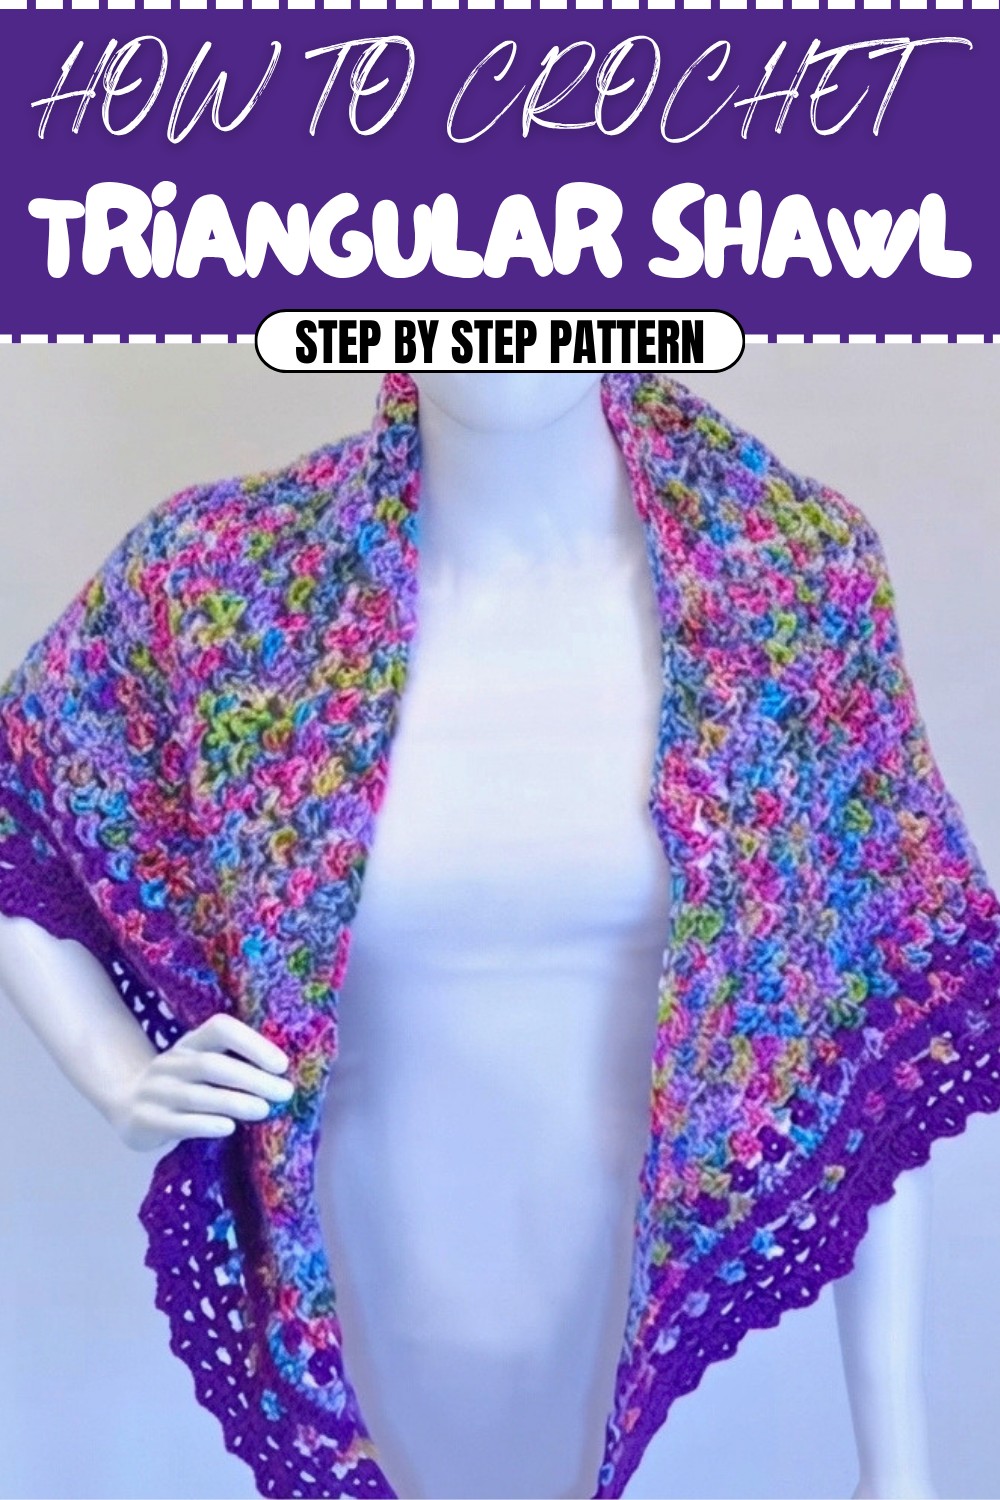
Crochet Pattern: Simple and Elegant Triangular Shawl
Welcome to this beginner-friendly pattern for a classic triangular shawl! The pattern is simple, featuring double crochet (dc) and V-stitches, which create a lacy and lightweight fabric. With a mix of textures and color options, this shawl is a versatile accessory for any season—perfect for draping over dresses or adding flair to casual outfits. Let’s dive in!
Skill Level & Terminology
- Skill Level: Beginner
- Terminology: US Crochet Terms (e.g., US dc = UK tr).
Materials & Tools
To crochet the triangular shawl, you’ll need:
- Yarn: Three skeins of size 4 (medium-weight) yarn. Suggested options include worsted-weight or acrylic yarn in your desired colors.
- Hook: 5.0 mm crochet hook (US H/8).
- Notions:
- Tapestry needle for weaving in ends.
- Scissors.
You need medium-weight yarn and a 5mm crochet hook to create the shawl. The yarn can be in one shade, or you can mix colors for a gradient effect. Finally, you’ll need scissors and a needle to tidy up!
Gauge
Gauge is not critical for this project. However, for reference:
- 8 double crochet stitches x 4 rows = 4 inches
If your gauge is significantly looser or tighter, adjust the hook size accordingly.
Plain explanation: You don’t need to stress about gauge, as minor variations won’t affect the outcome. Just maintain consistent stitches, and your shawl will look great!
Abbreviations List
Here are the stitch abbreviations for this pattern (US Terms):
- ch: Chain
- dc: Double Crochet
- sl st: Slip Stitch
- sp: Space
Plain explanation: These abbreviations are shortcuts to describe stitches. If any look unfamiliar, refer back to this section for clarification.
Special Stitch Instructions
1. V-Stitch
- A V-stitch is made by working:
- dc, ch 1, dc into the same space.
2. Chain Space (ch sp)
- When the instructions mention “work into the chain space,” insert your hook directly into the open space below, not into individual stitches.
Plain explanation: The V-stitch is the star of this pattern! You’ll work two double crochets connected by a chain into the same space, and it’s repeated to create a stunning lace pattern.
Finished Size
The completed shawl measures approximately:
- Length: 32 inches (from bottom to top edge).
- Width: Varies based on your preference, but this pattern completes at around 26.5 inches for 36 rows.
The Pattern Itself
Step 1: Starting the Triangle Center (Row 1)
- Make a slip knot, and leave a short tail.
- Ch 6 and join the last chain to the first with a sl st, creating a ring.
- Ch 3 (counts as the first dc), ch 1, then make a V-stitch in the ring (dc, ch 1, dc).
- Ch 2 (this forms the center of the triangle).
- Work another V-stitch in the ring (dc, ch 1, dc).
- Ch 1, dc into the ring to complete the row.
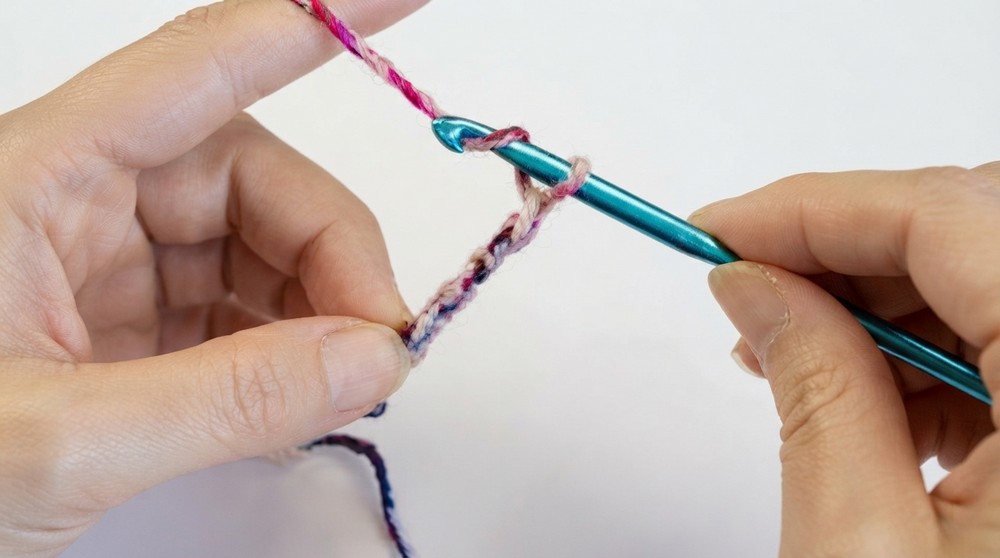
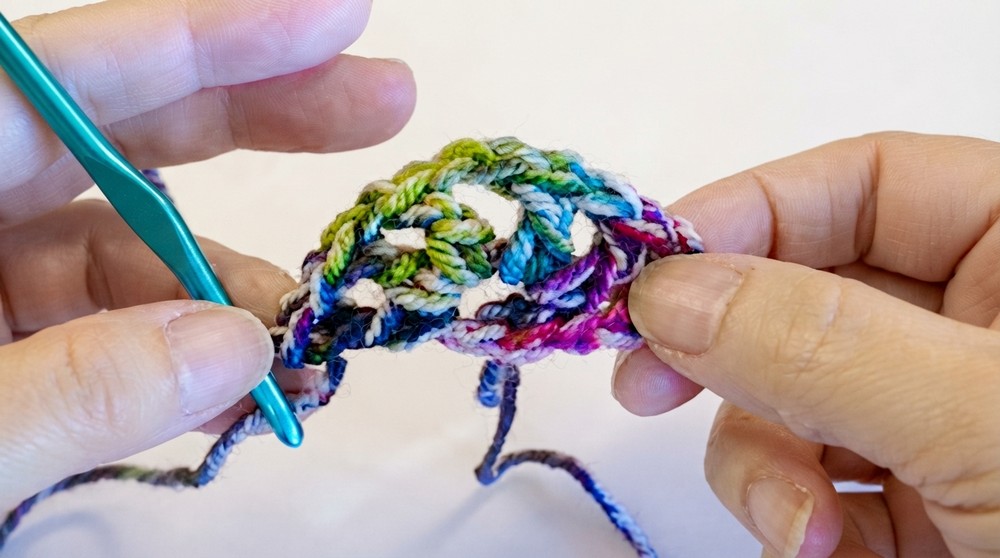
Plain explanation: Row 1 creates the triangular foundation, with a single V-stitch on either side of a central chain-2 point.
Step 2: Expanding the Triangle (Row 2)
- Ch 4 (counts as dc), turn your work, ch 1, and work a V-stitch into the first chain space (dc, ch 1, dc).
- Ch 1, then skip the V-stitch below, and V-stitch into the next chain space.
- At the center chain space, make: 1 V-stitch, ch 2, 1 V-stitch in the same space.
- Continue by repeating the same pattern on the left side:
- Ch 1, V-stitch into the next chain space.
- Ch 1, dc into the top of the turning ch-3 to close the row.
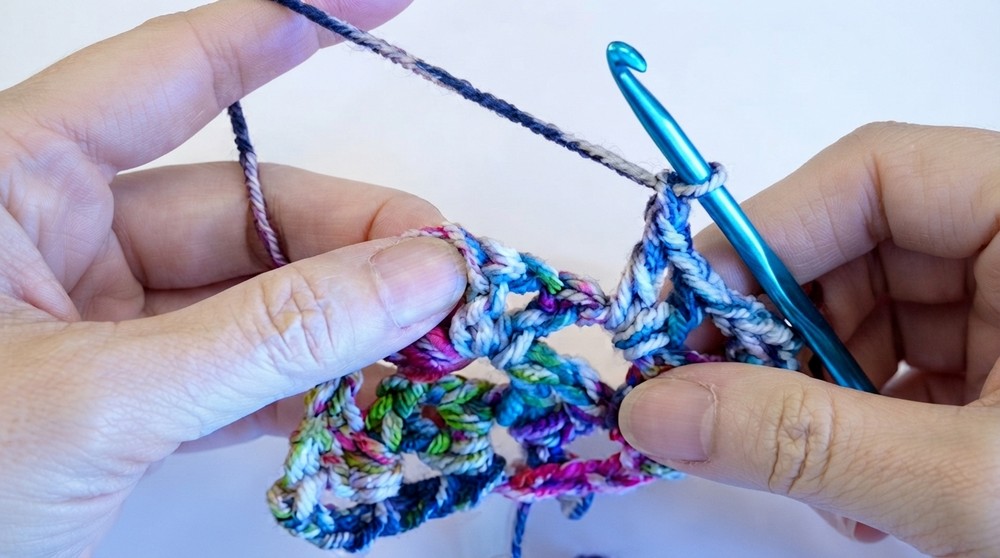
Plain explanation: Every new row begins with a dc and chain, then you V-stitch into chain spaces, skip V-stitches below, and increase at the center point for the triangle to grow evenly.
Step 3: Repeating Core Pattern (Rows 3–36)
- For each increase row:
- Ch 4, turn, ch 1, and work a V-stitch into the first space.
- Continue working V-stitches into each chain space until the center.
- At the center chain space: Work 1 V-stitch, ch 2, and another V-stitch in the same chain-2 space.
- Mirror the right side by working V-stitches into each chain space back to the edge.
- Finish with ch 1 and dc into the turning chain from the previous row.
- Each row adds one more V-stitch on each side of the center point, expanding the triangle.
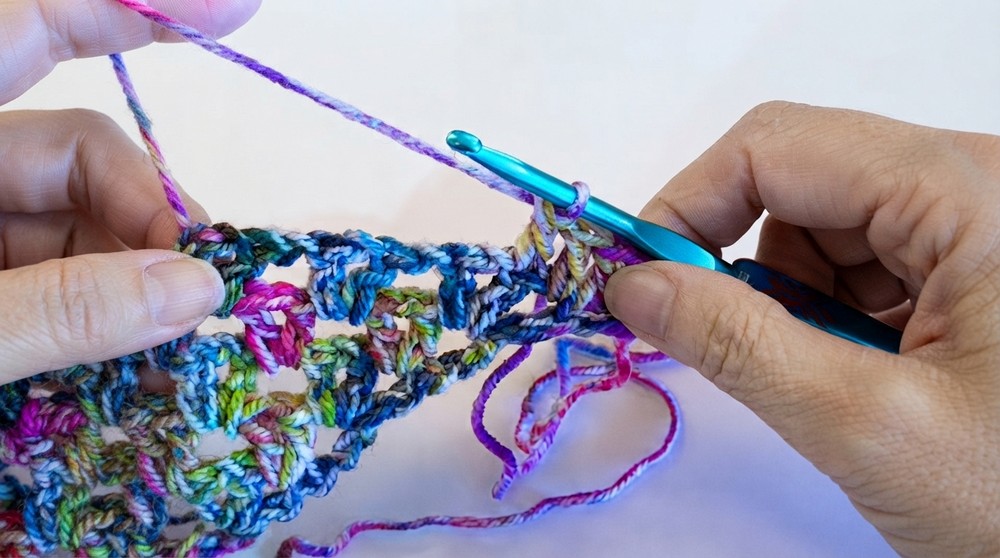
Example Count:
- Row 1: 1 V per side
- Row 2: 2 V’s per side
- Row 3: 3 V’s per side, and so on.
Plain explanation: Continue expanding the triangle by repeating this simple V-stitch pattern row after row. You’ll notice the triangle becoming larger and wider as you work.
Step 4: Color Change (Optional)
- When changing colors (e.g., at Row 6):
- Tie a slip knot with the new yarn, pull it through the last loop of the previous stitch.
- Use the new yarn to chain 3 and continue the pattern.
- Wrap the old yarn into the stitches as you crochet to secure it.
Plain explanation: Add a new color for variety and vibrance! Alternate your yarn after every few rows for a striped or gradient effect.
Step 5: Final Edging
- Once you’ve completed 36 rows or reached the desired size:
- Ch 3 (counts as dc), turn, and make a double crochet in the same space.
- In each V-stitch below, work a two double crochet V-stitch cluster:
- (2 dc, ch 2, 2 dc) in the same chain space.
- Repeat along both sides, ensuring to add a final cluster in the center chain space.
- Finish by mirroring the pattern down the opposite side, and weave in all loose ends.
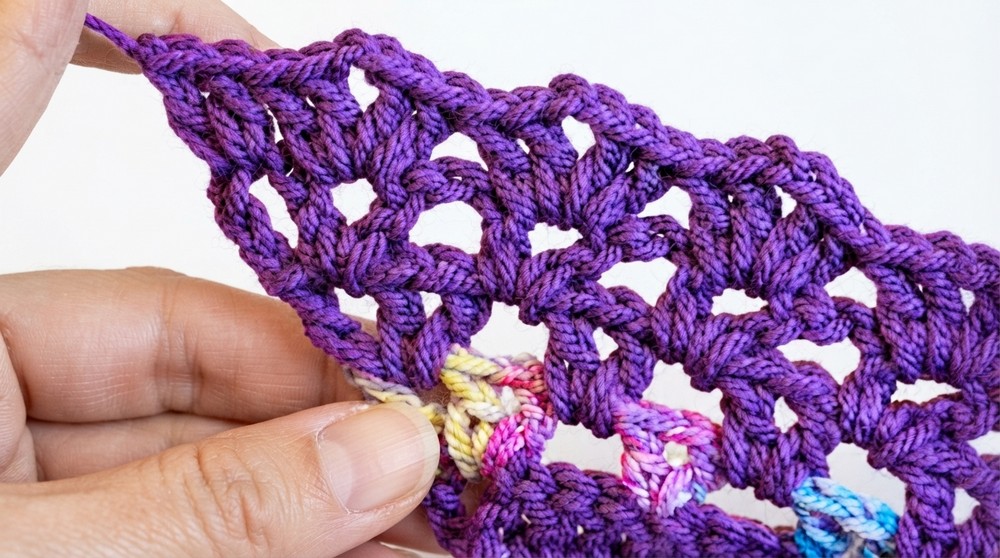
Plain explanation: The beautiful edging uses clusters of two double crochets to frame your shawl, giving it a refined, decorative finish.
Assembly & Finishing
- Weave in all loose ends with a tapestry needle.
- Gently press the shawl with an iron or blocking mat to even out the edges.
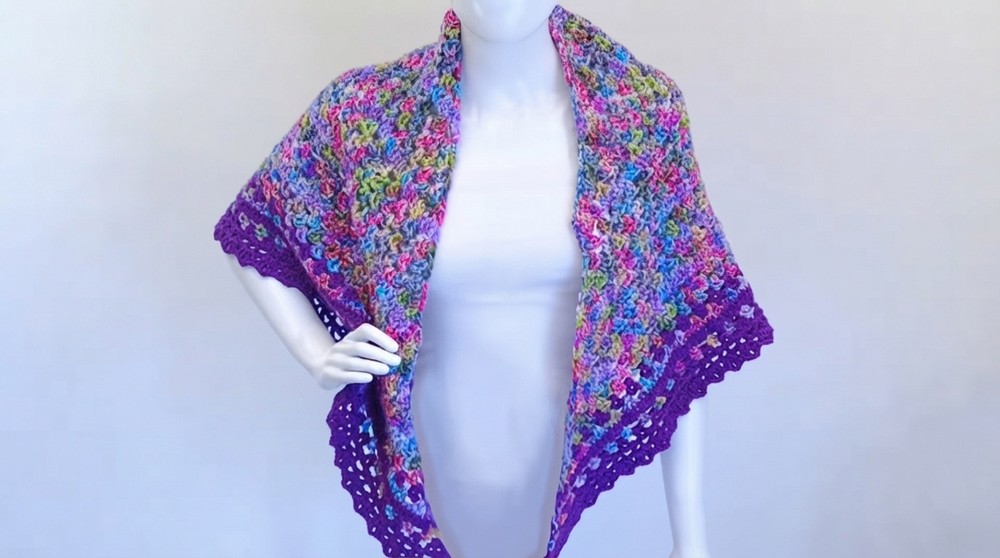
Plain explanation: Finishing touches make your shawl look clean and professional—don’t skip this step!
What You’ll Learn From This Pattern
- Triangle Shaping: Use simple increases to create a triangular structure.
- V-Stitch Mastery: Learn how to space and repeat V-stitches effectively for lacy, textured fabric.
- Color Changes: Experiment with color palettes to match your style.
- Edging Techniques: Add detailed edging to enhance any crochet project.
Why You’ll Love This Pattern
This triangular shawl is a classic, yet timeless piece that allows for endless customization. The repetition of V-stitches ensures a relaxing crochet process, while the optional color changes give it a unique flair. Suitable for beginners yet satisfying for experienced crocheters, you'll love wearing or gifting this beautiful accessory.