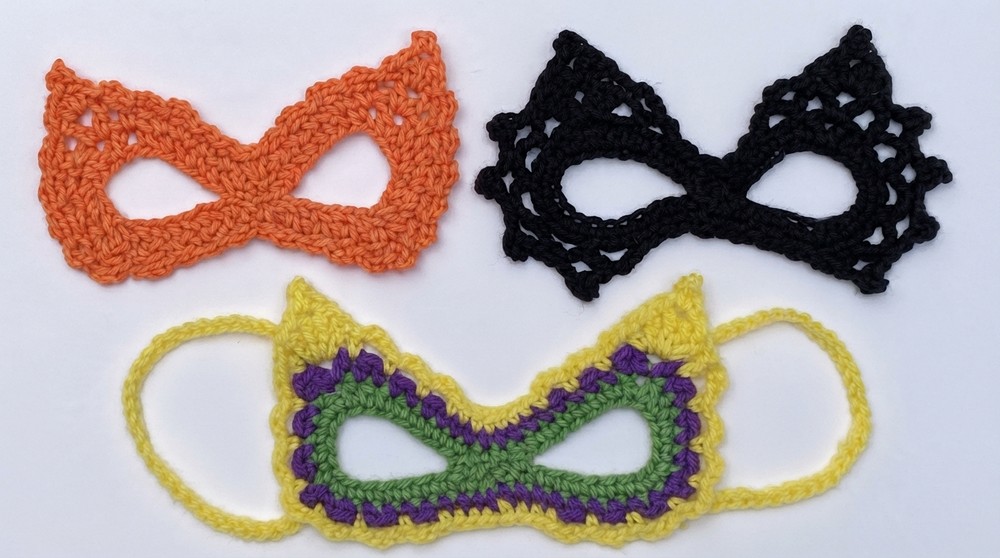
Beautiful Crochet Masquerade Mardi Gras Mask Pattern with Classic Style
This colorful Crochet Masquerade Mardi Gras Mask that is comfortable to wear and adds fun and festive style to any celebration.
Add a fun and colorful project to your crochet collection with this charming amigurumi design. The Crochet Masquerade Mardi Gras Mask is full of personality and festive style. It’s great to use as a gift, decoration, or a collectible to celebrate Mardi Gras.
Charming Crochet Masquerade Mardi Gras Mask Pattern to Celebrate Carnival
This mask is the perfect size to display on a shelf or give to someone special. It has smooth curves around the eyes and a pretty edge that looks lively and bright. The colorful yarn and simple stitch patterns make the mask cheerful without being difficult to make.
This project is good for beginners and those with some crochet experience. It uses basic crochet stitches like single crochet, half double crochet, and changes in color. You will also practice simple shaping techniques like increases and decreases. The fun wavy edge adds a nice finishing touch.
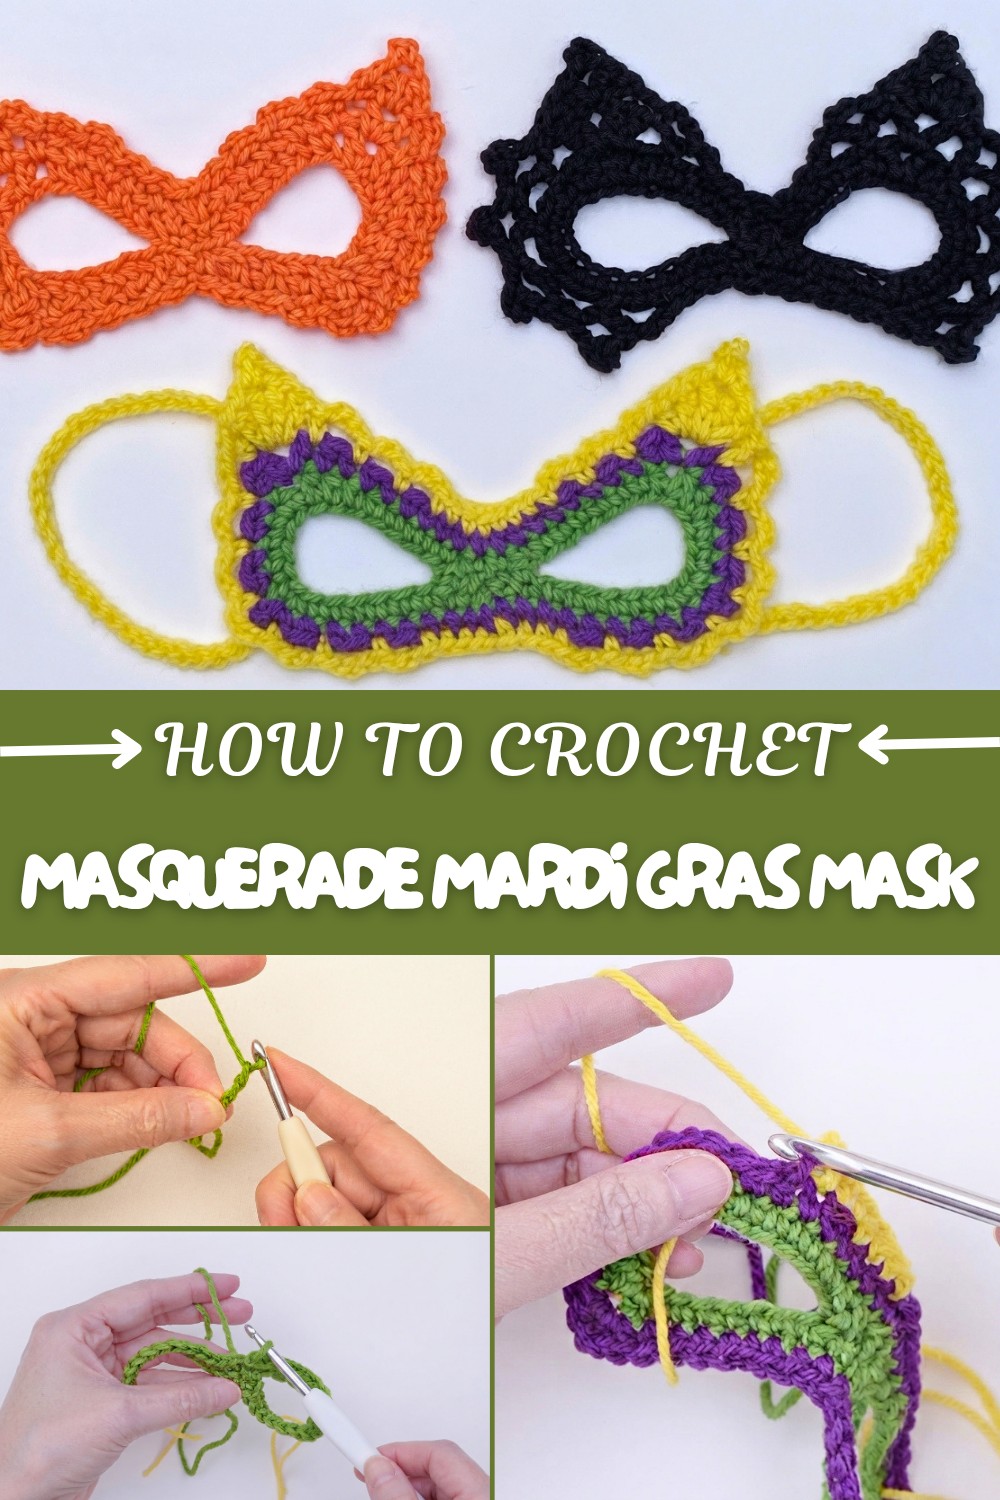
If you like amigurumi and holiday themed crochet projects, this Free Crochet Masquerade Mardi Gras Mask is a nice choice. It helps you practice important crochet skills while making a happy and festive mask. The full instructions are clear and easy to follow, making this a fun and rewarding project.
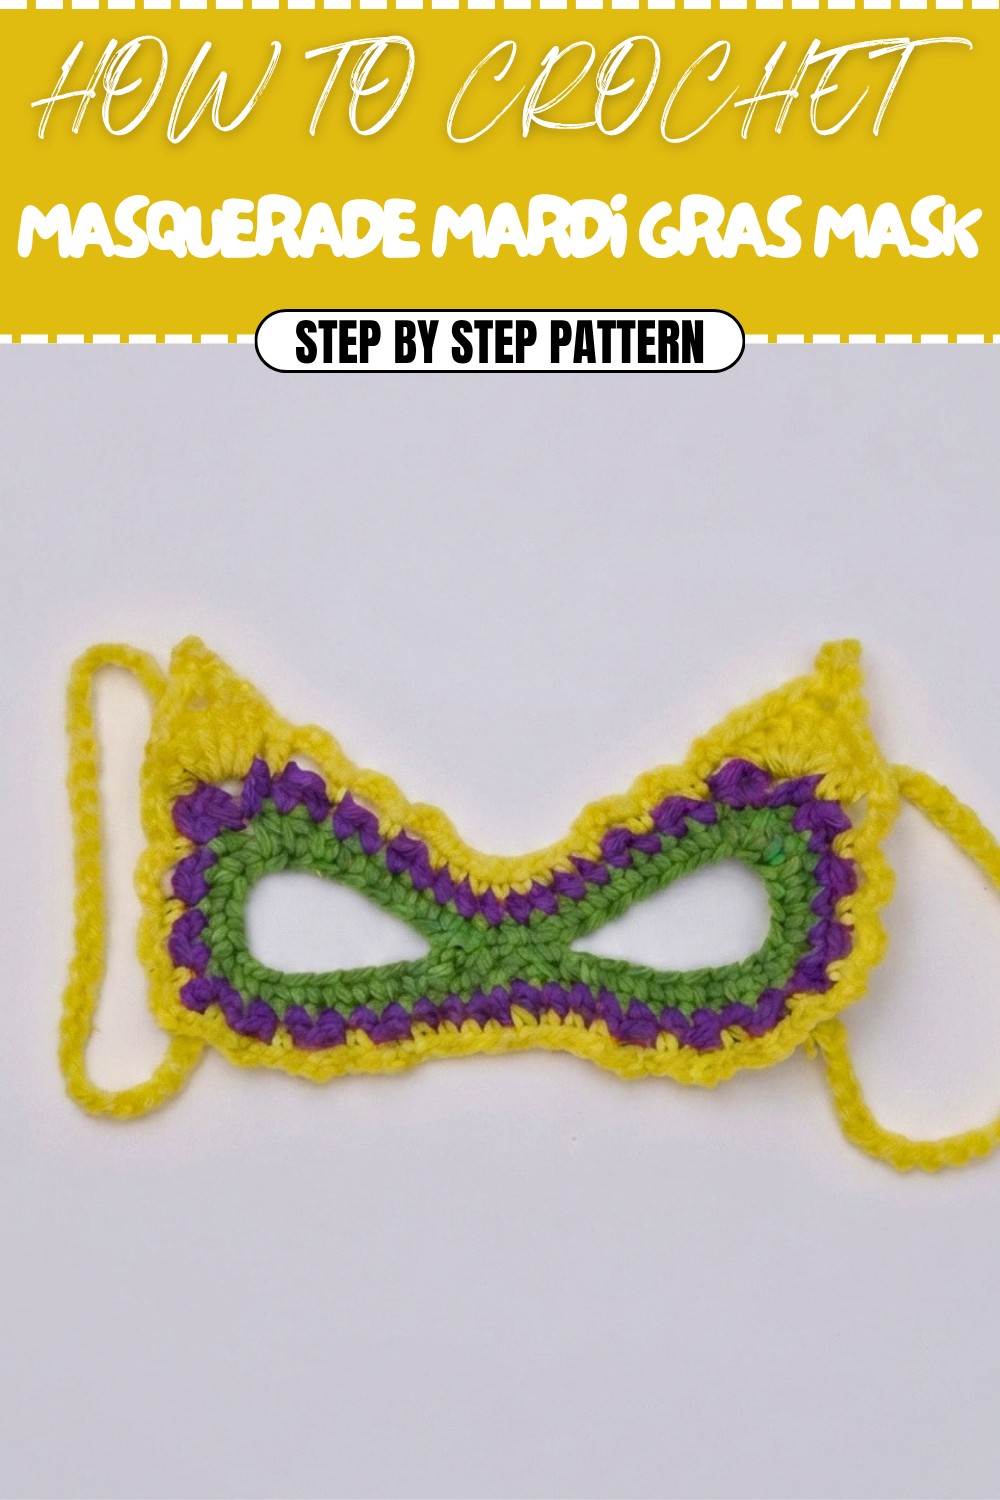
Muddy Crochet Mask Pattern by Marie
Introduction
In this tutorial, Marie guides you through making a soft, flexible, and comfortable "muddy" crochet mask. Crafted using medium weight acrylic yarn and a 5 mm hook, this design fits snugly and features a unique structure including eye openings and a bridge for the nose. The mask can be customized to your face size by adjusting chain counts, making it a versatile and practical project.
Quick Overview of Pattern
- Work begins with a slip knot and foundation chains forming the nose bridge and eye openings.
- The mask body is created by crocheting in rows with single crochet (sc) and half double crochet (hdc) stitches.
- Texture and shaping are achieved through stitch increases, decreases, and joining chains.
- Color changes are introduced to enhance the design, starting with a standing single crochet for seamless transitions.
- Decorative wavy edging is crocheted in a final round using chain spaces and varied crochets (hdc, dc, tr).
- Facial ties are formed last with long chain strings attached at mask corners.
Notes
- The chain count determines mask size; adjust chains in increments of two for proportional scaling.
- Marking key stitch points during chaining is essential to maintain symmetry and shape.
- Instead of slip stitching to join rows, single crochet joins create a smoother transition.
- The pattern utilizes standing single crochet to start color changes neatly.
- The edging incorporates a consistent repeating pattern of chains, single crochets, and tall stitches to produce a decorative wave.
- Use stitch markers to keep track of pattern changes and shaped areas.
Skill Level
Beginner to Intermediate crocheters with basic knowledge of single crochet, half double crochet, double crochet, triple crochet, and chaining.
Materials
- Medium weight (size 4) acrylic yarn in your choice of colors. Multiple colors needed for the body and edging.
- Crochet hook size 5 mm (H-8).
- Yarn needle for finishing.
- Stitch marker.
- Scissors.
Measurements / Sizing
- The size of the mask is fully adjustable based on the initial chain count (for nose bridge and eye openings).
- The provided chain numbers correspond to a medium-sized mask fitting an average adult face.
- Ties length adjustable by the chain count used for strings.
Gauge and Stitch Pattern
- Gauge is not critical for this mask, but consistent single crochet and half double crochet tension is recommended for fit and look.
- The pattern mainly uses single crochet and half double crochet stitches, with some double crochet and triple crochet in the edging round.
Stitch Abbreviations
- ch: Chain
- sc: Single Crochet
- hdc: Half Double Crochet
- dc: Double Crochet
- tr: Triple Crochet
- sl st: Slip Stitch
Special Stitches
- Standing Single Crochet: Start a new color by pulling up a loop and completing a single crochet stitch directly into the designated stitch without attaching yarn with a chain.
- Wavy edge pattern: Combines chains and tall stitches (dc, tr) to create decorative scallops.
The Crochet Pattern
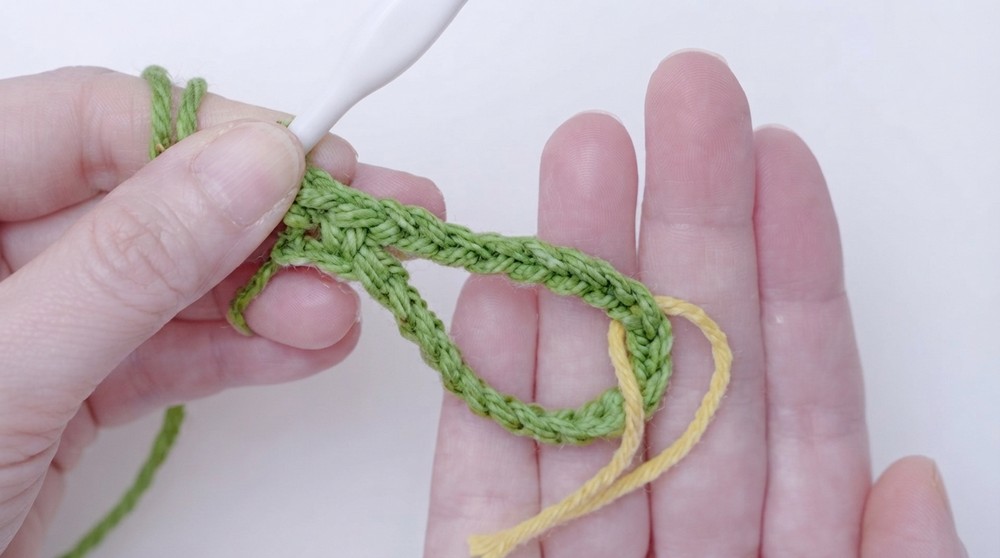
Foundation and Bridge Setup
- Tie a slip knot and chain 2 — these chains form the bridge of the nose, central to the mask.
- Chain 12 for the lower half of the eye opening. Mark the important 8th chain, as it guides later stitches.
- Chain 8 for the top half of the eye opening and mark this chain as well to maintain alignment.
- Connect the middle bridge section and eye openings with single crochet stitches into corresponding chains, maintaining smooth edges without slip stitching.
- Repeat the previous chain sequence and joining on the other side to create the symmetrical mask base.
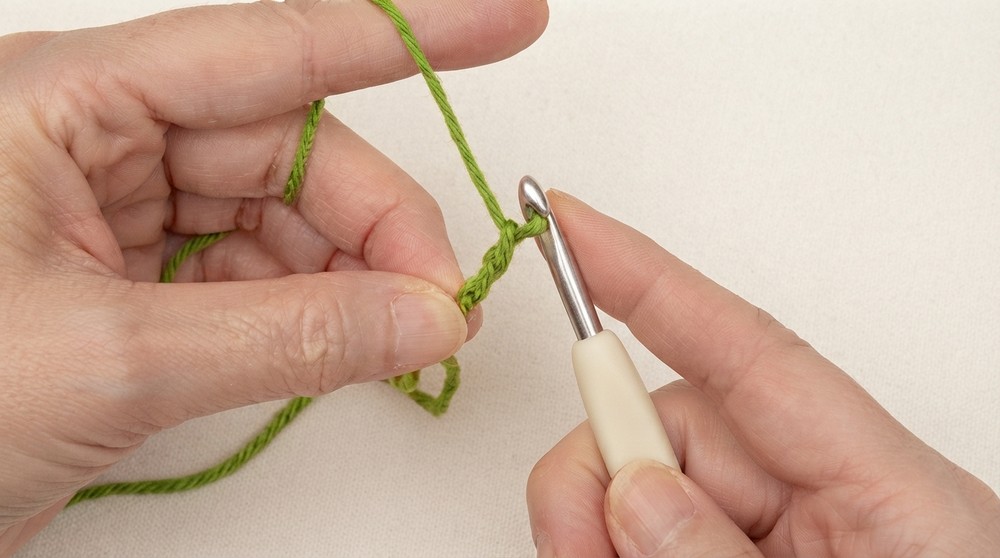
Round 1 – Forming the Mask Shape
- Begin the round without a slip stitch by chaining 1 and crocheting a single crochet into the first stitch from the previous row.
- Single crochet across the bridge and eye opening chains, increasing at corner and eye-opening sections to start shaping the mask curve.
- Mark key spots while doing half double crochets to form ridges and pointed corners, ensuring natural contours for the face.
- Use stitch skipping strategically to tilt and shape the eye openings upwards.
- Decrease stitches at the top of the nose bridge to refine the shape, continuing single crochets across the sides.
Round 2 – Building Body & Color Change
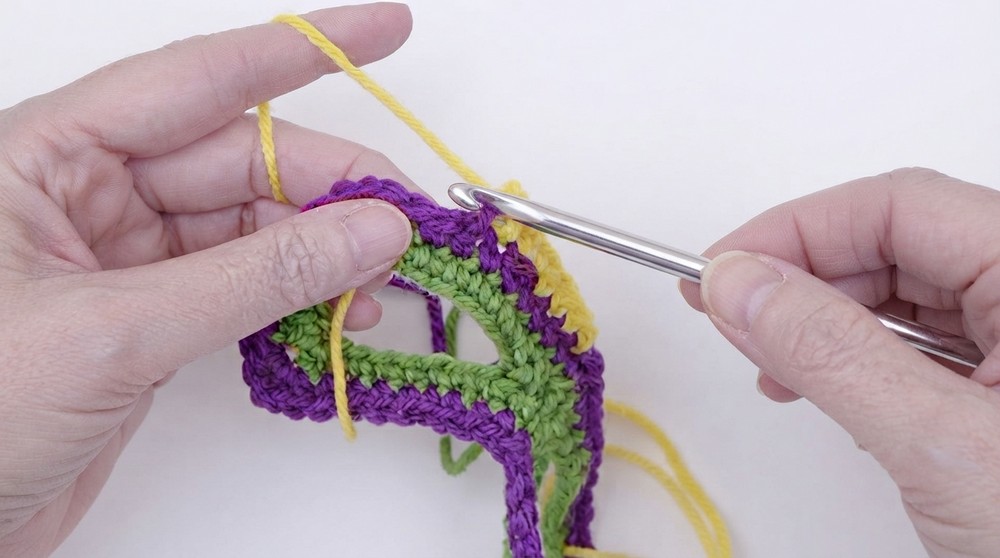
- Change yarn color using a standing single crochet in the center stitch for a clean transition.
- Single crochet 8 stitches in new color.
- Increase stitches at corners using single crochet–chain one–single crochet into the same stitch, repeating to accommodate rounding.
- Half double crochet at corners, combining chain-2 spaces for shaping.
- Continue working single crochet stitches evenly around, mirroring the previous round's stitch counts to maintain consistent shaping.
- At mask edges, finish round with slip stitch to join in the round.
Round 3 – Decorative Wavy Edge
- Switch to a new color for the edging. Start from the middle stitch with two single crochets.
- Single crochet four times, then chain 3, skip 1 stitch, single crochet next stitch to form wave bases. Repeat this pattern multiple times to form scallops around the border.
- Before corners, crochet half double crochet, chain one, double crochet, then triple crochet in the same chain space to form a pointed corner.
- Form chain 4 picots joining back with single crochet to secure decorative points.
- Continue alternating singles and chains in repeated patterns to complete the border with a beautiful wavy effect.
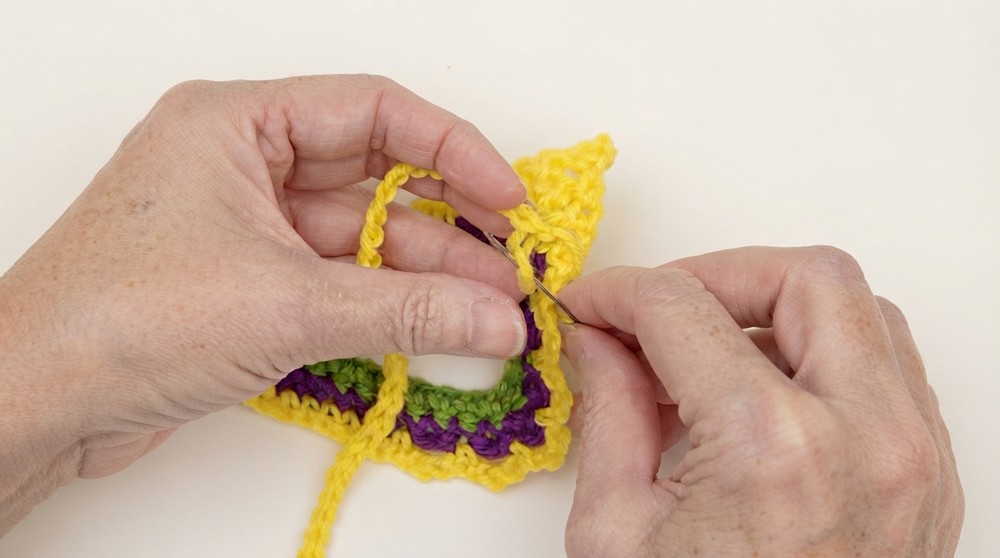
- End with a slip stitch to join, weave in ends securely.
Ties Construction
- Chain 30 for each tie or desired length.
- Attach ties securely at the mask’s top and bottom corners on both sides.
- Optionally, braid or single crochet over the chain ties for strength and style.
- Test tie length by placing loops behind ears, adjusting chains if needed.
Assembly & Finished Size
- Stuff yarn tails inside the mask and weave securely to avoid unravelling.
- The finished mask fits snugly on an adult face and is comfortable due to its flexible crochet fabric.
- Ties can be adjusted for different head sizes or worn behind the head or ears as preferred.
Conclusion
This muddy-style crochet mask combines functionality with a distinctive aesthetic, offering a comfortable fit and custom sizing through adjustable chains. Featuring simple stitches but creative shaping and colorwork, it suits beginners seeking a practical project with a personalized touch. Thanks for joining Marie’s tutorial — enjoy your crafting and stay cozy and safe with this handmade mask!