
How to Crochet Snowflake Pattern for Winter Elegance
Refresh your projects as the Free Crochet Snowflake Pattern offers a stylish way to crochet delicate, snowy designs for any use.
There’s a special kind of joy in creating delicate, sparkling ornaments that capture the magic of winter. This project shows you how to make beautiful six-point snowflakes using soft cotton yarn and a small hook. The pattern is simple and elegant, relying mainly on the double crochet stitch, paired with chains and single crochets to form pretty loops and picot points that mimic real snowflakes. Working these stitches in rounds gives your snowflake a lovely lacy texture that is light, airy, and perfect for decorating.
Free and Sparkling Crochet Snowflake Pattern for Seasonal Style
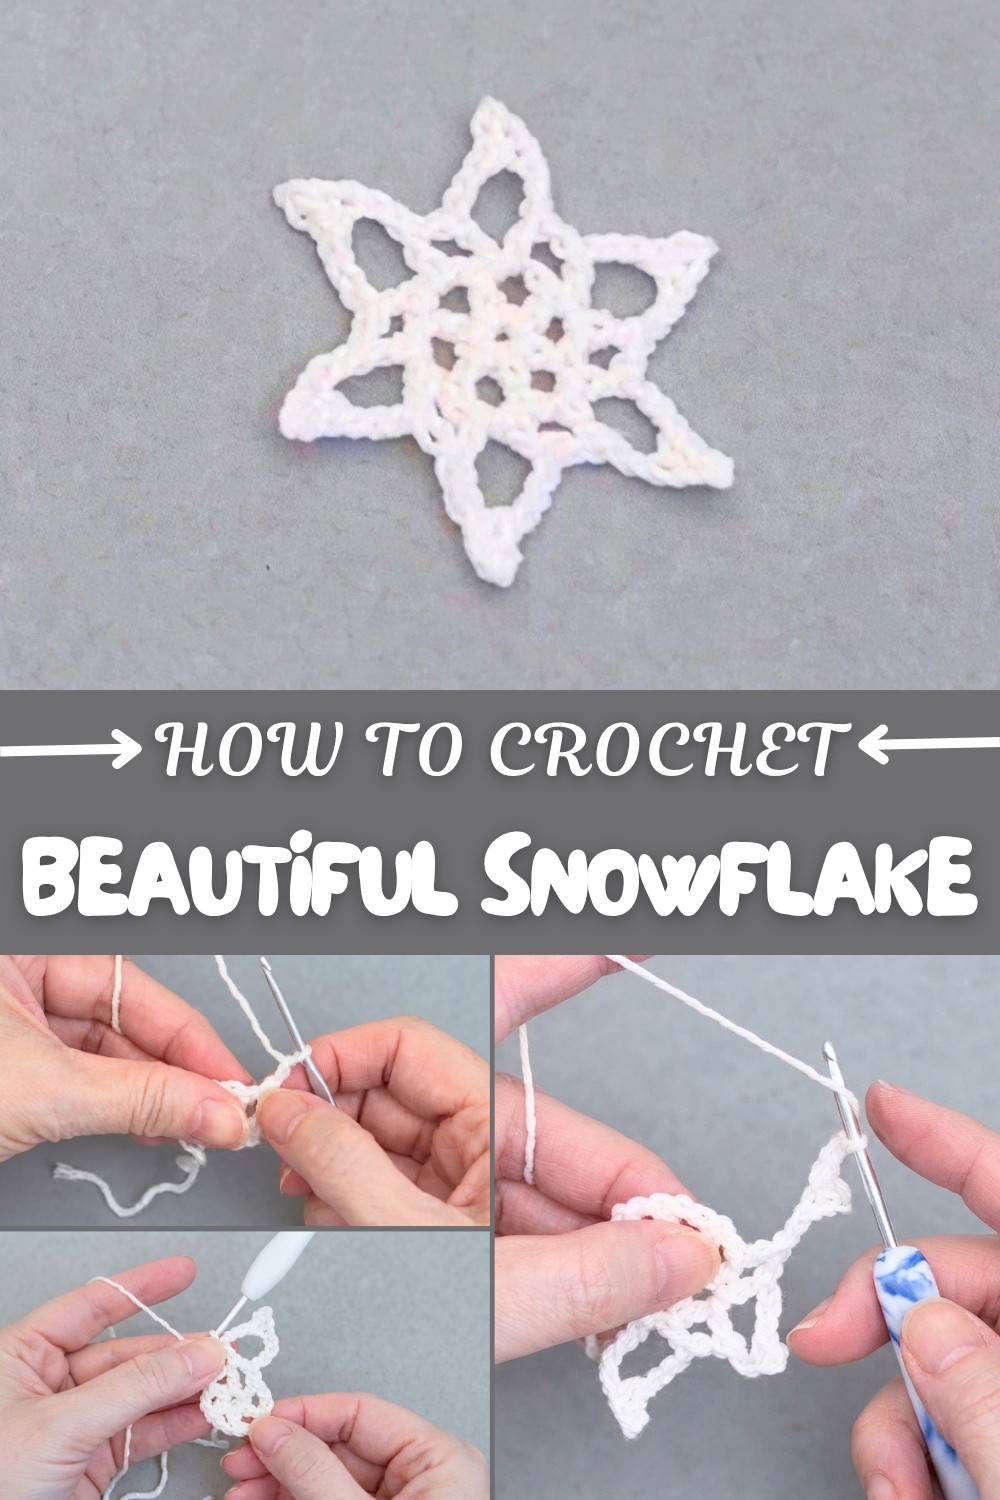
Starting with a soft, knotless ring gives you a smooth center, and the repetition of chains and double crochets around it gives the snowflake a balanced and symmetrical design. The picot stitches add charming little points on each arm, making the piece look intricate but staying beginner friendly. The best part is that with just two rounds of crochet, you can finish these gorgeous snowflakes quickly, making them ideal for adding a handmade touch to your holiday décor.
Once crocheted, you can stiffen your snowflake with a simple homemade mixture of glue and water, which helps it hold its shape beautifully. Whether you want to hang them on the Christmas tree, use them as delicate coasters, or embellish gifts and cards, these snowflakes truly shine as versatile decorations that spread warmth and charm.
With this easy-to-follow pattern, you can also explore making other small accessories like doilies, coasters, or delicate lace motifs for blankets and scarves by mixing these stitches in creative ways. Experimenting with different yarn colors or sparkly threads can turn these shapes into beautiful jewelry pieces or festive garlands, opening up many delightful possibilities to enhance your crocheting.
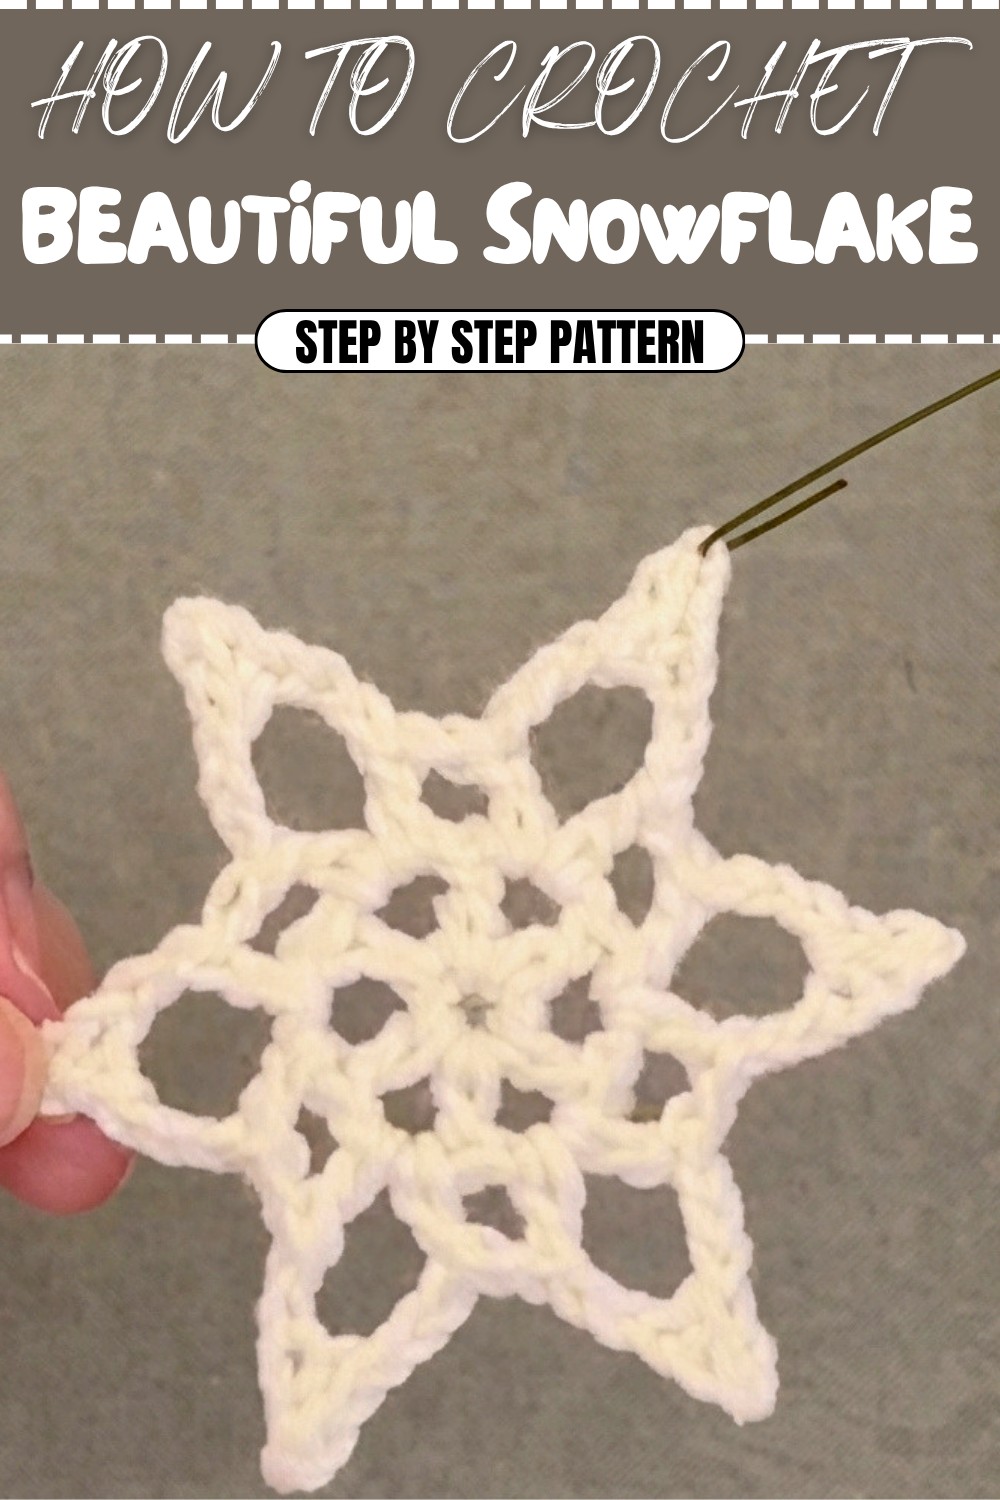
Crochet Pattern: Lovely Snowflake Decoration
Create a charming snowflake to add a festive touch to your holiday decor! Whether used as a Christmas tree ornament, table decoration, or as part of a garland, this beautiful crochet snowflake is simple to make. The project involves just two rounds of stitches, making it a quick and easy decorative piece.
About this Pattern
This lovely snowflake pattern combines ease with elegance, allowing crocheters of all skill levels to create stunning holiday decorations. With only two rounds of stitches, a little stiffener, and some drying time, you’ll have a delicate, yet sturdy snowflake ready to enhance your seasonal decor.
Skill Level & Terminology
- Skill Level: Beginner
- Terminology: US Crochet Terms
This pattern is ideal for beginners but creates professional-looking results. It includes basic stitches like slip stitch (sl st), chain (ch), single crochet (sc), and double crochet (dc), as well as a picot stitch for decoration.
Materials & Tools
For this project, you will need:
- Yarn:
- Cotton yarn, size 3 (or any lightweight yarn).
- The yarn chosen impacts the overall look; cotton or acrylic yarns are both suitable.
- Hook:
- 3 mm crochet hook.
- Additional Supplies:
- Tapestry needle (for weaving in ends).
- Scissors.
- Elmer’s Glue or any clear glue (for stiffening).
- Aluminum foil and a plate (for stiffening process).
Gauge
Gauge is not critical for this pattern and depends on your desired size. With the materials listed, your snowflake will be approximately 4 inches in diameter once finished and stiffened.
Abbreviations
- ch – Chain
- dc – Double crochet
- sc – Single crochet
- sl st – Slip stitch
- pico – Picot stitch (explained in Special Stitch Instructions)
Special Stitch Instructions
Picot Stitch (Pico):
- Chain 3.
- Insert the hook into the first chain of the three.
- Yarn over and pull through all loops on the hook.
Finished Size
The completed snowflake measures approximately 4 inches in diameter, but this can vary depending on the yarn and hook used.
What Stitches Are Used & How to Begin
This simple pattern primarily uses chains (ch), double crochet (dc), and slip stitches (sl st), with a decorative picot stitch at each hexagonal point. You’ll start by forming a round base in the first row and then adding pointed edges in the second row to shape the snowflake.
The Pattern Itself
Round 1: Foundation
- Begin with a slip knot, leaving it loose for now.
- Ch 4.
- Slip stitch into the first chain to form a circle.
- Pull the starting tail gently to tighten the slip knot.
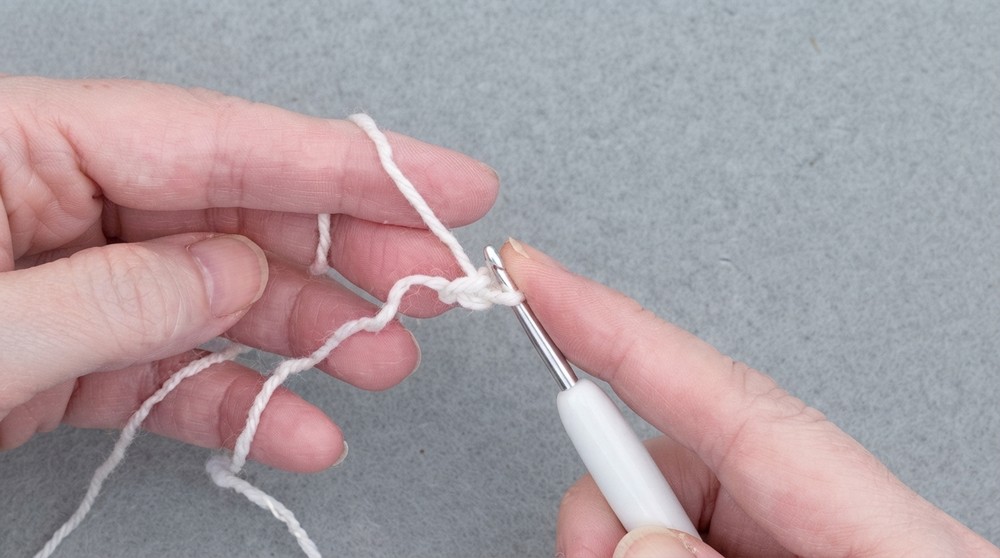
You have created a soft and neat starting circle for your snowflake.
Round 1: Building the Base
- Ch 2 (counts as your first dc).
- Ch 2 (this forms a space between stitches).
- Work 1 dc into the center of the circle, followed by ch 2.
- Repeat the pattern of [1 dc, ch 2] until you have 6 dc stitches and 6 ch-2 spaces surrounding the circle.
- Slip stitch into the top of the starting ch 2 to join the round.
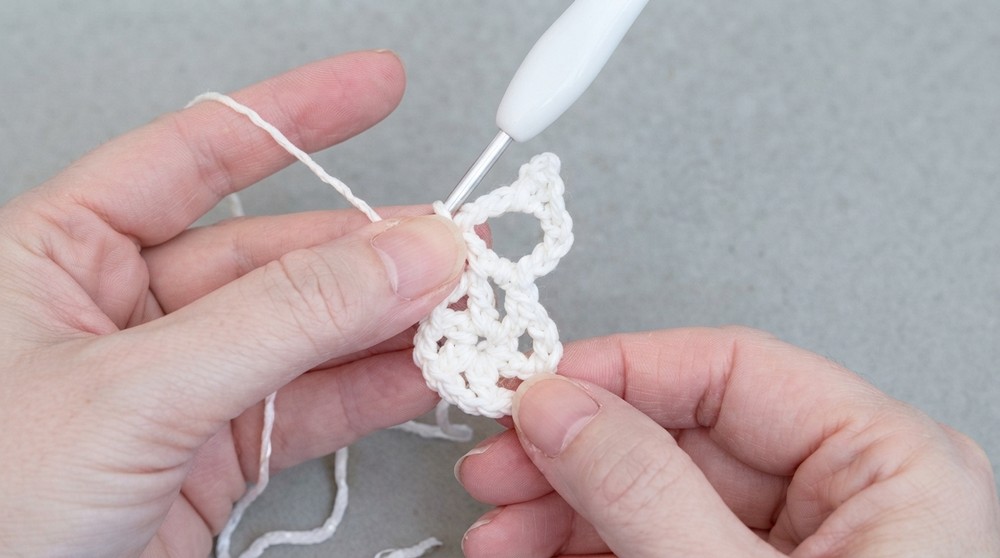
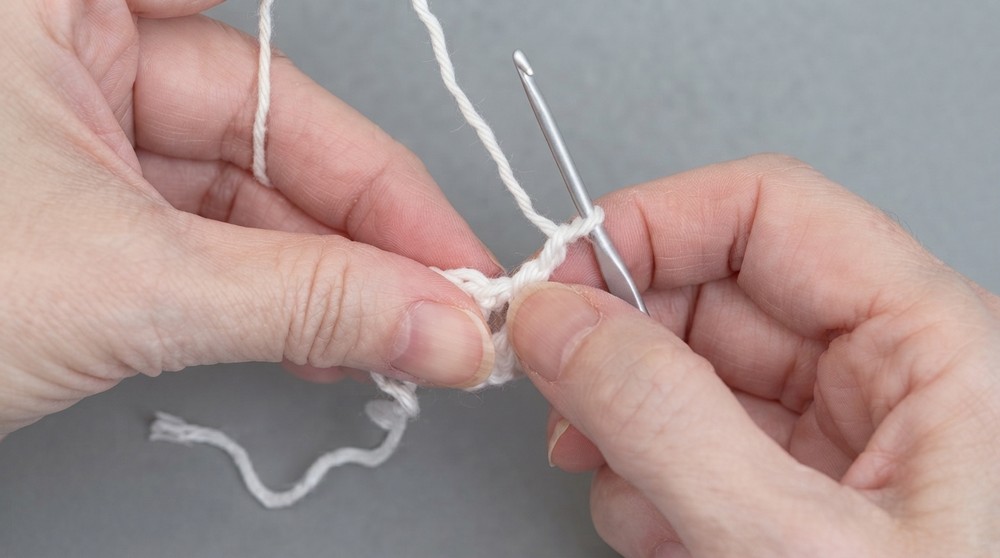
Congratulations! You’ve completed the base of the snowflake. The next steps will give it dimension and its striking shape.
Round 2: Creating the Points
- Slip stitch into the next chain-2 space. We’ll work all stitches in these chain spaces during this round.
- Ch 2 (this counts as a dc).
- Ch 5, and create a pico:
- Skip the first chain of the chain-5.
- Slip stitch into the second chain.
- Follow immediately with 1 sc into the third chain of the chain-5.
- Ch 3.
- Work 1 dc into the same chain-2 space.
This forms one point of the six-point hexagon. The snowflake will have one point per chain-2 space.
You’ve made the first of six points. Each point gives the snowflake its beautiful, symmetrical shape.
Repeat for Remaining Points
- Ch 1, then:
- Dc into the next chain-2 space.
- Ch 5, skip 1 chain, and work:
- Sl st into the next chain, sc into the next chain.
- Ch 3, dc into the same chain-2 space. (Second point complete.)
- Repeat the steps above until you have 6 points total, each formed in the chain spaces from Round 1.
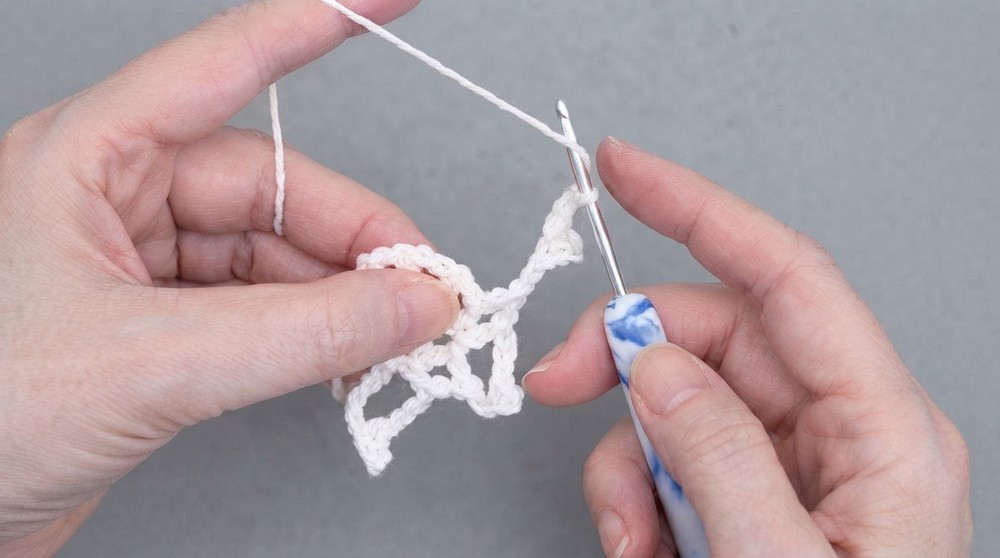
Each point adds a decorative flair to the snowflake while preserving an elegant symmetry. By the end of this round, your hexagonal snowflake will be complete.
Last Stitch
- After finishing the last point, ch 1.
- Slip stitch into the top of the starting chain-2. Cut the yarn and fasten off.
- Weave in all loose ends using a tapestry needle.
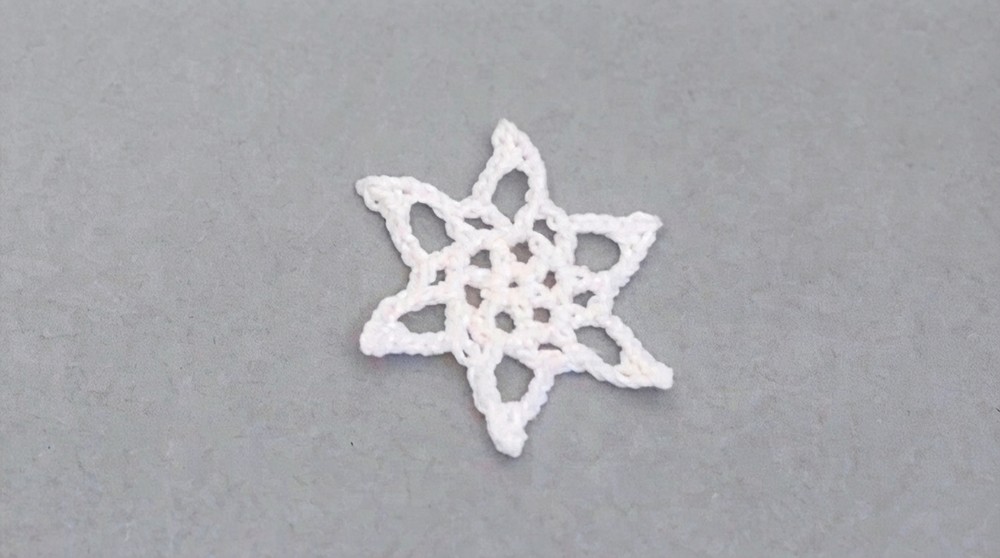
Your crochet snowflake is now complete! Next, add stiffness for the perfect finishing touch.
Assembly & Finishing
Stiffening the Snowflake
- To make your snowflake rigid, prepare a stiffening solution:
- Mix 1 part glue with 1 part water (e.g., 2 teaspoons each).
- Line a plate with aluminum foil to prevent sticking.
- Completely soak the snowflake in the glue solution.
- Place the saturated snowflake onto the foil and shape it with your hands until the points are evenly spaced.
- Allow the snowflake to dry overnight for best results.
Once dry, the snowflake will be crisp and hold its shape, ready to add to your seasonal decorations.
What You’ll Learn From This Pattern
- Working with Simple Stitches: This pattern reinforces foundational skills like slip stitches, single crochet, and double crochet.
- Creating Circular Foundations: Learn how to crochet in rounds, starting with a magic circle or chain-based loop.
- Mastering Picots: The addition of picot stitches helps to create a decorative, lacy touch in your crocheting.
- Blocking and Stiffening: Discover how to stiffen your snowflake for long-lasting structure and charm.
Why You’ll Love This Pattern
This pattern is quick and satisfying, allowing you to create a delicate snowflake in about an hour. Versatile for holiday decorating, it’s perfect for adding a festive atmosphere to your home. You'll be proud to hang these handmade creations on your Christmas tree, use them as table accents, or give them away as holiday gifts. You can also experiment with colors, contrasting hues, or metallic yarns to highlight the snowflake’s intricate design. Most of all, this timeless pattern is both beginner-friendly and versatile, making it enjoyable for crocheters of all skill levels.