
Beautiful Crochet Snowflake Pattern for Easy Winter Projects
Brighten your holidays as the Free Crochet Snowflake Pattern brings delicate beauty and shimmer to gifts, trees, and windows.
Handmade snowflake brings a touch of winter’s delicate beauty into your home with warmth and charm. This easy pattern uses only two rounds of stitches, making it perfect for anyone learning to crochet. The pattern features double crochet stitches combined with playful picot stitches, which form the tiny, pointed edges that give snowflake its signature look. Working with soft cotton yarn ensures your snowflake feels light and lacy, ideal for hanging on trees or decorating tabletops during the holiday season.
Learn this Easy Crochet Snowflake Pattern with Simple Steps
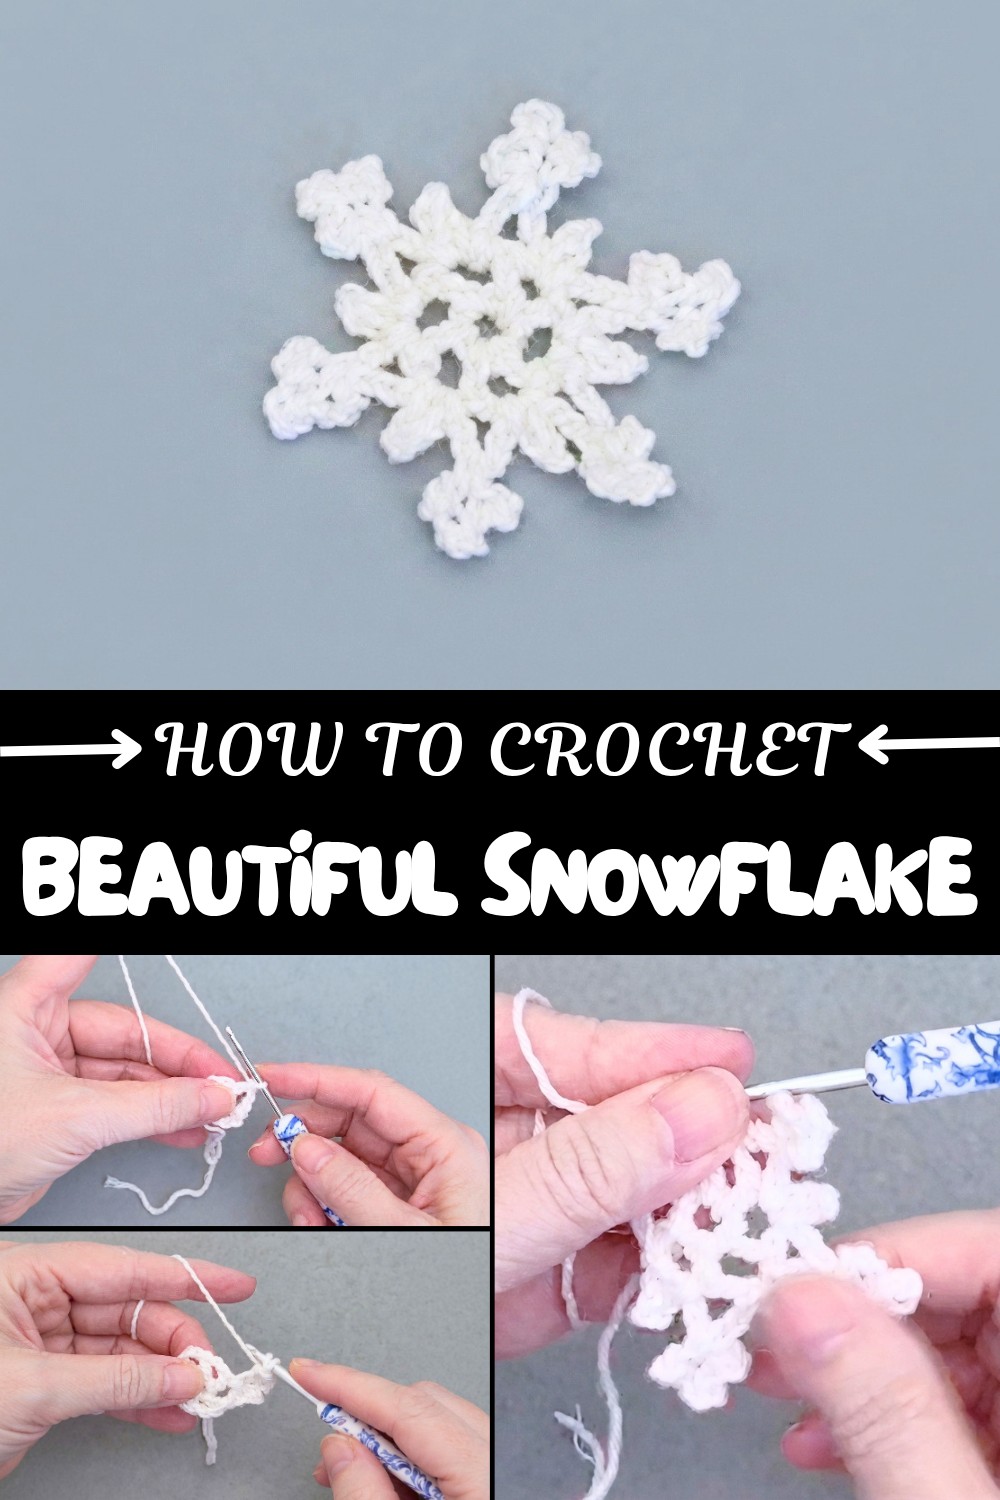
Starting with a gentle circular base, the stitches flow smoothly into intricate points, each carefully shaped with slip stitches, chains, and single crochets. The picot stitch adds a pretty, raised bump that enhances the snowflake’s texture and sparkle. This method keeps the pattern simple enough for beginners while still producing an elegant finished piece. To keep the snowflake crisp and firm, a homemade stiffener made from glue and water helps maintain its shape over time. Once dried, the snowflake becomes perfect for lasting decorations that catch the eye and add a handmade touch to any space.
The techniques used here can also be applied to other delicate projects like lace coasters, decorative doilies, or motifs to embellish blankets and scarves. Mastering these stitches unlocks many creative possibilities, making it easy to add detailed, textured designs to a variety of crochet projects. This pattern offers a gentle yet charming way to explore the beauty of simple crochet stitches in a fun and festive way.
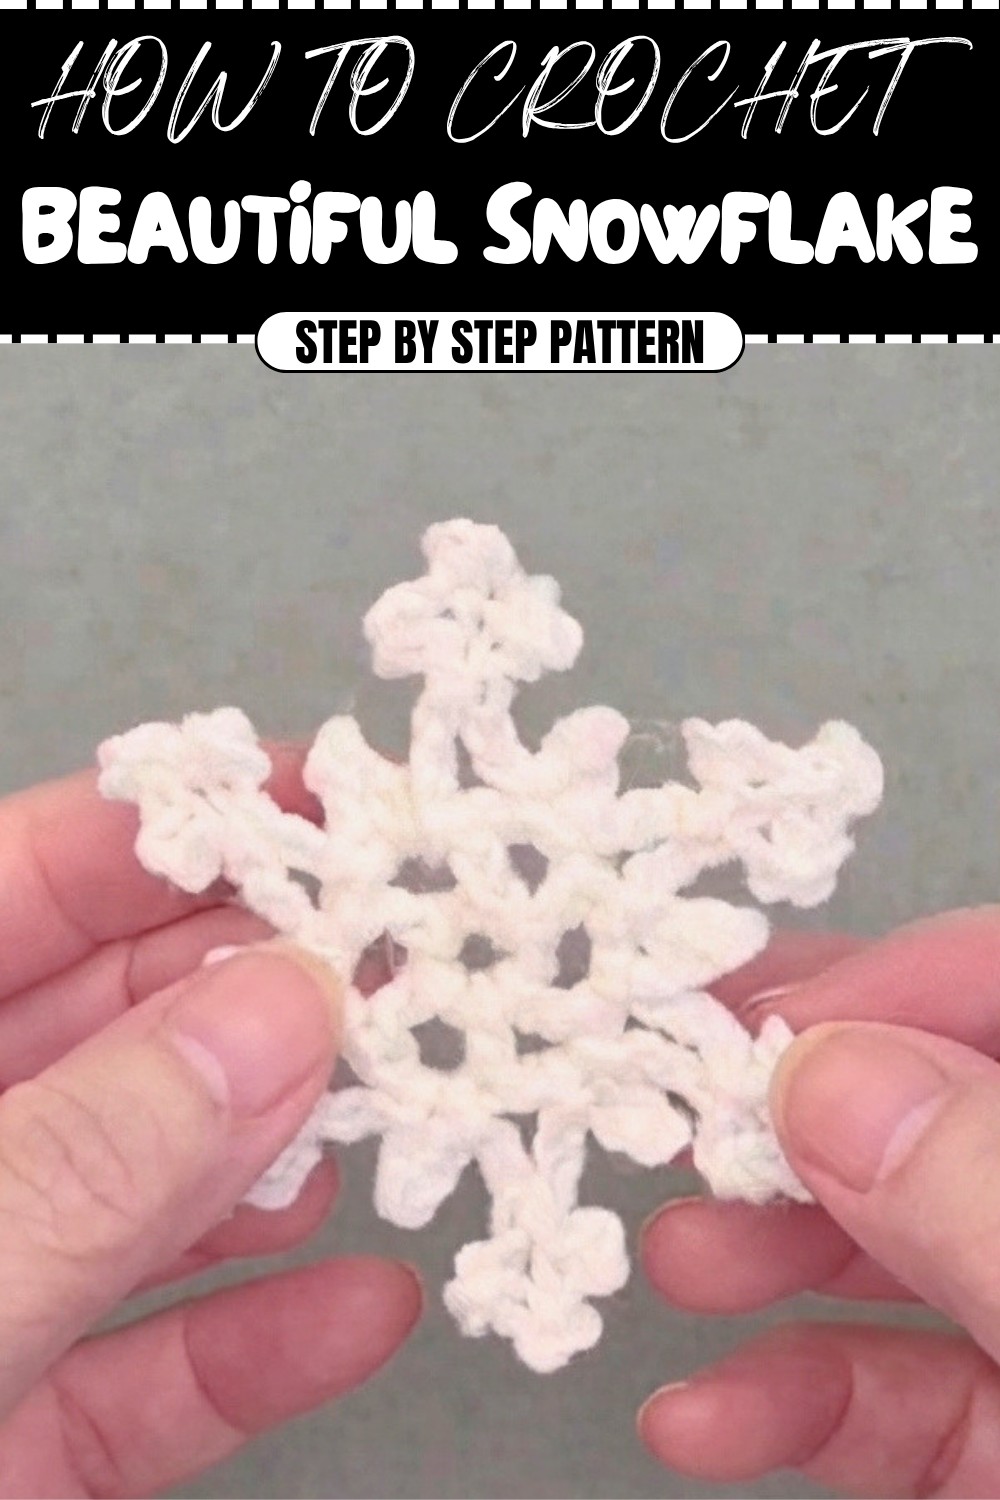
What You’ll Learn From This Pattern
- Working in the Round: Creating a neat center ring and joining rounds cleanly.
- Using Chain Spaces: Building decorative structures from chain spaces instead of regular stitches.
- Picot Variations: How small structural differences (single-point vs three-point picots) change the look of lace.
- Blocking and Stiffening: Simple finishing methods to transform soft crochet into structured décor.
Skill Level & Terminology
- Skill Level: Advanced Beginner
- You should be comfortable with basic stitches (chain, slip stitch, single crochet, double crochet) and willing to learn simple picots.
- Terminology: US crochet terms
- (US sc = UK dc, US dc = UK tr)
Materials & Tools
- Yarn: Size 3 cotton yarn (lightweight cotton is ideal for crisp, defined stitches).
- Hook: 3.0 mm crochet hook.
- Optional Stiffening Materials:
- White craft glue (e.g., Elmer’s)
- Water
- Plate lined with aluminum foil or plastic
- Notions:
- Yarn/tapestry needle (for weaving in ends)
- Scissors
Gauge
Gauge is not critical for this project.
However, for reference:
- One finished snowflake with size 3 cotton yarn and a 3.0 mm hook will measure approximately 2.5–3 inches (6–7.5 cm) across.
If your stitches are very loose, consider using a smaller hook so the snowflake looks defined and neat.
Abbreviations List
All in US terms:
- ch – chain
- sl st – slip stitch
- sc – single crochet
- dc – double crochet
- sp – space
- st – stitch
Special Stitch Instructions
1. Double Crochet (dc)
- Yarn over, insert hook into stitch or space, yarn over and pull up a loop (3 loops on hook).
- Yarn over, pull through 2 loops.
- Yarn over, pull through remaining 2 loops.
2. Simple Picot – Single-Point Picot
In this pattern, the “one-point picot” is constructed as:
- Ch 3,
- skip 1 ch,
- sl st in next ch,
- sc in next ch,
- sl st back into the same chain space.
3. Three-Point Picot Cluster
This is a decorative arc of three picot-like points:
- Work a set of ch 3 segments, each time skipping 2 chains and making a sl st in the next chain, repeated three times across the arc.
- At the end, the three points are joined together with a sl st at the base of the first picot.
Finished Size
- Approximate diameter: 2.5–3 inches (6–7.5 cm), depending on yarn and hook size.
The Pattern Itself
Part 1 – Center Ring (Round 1)
Round 1: Form the ring and base spokes
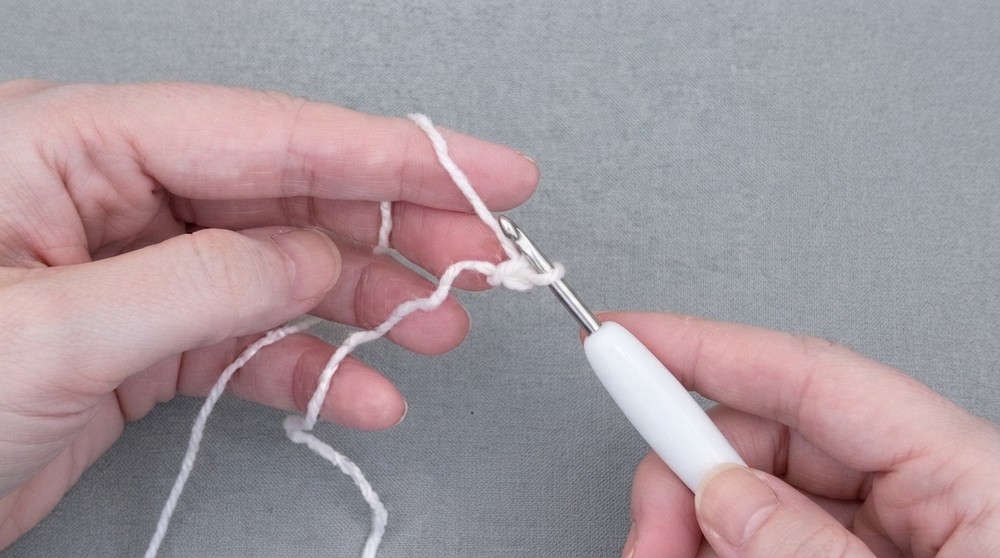
- Step 1:
- Make a slip knot on your hook, but do not tighten it yet.
- Ch 5.
- Step 2:
- Sl st into the first ch to form a circle.
- Now gently pull the tail to tighten the loop and close the center ring neatly.
- Step 3:
- Ch 2 – this counts as 1 dc in this pattern.
- Ch 2 more – this makes the first ch-2 sp between double crochets.
- Step 4:
- Dc into the ring.
- Ch 2.
- Repeat: (dc into ring, ch 2)
- until you have 6 dc and 6 ch-2 spaces around the ring.
- Step 5:
- Sl st into the top of the first ch-2 (the starting “dc”) to close the round.
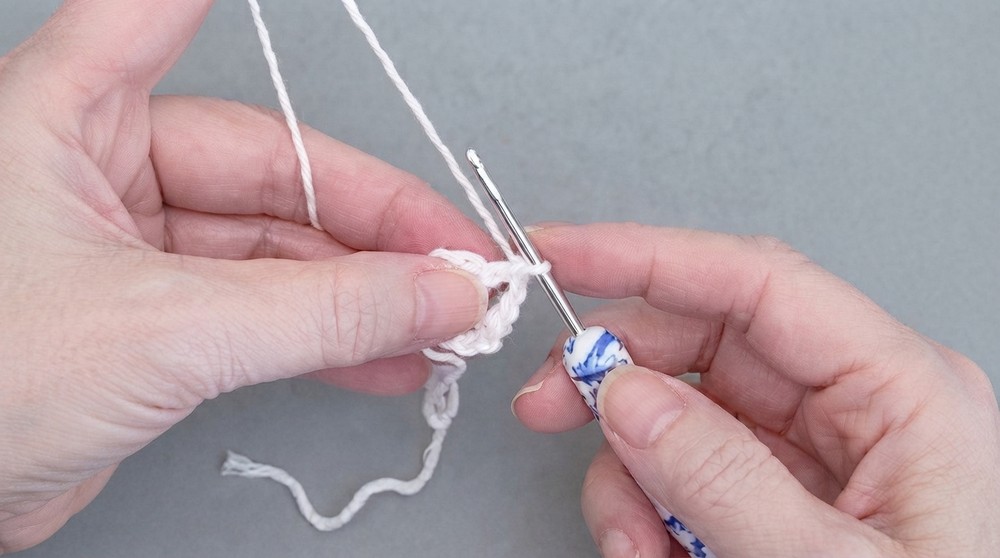
You should now have a small circular motif with 6 evenly spaced double crochets separated by chain spaces.
Plain explanation for Part 1:
You first make a small circle with chains, then put 6 tall stitches (dc) in that circle, each separated by chains. This forms the center from which the snowflake points will grow.
Part 2 – Picot Snowflake Arms (Round 2)
In this round, all stitches are worked into chain spaces and chains from Round 1. You’re forming six repeating “units” around the circle. Each unit has:
- A single-point picot inside one chain space, and
- A three-point picot that stretches between two spaces to create the long snowflake arm.
Round 2:
- Step 1: Move into the first chain space
- From where you joined Round 1, sl st into the next ch-2 space.
A. Make the Single-Point Picot (Within One Chain Space)
- Step 2:
- Ch 3.
- Skip 1 ch, sl st into the next ch.
- Sc in the next ch.
- Sl st back into the same ch-2 space.
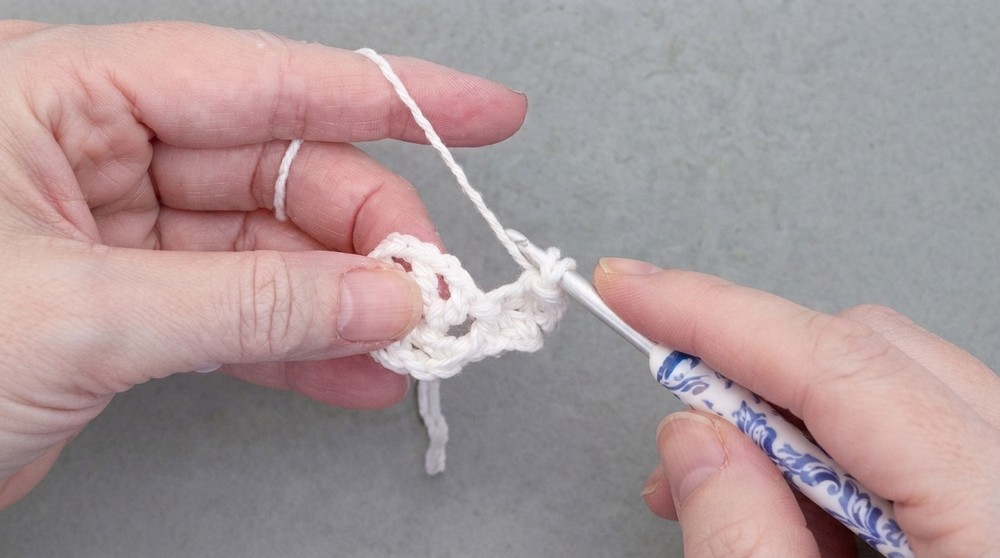
This creates a small decorative bump at the base of the snowflake arm.
B. Make the Three-Point Picot (Between Two Chain Spaces)
- Step 3:
- Ch 3, then ch 3 again (total of 6 chains, in two segments of 3).
- First point: Skip 2 ch, sl st into the next ch.
- Second point: Ch 3, skip 2 ch, sl st into the next ch.
- Third point: Ch 3, skip 2 ch, sl st into the next ch.
- Step 4:
- Join the cluster of picots by making a sl st into the base below the first picot (pick up the two small loops under that first picot to keep it neat).
- Step 5:
- Ch 3, then sl st into the next ch-2 space from Round 1.
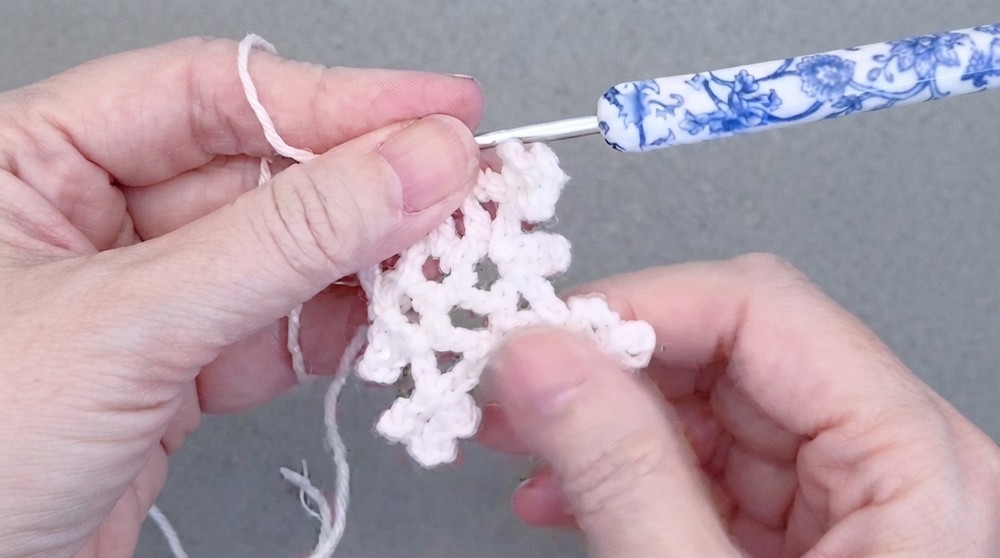
This completes one full unit (one small picot + one large three-point picot arm).
- Step 6:
- Repeat Steps 2–5 for a total of 6 units around the circle.
- For the very last join: instead of slip stitching from the front, remove the hook and sl st from the back to give a smoother finish.
- Fasten Off:
- Cut yarn, pull through the last loop, and gently tighten.
- Weave in all loose ends with a tapestry needle.
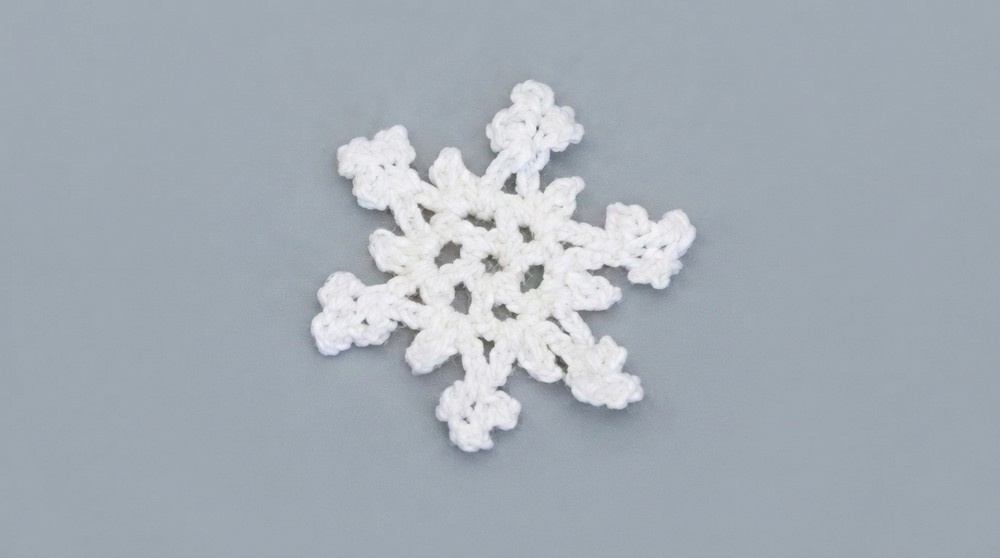
Part 2:
In the second round, you work only into the chain spaces from the first round. In each space, you create a small point (single picot) and then a longer decorative arm with three little bumps (three-point picot). You repeat this around 6 times so that you end up with a full snowflake with six matching arms.
Assembly & Finishing
Weaving in Ends
- Using a yarn needle, weave in the tail ends through the back of the stitches.
- Try to follow the direction of the existing stitches so the ends stay secure and invisible.
Stiffening the Snowflakes (Optional but Recommended)
To give your snowflakes a firm, crisp shape for hanging and decorating:
- Prepare the stiffener:
- Mix 50% white craft glue and 50% water (e.g., 2 tsp glue + 2 tsp water).
- Stir well in a small bowl or on a foil-lined plate.
- Soak the snowflake:
- Submerge the snowflake fully in the mixture until saturated.
- Shape and Dry:
- Gently squeeze out excess liquid (don’t twist too hard).
- Lay flat on foil or plastic. Shape each point with your fingers so the arms are even.
- Let dry overnight until completely firm.
After you finish crocheting, you hide the yarn ends. Then you dip the snowflake in a mix of glue and water, flatten it nicely, and let it dry. This makes it stiff and perfect for hanging as a decoration.
How to Start & What Stitches Are Used
You begin this pattern by forming a small ring of chains and then working double crochet (dc) stitches into that ring, separated by chain-2 spaces. In the second round, you use chain (ch), slip stitch (sl st), single crochet (sc), and the picot techniques (built from chains and slip stitches) to create the snowflake arms.
The entire pattern uses only:
- ch, sl st, sc, dc, and picot formations (no advanced stitches).
You start from the center and work outward. First you build a circle with tall stitches (dc), then you add all the fancy points using chains, slip stitches, and single crochets.
Why I Love This Pattern
This snowflake pattern is elegant yet very efficient, using only two rounds to create intricate, lacy shapes. It’s perfect for last-minute gifts and decorations because each snowflake works up quickly. The repetition makes it meditative, while the picot details keep it visually interesting. With simple stitches and a bit of finishing, you end up with a beautiful piece that looks far more complex than it is—ideal for impressing others and enjoying your own handmade holiday décor.