
Fun Free Crochet Lilo y Stitch Amigurumi Pattern to Try
Celebrate beloved characters with a Free Crochet Lilo y Stitch Amigurumi Pattern that adds fun and personality to your creations while delighting fans of all ages.
Crocheting characters from favorite movies is always a fun way to bring them to life with yarn. One of the coolest projects I’ve tried is making a small, cuddly version of Stitch. The free crochet Lilo y Stitch amigurumi pattern helps you create a cute little Stitch doll that fans will love to hug and display.
Fun Free Crochet Lilo y Stitch Amigurumi Pattern to Try
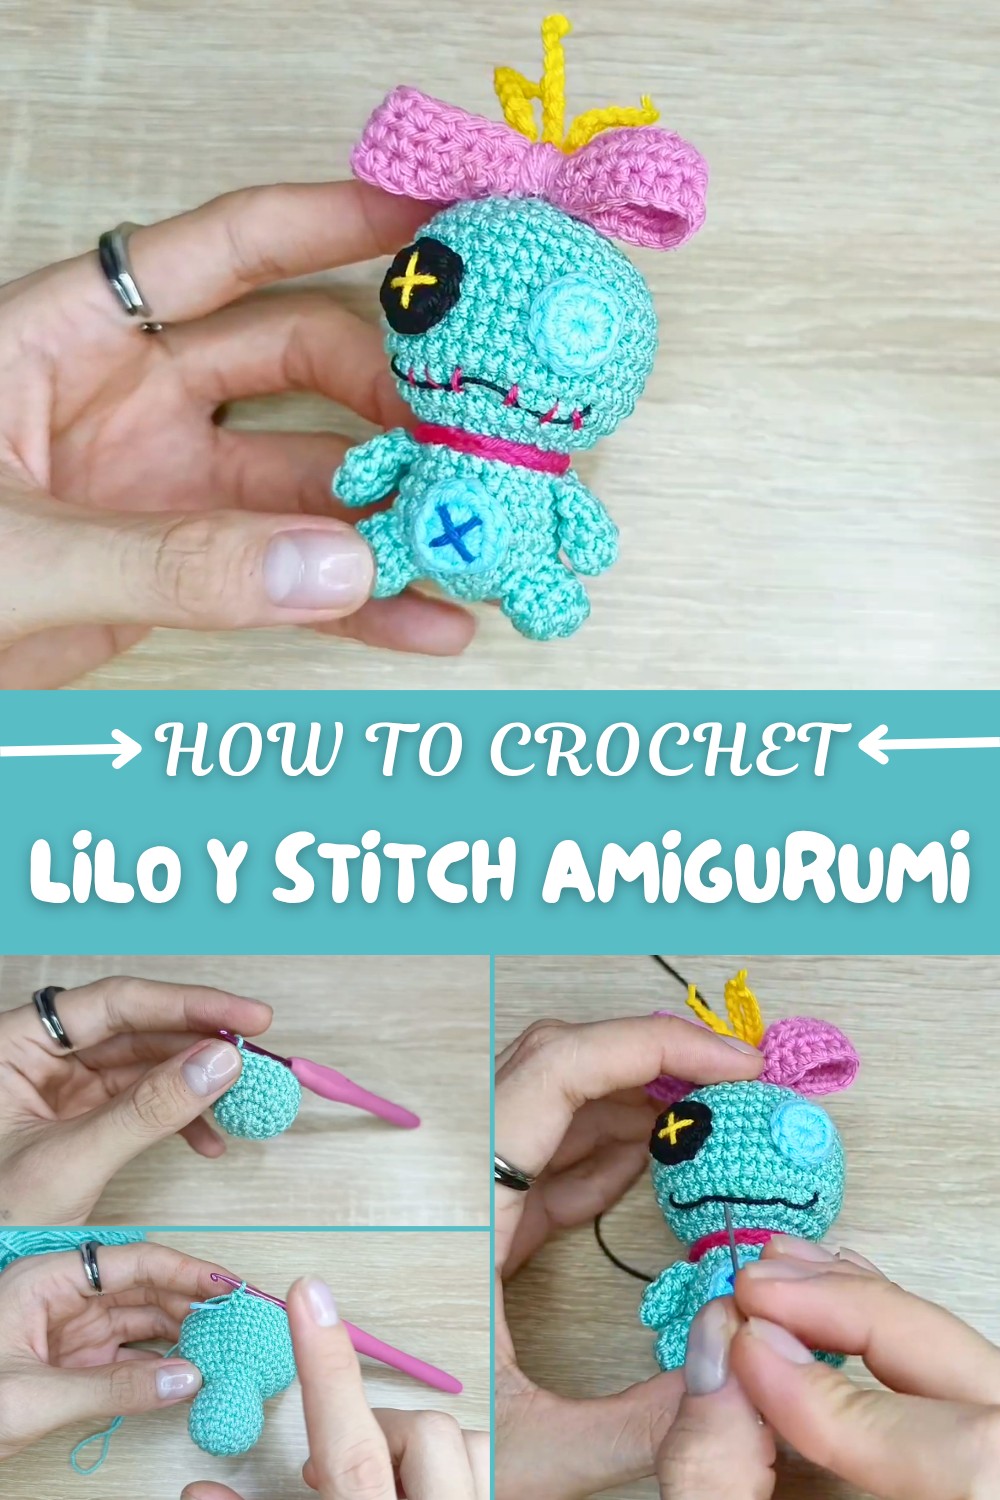
This amigurumi Stitch is super adorable with big ears, wide eyes, and a sweet smile. Its texture is soft and smooth, perfect for snuggling or showing off on a shelf. The shape is just right, not too big or small, making it easy to hold and carry around. The pattern captures Stitch’s playful and mischievous look, with neat details like his little paws and round nose, giving it a lively style that stands out.
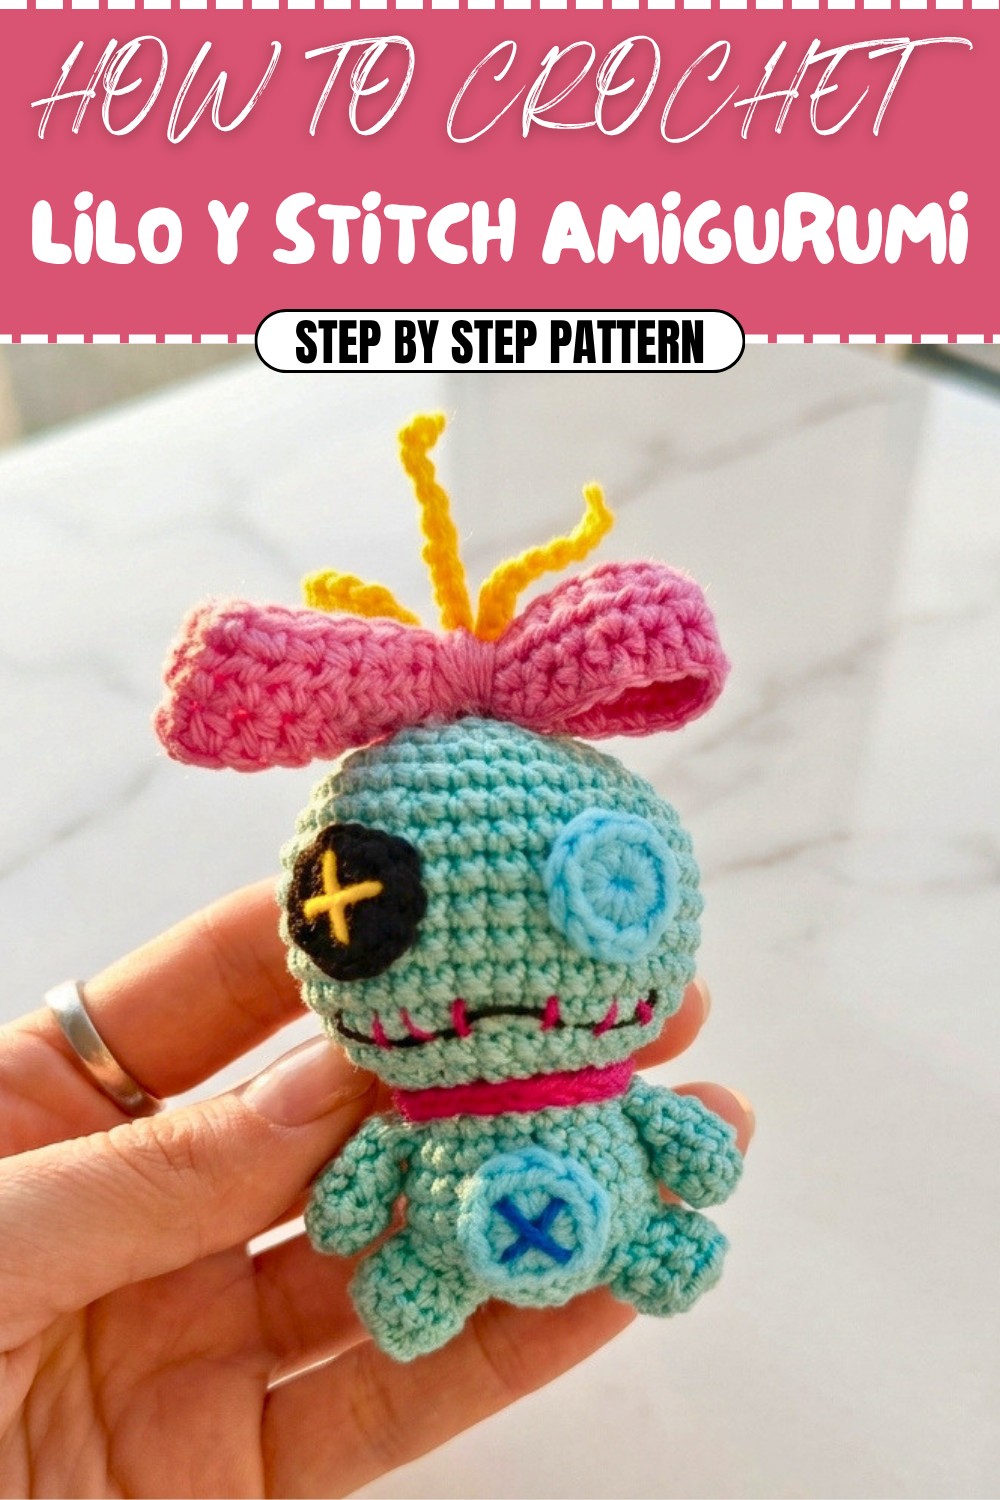
This project is good if you already know some basic crochet stitches, especially the single crochet stitch, which is used to make the tight and firm fabric needed for amigurumi. The pattern also teaches how to work in rounds to shape Stitch perfectly.
Making this Lilo y Stitch amigurumi is a great gift idea for anyone who loves the movie or adorable handmade toys. It’s not only a fun decoration but also a sweet keepsake that can bring smiles to both kids and adults. Plus, it’s a wonderful way to practice your crochet skills while making something truly special.
Keychain-Sized Amigurumi Doll Crochet Pattern
This pattern creates a small, keychain-sized amigurumi doll using a 3mm crochet hook and cotton yarn. The entire doll measures just a few centimeters tall, making it perfect as a cute accessory, gift, or collectible. In this step-by-step guide, the body and head are crocheted as one piece, with separate limbs and details added for character and charm.
Quick Overview Of Pattern
- Work body and head as one continuous piece, starting from the bottom up.
- Use standard amigurumi increases and decreases for shaping.
- Create arms and legs separately and sew them onto the main body.
- Crochet small decorative buttons for eyes and belly, and embroider signature ‘X’ details.
- Make a mini bow, stylized hair strands, a chain ribbon, and a sweet embroidered mouth for finishing touches.
- Designed for easy assembly and customization.
Notes
- All instructions use US crochet terms.
- Work in continuous rounds unless otherwise noted.
- Always use a stitch marker to keep track of the beginning of rounds.
- Stuff pieces lightly to retain a small and soft amigurumi shape.
- Secure all ends and small parts to make the doll safe for use as a keychain.
- Bow, face, and details can be customized with different colors or embroidered accents.
Skill Level
Advanced beginner to intermediate.
- Familiarity with magic rings, basic amigurumi increases/decreases, color changes, hand sewing, and simple embroidery required.
Materials
- 3 mm crochet hook
- Cotton yarn in skin tone, and colors for details (bow, ribbon, hair, buttons)
- Small amounts of embroidery thread (for mouth, button “X” detail)
- Yarn needle for sewing and embroidery
- Polyester stuffing
- Small scissors
- Keychain hardware (optional)
- Craft glue (for shaping mouth, if desired)
- Stitch marker
Measurements / Sizing
- Finished Size: Approximately 6–7 cm (2.4–2.8 in) tall (excluding keychain hardware)
- Schematic: Simple cylindrical body, rounded head, stubby arms and legs
Gauge
Gauge is not critical due to amigurumi’s nature, but tight enough stitches are needed to avoid stuffing showing through.
Stitch Abbreviations
- CH: Chain
- SC: Single Crochet
- INC: Increase (2 SC in one stitch)
- DEC: Decrease (single crochet 2 stitches together)
- HDC: Half Double Crochet
- SL ST: Slip Stitch
- BLO: Back Loops Only
- MR: Magic Ring
Special Stitches
- SC BLO: Single crochet in back loops only (for shaping and subtle texture)
- Invisible Decrease: Insert hook into front loop of next two stitches, yarn over, pull through, yarn over and pull through both loops.
The Crochet Pattern
Body and Head (one piece)
Begin at the base of the body and work upward.
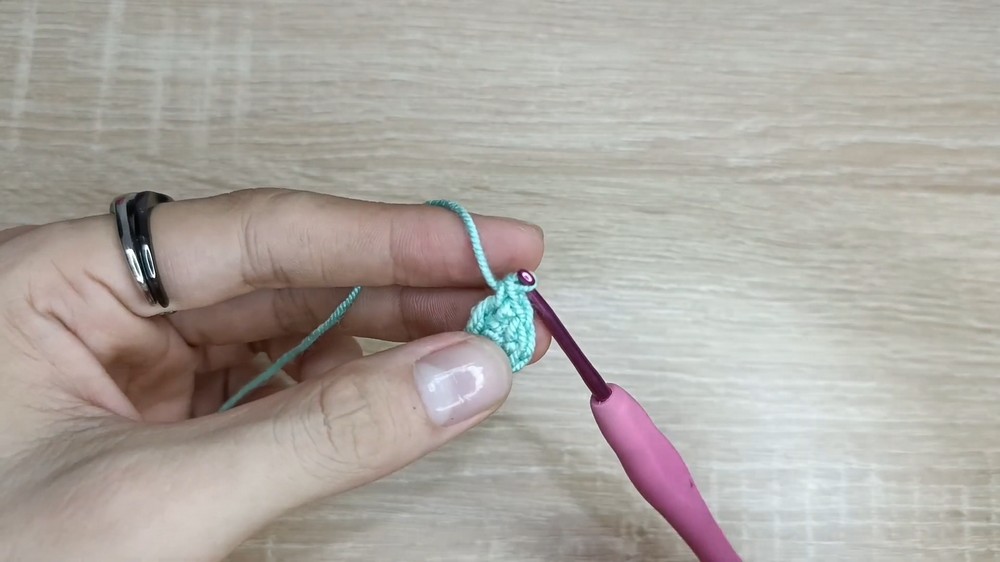
- Round 1:
MR, 6 SC into ring (6) - Round 2:
INC in each stitch around (12 SC) - Round 3:
(1 SC, INC) repeat 6 times (18 SC) - Round 4:
(5 SC, INC) repeat around (21 SC) - Rounds 5–6:
21 SC each round - Round 7:
(5 SC, DEC) repeat around (18 SC) - Round 8:
18 SC - Round 9:
(1 SC, DEC) repeat around (12 SC) - Round 10:
BLO, INC in every stitch around (24 SC) - Round 11:
(3 SC, INC) repeat 6 times (30 SC) - Round 12:
(4 SC, INC) repeat 6 times (36 SC) - Rounds 13–17:
36 SC in each round - Round 18:
(4 SC, DEC) repeat 6 times (30 SC) - Round 19:
30 SC - Round 20:
(3 SC, DEC) repeat 6 times (24 SC) - Round 21:
(2 SC, DEC) repeat 6 times (18 SC) - Round 22:
(1 SC, DEC) repeat 6 times (12 SC) - Round 23:
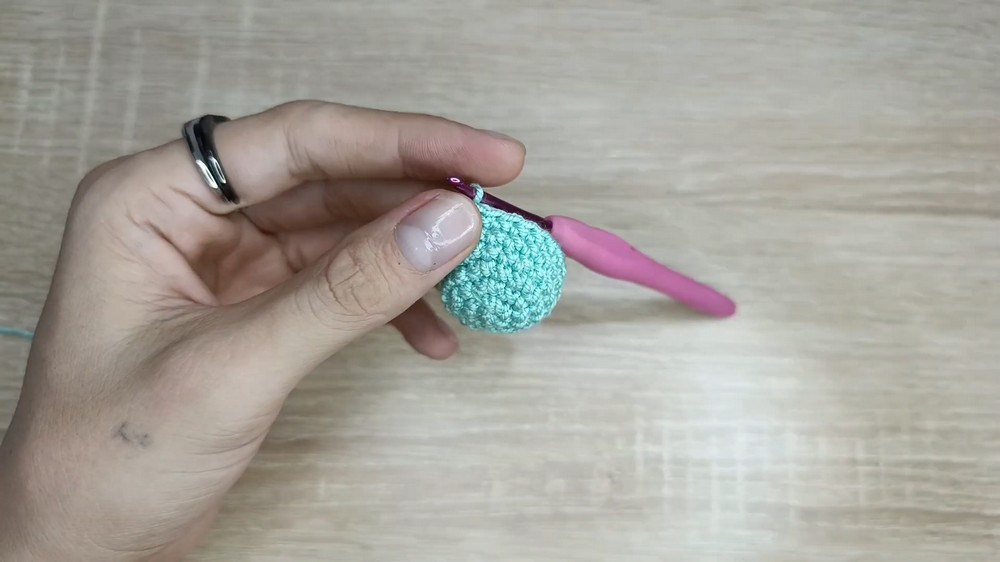
4 DEC. Fasten off, use yarn needle to close hole neatly. Weave in yarn tail securely.
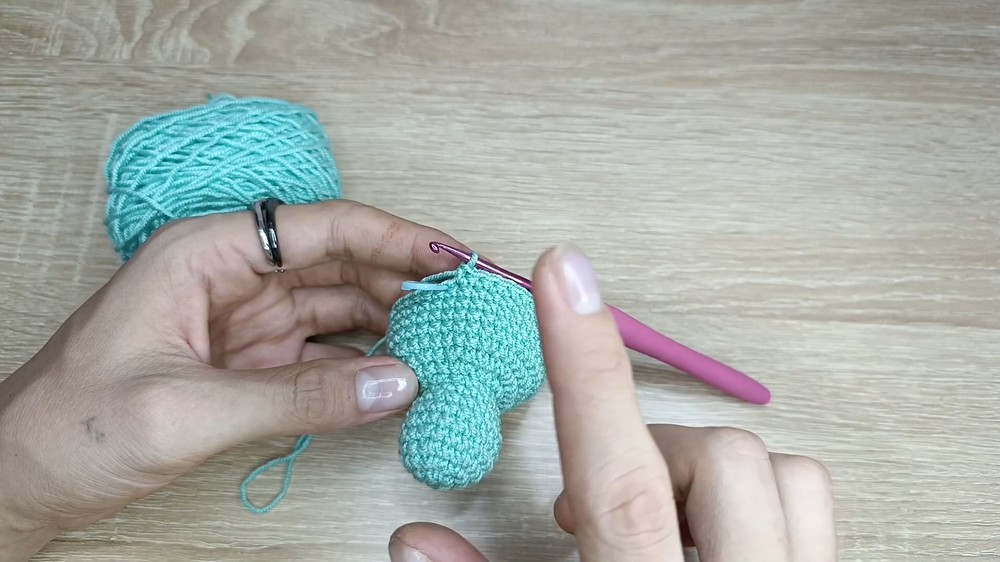
Arms (make 2)
- Round 1:
MR, 6 SC - Rounds 2–3:
6 SC in each round - Flatten piece, close opening by working through both layers: 2 SC across. Fasten off, leaving yarn tail for sewing.
Legs (make 2)
- Round 1:
MR, 8 SC - Round 2:
BLO, 8 SC - Round 3:
8 SC - Fasten off, leaving tail for sewing.
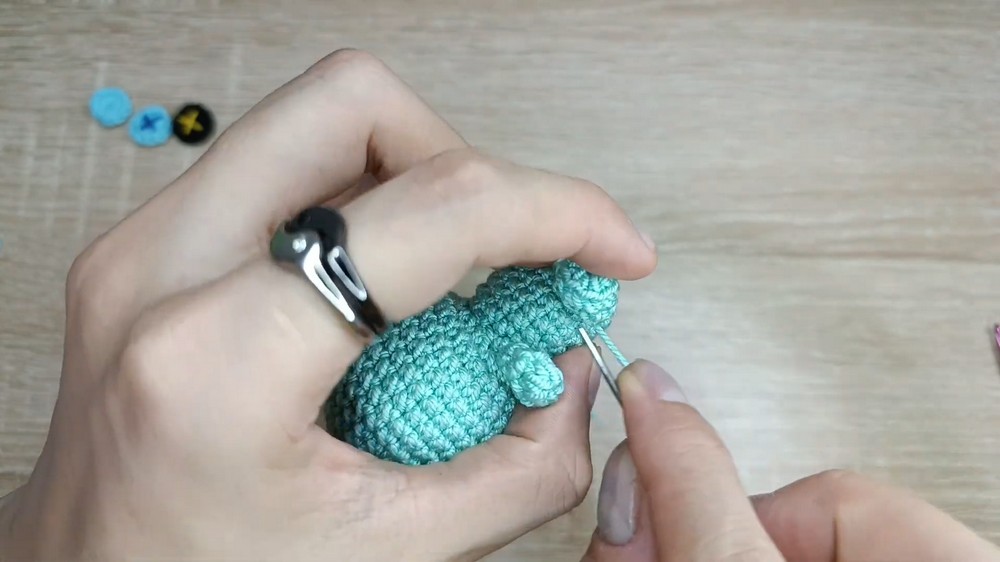
Buttons (Eyes and Belly)
Make as many as you desire, typically 2 for eyes, 1 for belly.
- MR, 10 SC (Do not join; pull ring tight.)
- Fasten off. With contrasting embroidery thread, sew an “X” across the button face for a stitched effect.
Bow
- CH 30
- Row 1:
HDC in 2nd CH from hook, HDC in each CH across (29) - Row 2:
CH 1, turn, HDC in each stitch (29) - Fasten off.
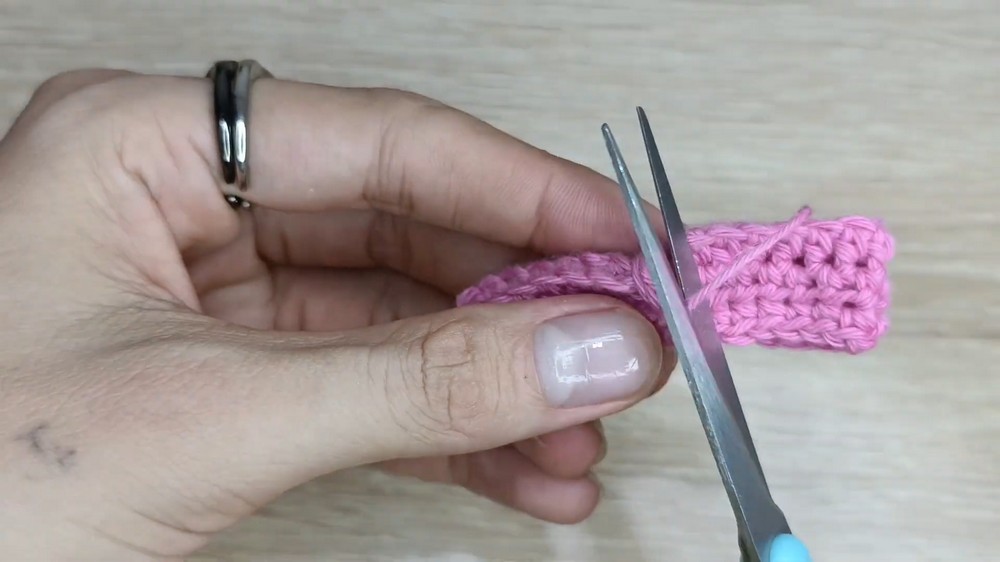
- With a strand of yarn, pinch the bow in the center and wrap the strand several times. Secure with a knot.
- For the center band:
CH 5–10, wrap around the bow’s center and sew or glue in place.
Hair
- Cut 3 strands of yarn.
- For each strand, CH 10.
- Attach strands to top of head as a tuft (pull both ends through one stitch, secure with a knot or stitch).
Neck Ribbon
- CH 20 (or enough to fit comfortably around neck).
- Tie ribbon around the neck, just under the head.
Mouth
- With black embroidery thread, embroider a small mouth on the head below the eyes/buttons.
- Optionally, apply a small amount of craft glue with a toothpick to shape or set the thread in place.
Assembly & Finished Size
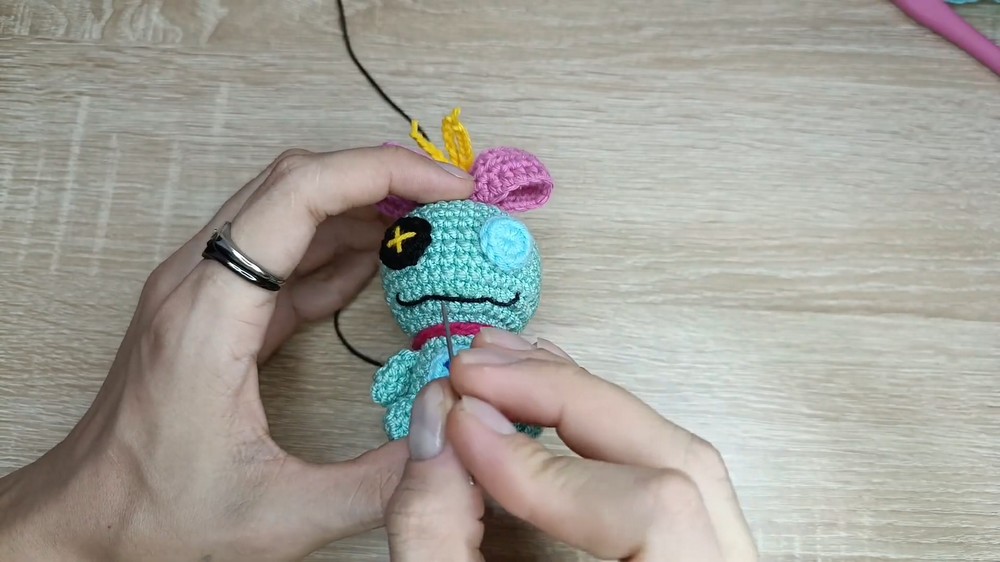
- Stuff head and body firmly and evenly.
- Sew arms to sides of body just below the neck area.
- Sew legs to bottom of the body evenly spaced.
- Attach buttons as eyes and on the belly (or as desired). Sew securely.
- Embroider ‘X’ marks on buttons before attaching.
- Tie hair strands securely to top of head.
- Add neck ribbon and tie in a bow.
- Sew or glue bow to the lower head or body (as a collar or hair accessory).
- Embroider mouth and set with glue if desired.
- Attach to keychain hardware using a small loop of yarn from the head for a sturdy hold.
- Trim all yarn ends and neaten any visible details.
Finished size: Approximately 6–7 cm tall, perfect for a keychain or bag charm.
Conclusion
Congratulations on creating your adorable keychain-sized amigurumi doll! This project is quick, detailed, and can be customized endlessly with colors and facial expressions. Its compact shape makes it ideal for gifts, personal accessories, or collectibles.