
Unique Crochet Tea Cup Amigurumi Pattern Stylish Gift for Friends
Cheer up your table with a Free Crochet Tea Cup Amigurumi Pattern that’s fun, easy, and brings cheerful charm to any corner in your home.
There’s something so cozy and comforting about a warm cup of tea, and now you can bring that feeling to your crochet collection with this charming little project! Using simple stitches like single crochet, increases, and invisible decreases, this pattern is an enjoyable crochet for beginners and experienced crocheters alike. The magic circle technique starts off your work, allowing you to create a neat, tight center for your teacup. By working into the front and back loops of your stitches, you’ll add texture and shape that really makes this cup come to life.
Whimsical Crochet Tea Cup Amigurumi Pattern For Home Decor Inspiration
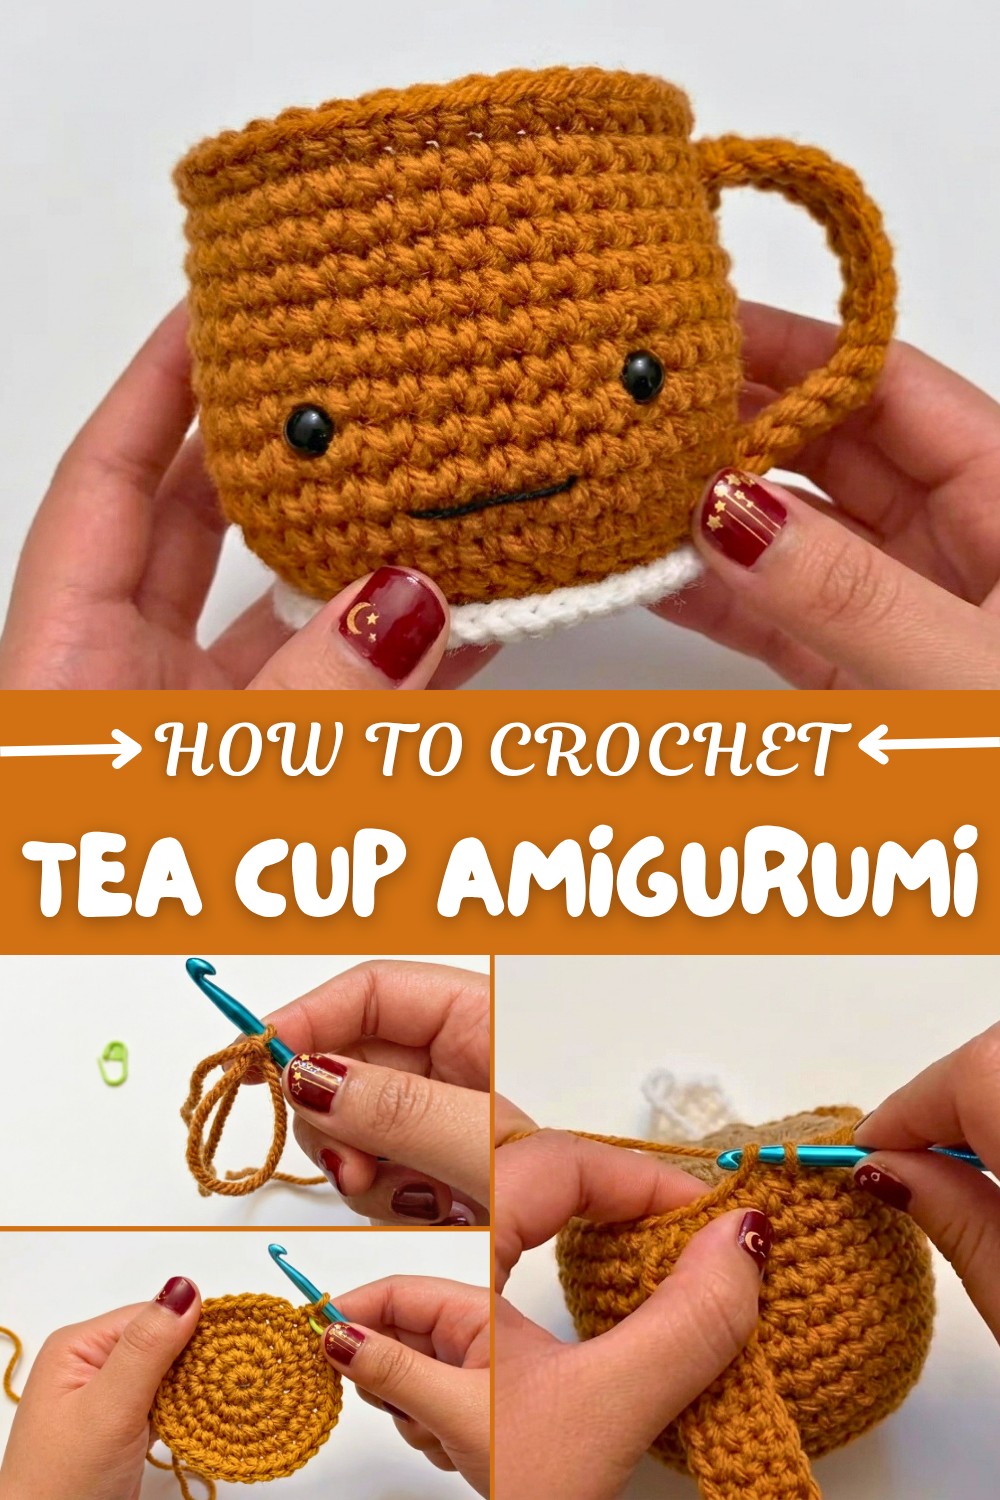
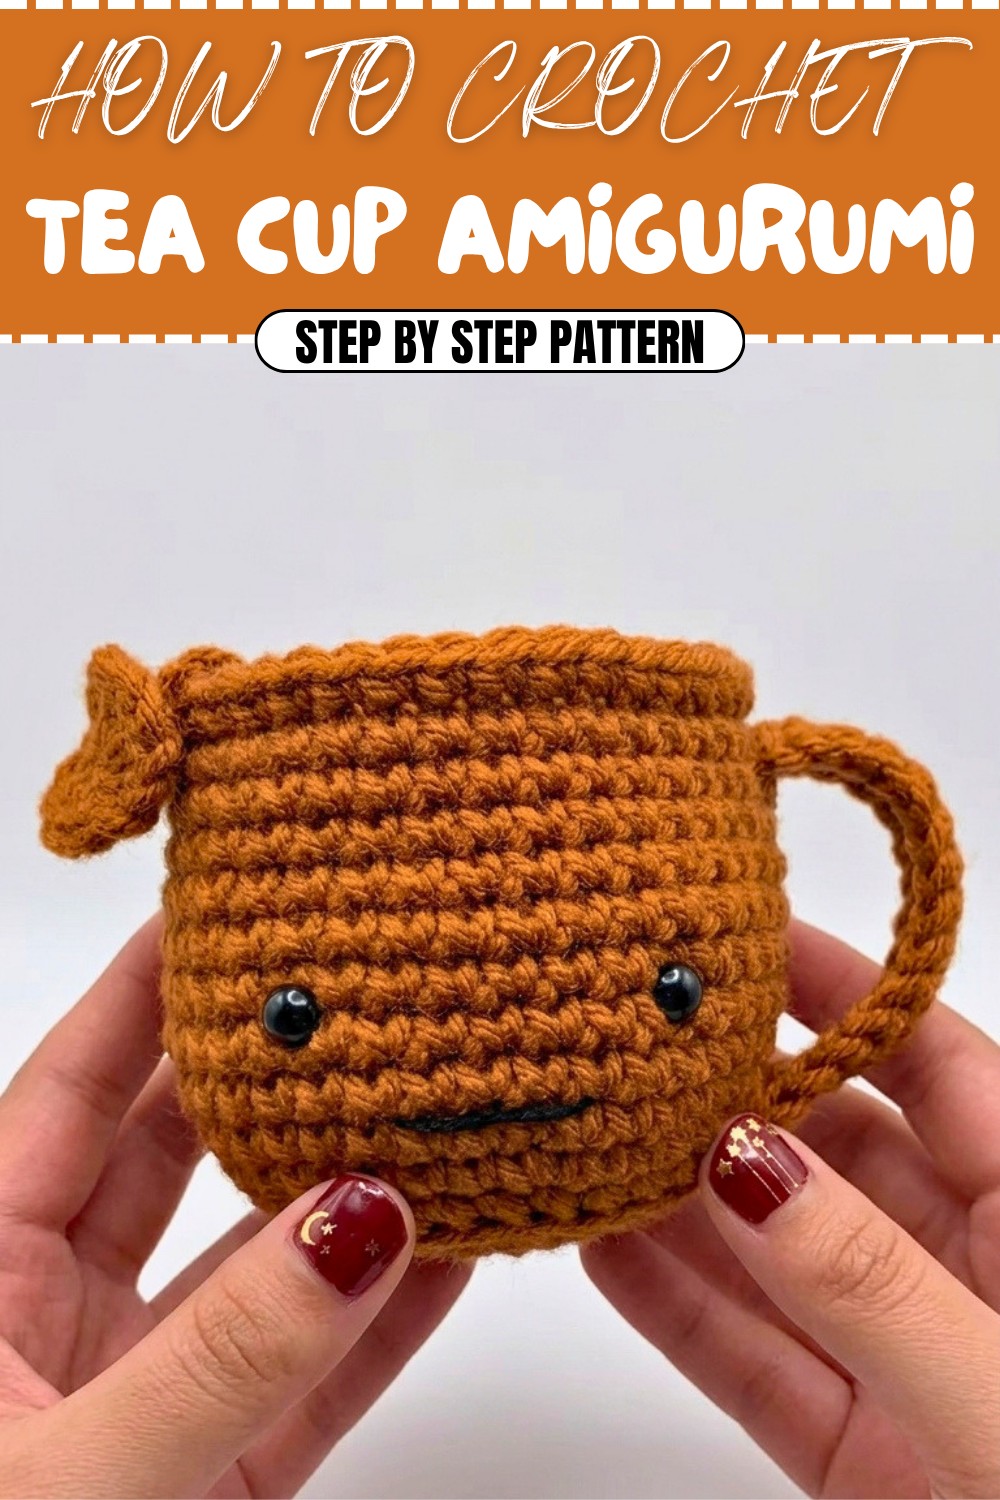
This cute teacup pattern features delightful details like a tiny handle and even a little crocheted tea bag hanging on the side. The handle is made by chaining a small strip and then stitching rows of single crochet to give it a sturdy shape. The tea bag adds an extra cute touch, created by working simple rows with decreases for its tapered finish. As you work through the rounds, you’ll learn how to control the shape of your cup by increasing and decreasing stitches strategically. This helps the cup open wide at the top and gently narrow toward the base, giving it a realistic and adorable look.
Finished, this little teacup is a perfect decoration for your desk, a sweet gift for tea lovers, or a charming addition to a handmade play kitchen.
Expand Your Crochet Fun
The techniques used in this pattern are great building blocks for many other crochet projects. The single crochet stitch and shaping methods can easily be applied to make other kitchen-themed amigurumi like tiny teapots, cupcakes, or even cozy little mugs. The magic circle and invisible decreases are essential skills for shaping all kinds of toys, decorations, and gifts. Once you master this teacup, the doors open to a world of playful and cozy crochet creations!
Crochet Pattern: Adorable Teacup
This crochet teacup is a cheerful and playful project perfect for beginners and intermediate crocheters. The design incorporates basic amigurumi techniques, including single crochet (sc), magic circle, increasing and decreasing, as well as working in the front and back loops. You’ll also learn how to attach a handle and add a fun tea bag accent, making this teacup an adorable decorative piece or gift. With detailed step-by-step instructions, let's create this delightful teacup together!
Skill Level & Terminology
- Skill Level: Beginner to Intermediate
- Crochet Terminology: US terms
Materials & Tools
- Crochet Hook: 5 mm hook for the main cup; optional smaller hook for tea bag details and handle
- Yarn: Two colors of medium-weight yarn:
- Main color (e.g., Pecan Pie for the cup)
- Brown (for the beverage inside the cup)
- Pecan Pie (for the tea bag)
- Safety Eyes: 8 mm (or preferred size)
- Embroidery Thread: For facial details, such as the mouth
- Stuffing/Fiberfill: To fill the teacup and make it plush
- Tapestry Needle: For sewing and weaving in ends
- Scissors
- Stitch Marker: To mark the beginning of rounds
Gauge
Gauge is not critical for this pattern, but tight stitches are recommended to prevent stuffing from showing through. Adjust your hook size or tension if necessary.
Abbreviations List
- ch: Chain
- sc: Single Crochet
- inc: Increase (2 single crochet into the same stitch)
- dec: Decrease
- blo: Back Loop Only
- flo: Front Loop Only
- sl st: Slip Stitch
Special Stitch Instructions
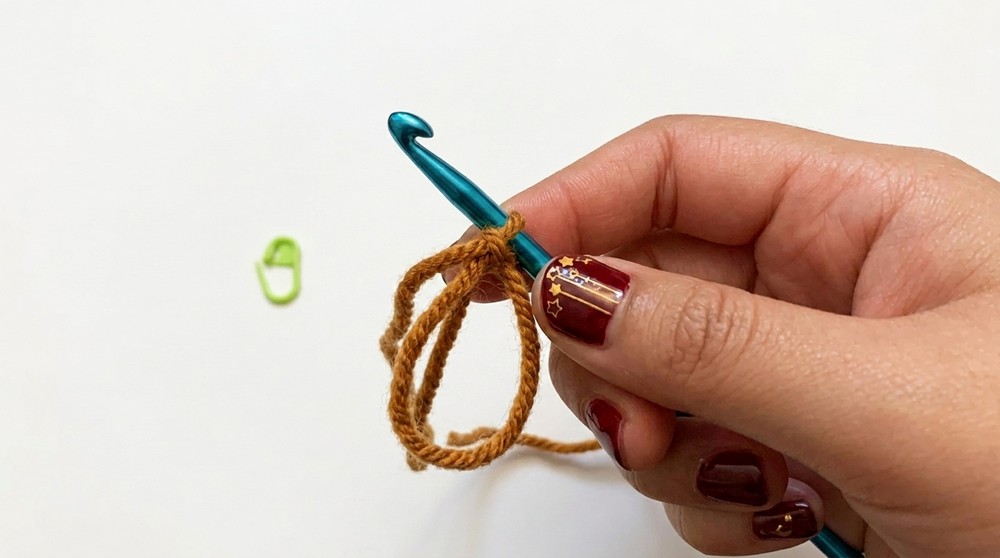
Magic Circle: Create a loop with your yarn, insert the hook, pull up a loop, and proceed in the circle for your stitches.
Invisible Decrease: Insert your hook into the front loops of the next two stitches, yarn over, pull through both loops, yarn over again, and pull through all loops on the hook. This creates a neat finish.
Finished Size
The teacup will measure approximately 4–5 inches tall and 4 inches wide, depending on your tension and yarn choice.
The Pattern Itself
Teacup Base (Main Color Yarn, 5 mm Hook)
- Round 1:
- Begin with a magic circle and work 8 sc into the circle. Pull the tail to tighten the circle. [8 stitches total]
Explanation: This forms the flat base of your teacup.
- Begin with a magic circle and work 8 sc into the circle. Pull the tail to tighten the circle. [8 stitches total]
- Round 2:
- Work 2 sc into each stitch (inc). [16 stitches]
Tip: The increases expand the circle evenly and set the foundation for the bottom of the cup.
- Work 2 sc into each stitch (inc). [16 stitches]
- Round 3:
- Repeat: 1 sc, 1 inc around. [24 stitches]
- Round 4:
- Work 1 sc in each stitch around. This is not an increase round. [24 stitches]
Note: This round keeps the shape flat before the teacup starts curving upwards.
- Work 1 sc in each stitch around. This is not an increase round. [24 stitches]
- Round 5:
- Repeat: 2 sc, 1 inc around. [32 stitches]
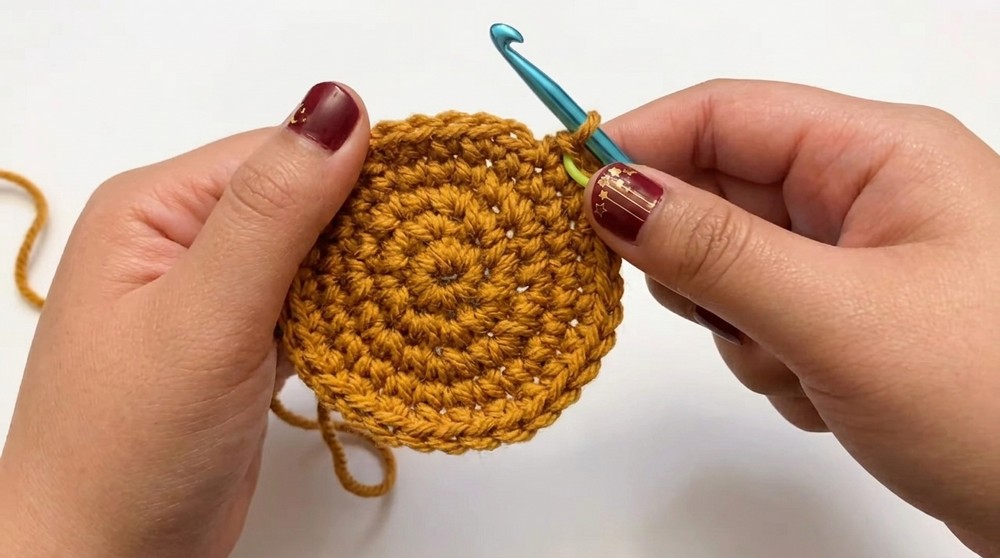
Start Forming the Cup
- Round 6:
- Work 1 sc in the blo (back loop only) for the entire round. [32 stitches]
Explanation: Working in the back loops creates a raised edge at the bottom of the cup.
- Work 1 sc in the blo (back loop only) for the entire round. [32 stitches]
- Round 7:
- Repeat: 3 sc, 1 inc across. [40 stitches]
- Rounds 8–10:
- Work 1 sc in each stitch for 3 rounds to form the cup’s height. [40 stitches per round]
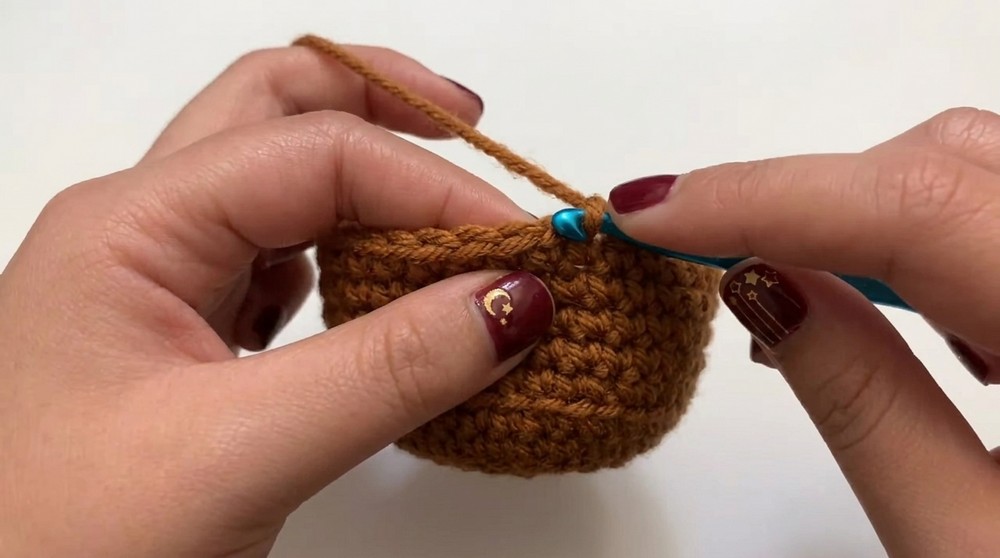
- Round 11 (Shaping the Top):
- Work 18 sc, 1 invisible dec, 18 sc, 1 invisible dec. [38 stitches]
Note: Reducing a couple of stitches prevents the cup from becoming too wide.
- Work 18 sc, 1 invisible dec, 18 sc, 1 invisible dec. [38 stitches]
- Rounds 12–16:
- Work 1 sc in each stitch for 5 rounds. [38 stitches per round]
Handle (Main Color Yarn)
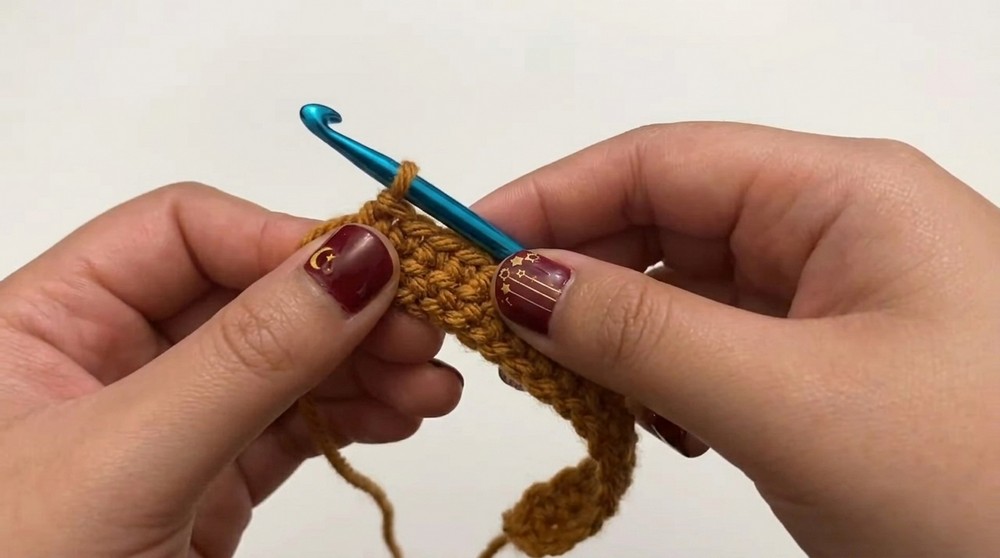
- Row 1:
- Ch 17, then turn.
- Row 2:
- Work 1 sc in each stitch across. [16 sc]
- Rows 3–4:
- Ch 1, turn your work, and 1 sc in each stitch across to thicken the handle.
Explanation: This creates a sturdy handle that complements the teacup body.
- Ch 1, turn your work, and 1 sc in each stitch across to thicken the handle.
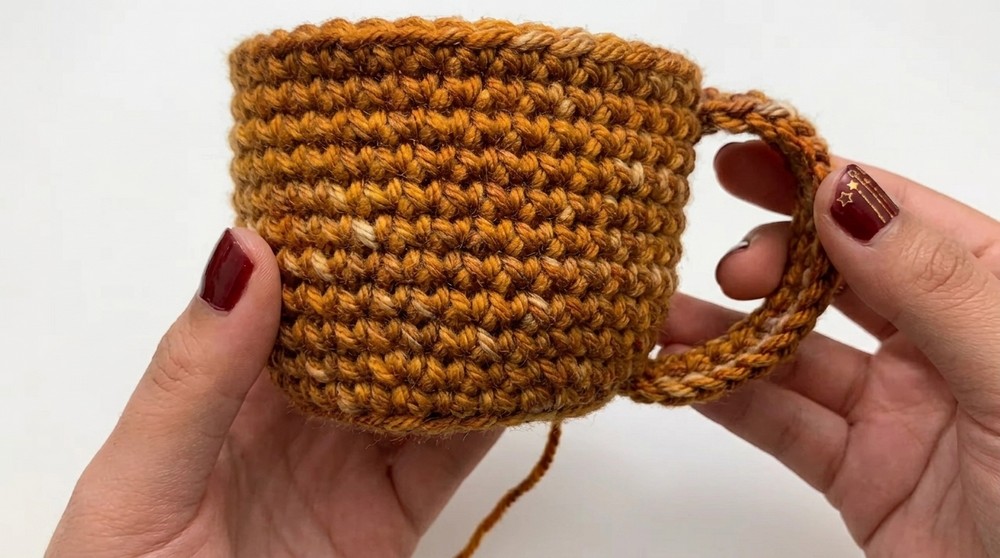
- Finish:
- Fasten off, leaving a long tail for sewing.
- Attach:
- Sew the handle symmetrically to the side of the cup using a tapestry needle. Secure tightly.
Tea Bag (Pecan Pie Yarn)
- Row 1:
- Ch 5, turn, and work 1 sc in each stitch. [4 sc]
- Rows 2–3:
- Ch 1, turn your work, and 1 sc in each stitch.
- Row 4:
- Ch 1, turn your work, and 1 dec, 1 sc, 1 dec. [3 stitches]
- Row 5:
- Ch 1, turn, and 1 dec in the first two stitches, then work 1 sc in the last stitch. [2 stitches]
- Row 6:
- Ch 1, turn, and 1 dec. [1 stitch]
- Finish:
- Fasten off, leaving a long tail for attaching.
Tip: Sew the tea bag to the side or inside of the cup for a decorative touch!
- Fasten off, leaving a long tail for attaching.
Beverage Surface (Brown Yarn)
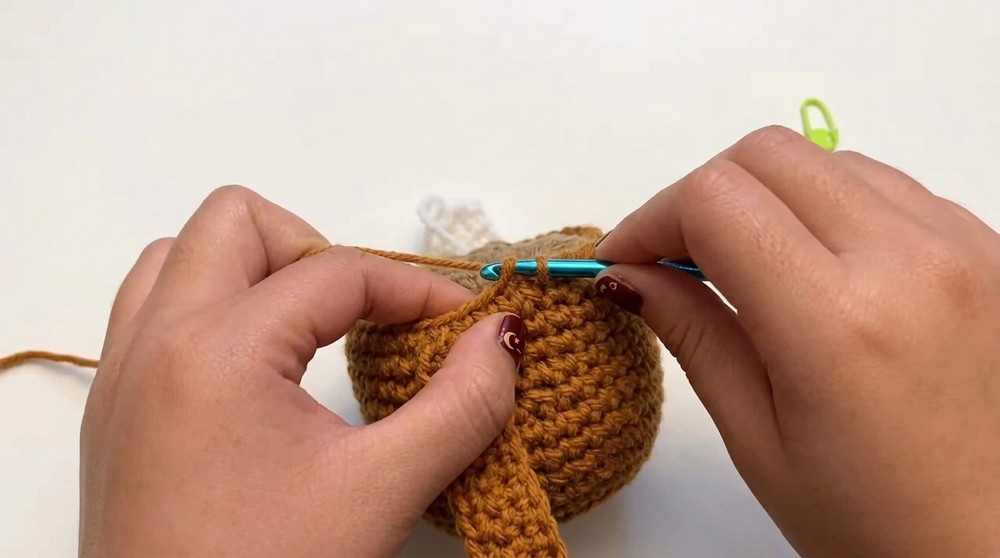
- Round 1:
- Attach brown yarn to the blo stitches left in Round 6. Work 1 sc in each blo around. [38 stitches]
- Round 2:
- Repeat: 3 sc, 1 dec across. [30 stitches]
- Round 3:
- Repeat: 2 sc, 1 dec across. [22 stitches]
- Round 4:
- Repeat: 1 sc, 1 dec across. Work 2 dec at the end. [14 stitches]
- Finish:
- Stuff the teacup securely with fiberfill stuffing before closing the beverage surface.
Assembly & Finishing
- Close Beverage:
- Using the brown yarn, sew the top closed using a tapestry needle. Push any loose yarn inside for a neat finish.
- Attach Handle:
- Position and sew the handle to the side of the teacup securely.
- Add Facial Details:
- Position the safety eyes symmetrically on the cup’s surface. Use embroidery thread to stitch a simple curved smile between the eyes.
- Attach Tea Bag:
- Securely sew the tea bag string to the inside or side of the teacup, letting it dangle for a whimsical touch.
What You'll Learn from This Pattern
From mastering foundational stitches to adding unique details, this teacup pattern teaches techniques such as:
- Using back loops and front loops to shape your project.
- Creating clean edges with invisible decreases.
- Attaching and designing decorative accents such as tea bags and handles.
- Closing and finishing amigurumi with precision and creativity.
Why I Love This Pattern
This teacup is charming, beginner-friendly, and offers room for customization. Whether you finish the piece with a frothy beverage effect or keep it simple, it’s an adorable addition to any crochet collection. Plus, I love how easy it is to personalize by experimenting with different colors or adding rosy cheeks.