
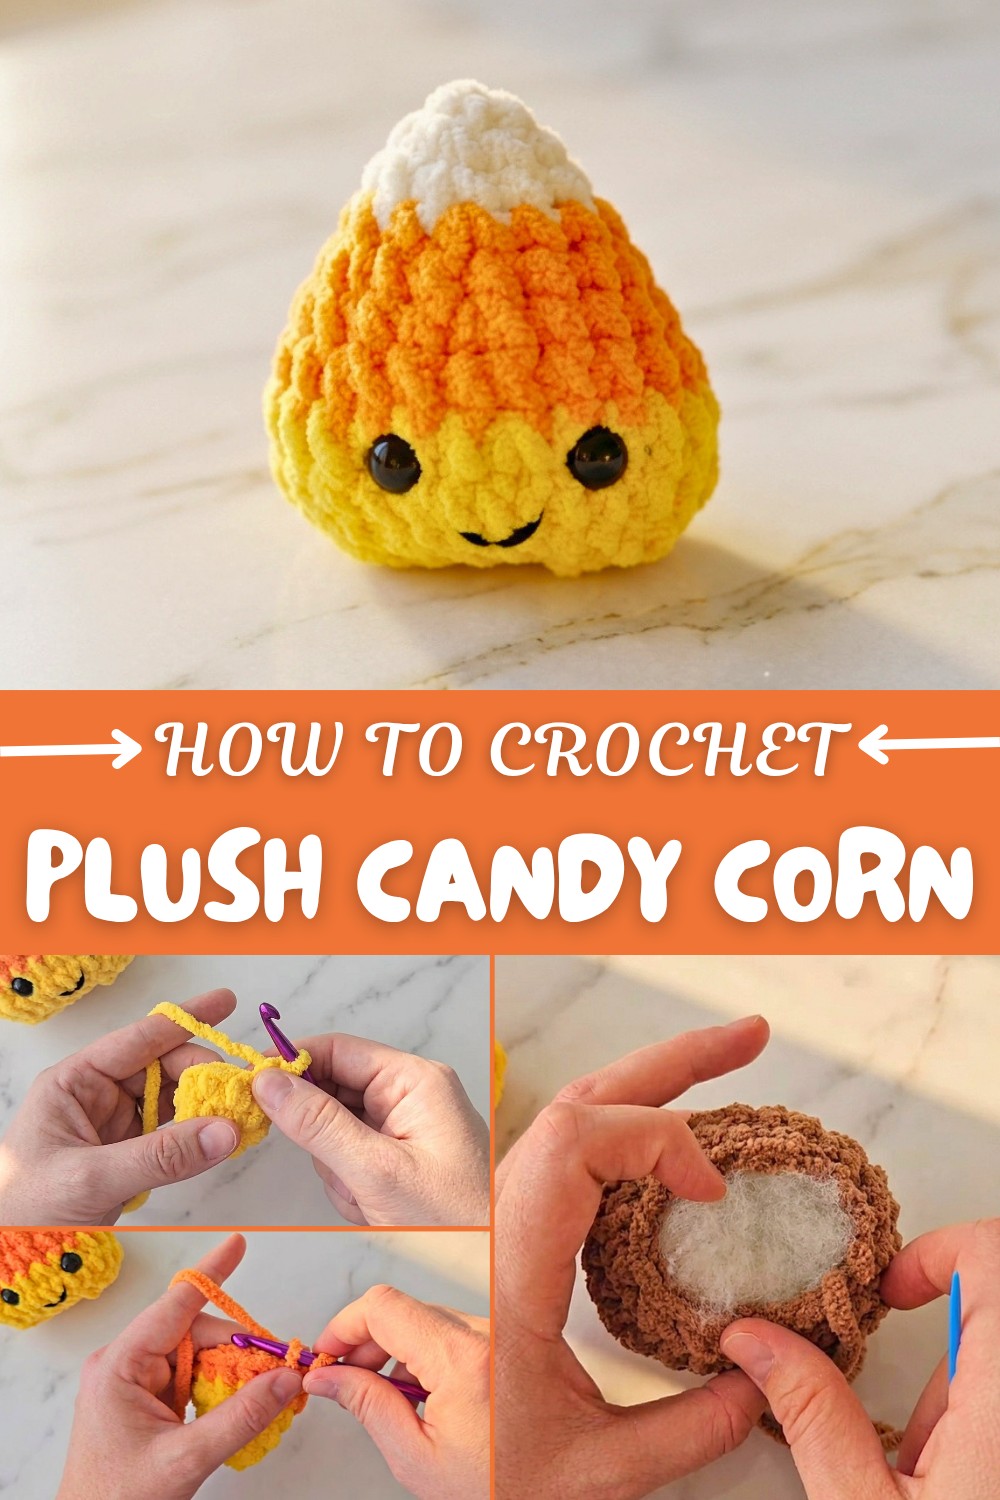
How to Soft Crochet Plush Candy Corn Pattern for Fall Decor
Easy to follow, the Free Crochet Plush Candy Corn Pattern makes the cutest candy-shaped plush for your friends or family.
A soft and colorful plush toy can bring a lot of joy, especially when it’s something as sweet and simple as a candy corn. This pattern uses basic single crochet stitches worked in continuous rounds to shape a charming, cuddly candy corn that’s perfect for anyone learning to work in the round. By increasing and decreasing stitches thoughtfully, you will shape that classic triangle, giving your plush a smooth and neat finish.
Learn this Free Crochet Plush Candy Corn Pattern with Sweet Style
The pattern features playful color changes that mimic the candy corn’s layers—yellow, orange, and brown—which add a vibrant, festive touch to your project. Along the way, you’ll practice important skills like maintaining stitch tension and switching yarn smoothly. Adding cute safety eyes and a hand-stitched smile with needle and yarn brings your candy corn to life with personality and warmth. Stuffing the plush just right keeps it soft yet firm, making it perfect for display or a gentle squeeze during the cozy seasons. The simplicity of single crochet stitches combined with strategic increases and decreases makes this pattern very beginner-friendly and rewarding to complete.
Besides this sweet pattern, similar techniques can be used to crochet other adorable items like tiny pumpkins, mini fruits, or seasonal decorations. This method is a wonderful way to build confidence in amigurumi basics while allowing your creativity to flourish into many other fun, soft toys. It’s a delightful project that brings both skill-building and a charming touch to your handmade collection.
Crochet Pattern: Candy Corn Plushie
Crochet your very own adorable candy corn plushie—perfect for adding a festive touch to your autumn or Halloween decor! This step-by-step pattern will walk you through making this colorful plushie with detailed explanations for every stitch, ensuring an enjoyable experience for crocheters of all skill levels. With its whimsical face and soft texture, this plushie is a great gift or decoration.
About this Pattern
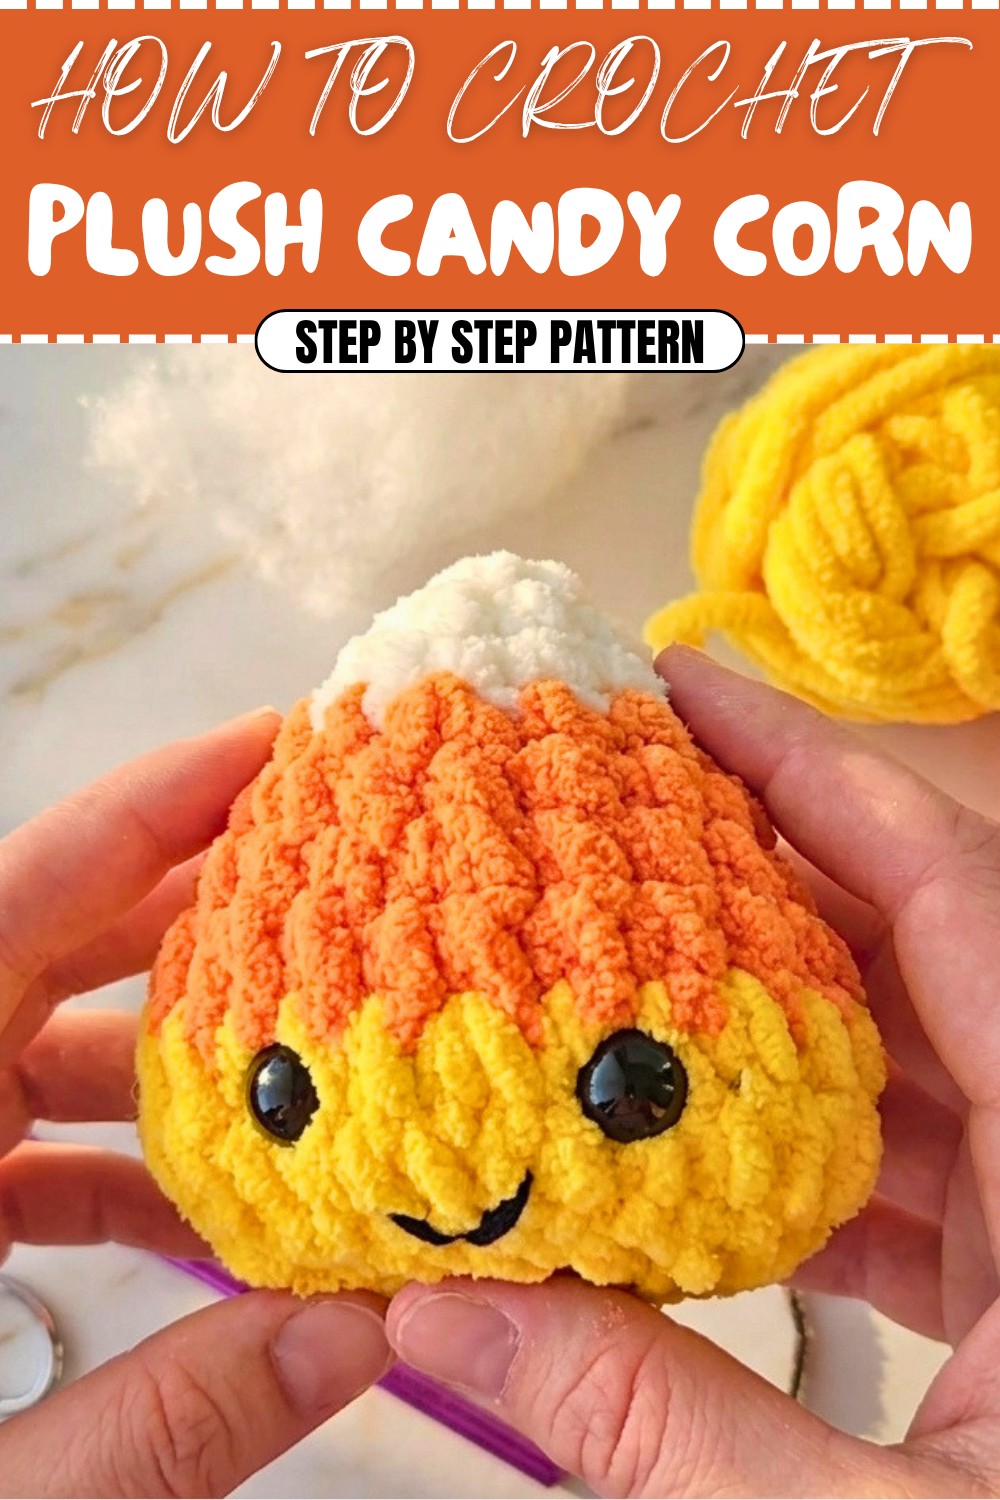
This Candy Corn Plushie Pattern is beginner-friendly and ideal for crocheters learning amigurumi techniques. Using blanket yarn, you’ll create a squishy and charming candy corn with traditional colors (yellow, orange, brown) or your own unique palette. The tutorial includes instructions for crocheting the body in spirals, sewing on safety eyes, creating an adorable smile, and finishing the plushie with toy stuffing.
Skill Level & Terminology
- Skill Level: Beginner
- Terminology: This pattern uses US crochet terms.
Materials & Tools
To make your Candy Corn Plushie, you’ll need:
- Yarn: Blanket yarn in three colors: yellow, orange, and brown (or other candies-inspired colors).
- Crochet Hook: 6.5 mm crochet hook.
- Safety Eyes: 12 mm safety eyes (or size of your choice).
- Notions:
- Stitch marker.
- Yarn needle.
- Scissors.
- Thin black yarn for facial embroidery.
- Toy stuffing.
Gauge
Gauge is not critical for this project since it is amigurumi. However, your stitches should stay tight to prevent stuffing from showing. Adjust hook size if your stitches are too loose.
Abbreviations
Here’s a quick reference guide:
- ch: Chain
- sc: Single crochet
- inc: Increase (work 2 sc in the same stitch)
- dec: Decrease (single crochet two stitches together using front loops only)
- sl st: Slip stitch
- yo: Yarn over
Special Stitch Instructions
Single Crochet Decrease (Invisible Method):
- Insert your hook into the front loop of the first stitch and then the front loop of the second stitch.
- Yo and pull through both loops (two loops on the hook).
- Yo again and pull through both loops.
This method creates a clean and smooth invisible decrease.
Finished Size
- Height: Approximately 5 inches (depending on yarn and tension).
- Width: About 4 inches across the base.
What You’ll Learn from This Pattern
- How to crochet amigurumi, including spirals and shaping.
- How to work invisible decreases for clean closures.
- Proper methods for color changes and adding fun details like safety eyes and embroidery.
The Pattern Itself
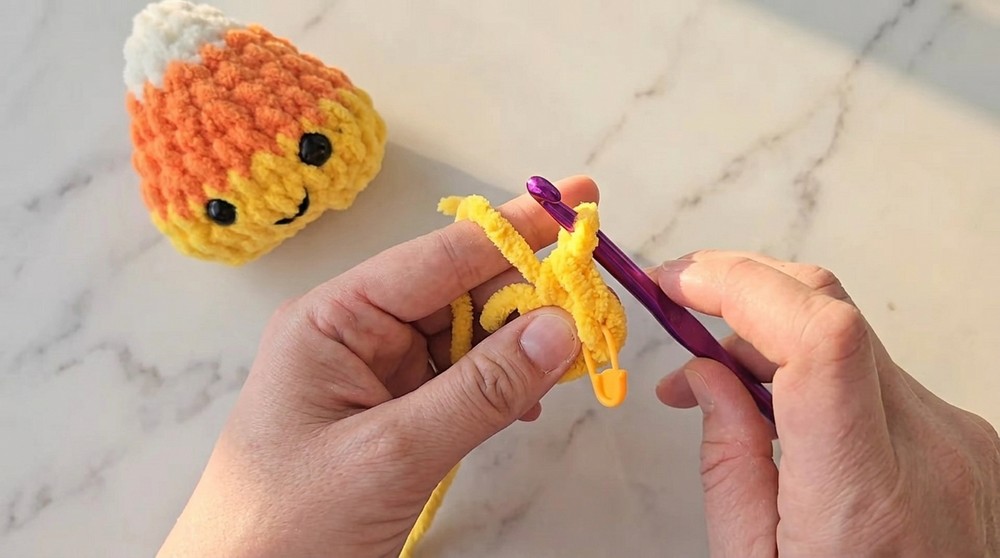
Step 1: Starting the Magic Circle
- Make a slip knot and set up yarn tension. Hold your hook like a knife or pencil—experiment with both grips to find what works for you.
- Create a magic circle:
- Wrap the yarn around your fingers.
- Insert your hook into the loop and pull up a loop.
- Chain 1 to secure the circle.
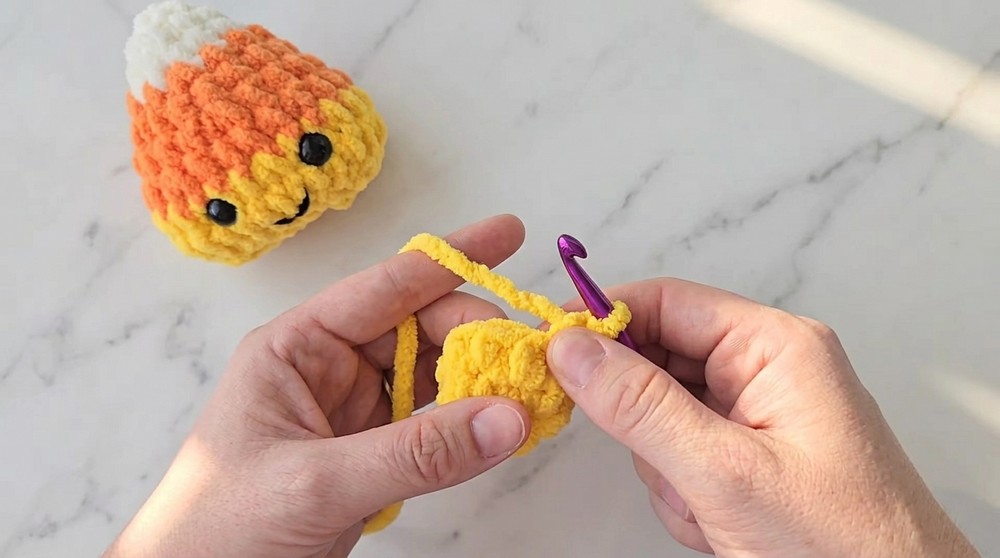
Step 2: First Round (6 sc into the Magic Circle)
- Ch 1 into the magic circle.
- Work 6 sc into the magic circle:
- Insert your hook into the circle.
- Yo and pull through.
- Yo and pull through both loops on the hook.
- Pull the yarn tail to tighten the circle.
- Place a stitch marker in the first sc to mark the beginning of the round.
For beginners: The goal of this round is to create a small, tight circle as the base of the candy corn.
Step 3: Round 2 (Increase to 9 sc)
- Work the following pattern: 1 sc in the first st, inc in the next st (repeat three times).
- At the end of the round, you should have 9 sc.
Each round is worked in spirals without joining—just carry on from the last stitch.
Step 4: Round 3 (Increase to 12 sc)
- Work the following pattern: 1 sc in the first st, 1 sc in the next st, inc in the third st (repeat three times).
- At the end, you should have 12 sc.
Step 5: Rounds 4–5
- Continue alternating single crochets and increases for each round, using this pattern:
- Round 4: 1 sc in three sts, inc (repeat across for 15 sc).
- Round 5: 1 sc in four sts, inc (repeat across for 18 sc).
Step 6: Changing Colors (Switch to Orange Yarn)
- Cut the yellow yarn and leave a long tail.
- Before finishing the last stitch of Round 5, pull the orange yarn through the final two loops to complete the single crochet.
- Continue crocheting with orange yarn for Rounds 6–8, following the increase pattern.
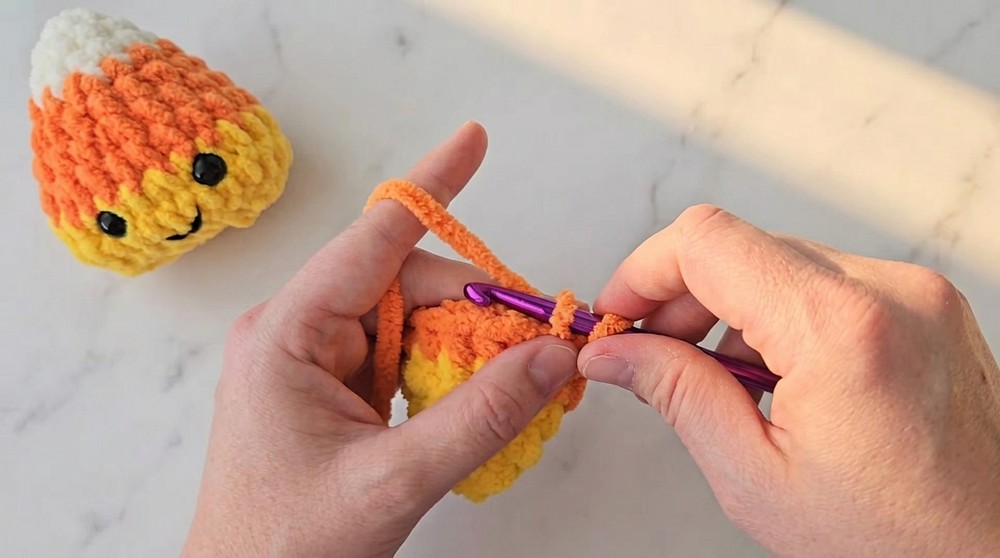
Each color section is worked in spirals, and color changes should be seamless to provide a neat finish.
Step 7: Adding Facial Features
- Attach 12 mm safety eyes between Rounds 7 and 8, spacing them about 4 stitches apart.
- Embroider a smile using thin black yarn:
- Imagine a curve beneath the eyes.
- Using a yarn needle, stitch two curved lines to form the smile.
- Secure with knots inside the plushie.
Step 8: Brown Section and Decreasing
- After completing the orange section, change colors to brown.
- Work Rounds 8-10, continuing the increase pattern until you have 27 sc per round.
- On Round 11, begin decreasing:
- Work dec over two stitches (using front loops only) every three stitches: 3 sc, dec.
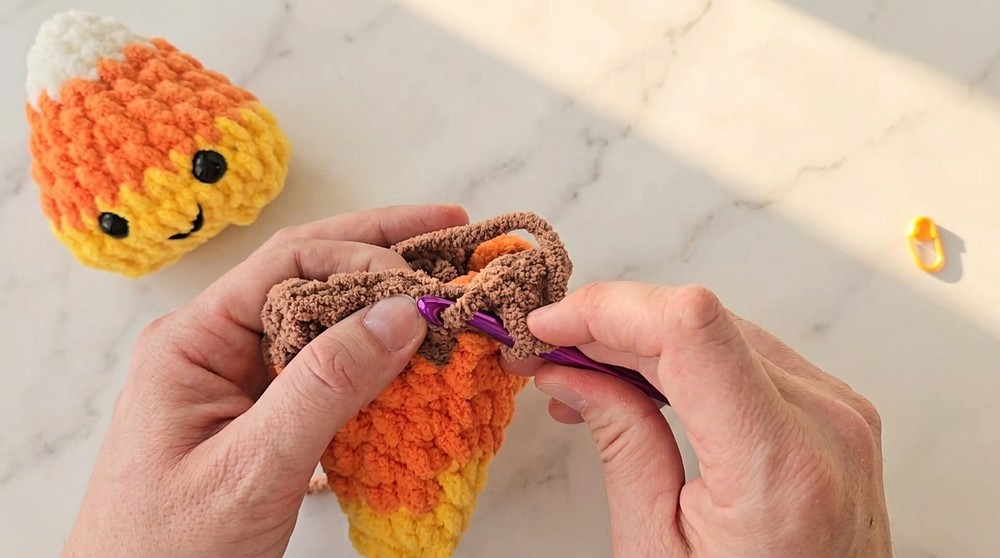
Repeat decreasing until the hole at the top of the candy corn is small enough to sew closed.
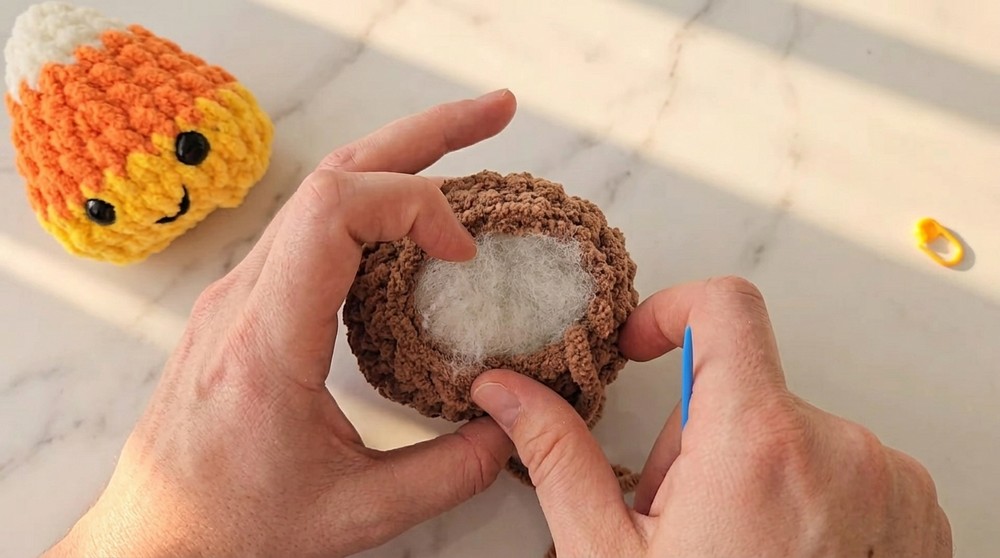
Step 9: Stuff and Close
- Lightly stuff the candy corn with toy stuffing—adjust how much to achieve the desired firmness.
- Sew the hole closed using only the front loops of the remaining stitches:
- Insert the needle and stitch through front loops, pulling tightly to cinch the hole closed.
- Knot the yarn securely and hide the end inside the plushie.
Assembly & Finishing
- Secure Ends: Trim or hide any loose yarn ends inside the plushie.
- Facial Adjustments: Make sure the face is symmetrical and create thicker embroidery if desired.
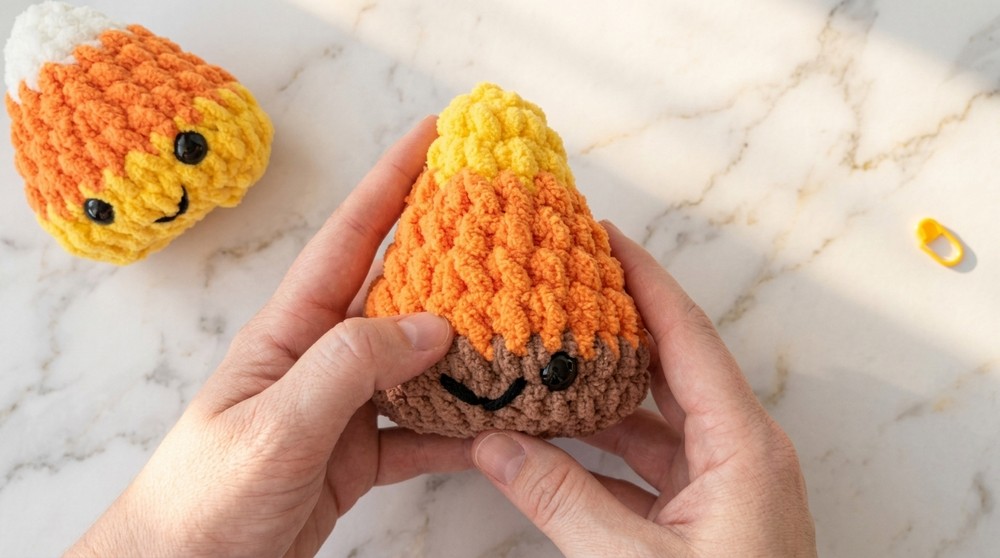
Why You’ll Love This Pattern
The Candy Corn Plushie Pattern is playful, festive, and customizable. Its spiral pattern and colorful rows make it a delightful way to practice amigurumi basics. The smiley face adds personality, and the squishy texture from blanket yarn ensures your finished candy corn is fun to hold.
Make some for seasonal decor, as gifts, or simply to boost your crochet confidence. Share your completed plushie with friends or keep them as cute companions around the house!