
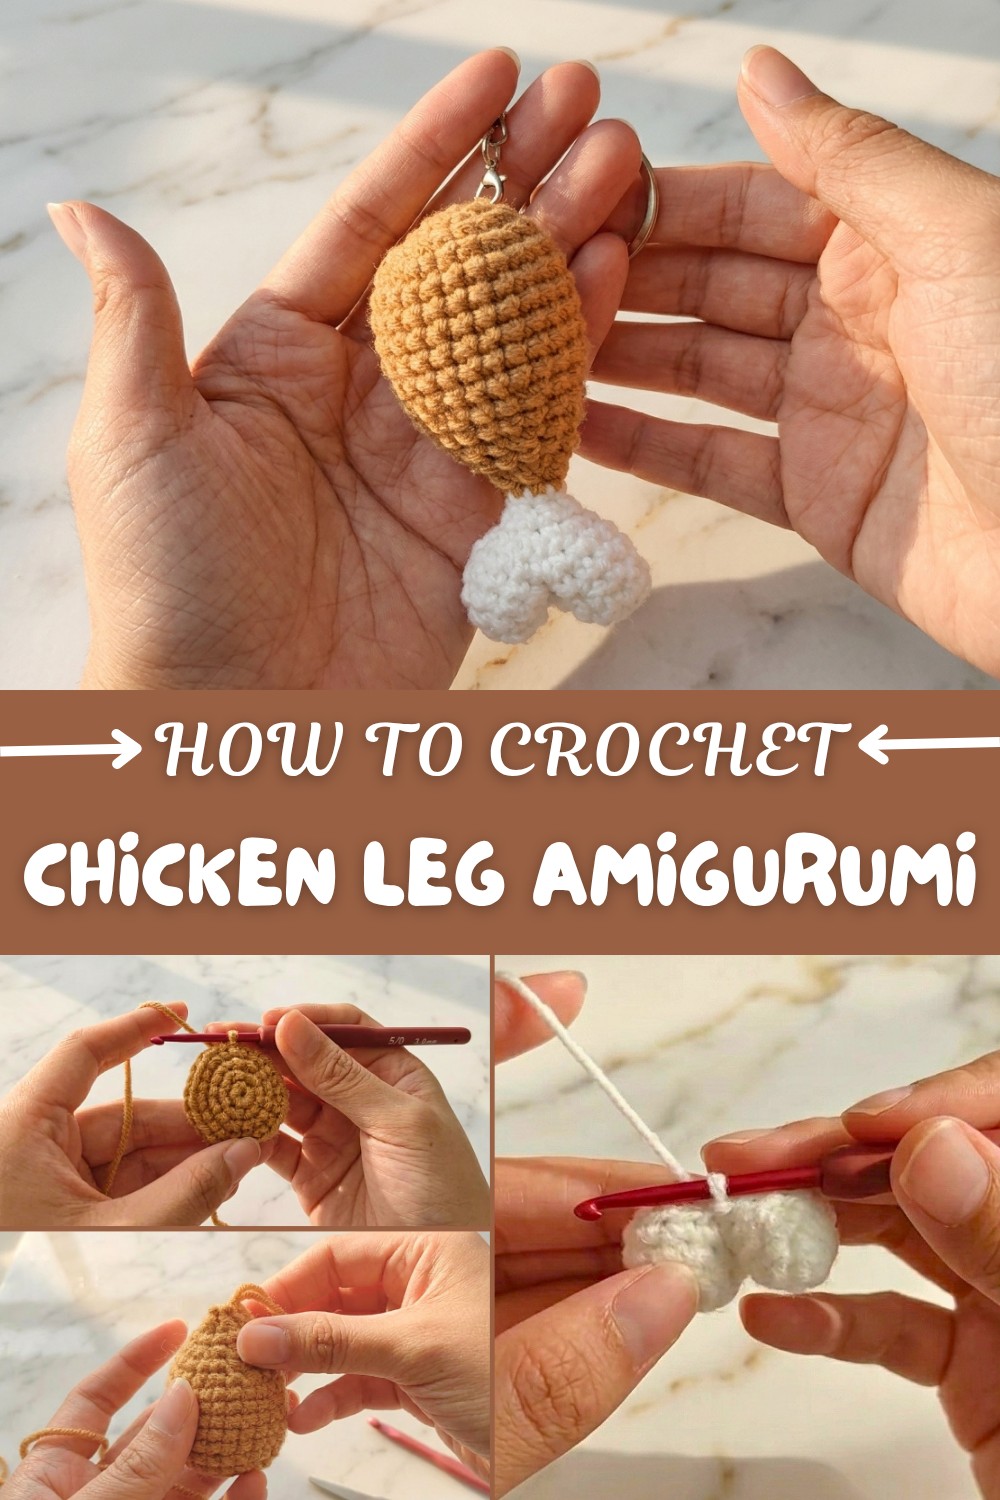
Crochet Chicken Leg Amigurumi Pattern for Dinner-Themed Decor
Level up your amigurumi collection using a free crochet chicken leg amigurumi pattern that’s both whimsical and unexpectedly adorable.
The first time I turned a scrap of brown yarn into a tiny chicken leg, I couldn’t stop smiling at how real and squishy it looked. This Free Crochet Chicken Leg Amigurumi Pattern is exactly that kind of project: small, playful and surprisingly satisfying. You work the “meat” in warm browns or caramel shades, then switch to a creamy white for the bone, so the color contrast really makes the shape pop. It looks adorable on a keychain, hanging on a bag, or as a fun prop for food-themed photo shoots and pretend play for kids.
Eye-Catching Free Crochet Chicken Leg Amigurumi Pattern for Funky Finds
Beginner-Friendly Pattern
The pattern is written with beginners in mind and mainly uses simple stitches like single crochet and the magic ring. You will also practice increases and decreases which help form the rounded top and narrow bone. Those same stitches are used in lots of projects like amigurumi fruits, mini animals, kawaii food, and keychain charms, so this little chicken leg is a great way to build skills you will use again and again.
From this pattern you will learn how to start neatly in the round using a magic ring, how to shape a three-dimensional piece with increases, and how to taper it with invisible-style decreases. You will also see how to join two small circles to form the bone shape, and how to stuff and close your amigurumi cleanly so it looks smooth and polished. By the time you finish, you will feel more confident reading round-by-round instructions and keeping track of your stitch counts.
You can use the same basic idea from this pattern to make other fun projects:
- Crochet “drumsticks” in different sizes for a whole platter of amigurumi fried chicken
- Matching food keychains like sausages, bacon strips, or nuggets using the same shaping
- Mini pet toys by enlarging the pattern and using thicker yarn and stuffing
- Play kitchen sets for kids with chicken legs, eggs and tiny vegetables built from the same stitches
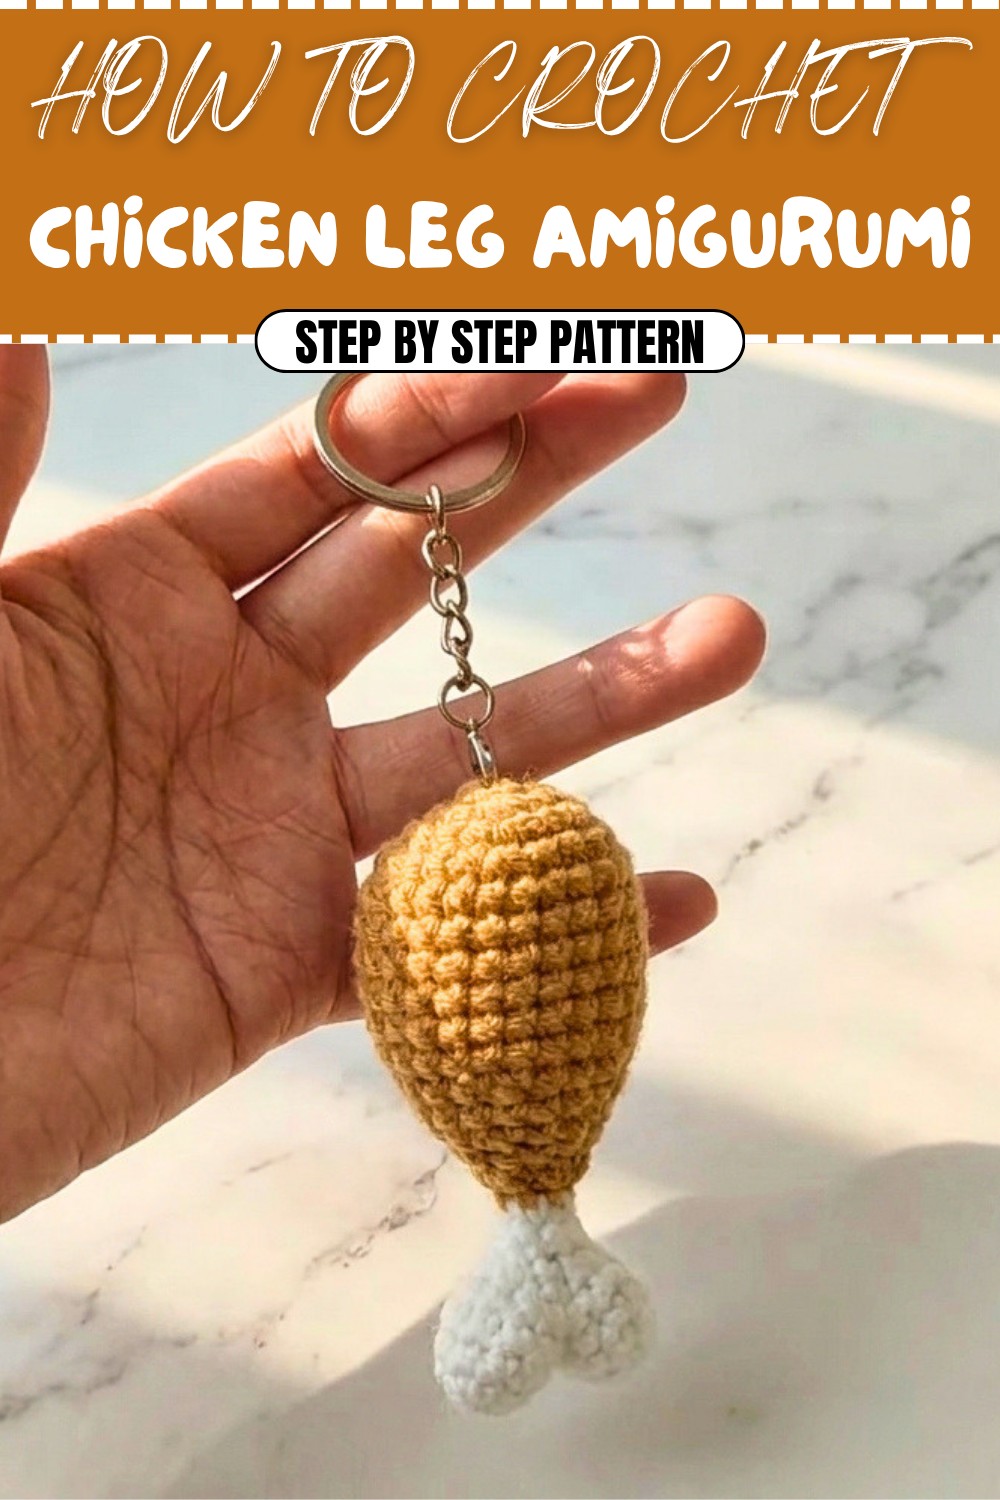
Crochet Pattern: Cute Drumstick Amigurumi
This fun crochet pattern lets you create a charming drumstick amigurumi. Whether you’re planning to use it as a keychain or keep it as a playful decoration, this project is simple enough for beginners and satisfying for seasoned crocheters. The drumstick consists of a “meat” section and a “bone” section, assembled with fiber fill for stuffing. Follow the detailed steps to complete your project and have fun with this playful design!
Skill Level & Terminology
- Skill Level: Beginner
- Terms Used: US Crochet Terminology
Materials & Tools
- Yarn:
- Light brown yarn for the drumstick meat.
- White yarn for the bone.
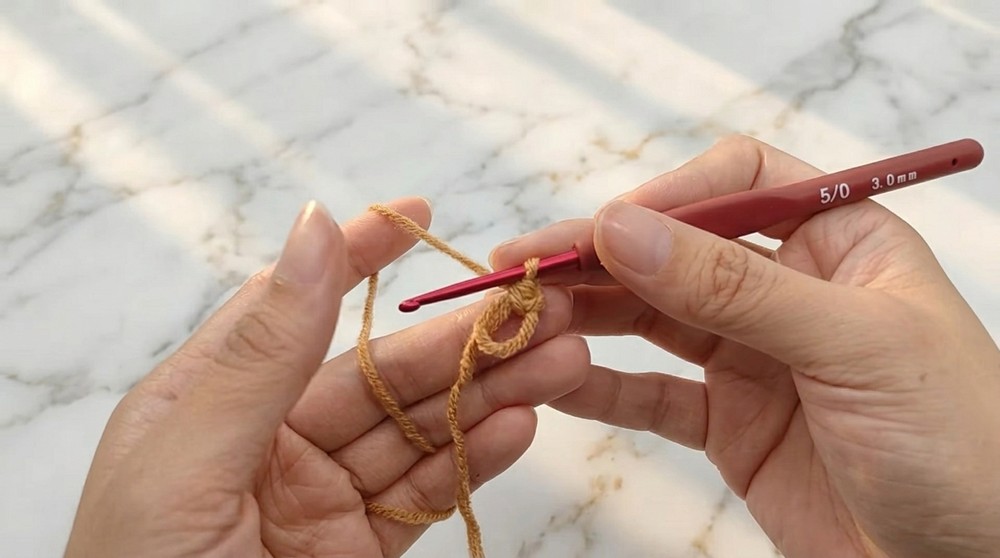
- Hook: 3 mm crochet hook (adjust to match your yarn thickness).
- Additional Tools:
- Fiber cotton (stuffing like polyfill).
- Sewing needle.
- Scissors.
- Keychain ring (optional).
Gauge
Gauge is not critical for this pattern. Make sure your stitches are tight enough to avoid gaps showing the stuffing.
Abbreviations List
| Abbreviation | Meaning |
|---|---|
| MR | Magic Ring |
| ch | Chain |
| sc | Single Crochet |
| inc | Increase (2 sc in one st) |
| dec | Decrease |
| sl st | Slip Stitch |
Special Stitch Instructions
- Magic Ring (MR): Create a loop with your yarn, insert your hook into the ring, pull up a loop, ch 1, and work your stitches in the ring.
- Increase (inc): Crochet 2 sc into the same stitch.
- Decrease (dec): Insert the hook into the front loop of the next stitch, then into the front loop of the following stitch, yarn over, pull through both loops, and finish as a single crochet.
Finished Size
Approximately 3-4 inches tall, depending on your yarn, hook size, and tension.
The Pattern
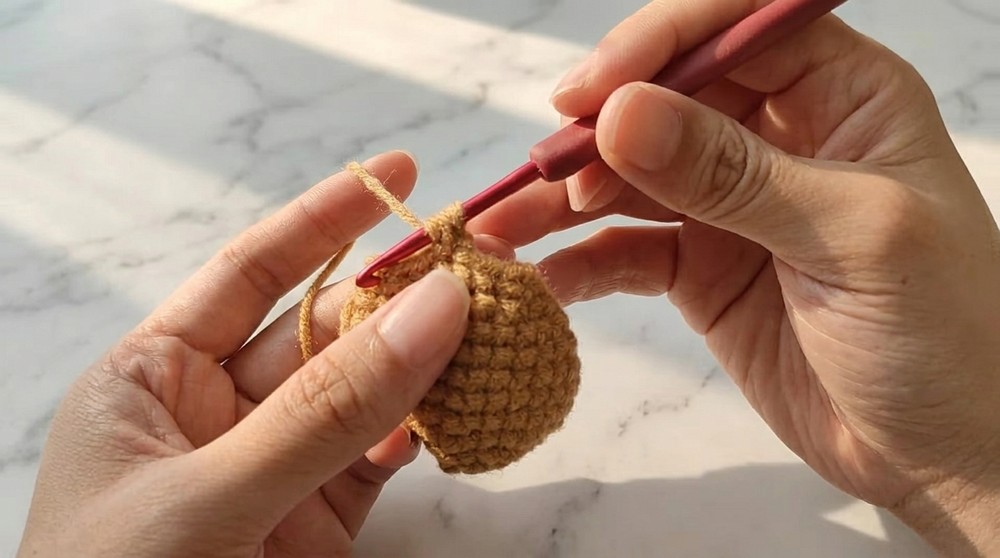
Part 1: Meat Section
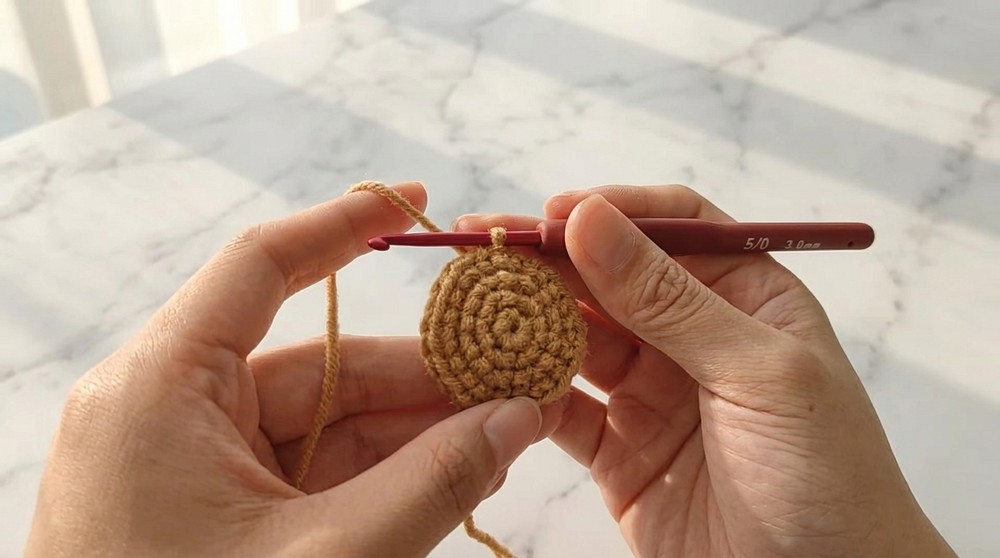
Round 1:
- Create a MR, then 6 sc into the ring. (6 sts)
- Tighten the magic ring and sl st into the first sc.
Round 2:
- 6 inc (2 sc into each stitch). (12 sts)
- sl st into the first sc.
Round 3:
- (1 sc, 1 inc) repeat 6 times. (18 sts)
- sl st into the first sc.
Round 4:
- (1 sc, 1 inc, 1 sc) repeat 6 times. (24 sts)
- sl st into the first sc.
Rounds 5-10:
- sc in each stitch around. (24 sts per round)
- sl st at the end of each round.
Round 11:
- (1 sc, 1 dec, 1 sc) repeat 6 times. (18 sts)
- sl st into the first sc.
Round 12:
- sc in each stitch around. (18 sts)
Round 13:
- (1 sc, 1 dec) repeat 6 times. (12 sts)
- sl st into the first sc.
Round 14:
- sc in each stitch around. (12 sts)
Round 15:
- 6 dec. (6 sts)
- Tighten the stitches and fasten off.
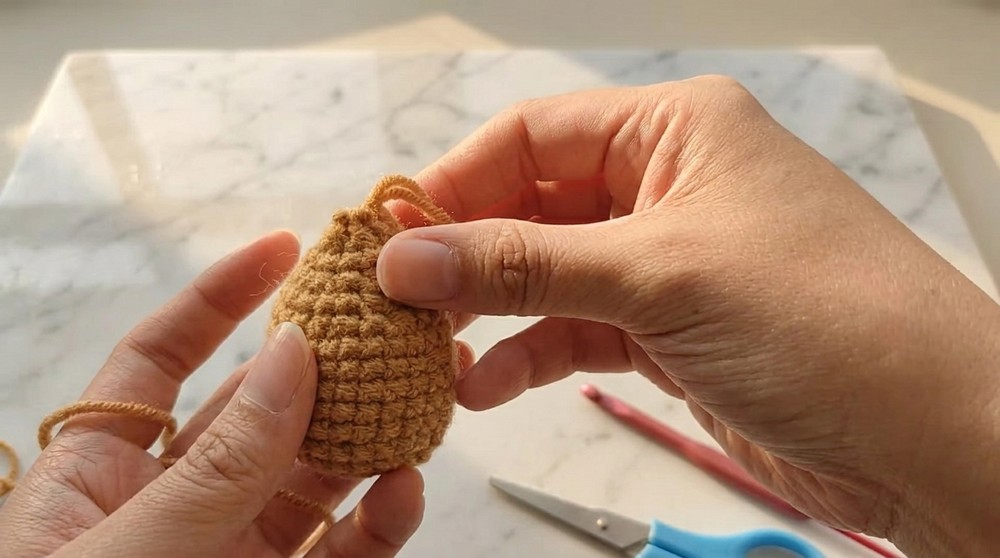
Once the meat section is completed, stuff it firmly with fiber cotton to give it shape and texture. Proceed to the bone section!
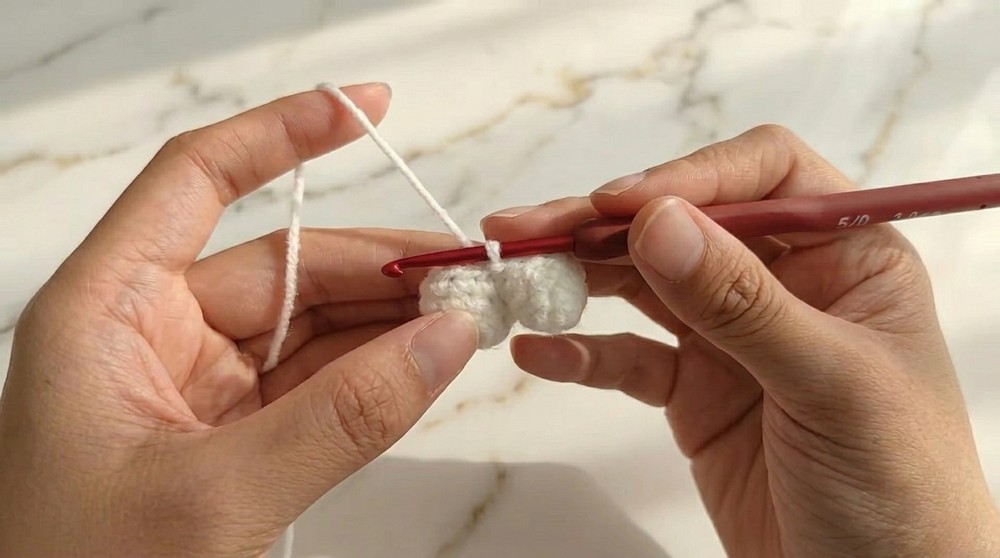
Part 2: Bone Section
Round 1:
- Create a MR, then 4 sc in the ring. (4 sts)
- Tighten the magic ring and sl st into the first sc.
Round 2:
- 4 inc (2 sc into each stitch). (8 sts)
- sl st into the first sc.
Round 3:
- sc in each stitch around. (8 sts)
- Fasten off, leaving a long tail.
Repeat the steps above to create a second identical piece. Once completed, do not fasten off the second piece.
Joining the Bone Pieces:
- Use the yarn tail of the second piece to crochet 8 sc around the first piece, joining the two pieces together.
- Continue working 8 sc on the second piece for a total of 16 sc in the round.
Rounds 4-5:
- sc in each stitch around. (16 sts per round)
- sl st at the end of each round.
Round 6:
- 8 dec. (8 sts)
- sl st into the first sc.
Round 7:
- (1 sc, 1 dec, 1 sc) repeat 2 times. (6 sts)
- Stuff the bone section firmly with fiber cotton and fasten off, leaving a long tail for sewing.
The bone section is now complete! Proceed to attach the drumstick parts together.
Assembly & Finishing
- Attach the Meat and Bone Sections:
- Line up the top of the bone section to the opening of the meat section.
- Use the long tail from the bone section and sew the edges together, ensuring both are securely aligned.
- Optional Keychain Ring:
- Sew a keychain ring securely into the top of the drumstick's meat section for added functionality.
- Final Touches:
- Tidy up by weaving in any loose yarn ends.
- Adjust the stuffing to ensure the drumstick looks firm and full.
Summary
This simple drumstick pattern utilizes basic crochet techniques like magic rings, single crochets, increases, and decreases, making it perfect for beginners. It is a wonderful project to practice stuffing techniques and sewing parts together. The finished product is versatile—you can turn it into a keychain or use it as decorative amigurumi for gifts or celebrations.
Experiment with different yarn colors to make unique versions! Enjoy crocheting your crochet drumstick!
Challenges You Might Face (And How to Solve Them)
Crocheting this chicken leg amigurumi is a straightforward project, but like any pattern, you might encounter a few bumps along the way. Beginners may find the magic ring tricky to master, but practicing a few times with scrap yarn will help—it’s the foundation for most amigurumi projects! Another challenge could be keeping track of stitch counts during rounds with increases and decreases. Using a stitch marker to mark the first stitch of each round can save you a lot of trouble. Finally, when joining the bone pieces, the tight spaces can be difficult to navigate. A smaller hook or gently loosening the stitches can make sewing easier. Remember, patience and practice are your best tools!