
Creative Free Crochet Watermelon Keychain Pattern for Enjoyment
Solve the need for adorable summer flair using the Free Crochet Watermelon Keychain Pattern and crochet a playful keychain in minutes.
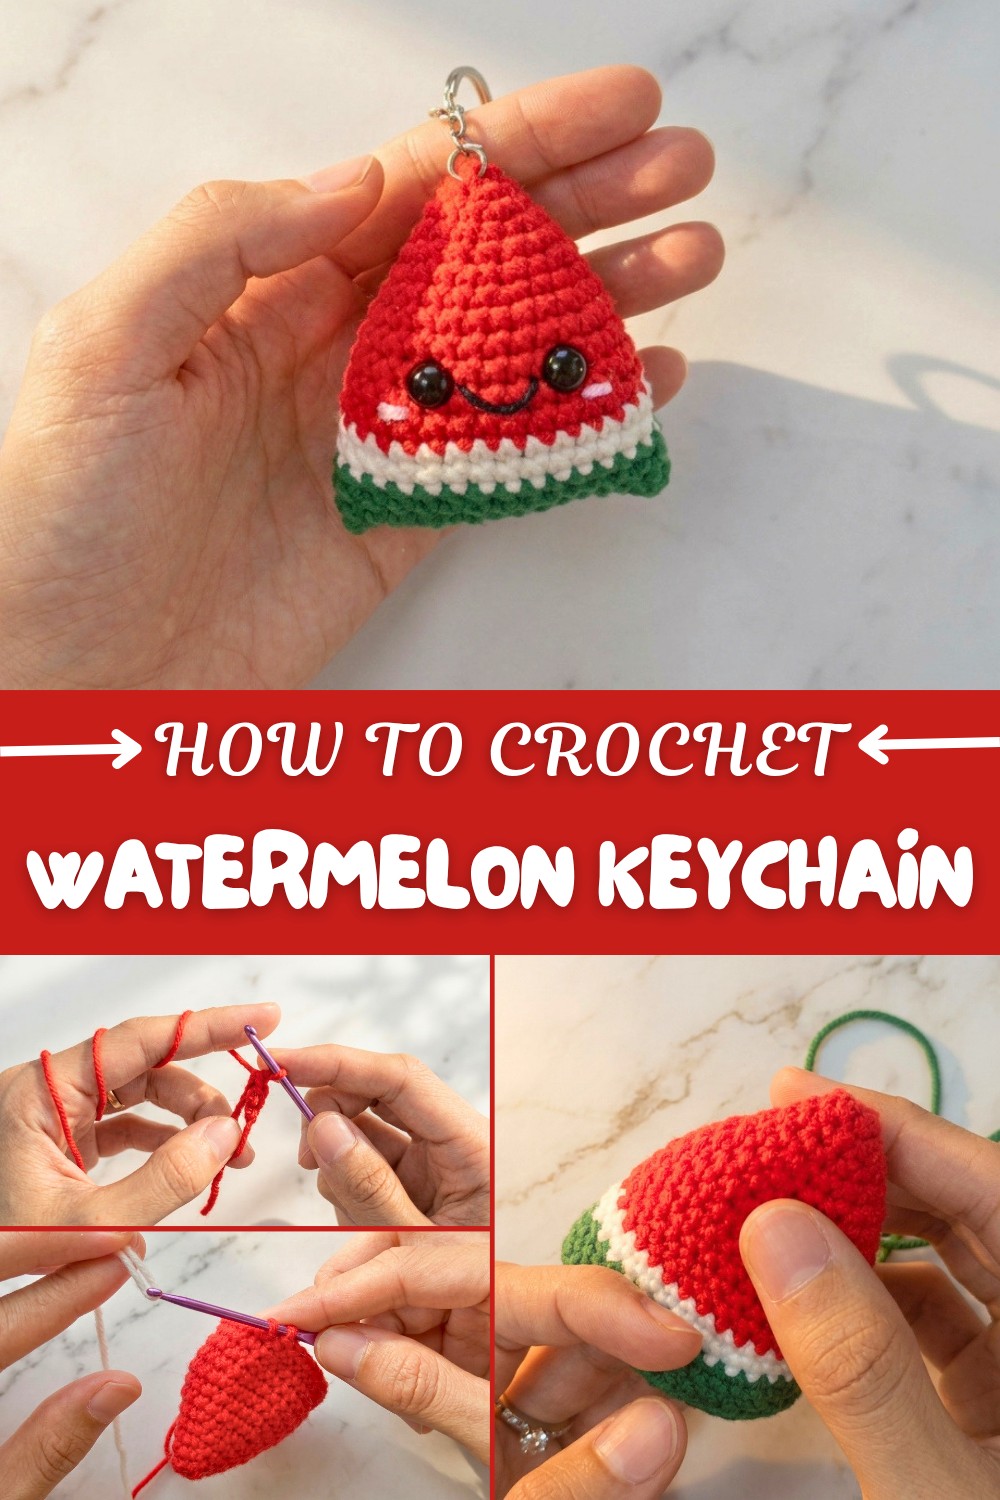
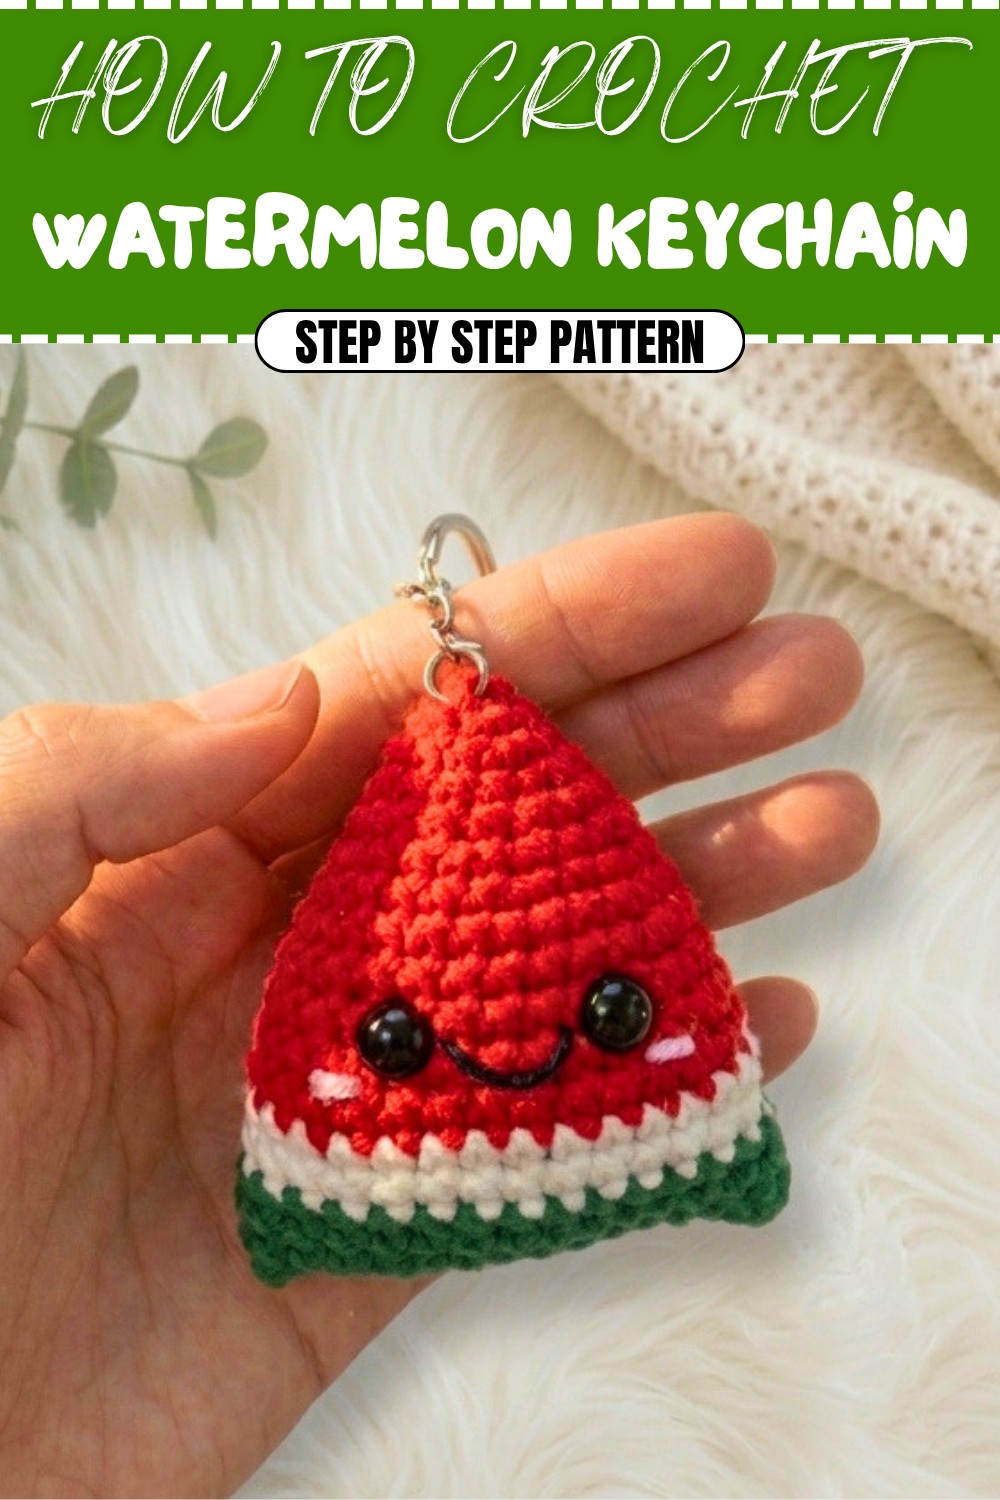
There’s something irresistibly charming about turning vibrant yarn into a cheerful slice of summertime joy – a mini crochet watermelon keychain! Whether you’re new to crocheting or an experienced crafter looking for a quick and colorful project, this pattern is sure to brighten your day. With its playful bright pink “flesh,” crisp white “separation,” and deep green “rind,” this crochet pattern is a perfect reminder of sunny days and sweet treats. Not only does it make a fabulous keychain or bag charm, but it’s also an adorable handmade gift for anyone who loves fruity fun.
Bright Free Crochet Watermelon Keychain Pattern for Summer Vibes
This simple, beginner-friendly pattern uses basic stitches like single crochet, magic ring, increases, and decreases, along with easy techniques for color changes. Watching the watermelon take shape stitch by stitch is incredibly satisfying, especially when adding personal details like blush and a sweet smile. As you crochet, you’ll feel a sense of accomplishment and joy with each round, knowing you’re creating something beautiful and functional.
What You Can Crochet Using Similar Techniques
This pattern is versatile enough to inspire a variety of projects, such as:
- Mini Fruits: Strawberries, oranges, or cherries.
- Keychains: Seasonal designs like pumpkins for fall.
- Small Plushies: Turn the watermelon into a larger stuffed toy.
- House Décor: Use similar techniques to crochet playful coasters or garlands.
Crochet Watermelon Amigurumi Pattern
This adorable crochet watermelon amigurumi is a fun and quick project perfect for beginners and seasoned crocheters alike! The cheerful keychain or charm is the perfect accessory for your bag, car, or even as a cute handmade gift. With its lovely combination of bright pink, white, and green, the pattern mimics the vibrant colors of watermelon while adding blush and a sweet smile to give it personality. It’s created using only basic stitches—magic ring, single crochet, increases, decreases, and slip stitches—making it a soothing and easy-to-follow project.
Skill Level & Terminology
- Skill Level: Beginner-friendly
- Terminology: US crochet terminology is used throughout this tutorial.
Materials & Tools
- Yarn:
- Bright pink (watermelon flesh)
- Green (watermelon rind)
- White (separation between rind and flesh)
- Black (for smile)
- Hook: 3 mm crochet hook
- Eyes: 8 mm safety eyes
- Scissors
- Tapestry needle (for sewing and threading)
- Stitch marker
- Keychain ring (optional): If you plan to use it as a keychain.
- Stuffing/Fiberfill: For filling the watermelon.
Gauge
Exact gauge is not critical for this small project. However, your stitches need to be tight enough to keep the stuffing from being visible.
Suggested:
- Approximately 6–8 single crochets (sc) per 2.5 cm (1 inch) in the round.
Abbreviations List
All terms are in US crochet terminology:
- MR – Magic Ring
- sc – Single crochet
- inc – Increase (2 sc in one stitch)
- dec – Decrease (single crochet two stitches together)
- sl st – Slip stitch
- ch – Chain
- st(s) – Stitch(es)
Special Stitches
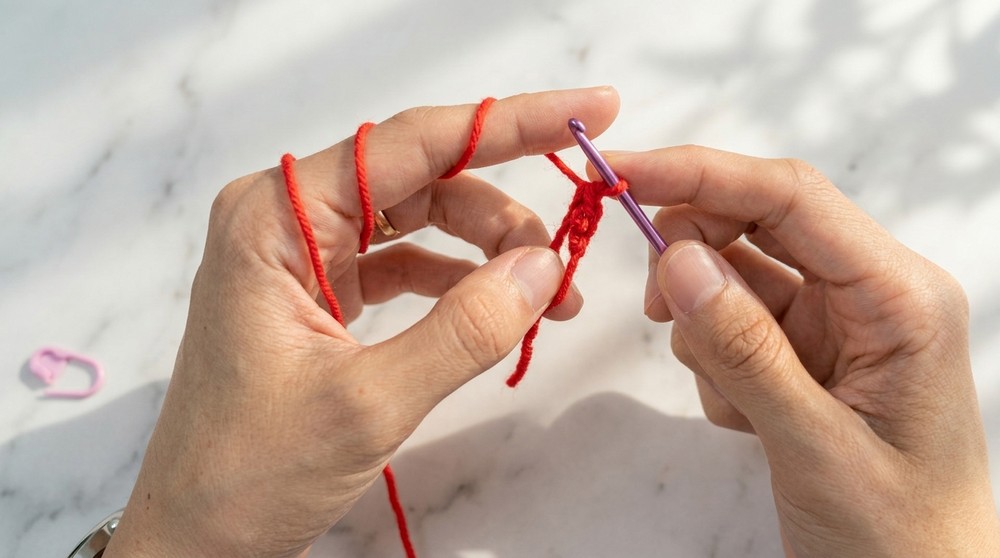
- Magic Ring (MR):
Create a loop with your yarn, insert the hook into the loop, yarn over, and pull up a loop. Chain to secure it, and work the specified stitches into the loop. Pull the tail to close the loop. - Increase (inc):
Crochet 2 single crochets into the same stitch. - Decrease (dec):
Insert the hook into the front loop of two consecutive stitches, yarn over, pull through both loops, yarn over again, and pull through the remaining two loops on the hook.
Finished Size
- The completed watermelon measures approximately 2–3 inches high and 3 inches wide, depending on your yarn and hook size.
The Pattern: Step by Step
Watermelon Body (bright pink Section)
Stitches Used: Magic ring, single crochet (sc), increase (inc).
- Round 1: Create a MR and work 6 sc into the ring. Pull the tail to close. [6 sts]
- Round 2: 1 sc, inc around (repeat 3 times). [9 sts]
- Round 3: 2 sc, inc around (repeat 3 times). [12 sts]
- Round 4: 3 sc, inc around (repeat 3 times). [15 sts]
- Round 5: 4 sc, inc around (repeat 3 times). [18 sts]
- Round 6: Inc, 5 sc around (repeat 3 times). [21 sts]
- Round 7: 2 sc, inc, 4 sc around (repeat 3 times). [24 sts]
- Round 8: 7 sc, inc around (repeat 3 times). [27 sts]
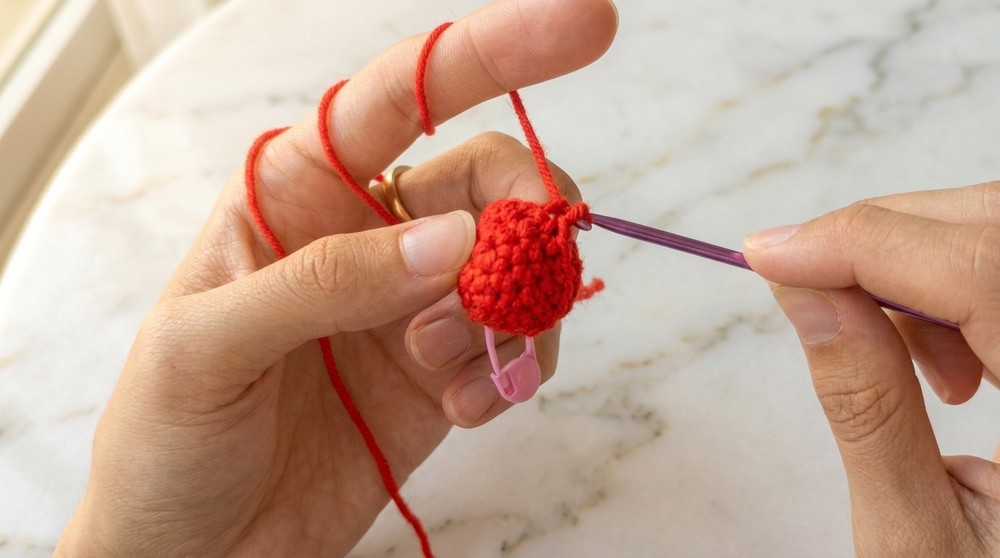
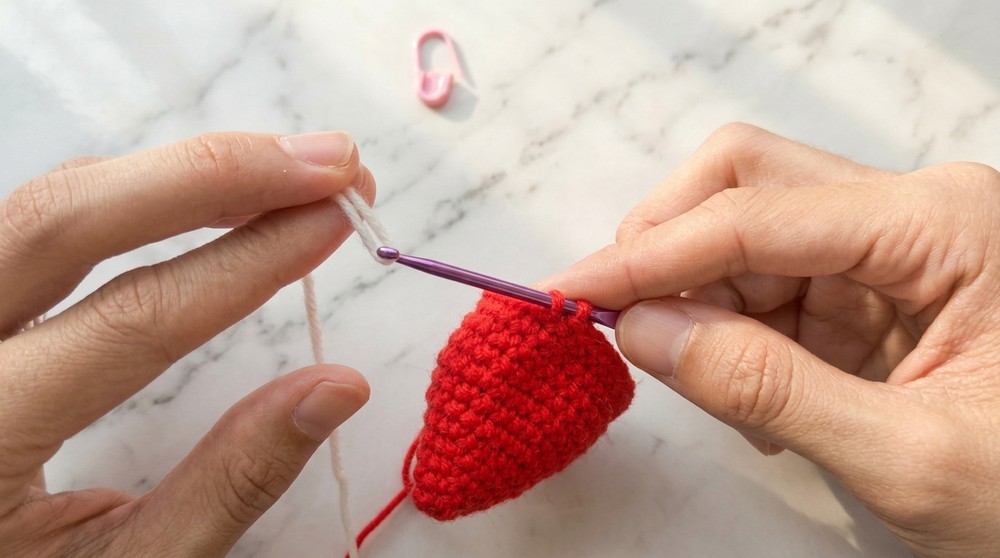
Now work 2 rounds of 27 sc (Rounds 9 and 10). This will shape the watermelon flesh and add height.
At this point, the body of the watermelon will begin taking shape as a rounded cone. Ensure that your increases are evenly spaced for the best appearance.
Adding the White Band (Separation Line)
Switch to white yarn:
- Do not complete the last sc of Round 10 with bright pink. Instead, draw white yarn through the last two loops on the hook to switch colors. Cut the bight pink yarn, leaving a small tail.
- Round 11: With white yarn, sc in every stitch around. [27 sts]
- Round 12: Repeat 1 sc in each st around. [27 sts]
Watermelon Rind (Green Section)
Switch to green yarn:
- Draw green yarn through the last two loops of the final white stitch to transition colors.
- Round 13: Sc in each stitch around. [27 sts]
- Round 14: Repeat 1 sc in each st around. [27 sts]
- Round 15: For shaping the rind, 9 sc, inc around (repeat 3 times). [30 sts]
- Round 16: 1 sc in each st around. [30 sts]
- Round 17 (final round): Repeat 1 sc in each st around. [30 sts]
Finish off with a sl st in the next stitch, chain 1, and leave a long tail for sewing.

As the base is completed, you can stuff your watermelon firmly with fiberfill. This will ensure it holds its rounded shape. Adjust the stuffing evenly for a smooth appearance.
Assembly & Finishing
Now that the crochet is complete, it’s time to assemble your adorable watermelon:
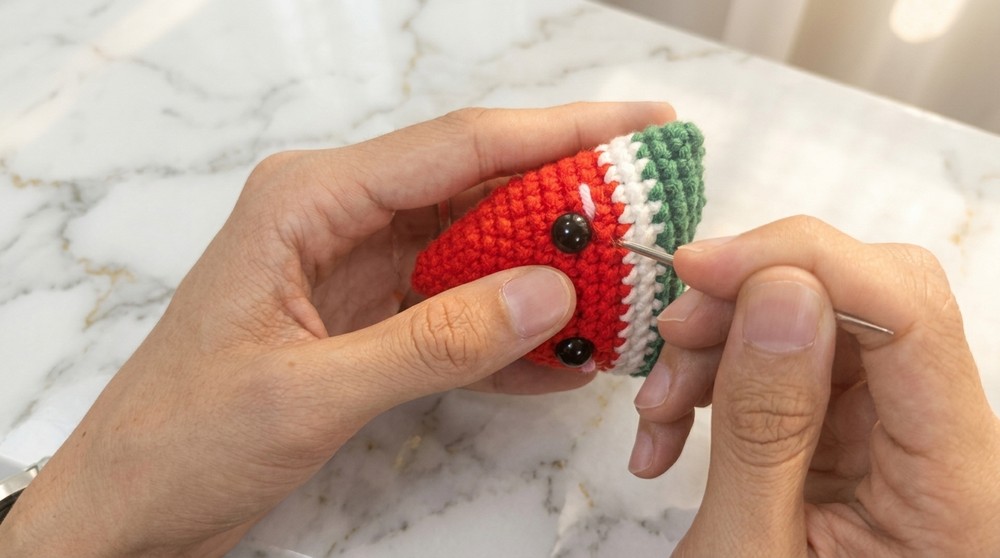
- Insert Safety Eyes:
Count your rounds and place the safety eyes between Rounds 10 and 11 (at the base of the white band). Leave 5 stitches of space between the eyes. - Add a Smile:
Use black yarn to embroider a simple curved smile beneath the eyes. Start and end your thread at the back and securely knot it so it’s invisible from the front. - Blush Details:
Use pink yarn to embroider a small blush under each eye. Use 1–2 stitches to create small pink circles. - Sew and Close:
Flatten the bottom of your watermelon and sew it closed by weaving stitches through the front and back loops. Add more stuffing if needed before the hole is completely closed. - Add Keychain (Optional):
Attach a keychain ring securely at the top. Ensure it’s properly fastened to withstand movement.
What You’ll Learn From This Pattern
- Mastering the Magic Ring: A must-know technique for clean, closed bottoms in amigurumi.
- Shaping with Increases & Decreases: Learn how to form round amigurumi pieces.
- Changing Yarn Colors: Seamlessly add new colors for detailed effects, without threads showing.
- Decorating Amigurumi: Add facial features like blush, smiles, and accessories.
Why You’ll Love This Pattern
- Quick and perfect for gifting or personalizing accessories.
- Beginner-friendly but with plenty of room for creativity.
- Teaches foundational amigurumi skills like working in the round and attaching parts.
- Adaptable to countless other crochet designs!
Enjoy bringing this sweet watermelon to life and brightening your space or keyring with handmade charm.