
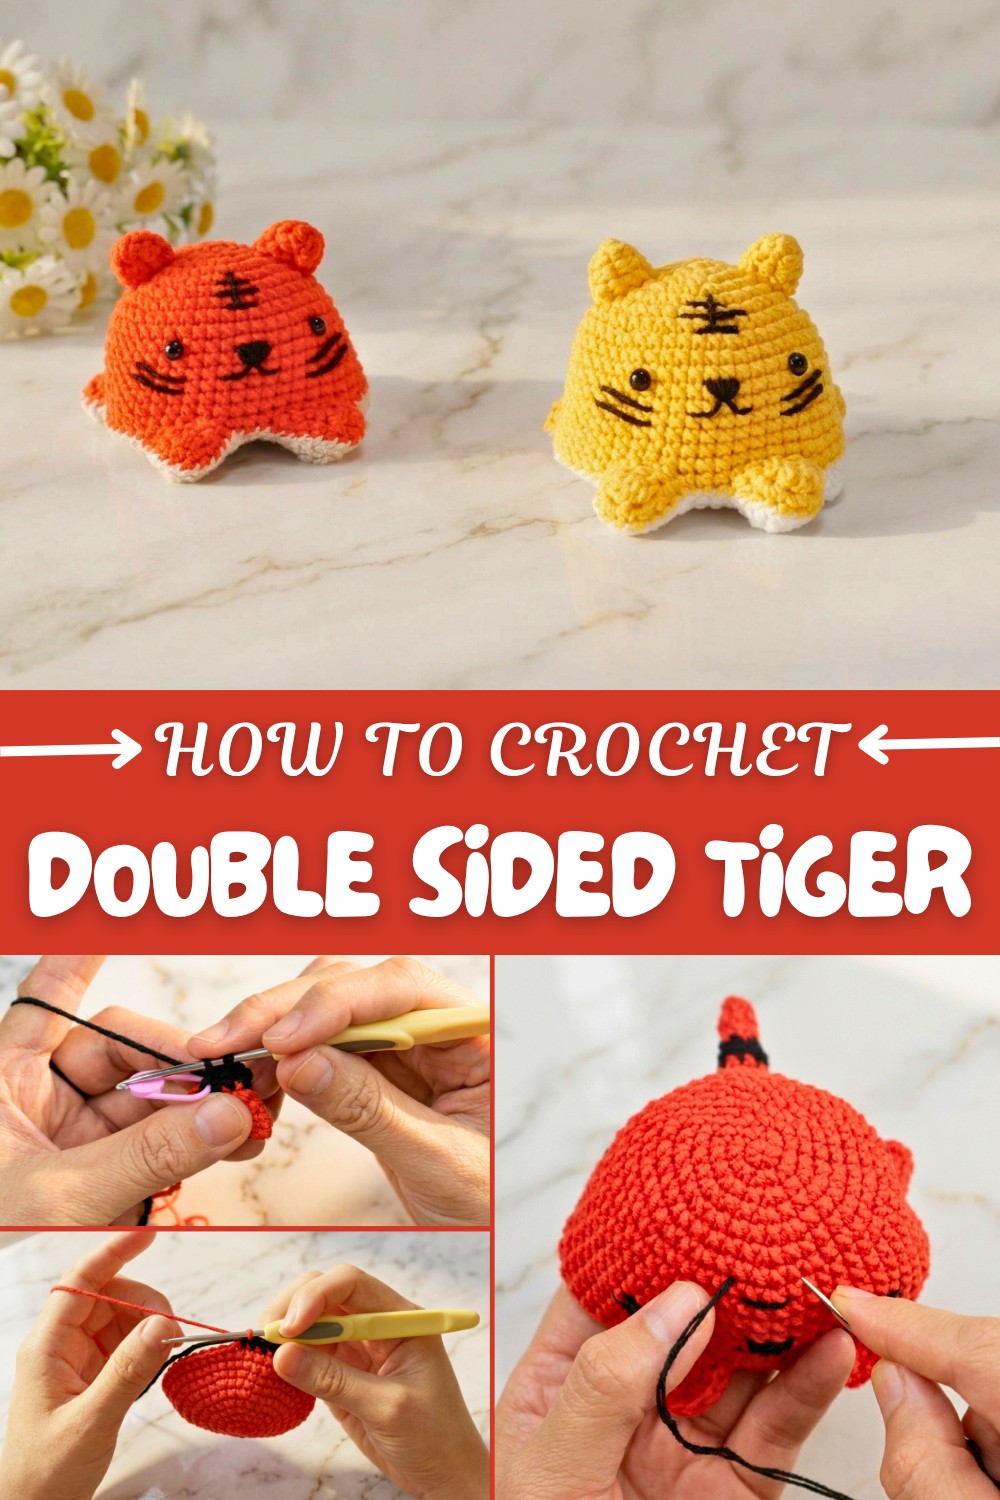
How to Crochet Double Sided Tiger Free pattern : Step-by-Step
Bring wild character to projects with Free Crochet Double Sided Tiger Pattern showcasing two unique looks and adorable tiger inspired appeal.
Ever thought about crocheting something adorable and unique that stands out from the usual? The free crochet double sided tiger pattern is just the project to spark your creativity and brighten up your accessories. This charming amigurumi piece features two cute tiger faces—one on each side—which gives it a fun and eye-catching twist. Its smooth yet slightly textured surface beautifully showcases the tiger’s bold stripes and expressive eyes, making it a delightful little treasure to hold or gift.
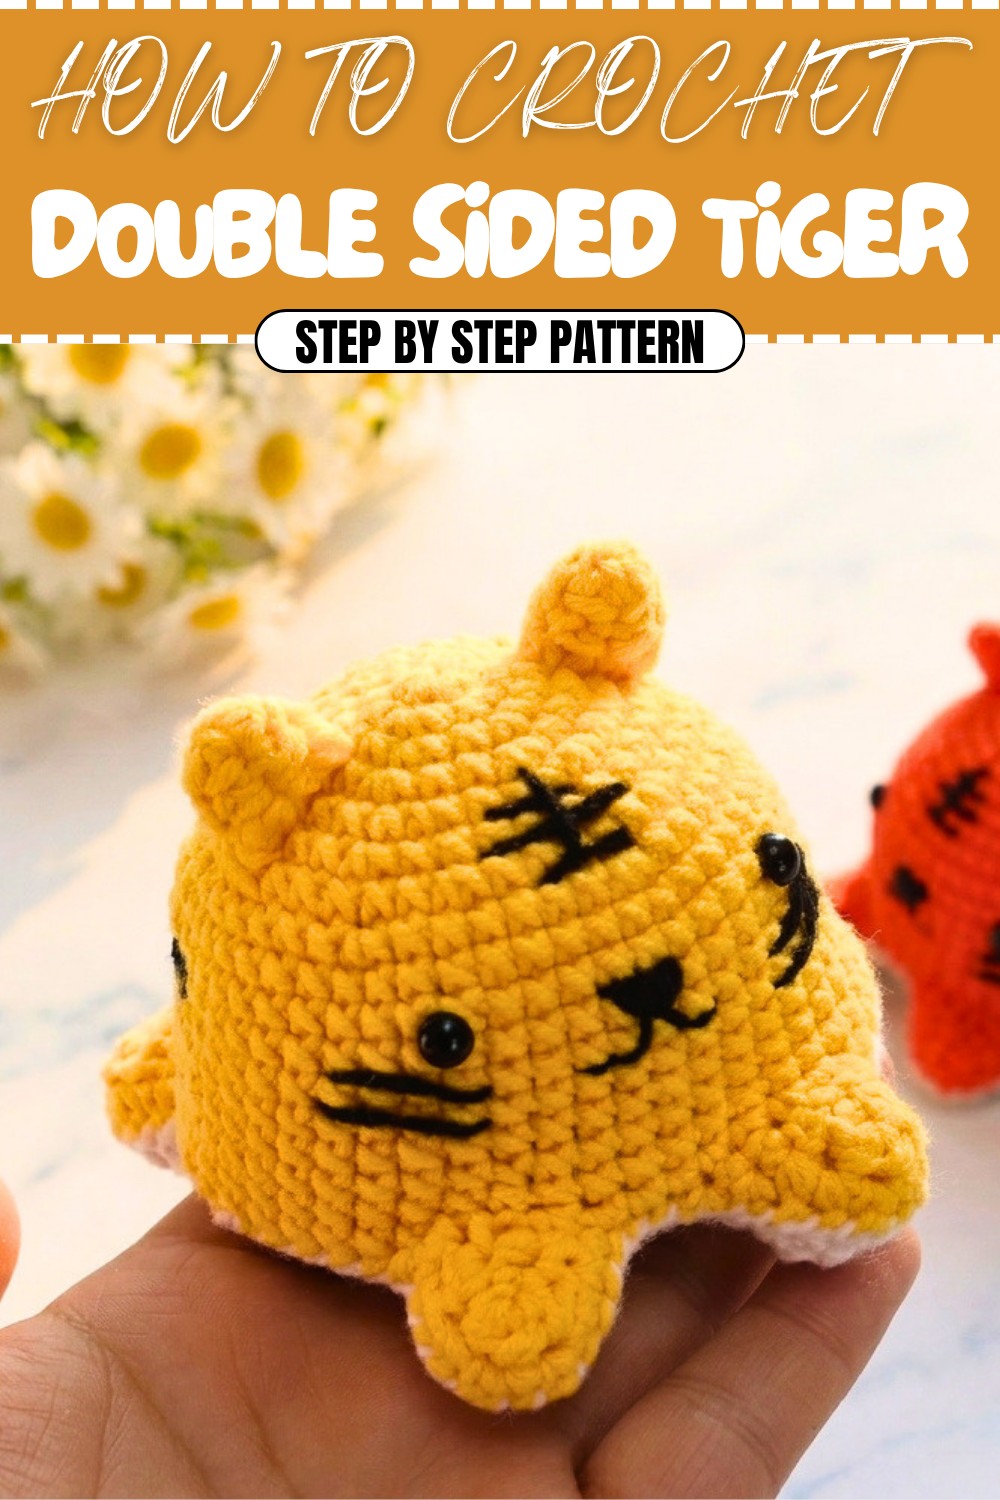
Free Double Sided Tiger pattern for Cute Amigurumi Lovers
Perfect for crocheters who are comfortable working in the round and managing color changes, this pattern involves continuous rounds and thoughtful stitch counting to keep both sides symmetrical. Starting with a magic ring, you’ll shape the tiger by carefully increasing and decreasing stitches while switching colors to create those classic stripes. Using cotton or cotton-blend yarn is ideal here, as it provides enough firmness to maintain the shape and keeps the colorwork crisp and defined.
This playful double-sided tiger brings to mind jungle adventures and storybook fun, making it a thoughtful gift for animal lovers, kids, or anyone who enjoys unique handmade accessories. Plus, you can customize the size by varying your yarn weight or hook size, and add little embroidered touches to highlight features like eyes or whiskers. This pattern offers both a creative challenge and a charming result, perfect for cozy crocheting sessions or thoughtful gifting.
Double-Sided Tiger Crochet Pattern
Welcome to this detailed tutorial for crocheting a charming double-sided tiger! This project features a lovely little tiger with two distinct color sides, connected seamlessly. The design includes all the main body parts—ears, eyes, nose, legs, tail—and is worked mostly in the round with color changes for stripes. It’s a wonderful project to sharpen your crochet skills and create a delightful tiger toy or keychain.
Skill Level & Terminology
- Skill Level: Intermediate
- Terminology: US crochet terms are used throughout this pattern.
Materials & Tools
- Medium-weight cotton yarn in the following colors:
- Main color (orange or red tone)
- Secondary light color (cream or beige)
- Black yarn for stripes, nose, and features
- Crochet hook size: 2.5 mm (or size appropriate for your yarn)
- Yarn needle for weaving in ends and sewing parts together
- Stitch markers
- Polyester fiberfill (stuffing material)
- Scissors
- Optional: safety eyes or black yarn for embroidered eyes
Gauge
To ensure the correct size:
- Make a 10 cm x 10 cm swatch using single crochet (sc) in rounds.
- The gauge should be approximately 20 stitches x 22 rows.
Adjust hook size if necessary to meet gauge.
Abbreviations
- ch: chain
- sc: single crochet
- hdc: half double crochet
- sl st: slip stitch
- inc: increase (2 sc in same stitch)
- st(s): stitch(es)
- FO: fasten off
Special Stitch Instructions
- Single Crochet (sc): Insert hook into the stitch, yarn over, pull up a loop, yarn over again, pull through both loops on hook.
- Half Double Crochet (hdc): Yarn over, insert hook into stitch, yarn over and pull through, yarn over and pull through all three loops on hook.
- Increase (inc): Work 2 single crochets into one stitch – this increases the stitch count by 1.
- Color Change: At the last yarn over of the current color’s stitch, yarn over with the new color and finish the stitch to seamlessly transition colors.
Finished Size
Approximately 10 cm tall and 8 cm wide when completed and stuffed.
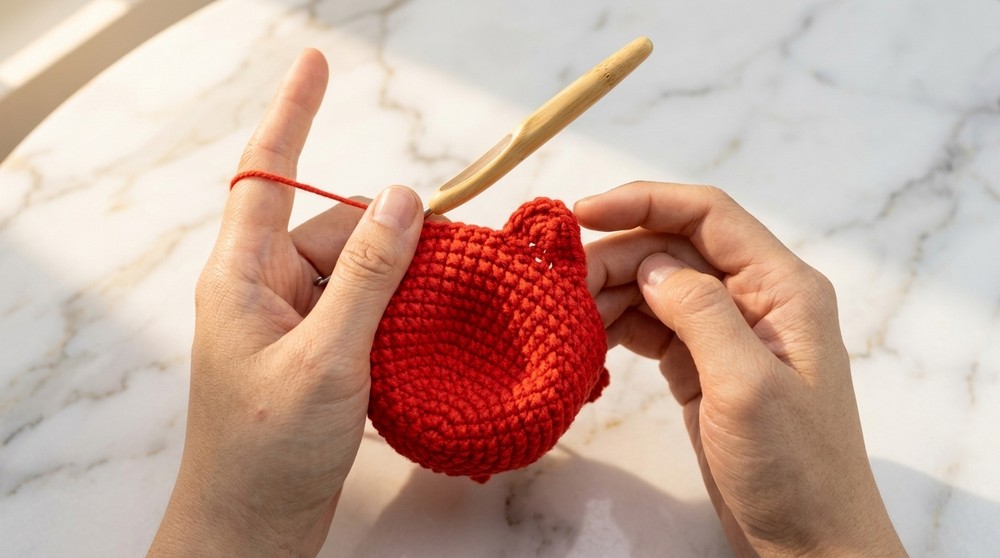
Pattern Instructions
Body (Make 2 for Double-Sided Tiger)
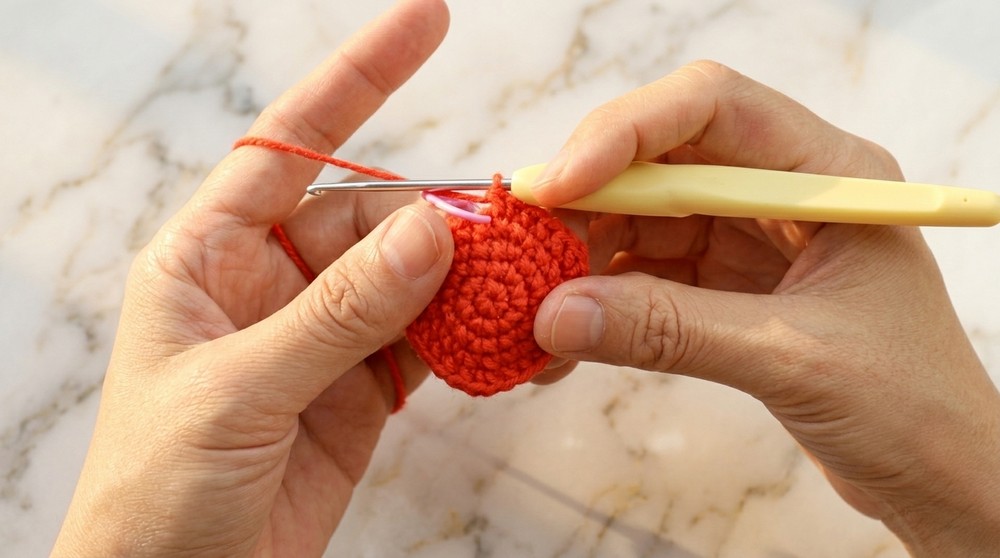
Round 1:
- Make a magic ring, ch 1
- 5 sc into the magic ring
- Pull tight to close ring
- Place stitch marker at beginning stitch
(5 sts)

Round 2:
- Work 1 sc in each stitch around (do not join) in spiral
(5 sts)
Round 3:
- Repeat Round 2: 1 sc in each stitch around
(5 sts)
Round 4:
- Inc in first st (2 sc in 1 st)
- Then 4 sc in next 4 sts
(6 sts)
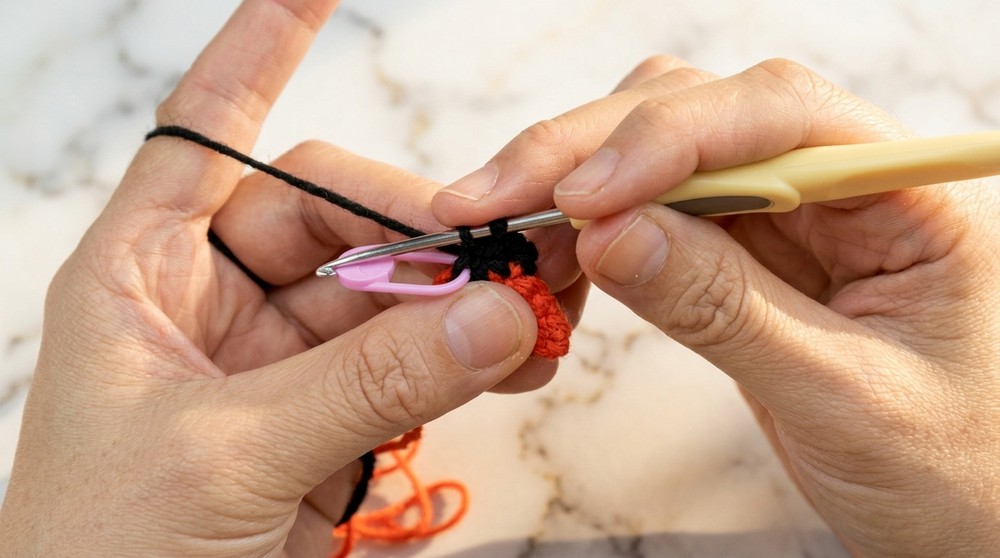
Round 5:
- Change yarn color to black at last yarn over of Round 4
- 1 sc in every stitch around with black yarn
(6 sts)
Round 6:
- Inc in first st (2 sc in 1 st)
- 5 sc
(7 sts
Rounds 7–9:
- Switch back to main color yarn (red/orange)
- 1 sc in each stitch around
(7 sts)
Round 10:
- Switch to black yarn
- 1 sc in each stitch around
(7 sts)
Rounds 11–13:
- Change back to main color (red/orange)
- 1 sc per stitch around
(7 sts)
Round 14:
- Place stitch marker and start increasing to shape body
- Following the sequence: alternate between single crochet and increases, increasing total stitches gradually to 20 by end of round.
- Details for each increase:
- Repeat groups of “1 sc, inc” or “2 sc, inc” as indicated in video sequence, building the shape.
At this point, you have completed half the body for one side of the tiger.
Summary: You’ve started the tiger’s body using magic ring and continuous rounds of single crochet with strategically placed increases and color changes to form a striped body. The shape is a rounded wedge resembling a tiger’s torso.
Tail Attachment (to one body piece)
- Chain 6
- Work back along chain:
- 3 sc in 3rd ch from hook
- 2 hdc in next chain stitches as detailed
- Attach tail to the body side using slip stitches
- Stuff tail firmly before closing
- Mark each stitch for neat joining
Summary: The tail is crocheted separately and then sewn firmly to the body side. This gives a 3D effect when joined with the other body piece.
Legs (Make 2 Sets for Front and Hind Legs)
Front Legs:
- Chain 3
- Back through chain: 3 sc
- Attach with slip stitches to body side at appropriate place
Hind Legs:
- Chain 4
- Work 3 sc, 2 hdc as shown, increasing stitches as per rounds
- Attach firmly to body
Summary: The legs are small crocheted pieces attached separately to each body side. This adds dimension and allows the tiger to sit nicely.
Ears (Make 4)
- Chain 5
- Work half double crochet (hdc) back along chains, increasing for cute ear shape
- Join two ear pieces by sewing edges together
- Attach ears to the head part of both body pieces
Summary: The ears are small and made of two halves joined together, then sewn onto the tiger’s head for a realistic look.
Eyes and Nose
- Place safety eyes or embroider with black yarn between rounds 10 and 12 on body sides
- Embroider nose as an inverted triangle between eyes
- Embroider mouth and whiskers with black yarn below nose
- Secure and weave in ends neatly inside
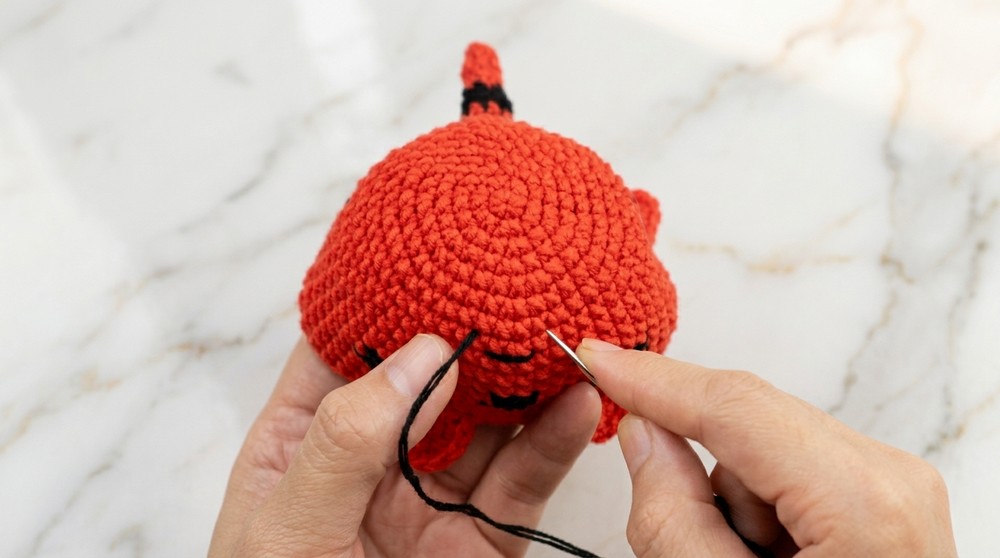
Summary: The detailed facial features bring the tiger to life. Position eyes symmetrically, and embroider nose and mouth carefully.
Assembly of the Two Sides
- Place two tiger body sides together, right sides facing out
- Align edges carefully
- Use matching yarn to whip stitch or slip stitch together leaving a small opening
- Stuff firmly with fiberfill
- Close opening completely, hiding ends inside
Summary: Joining the two body sides carefully makes the tiger reversible and plush. Stuffing determines the tiger’s firmness and shape.
Final Touches
- Add black yarn whiskers on either side of the muzzle with a simple stitch
- If desired, embroider a small "King" text or decorative stitch on top of the head for personalization
- Weave in all loose ends inside to finish cleanly
Summary: These finishing details complete the double-sided tiger’s appearance and character.
Pattern Overview: How to Start and Stitches Used
Begin by making a magic ring and crocheting the body outward in rounds using single crochets (sc) and increases (inc) to shape the tiger’s form. Use half double crochet (hdc) for shaping ears and legs. Color changes with black yarn create tiger stripes and facial features. The project requires changing colors smoothly at stitch endings and careful stitching to assemble two mirrored tiger halves.
Key Stitches Used:
- Single Crochet (sc) – main stitch for body, legs, tail
- Increase (inc): 2 sc in one stitch to expand shape
- Half Double Crochet (hdc): shaping ears and certain details
- Slip Stitch (sl st): for joining parts and color changes