
Eco-Friendly Crochet Turtle Amigurumi Pattern You'll Love
Solve your need for adorable projects with a free crochet turtle amigurumi pattern that's simple, quirky, and brings instant smiles.
Have you ever dreamed of making an adorable crochet turtle that fits perfectly in the palm of your hand? This turtle amigurumi pattern is ready to bring that dream to life! With a sweet, round shell, tiny legs, and a friendly little face, this pattern creates a delightful toy that will charm both kids and adults. The colors are incredibly versatile, try classic green and yellow for a realistic look, soft pastels for a whimsical touch, or bright shades for a playful summer vibe. What's even more fun? You can position the turtle’s head and customize the placement of the eyes, giving it its own unique personality. This little creation can become a fun tabletop decoration, a handmade gift, or even a playful keychain.
Playful Free Crochet Turtle Amigurumi Pattern for Colorful Looks

Don’t worry if you are new to amigurumi. This pattern is straightforward and utilizes beginner-friendly techniques like the magic ring, single crochet, increases, and decreases. It also introduces color-changing techniques, allowing you to create the turtle's charming multicolored shell. With the help of a stitch marker and the clear, repeatable rounds, you’ll be amazed at how quickly this adorable little turtle takes shape!
What Else You Can Crochet With These Skills
- Amigurumi sea creatures, like octopuses, whales, and fish.
- Turtle keychains or hanging decorations by modifying the size.
- Custom animal toys using the same head and body structure.
- Crochet appliqués for bags, blankets, or kids’ clothing designs.
- Beginner-friendly pattern with clear steps.
- Highly customizable, from face expressions to color palettes.
- Versatile uses, including gifts, home decor, and accessories!

Detailed Crochet Turtle Pattern
This adorable crochet turtle pattern will take you step-by-step through the process of making a cute and whimsical little turtle. You’ll create a colorful turtle shell, a sweet face, and a body with four legs that can even help the turtle stand on its own!
The project uses basic stitches like chain (ch), single crochet (sc), increases, decreases, and slip stitches, making it accessible for anyone who has mastered the fundamentals of crochet.
Skill Level & Terminology
- Skill Level: Advanced Beginner
- Terminology: US Terminology
Materials & Tools
- Yarn:
- Green yarn for the head, legs, and shell (worsted weight).
- Yellow yarn for the shell details.
- Black yarn for outlining eyebrows and the mouth (thin weight).
- Fiber fill for stuffing.
- Crochet Hook: Size 4mm (G/6) or suitable size to achieve the gauge.
- Accessories:
- 6mm black safety eyes (2).
- Scissors.
- Tapestry needle for sewing.
- Stitch marker (optional but recommended).
Gauge
Exact gauge is not critical for this project. However, the stitches should be tight enough so the fiber fill doesn’t show through.
Abbreviations List
- ch: Chain
- sc: Single Crochet
- sl st: Slip Stitch
- inc: Increase (2 single crochets in the next stitch)
- dec: Decrease (combine 2 stitches into 1)
- st(s): Stitch(es)
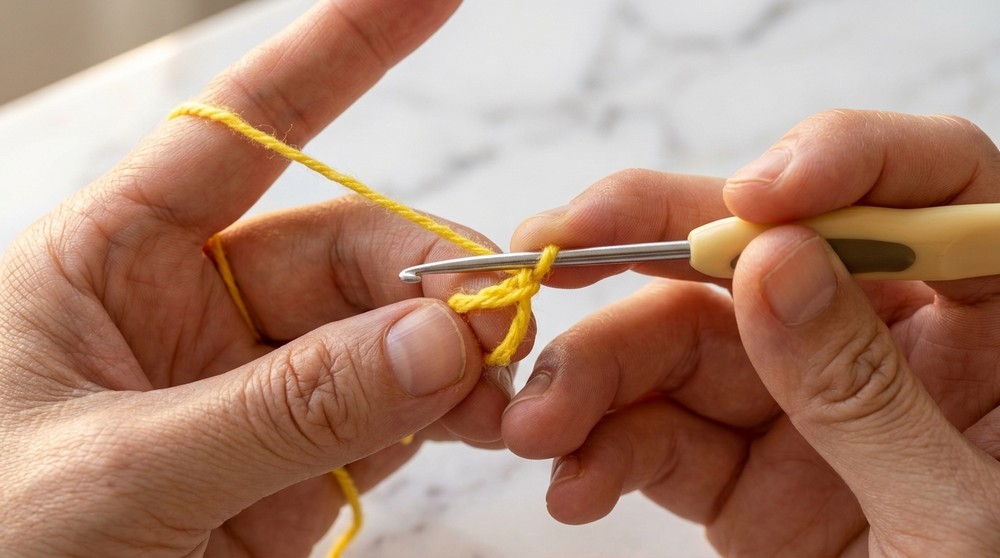
Special Stitch Instructions
- Magic Ring (MR): Wrap the yarn around your finger, insert the hook into the loop, pull up the yarn, then chain to secure the initial circle.
- Invisible Decrease (dec): Work into the front loops of the next two stitches only, yarn over, pull through two loops, and finish as a single crochet.
Finished Size
- Turtle Dimensions: Approximately 4 inches long by 3 inches wide.
What You’ll Learn from This Pattern
- Master the magic ring for a seamless and tidy start.
- Learn how to shape a 3D design using single crochets, increases, and decreases.
- Practice color-changing techniques for decorative and realistic patterns.
- Gain confidence in stuffing, assembling, and sewing amigurumi.
Pattern
Head
- Start with a Magic Ring (MR):
- Inside the MR: 6 sc. Pull the loop tight to close. (6 sts)
- Round 2: Inc in each st around. (6 inc) (12 sts)
- Round 3: 1 sc, inc; repeat * around. (18 sts)
- Round 4: 2 sc, inc; repeat * around. (24 sts)
- Round 5: 3 sc, inc; repeat * around. (30 sts)
- Round 6: 4 sc, inc; repeat * around. (36 sts)

Rounds 7-14: Sc in each st around. (36 sts)
- Round 15: 4 sc, dec; repeat * around. (30 sts)
- Round 16: 3 sc, dec; repeat * around. (24 sts)
- Round 17: 2 sc, dec; repeat * around. (18 sts)
- Stuff the head with fiber fill.
- Round 18: 1 sc, dec; repeat * around. (12 sts)
- Round 19: Dec around. (6 sts)
- Fasten off, leaving a tail for sewing.

Great job! You now have the turtle’s head complete! Next, you’ll move on to its body.
Body (Belly)
- Start with a Magic Ring (MR):
- Inside the MR: 6 sc. Close the loop tightly. (6 sts)
- Round 2: Inc in each st around. (6 inc) (12 sts)
- Round 3: 1 sc, inc; repeat * around. (18 sts)
- Round 4: 2 sc, inc; repeat * around. (24 sts)
- Round 5: 3 sc, inc; repeat * around. (30 sts)
- Round 6: 4 sc, inc; repeat * around. (36 sts)
- Round 7: 5 sc, inc; repeat * around. (42 sts)
- Round 8: 6 sc, inc; repeat * around. (48 sts)
Fasten off. Leave a long tail for sewing to the shell.
Legs (Make 4)
- Start with a Magic Ring (MR):
- Inside the MR: 6 sc. (6 sts)
- Rounds 2-6: Sc in each st around. (6 sts)

Stuff lightly and leave a tail for sewing.
Shell
- Start with a Magic Ring in Green yarn:
- Inside the MR: 6 sc. Close the loop tightly. (6 sts)
- Round 2: Inc in each st around. (6 inc) (12 sts)
- Round 3: 1 sc, inc; repeat * around. (18 sts)
- Round 4: 2 sc, inc; repeat * around. (24 sts)
Change to Yellow Yarn:
5. Round 5: 3 sc, inc; repeat * around. (30 sts)
Change back to Green Yarn:
6. Round 6: 4 sc, inc; repeat * around. (36 sts)
- Repeat the above color change pattern for Rounds 7-10.
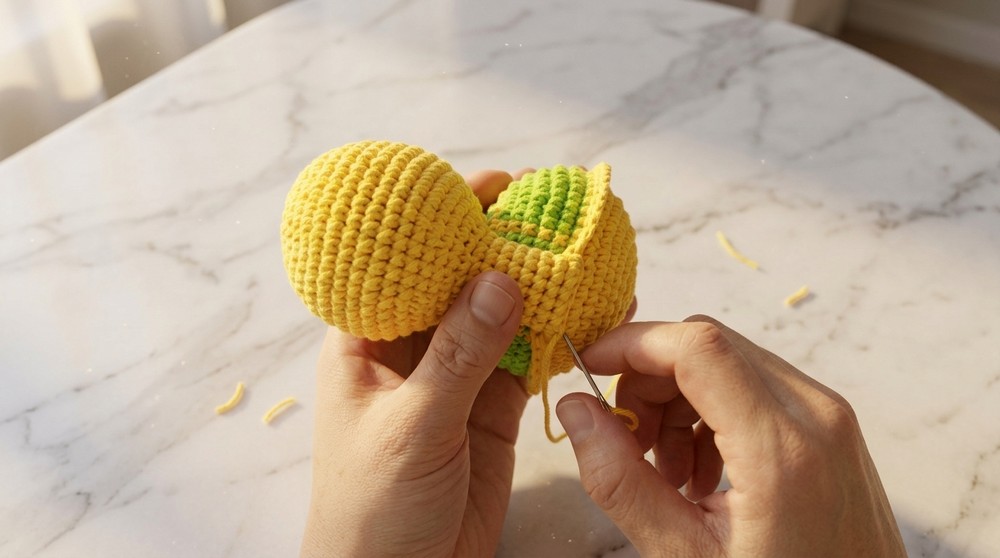
- Round 11: Attach the body to the shell: Align the belly and the shell with wrong sides together. Using Yellow yarn, sc through both layers around to join. Leave a small opening to fill with fiber fill. Stuff the turtle, then continue to close.

Fasten off and weave in the ends.
Assembly
- Attach the Head: Center the head on the top of the body and sew securely.
- Attach the Legs: Position the legs symmetrically:
- Front legs on either side of the neck.
- Back legs on opposite sides, aligned with the front.
- Add the Eyes: Position between Rounds 9 and 10 of the head, spacing them 4-5 stitches apart. Secure the safety eyes firmly.
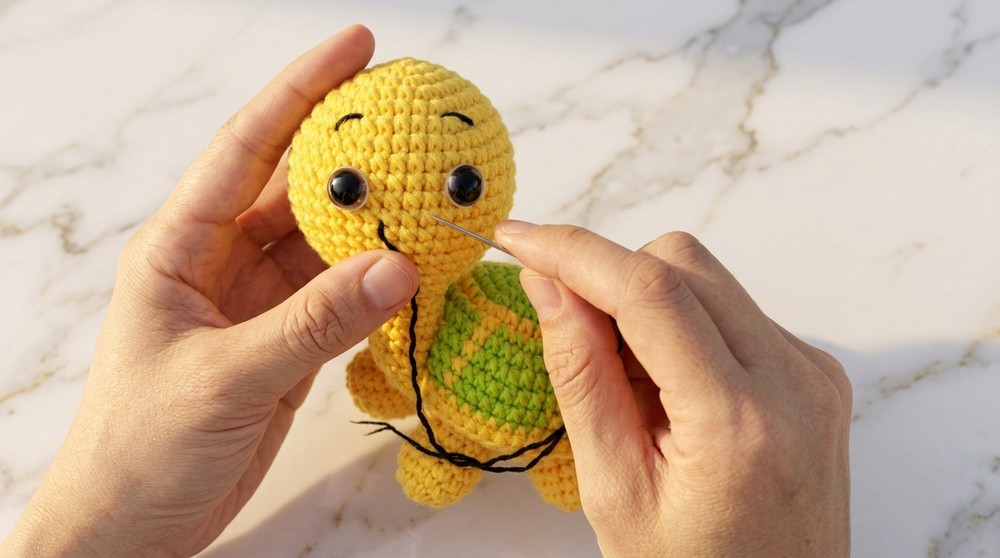
- Embroider the Face:
- Use black yarn to stitch eyebrows above the eyes.
- Create a simple smile across 3 stitches between the eyes.
Enjoy Your Turtle!
Your crochet turtle is now complete! You can customize its colors, head position, or expression to make it uniquely yours.
Tips for Beginners
- The turtle uses primarily single crochets, which makes it a beginner-friendly project with some practice.
- Follow the color-change instructions carefully to get the perfect alternating shell design.
- Take breaks while sewing to keep your stitches neat and consistent.
Challenges & Solutions
Like any amigurumi project, this crochet turtle pattern may have a few challenging parts, especially for beginners. Creating the magic ring or achieving seamless color changes for the shell might seem tricky at first. Additionally, sewing the small body parts together can feel daunting. The solution is take your time and practice the magic ring on scrap yarn until it feels natural. Use a stitch marker to keep track of rounds, and for color changes, keep your yarn loose and follow the steps carefully. When assembling, pin the legs, head, and shell in position before sewing to ensure proper alignment.