
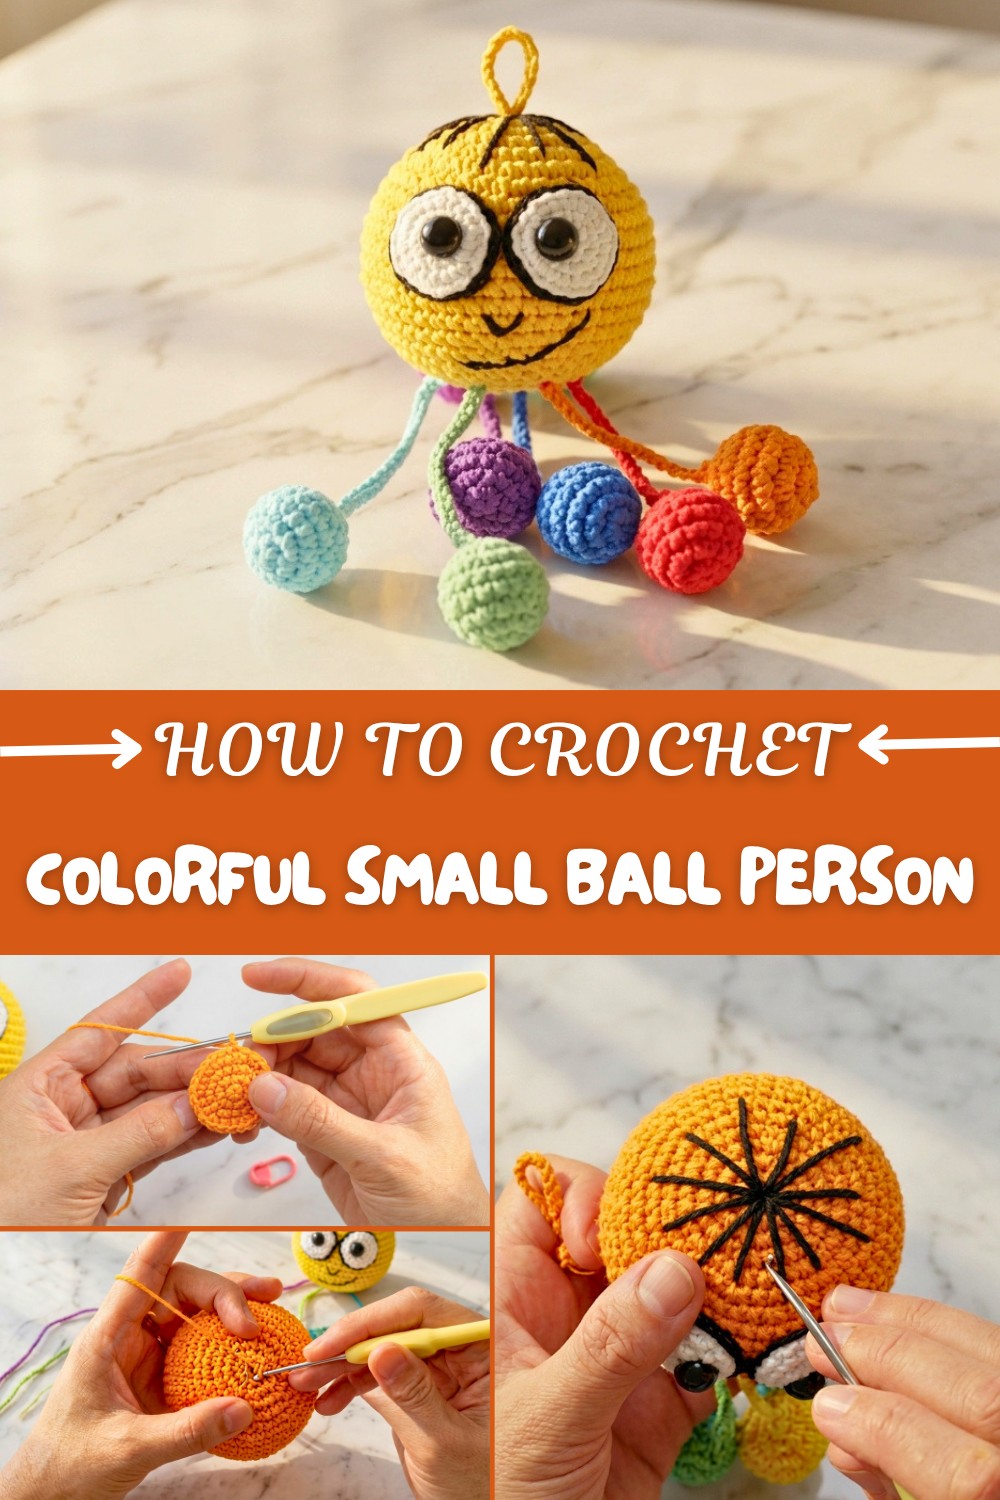
Free Crochet Small Ball Person Pattern for Creative Moments
Instantly lift your mood by using a free crochet small ball person pattern as an adorable fidget or pocket pal.
Looking for a crochet project that’s both playful and full of personality? This small ball person pattern, with its adorable big-eyed pattern and colorful charm, will surely bring a smile to your face! Perfect as a cute accessory for your bag, car, or even as a unique handmade gift, this pattern blends creativity with simplicity. The bright, eye-catching colors and dangling "hanging foot" design make it stand out, while the cheerful expression, bold eyes, and tiny balls add whimsy and fun. You can customize it in endless ways, from the colors of the balls to the expression and length of the hanging strap, making it truly yours.
Colorful Crochet Small Ball Person Pattern for Little Creations
The pattern begins with basic techniques like magic rings, single crochets, increases, and decreases, perfect for beginners who want to explore shaping and detailing in amigurumi. One of its standout features is the precise addition of facial details, including embroidered noses, smiles, and even sketched hair for extra personality. You’ll also learn how to create adorable dangling "footballs" that give the toy a unique charm.
Other Fun Projects Based On This Pattern:
Once you’ve mastered the techniques, you can use them to make:
- Keychains or bag charms with different facial expressions.
- Mini hanging animals or characters, using additional colors and features.
- Playful garlands: Combine multiple ball people for a fun decorative string.
- Custom gifts: Personalize the colors, features, and accessories to match someone's personality.
Why You’ll Love This Pattern:
- Beginner-friendly: Simple stitches that build confidence.
- Highly customizable: Change colors, add details, or play with sizes to suit your style.
- Quick and fun: A great project for bringing joy to someone or for adding a unique handmade touch to any space.
Grab your yarn and crochet hook, and let this little ball person charm its way into your heart!
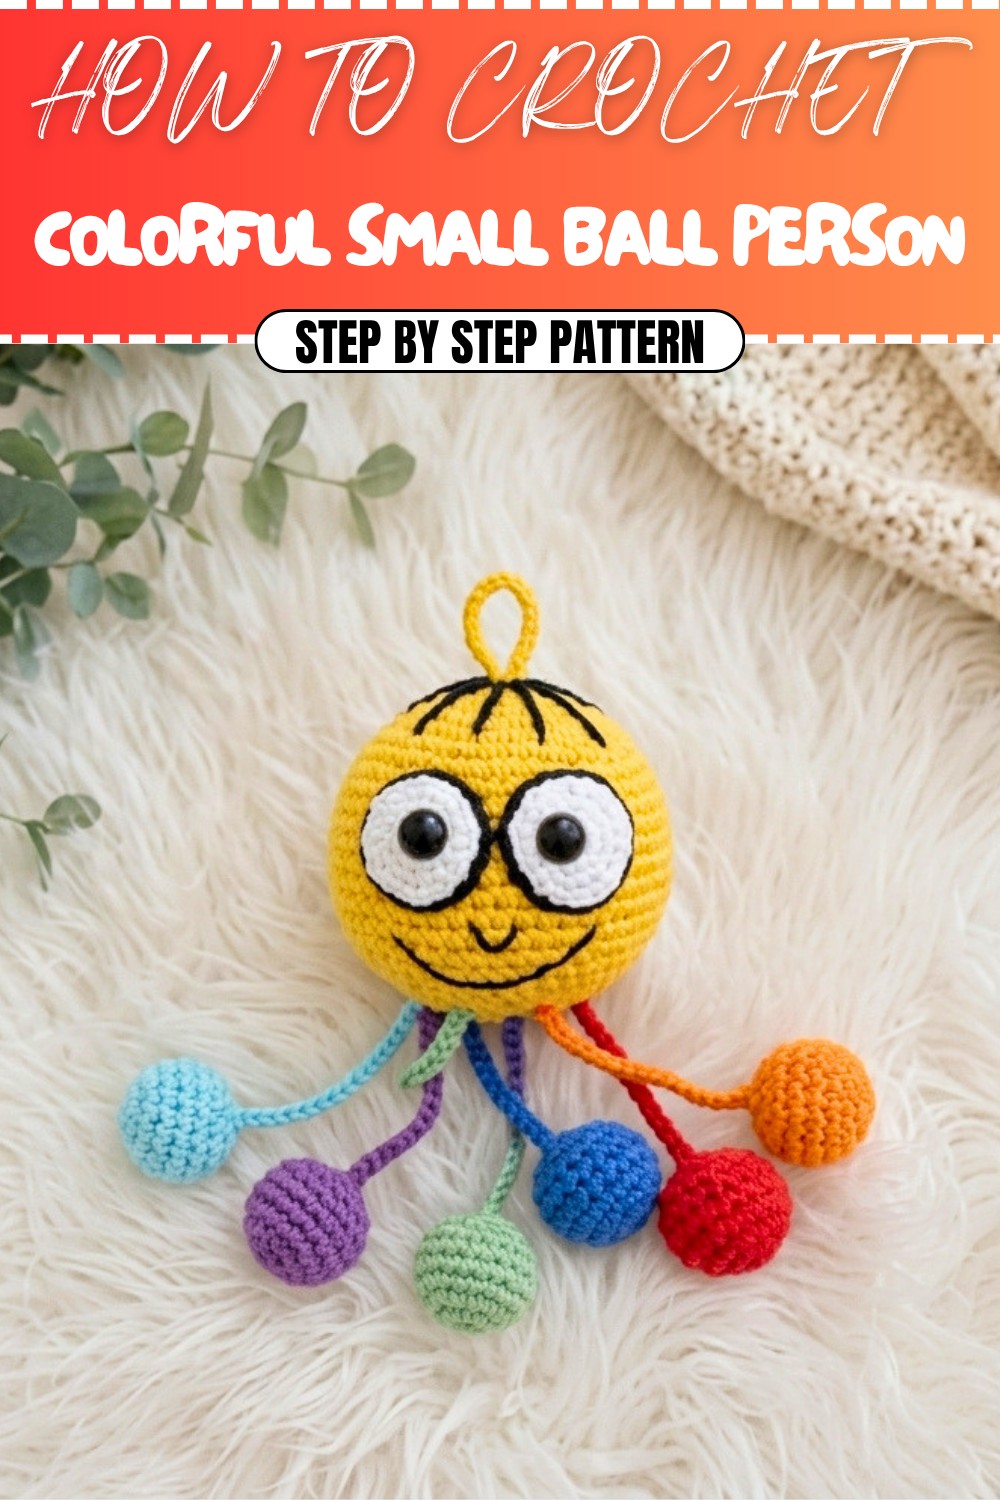
Cute Colorful Big-Eyed Hanging Doll Crochet Pattern
This step-by-step pattern will guide you through creating an adorable, colorful, big-eyed hanging doll. Perfect as a car ornament, keychain, or bag charm, this doll is made with spherical pieces that add to its charm. The pattern uses simple crochet and assembly techniques, making it suitable for confident beginners.
About this Pattern
This delightful hanging doll pattern is created using basic crochet techniques like single crochet, increases, and decreases. You'll create separate components for the head and colorful balls, which are then sewn together. The pattern is given its finishing touches with embroidered facial details and an optional hanging chain for versatility.
What You’ll Learn
- How to shape the body, head, and feet using spiral rounds and single crochet techniques.
- Master the technique of increases and decreases for smooth shaping in amigurumi projects.
- Tips for creating and attaching embellished eyes, embroidered noses, and sketched hair.
- How to assemble small amigurumi pieces with clean, neat stitching.
Skill Level & Terminology
- Skill Level: Confident Beginner / Intermediate
- Terminology: US Crochet Terms
The pattern uses magic ring, single crochet (sc), increase (inc), decrease (dec), and basic embroidery stitches for details.
Materials & Tools
Required Materials
- Yarn:
- A variety of colors for the head, colorful balls, and details (e.g., white, black, and other bright colors).
- Crochet Hook: 2.0 mm hook (or size to match your yarn).
- Stuffing: Fiberfill or similar material for stuffing all components.
- Tapestry Needle: For sewing parts and embroidery.
- Scissors
Optional Supplies
- Embroidery Thread: For detailed facial features.
- Keychain Hardware or Threading Cord: If you want to hang your doll.
Gauge
Gauge is not critical for this amigurumi project. However, aim for tight, even stitches to prevent stuffing from peeking through.
Abbreviations
| Abbreviation | Meaning |
|---|---|
| ch | Chain |
| sc | Single Crochet |
| sl st | Slip Stitch |
| inc | Increase (2 sc in one stitch) |
| dec | Decrease (combine 2 stitches into 1 stitch) |
| mr | Magic Ring |
Special Stitch Instructions
Magic Ring (mr)
This creates a tightly closed starting round.
- Wrap yarn around your fingers to form a loop.
- Insert hook under the loop, yarn over, and pull through.
- Chain 1 (or as needed) to secure, then crochet the required stitches into the loop.
- Pull the tail to tighten.
Finished Size
When using the recommended yarn and hook size, your completed hanging doll will measure approximately:
- Head Diameter: 5–6 cm (2–2.5 inches).
- Overall Height: 10–12 cm (4–5 inches), including colorful balls and hanging loop.
The Crochet Pattern
1. Head
- Round 1:
- Start with a magic ring (mr).
- Work 6 sc into the ring. — 6 sts.
You’ve created the base of the head as a small disc.
- Round 2:
- Work 1 inc in each st around. — 12 sts.
This round doubles the number of stitches by working 2 single crochets into every stitch.
- Round 3:
- (1 sc, 1 inc) repeat around. — 18 sts.
Here, you’re alternating 1 single crochet with 1 increase to form an evenly expanding circle.
- Round 4:
- (2 sc, 1 inc) repeat around. — 24 sts.
- Round 5:
- (3 sc, 1 inc) repeat around. — 30 sts.
- Rounds 6–15:
- 1 sc in each st around. — 30 sts per round.
These rounds build the height of the head. Make sure your stitch count stays consistent.
- Round 16: (Decrease Round)
- (3 sc, 1 dec) repeat around. — 24 sts.
- Round 17: (Decrease Round)
- (2 sc, 1 dec) repeat around. — 18 sts.
- Round 18: (Decrease Round)
- (1 sc, 1 dec) repeat around. — 12 sts.
- Round 19: (Final Decrease Round)
- Dec in each st around. — 6 sts.
- Fasten Off:
- Leave a long tail for sewing.
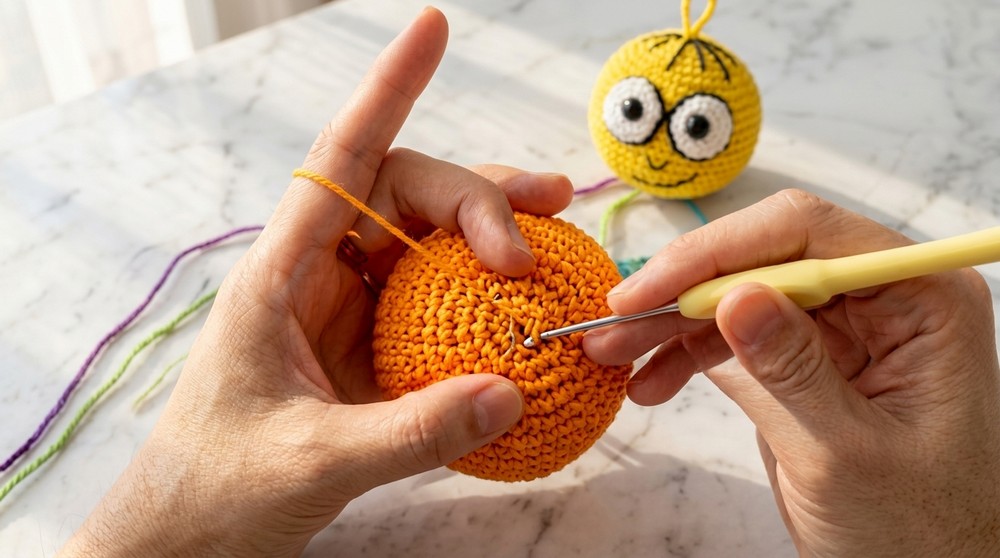
Stuff the head with fiberfill before closing the opening using a tapestry needle.
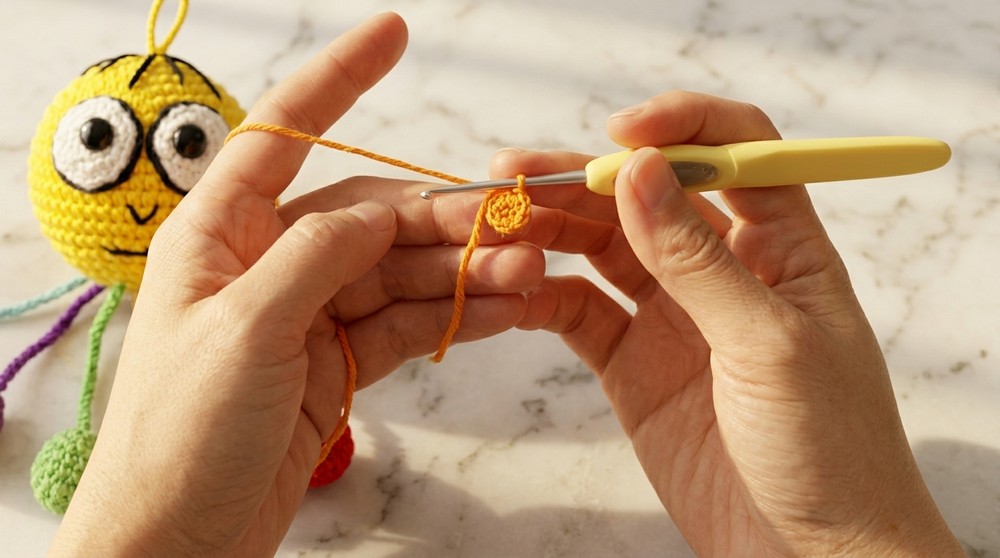
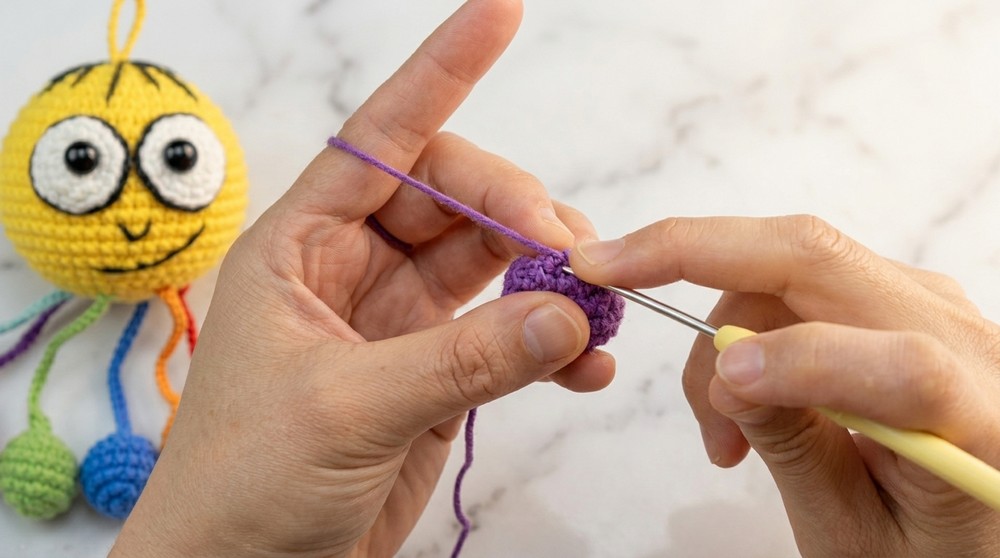
2. Colorful Balls (Make 6)
Each ball is made separately with different colors to give a playful, vibrant look.
- Round 1:
- Start with a magic ring (mr).
- Work 6 sc into the ring. — 6 sts.
- Round 2:
- Work 1 inc in each st around. — 12 sts.
- Round 3:
- (1 sc, 1 inc) repeat around. — 18 sts.
- Rounds 4–5:
- 1 sc in each st around. — 18 sts per round.
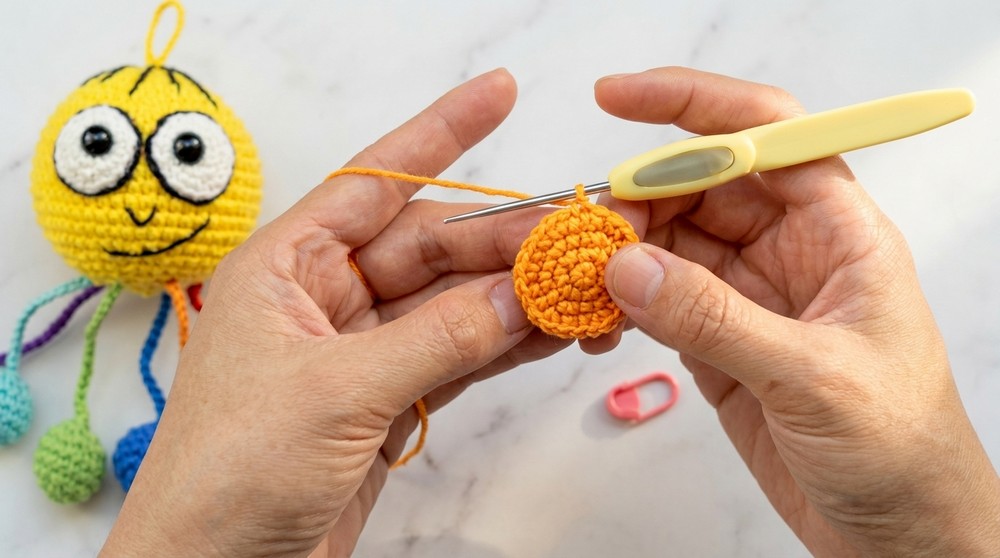
- Round 6: (Decrease Round)
- (1 sc, 1 dec) repeat around. — 12 sts.
- Round 7: (Final Decrease Round)
- Dec in each st around. — 6 sts.
- Fasten Off:
- Leave a tail for sewing. Stuff each ball lightly before closing.
Repeat this pattern to make 6 small balls in different colors.
3. Eyes
- White Base (Make 2):
- Round 1: Start with an mr and work 6 sc into it.
- Round 2: Work 1 inc in each st. — 12 sts.
- Black Button:
- Sew a small black button to the center of each eye for the iris.
- Attach the completed eyes to the head, positioning them symmetrically.
4. Facial Features
- Hair:
- Use black thread for 12 strands of hair on the top of the head. Alternate between long and short strands for variation. Use a tapestry needle to thread the yarn into the top of the head, knot it, and trim to the desired length.
- Nose:
- Embroider a small simple nose between the eyes using black thread.
- Mouth:
- Stitch a little smile two rows below the nose. Add a slight curve for a playful look.

5. Hanging Loop
- Foundation Chain:
- Ch 15–20 (depending on your desired length).
- Fasten off and knot the ends securely.
- Attach to Head:
- Thread the chain through the top of the head and tie securely, creating the loop for hanging.
Assembly & Finishing
- Attach Colorful Balls:
- Sew the colorful balls beneath the head in a semi-circular arrangement. Position them evenly, with a slight gap between each.
- Tidy Up:
- Use a tapestry needle to weave in and hide any loose ends throughout the pieces.
- Final Touches:
- Trim ends neatly and ensure all components (eyes, balls, and details) are securely attached.
Conclusion
Congratulations! You’ve now completed your own cute, colorful, big-eyed hanging doll. Perfect as a playful accessory or thoughtful handmade gift, this doll is customizable in color and details. Experiment with different expressions, hair, or decorative hanging loops to create unique designs!