
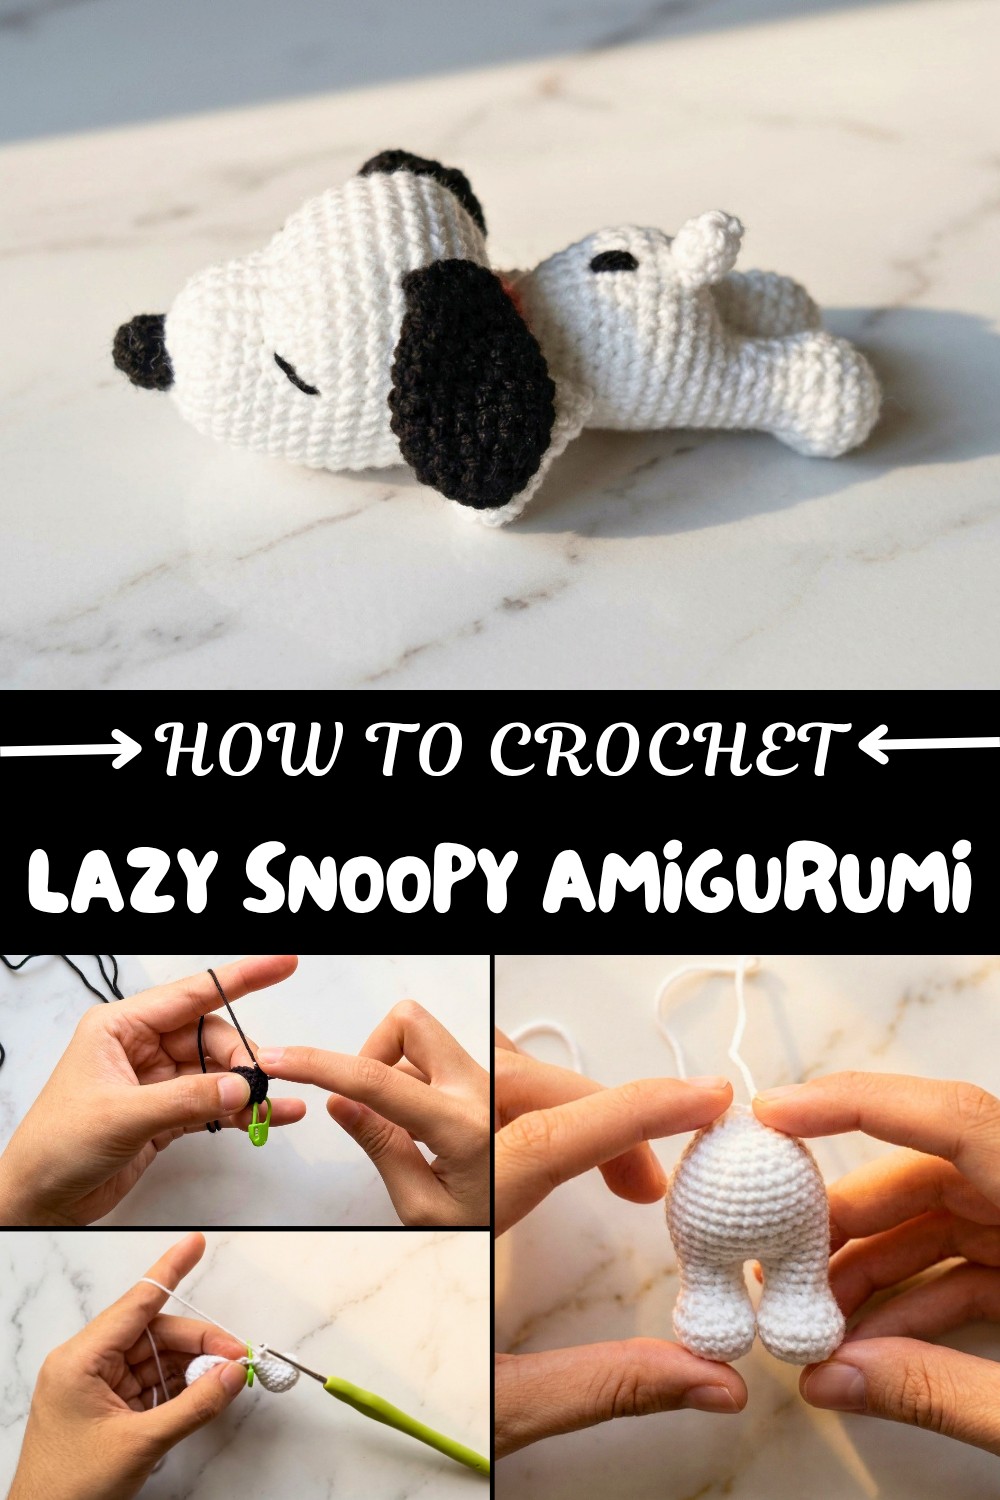
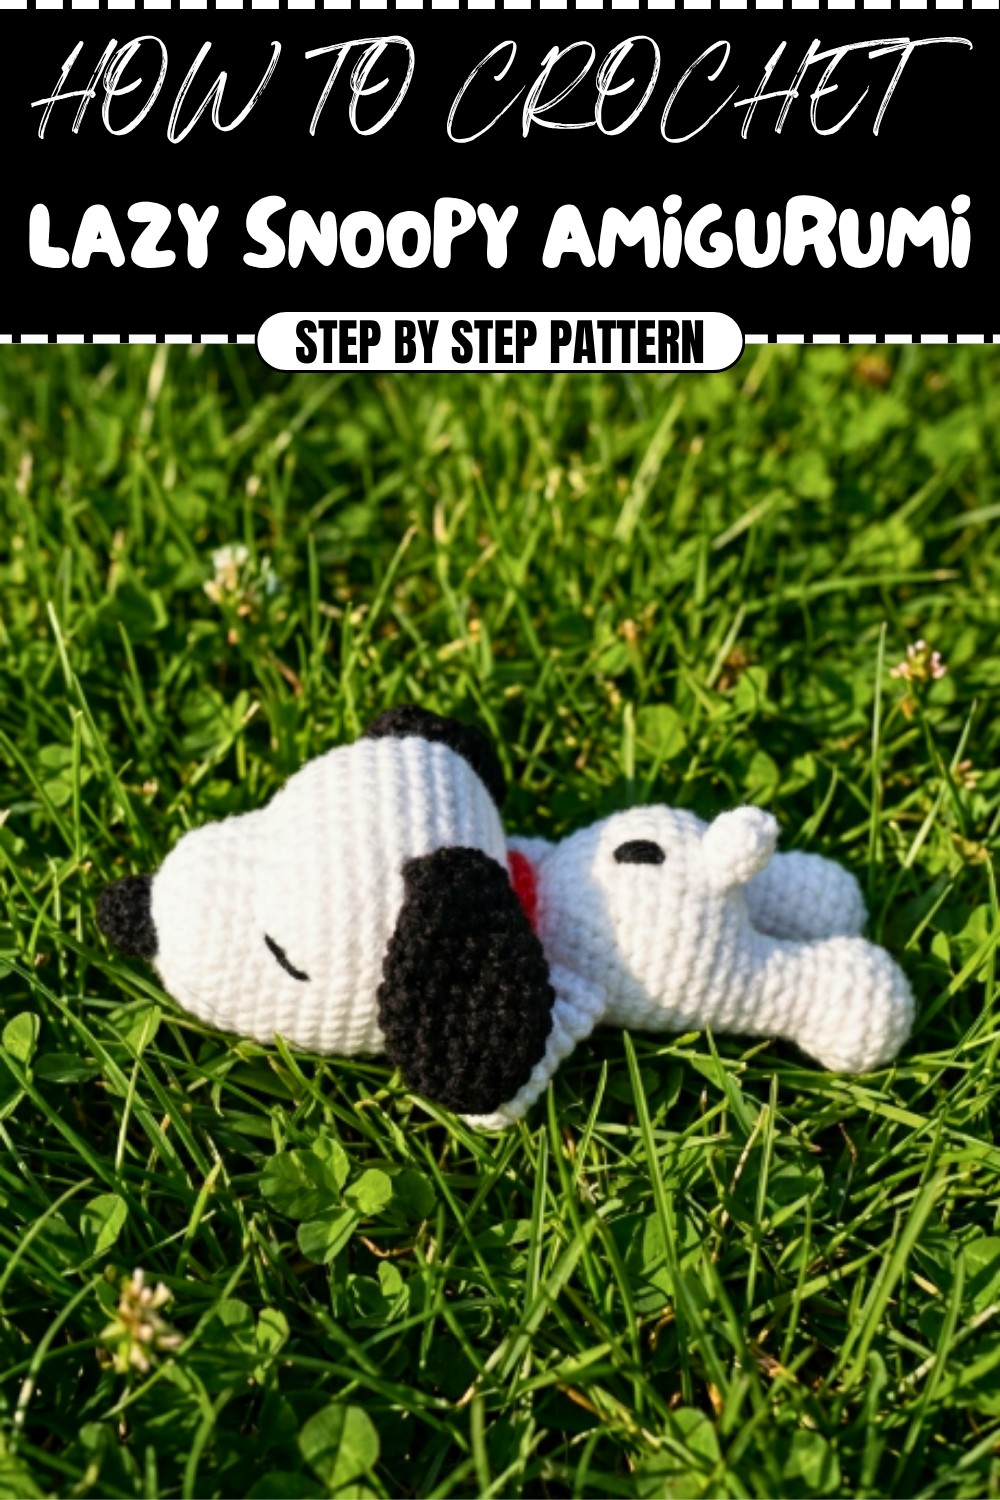
Free Lazy Snoopy Amigurumi Pattern for Dog Lovers
Enjoy relaxed cartoon charm with Free Crochet Lazy Snoopy Amigurumi Pattern featuring laid back character appeal and adorable resting pose.
Sometimes finding a crochet pattern that's both simple and charming can be a challenge, but the Free Crochet Lazy Snoopy Amigurumi pattern wonderfully breaks that mold. This project brings Snoopy’s famously relaxed personality to life with soft, rounded shapes and a cozy, plush texture that invites cuddles or display. Working with medium-weight, soft yarn enhances these comforting features, giving the finished piece a velvety feel that highlights the neat stitches.
Perfect for crocheters with a bit of experience, this pattern uses basic techniques like single crochet in rounds, along with increases and decreases to shape Snoopy’s laid-back form. A helpful trick is to keep stitch markers handy to follow your progress and to stuff the amigurumi firmly for a smooth finish. Plus, you can easily customize the size by changing your yarn or hook, or add personal touches like tiny accessories to make your Snoopy unique.
Free Lazy Snoopy Amigurumi pattern with Cozy Sleeping Pose
The idea behind this design comes from the timeless appeal of Snoopy’s easygoing charm, aiming to bring a little bit of joy and nostalgia into your crafting. Choosing yarn that’s soft yet structured complements the stitching, ensuring the shape holds while still feeling inviting.
This Lazy Snoopy amigurumi is an excellent gift for fans of the Peanuts gang or anyone who appreciates cute handmade treasures. Don’t hesitate to get creative with colors and details—your imagination is the limit with this delightful little project!
Crochet Snoopy Amigurumi Pattern
Introduction
This versatile crochet pattern teaches you how to create two adorable Snoopies using the same base design — ideal for both a lying or standing Snoopy figure. Designed with simple yet effective shaping techniques, the pattern combines classic amigurumi elements such as magic rings, single crochet stitches, increases, and decreases. Versatile black and white yarn with optional colored collars allows for customization. Whether you're a beginner eager to learn amigurumi basics or an intermediate crocheter looking for a quick, satisfying project, this pattern is an excellent choice.
Skill Level & Terminology
- Skill Level: Beginner to Intermediate
- Terminology: US crochet terms.
The pattern uses fundamental stitches with some shaping maneuvers typical in amigurumi. Knowledge of magic rings, increasing, decreasing, and sewing pieces together is helpful.
Materials & Tools
- Black and white worsted weight or similar yarn (black for ears, head details; white for body, limbs)
- Small piece red yarn for collar (or any color of your choice)
- 2 mm crochet hook
- Stitch marker
- Synthetic fiberfill stuffing
- Scissors
- Yarn needle for sewing and weaving ends
Gauge
The gauge is flexible but a tight stitch tension is needed for firm stuffing and shape maintenance. A sample of about 10 sc stitches = 4 cm works well with specified yarn and hook.
Abbreviations List
| Abbreviation | Stitch | Description |
|---|---|---|
| ch | Chain | Foundation chain stitch |
| sc | Single crochet | Basic crochet stitch |
| inc | Increase | 2 sc in one stitch |
| dec | Decrease | Single crochet 2 stitches together |
| sl st | Slip stitch | Connecting stitch, often to join rounds |
| st / sts | Stitch / stitches | Singular or plural stitches |
Special Stitch Instructions
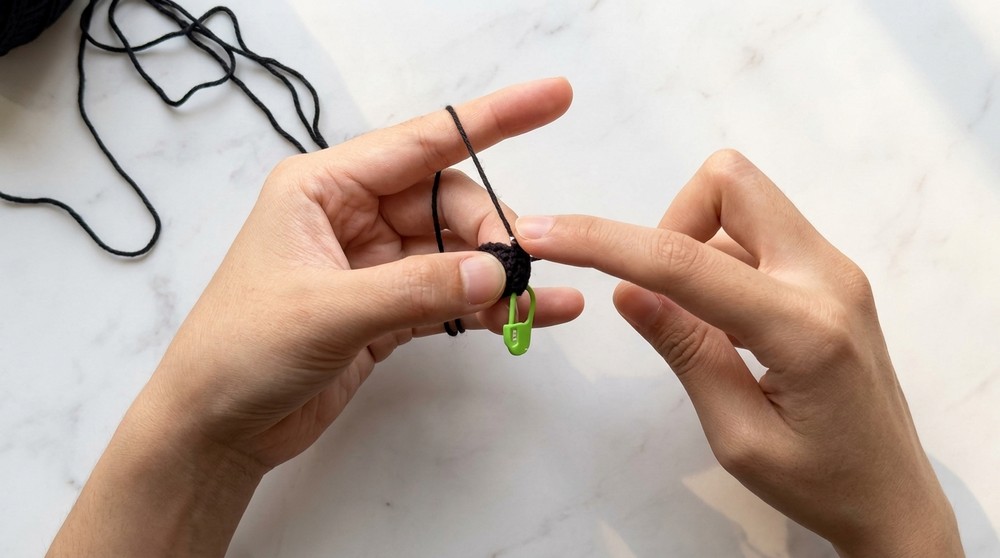
Magic Ring: Start crochet in an adjustable loop so the beginning hole can be pulled tightly closed, perfect for amigurumi.
Folding Ears and Limbs: Certain pieces require folding in half and crocheting both sides together for thickness and shaping.
Finished Size
The finished Snoopy measures approximately 16-18 cm (6.3–7 inches) tall when standing using double-stranded yarn with a 2 mm hook. Size may vary slightly depending on yarn and tension.
The Pattern
Ears (Make 2)
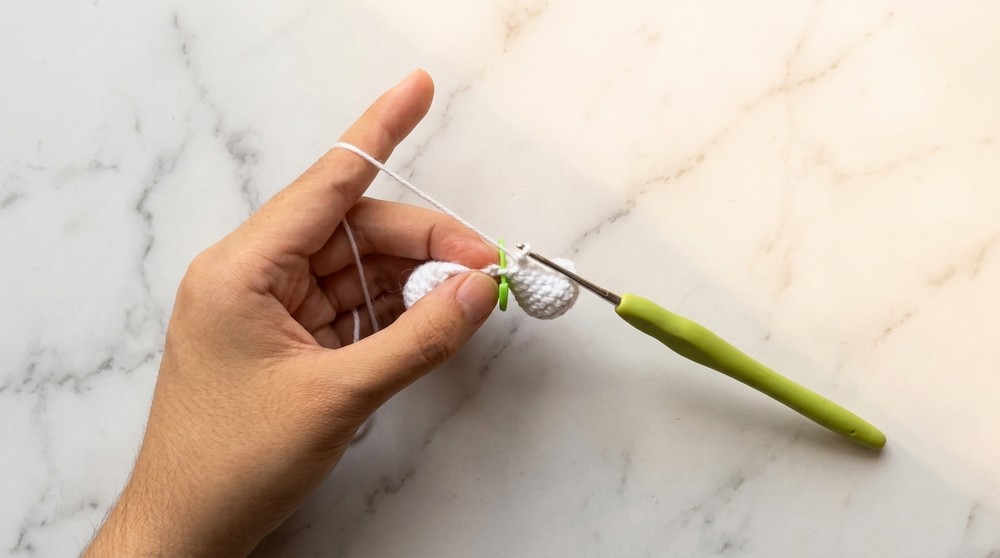
- With black yarn, create a magic ring.
- Round 1: Work 6 sc in the magic ring. (6 sts)
- Round 2: Repeat [1 sc, inc] 3 times. (9 sts)
- Round 3: Repeat [1 sc, inc, 1 sc] 2 times, then [1 sc, inc, 1 sc] again (see video for indexing). (12 sts)
- Round 4: Repeat [3 sc, inc] 3 times. (15 sts)
- Rounds 5-6: 1 sc in each stitch around. (15 sts)
- Round 7 (start decrease): Repeat [3 sc, dec] 3 times. (12 sts)
- Round 8: Repeat [1 sc, dec, 1 sc] 3 times. (9 sts)
- Round 9 (final round): 7 sc, 1 dec (total 8 sts)
- Fold ear in half, join both sides by inserting hook through corresponding stitches on each side, and work 4 sc stitches through both layers to close the ear.
- Finish with a ch 1, cut yarn leaving a tail for sewing.
Make the second ear following the same sequence.
Summary: You have created two thick, charming black ears by shaping and folding a flat crocheted piece, assembling them for dimension.
Nose
- With black yarn, form a magic ring.
- Round 1: 6 sc into ring.
- Round 2: 1 sc in each stitch (6 sts).
- Finish with a slip stitch and cut yarn leaving a tail for sewing.
Your noir nose is simple and flat, fitting right on the face.
Arms (Make 2)
- With white yarn, form a magic ring.
- Round 1: 6 sc in the ring.
- Round 2: Repeat [2 sc, inc] twice. (8 sts)
- Rounds 3-8: 1 sc in each stitch around, for 6 rounds. (8 sts each)
- Fold arm in half and join both sides by crocheting 4 sc through both loops.
- Ch 1, cut yarn leaving long tail for sewing.
- Repeat for second arm.
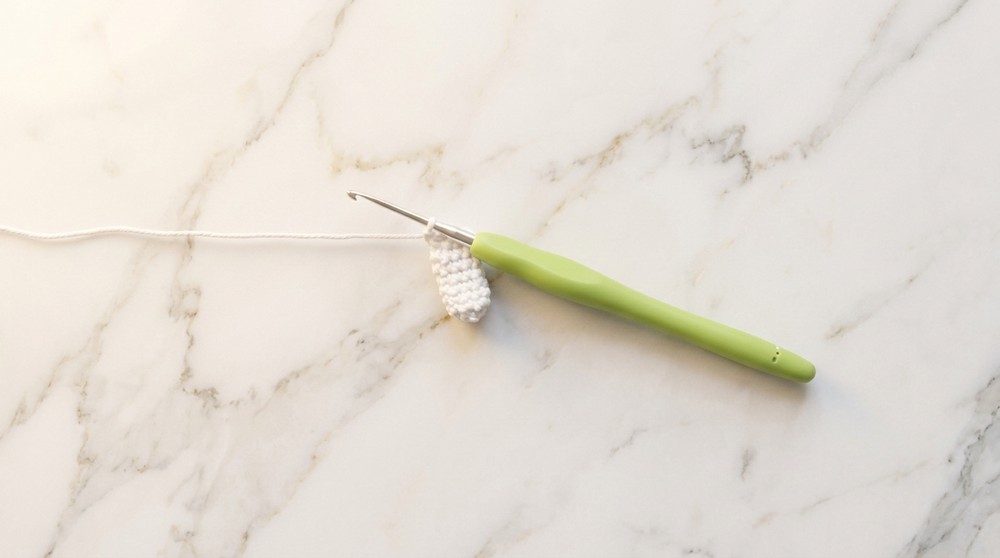
Summary: The arms are tubular and firm with slight rounding by folding and joining, ready to be attached securely.
Tail
- With white yarn, make a magic ring.
- Round 1: 6 sc in ring.
- Rounds 2-3: 1 sc in each stitch around, for 2 rounds. (6 sts)
- Finish leaving tail for sewing.
The tail is a minimal, rounded appendage that attaches neatly to the back.
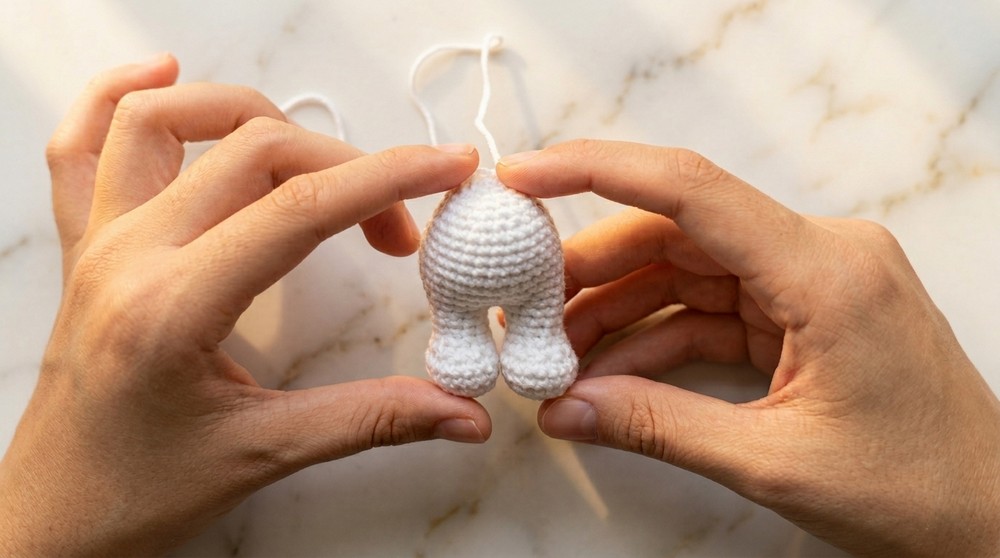
Legs (Make 2)
- With white yarn, create a magic ring.
- Round 1: 6 sc in ring.
- Round 2: Inc in every stitch (12 sts).
- Round 3: Repeat [1 sc, inc] 6 times. (18 sts)
- Rounds 4-5: 1 sc in each stitch around. (18 sts)
- Begin decreases for shaping:
- Round 6: Repeat [3 sc, dec] 3 times. (15 sts)
- Round 7: Repeat [4 sc, dec, dec, 4 sc] (check video for exact dec placement). (13 sts)
- Rounds 8-9: 1 sc in each stitch around. (13 sts)
- Leave tail for sewing.
Make the second leg identically.
Joining Legs
- Do not cut yarn after second leg; instead, crochet 3 ch stitches and attach to the first leg’s side at the opposite point for symmetry.
- From here, continue crocheting in rounds connecting both legs, making 1 sc in each leg stitch and 1 sc in each chain around, for a total of 24 stitches.
- Use a needle if crocheting into chains is difficult.
The joined legs form a solid base for the body.
Body
- Begin by increasing: Repeat [inc, sc] once.
- Work 12 rounds of straight single crochets to form the tummy area.
- Finish this section with 4 repetitions of (inc, sc) sequence.
- Work 5 more rounds of single crochet with no increases or decreases.
- Carefully reposition your stitch marker to center the decreases.
- Begin decreases in synchronization with previous increases to shape the waist by repeating [dec, sc]; repeat twice.
- Work 12 single crochet stitches.
- Next, do the decrease pattern (dec, sc) repeated 3 times.
- Two more straight rounds of single crochets complete the torso height.
- Shape the lower torso with repeating sc followed by dec six times, forming the bottom curve of the body.
Summary: The body's shaping uses increases and decreases around straight rounds to achieve an appealing rounded figure transitioning smoothly from torso to legs.
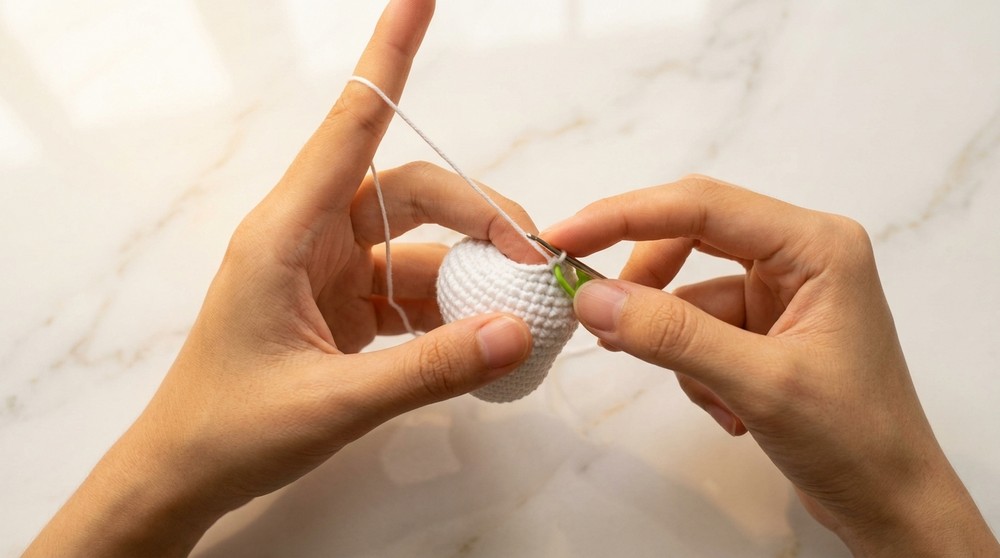
Head
- Start with magic ring and make 6 sc inside.
- Round 2: Increase in every stitch (12 sts).
- Round 3: Repeat [1 sc, inc] 6 times (18 sts).
- Round 4: Repeat [1 sc, inc, 1 sc] 6 times (27 sts).
- Rounds 5-8: Crochet straight single crochet rounds (27 sts).
- Begin face shaping by working 8 sc, then 8 increases evenly spaced.
- Follow with a sequence of 8 sc, 1 sc, inc repeated 8 times, increasing head size further.
- Crochet 5 straight rounds of sc.
- Start closing face with repeated 8 sc, 1 dec patterns 4 times (36 sts).
- Then 1 round of straight sc stitches.
- Next, alternate 4 sc, 1 dec repeated 6 times.
- Prepare for decreases by moving the stitch marker appropriately for symmetrical shaping.
- Work six repetitions of sc, dec sequences to begin contouring the face.
- Fill head firmly with stuffing for shape retention.
- Continue decreasing with six continuous dec stitches followed by finishing low stitches for a neat close at 12 sts remaining.
Summary: The head is carefully shaped by adding volume then tapering with decreases while stuffing to achieve a round and proportional head.
Assembly & Finishing
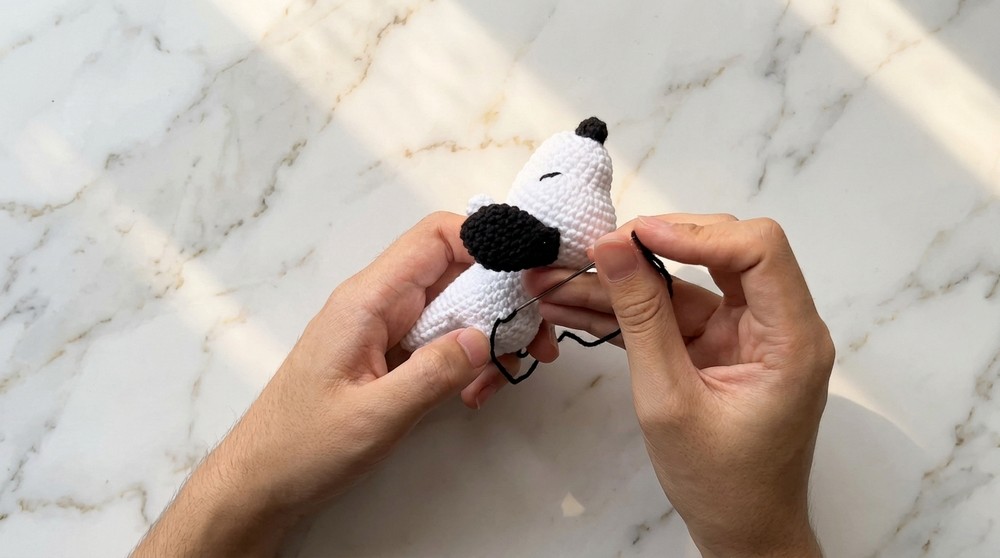
- Sew the nose centered on the front of the head using the tail left on the nose.
- Position ears symmetrically on either side of the head: mark with pins before sewing securely.
- For eyes, embroider on round 9, offset two stitches from the center diagonally for a sleeping look.
- Attach the head to the body by sewing all around the base evenly.
- Pin and sew arms on either side of the body at shoulder height.
- Attach tail near the lower back where body begins curvature.
- Embroider back patches with black yarn by stitching small spots on the back.
- With a small piece of red yarn, crochet or tie a collar, wrapping and knotting it around the neck.
- Weave in all yarn ends neatly.
Final Notes
This Snoopy amigurumi pattern combines essential crochet techniques with fun shaping and detailing to create lovable characters. Its modular pieces allow versatility: lay your Snoopy down to rest or sew the head closed with six decreases for a standing pose. Make use of stitch markers for careful counting; maintain tight but flexible tension for shape. Use a yarn needle for difficult chain stitching during leg joining. Lastly, customize color accents and embroidery as you like!