
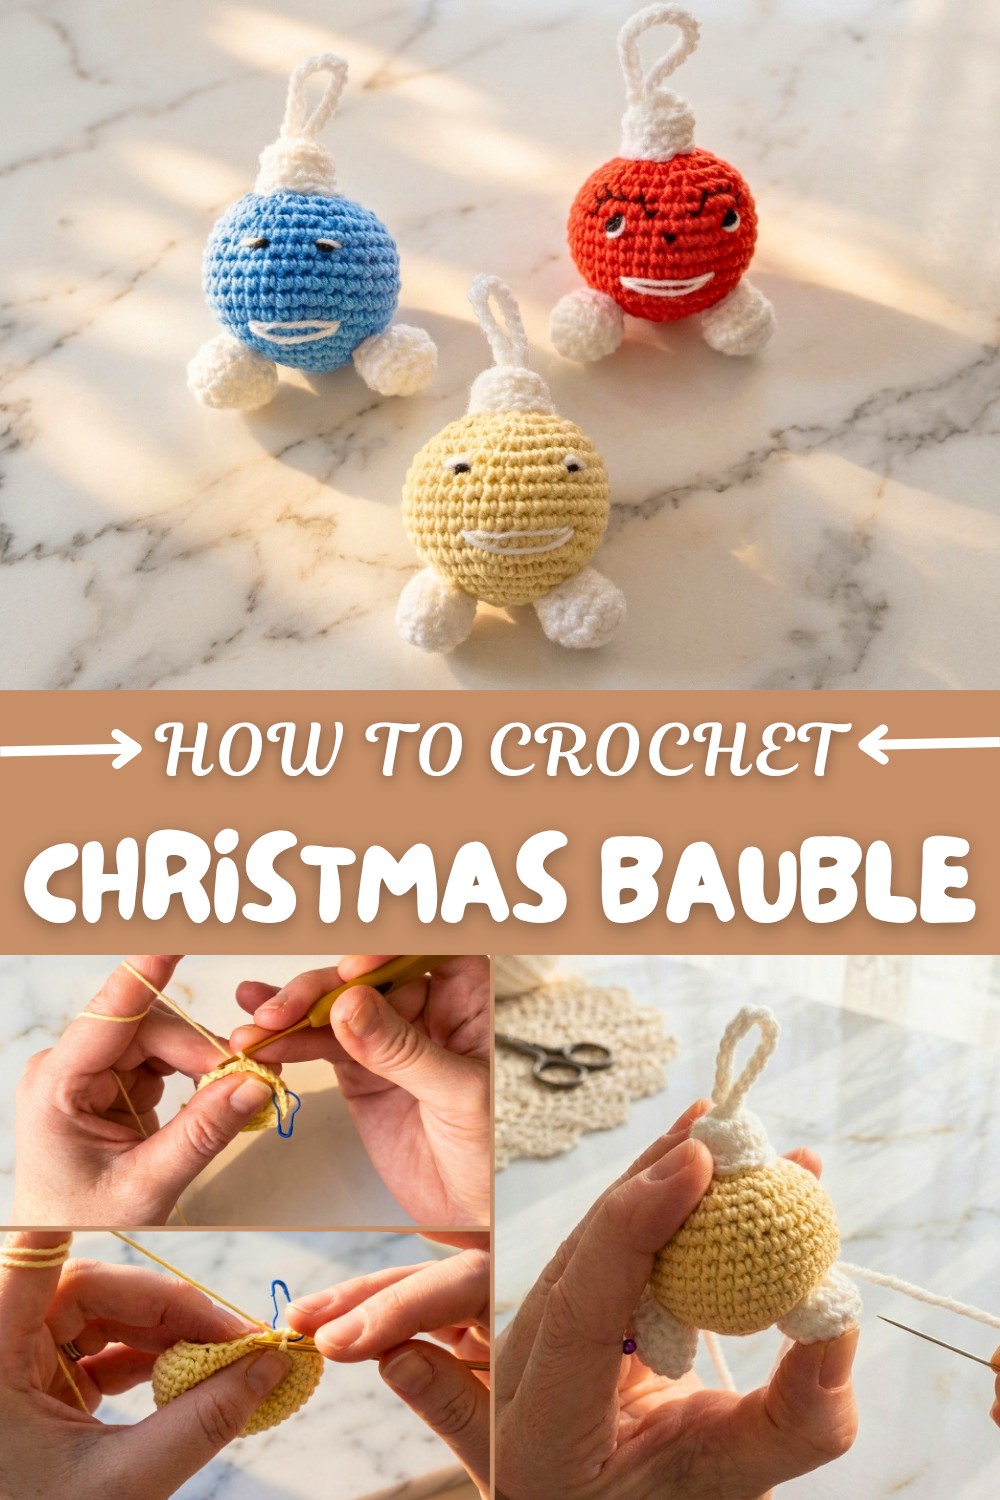
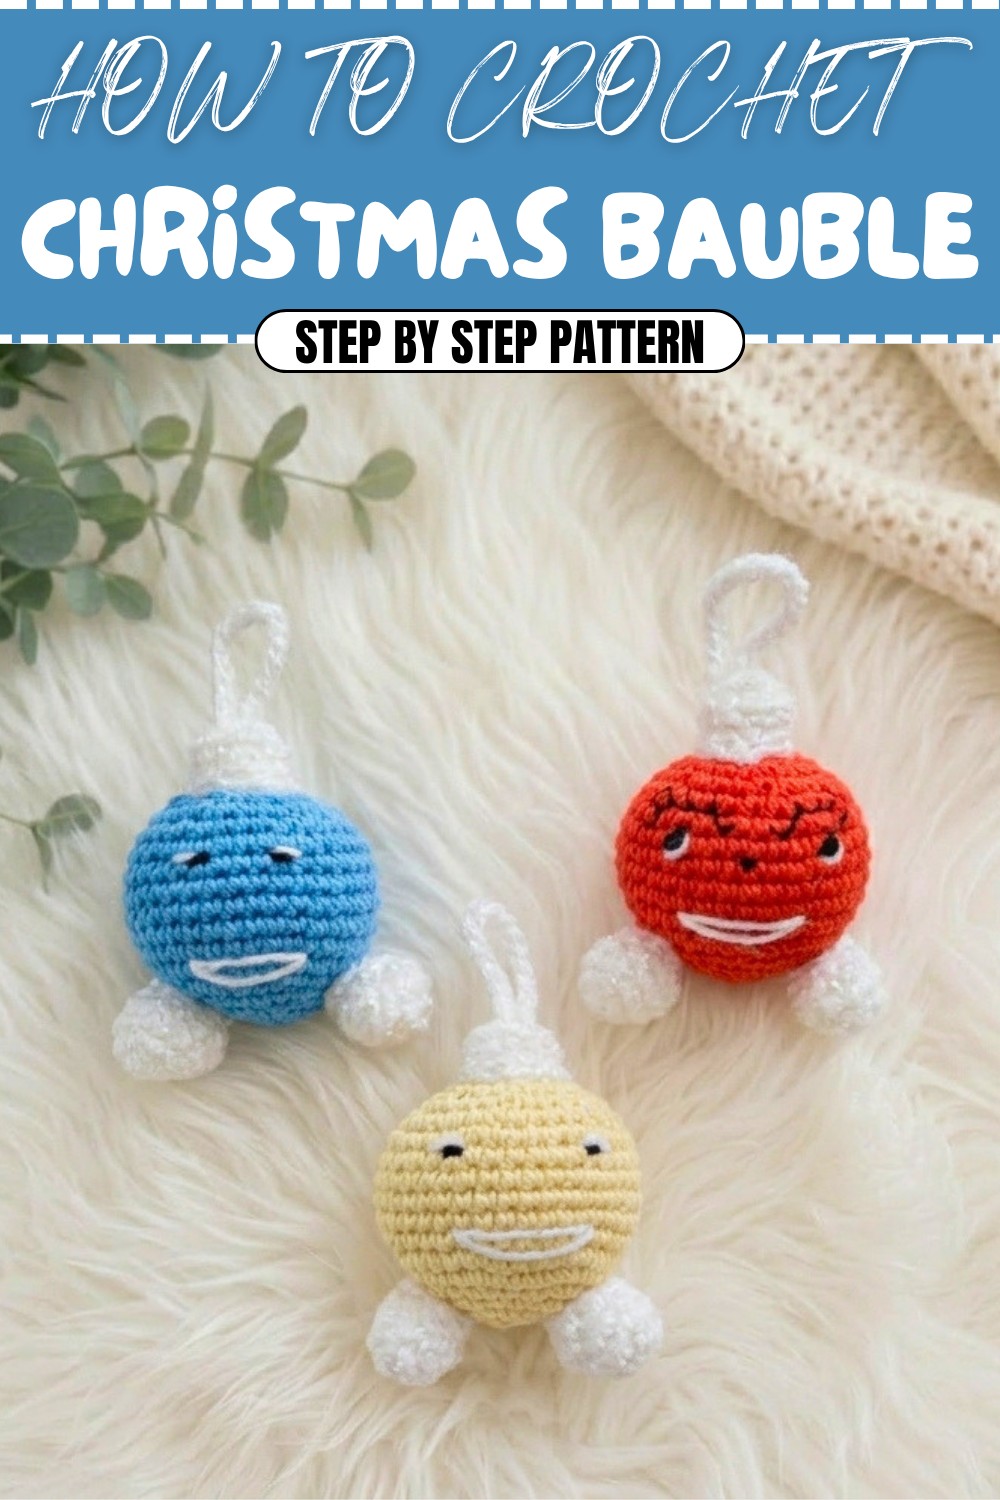
How to Free Crochet Christmas Bauble Pattern for Beginners
Upgrade your holiday style with a free crochet Christmas bauble pattern that adds modern charm and sparkle to any space.
Crocheting holiday decorations is truly a joyful and fulfilling experience, especially when creating something as adorable and customizable as Christmas baubles! If your Christmas tree decked out with cheerful, handmade ornaments that you’ve crocheted yourself. This pattern features playful little baubles with faces and feet, though you can leave the pattern simple for a classic round decoration. Using vibrant colors like yellow for the bauble body, white for accents, and black for the features, you can match these ornaments to your holiday theme or get creative with a rainbow array. What makes this design stand out is the use of the magic circle technique to create seamless, polished shapes and basic single crochet (sc) stitches. These same stitches can also be used in projects like amigurumi figurines, keychains, and appliqués!
Starry Nights Free Crochet Christmas Bauble Pattern Festive Flair
The beauty of this pattern lies in the small, thoughtful details. You’ll find yourself smiling at every step while adding the tiny face, stitching the little feet into place, or attaching the top hanger loop. It’s a perfect pattern for beginners, with basic decreases and increases forming the round shaping, making it a satisfying and straightforward crochet. You can experiment with different yarn textures, embellish them with beads, or even personalize them with initials for unique keepsakes or gifts.
Other Things You Can Crochet Inspired by This Pattern
If you’ve mastered this, your creativity can take you in so many directions:
- Mini amigurumi characters with faces and accessories.
- Hanging decorations like tiny plants, fruit, or hearts.
- Gift tags or handmade bag charms with similar stitching techniques.
- Baby mobiles featuring colorful baubles or playful shapes.
What You'll Learn from This Pattern
This pattern guides you through several useful crochet techniques, even if you’re just starting out:
- How to create a magic circle, which is a foundational skill for amigurumi and circular crochet projects.
- Increasing and decreasing stitches for shaping round objects like toys or baubles.
- Basic assembly techniques, such as sewing parts together while hiding stitches for a clean finish.
- Embroidery basics to add simple facial features with yarn.
Reasons to Love This Pattern
- Beginner-friendly, no complex stitches required!
- Customizable with colors, features, or even extra accessories.
- Perfect as festive handcrafted gifts or tree decorations.
- Great way to practice amigurumi skills in a simple, fun way.
Crochet Christmas Bauble Pattern
This beginner-friendly crochet pattern includes easy instructions for creating cheerful Christmas baubles, complete with a smile, feet, and a loop to hang on your tree. You can choose to make them with or without the face and feet for a more traditional bauble look. The project uses simple single crochet stitches, decreases, and increases worked in continuous rounds.
This pattern is perfect for beginners to intermediate crocheters who are familiar with basic crocheting techniques like the magic circle, single crochets, and increases/decreases.
Skill Level & Terminology
Skill Level: Beginner to Intermediate
Crochet Terms Used: US Terminology
Materials & Tools
- Yarn: DK-weight yarn (Main color for bauble body, white for accents, and black for facial features)
- Hook: 2.0 mm crochet hook
- Other Tools: Stitch marker, yarn needle, scissors
- Stuffing: Fiberfill or leftover yarn ends
Gauge
Gauge is not critical for this project, but stitches should be tight enough to prevent stuffing from poking through.
Abbreviations List
- ch: Chain
- sc: Single crochet
- inc: Increase (2 sc in the same stitch)
- dec: Decrease (single crochet two stitches together via the front loops)
- sl st: Slip stitch
- rnd(s): Round(s)
Special Stitch Instructions
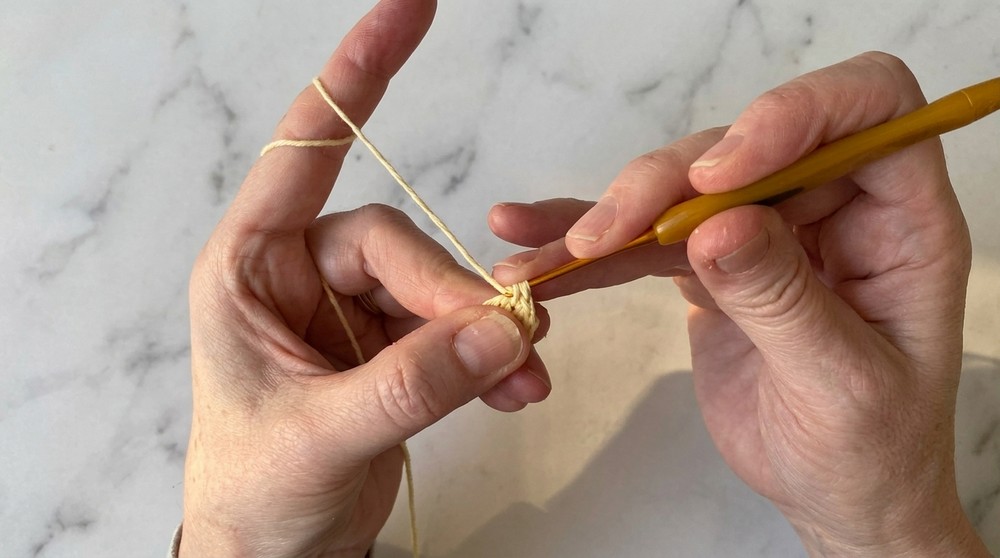
- Magic Circle: Wrap yarn around fingers to create a loop. Work the first round of stitches into the center of the loop, then pull the tail to close.
- Invisible Decrease: Insert hook into the front loop only of the next two stitches. Yarn over, pull through both loops, yarn over, pull through remaining loops on hook.
Finished Size
Approximately 2.5 inches in diameter after stuffing.
The Pattern
Bauble Body (Main Color)
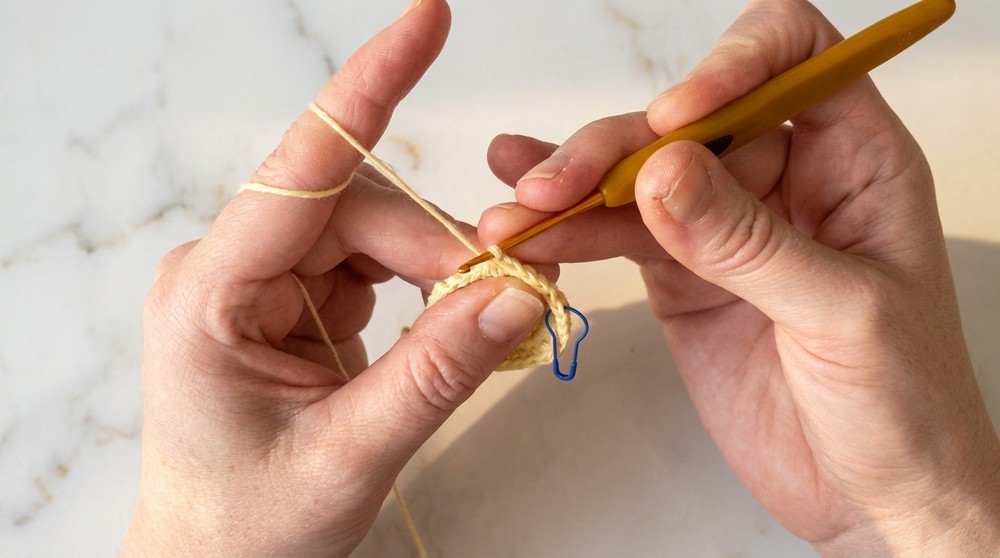
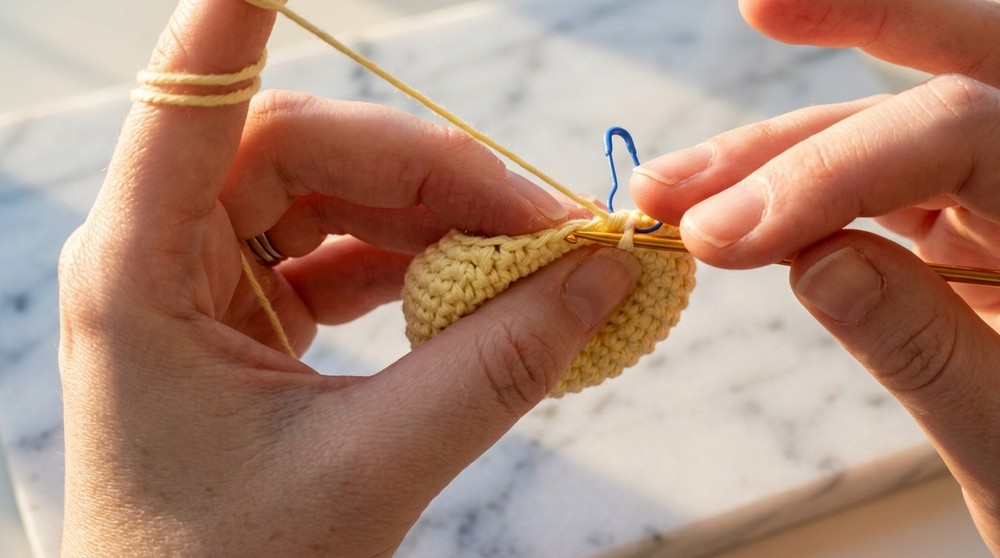
R1: Create a magic circle and make 6 sc inside the loop. Pull tight to close. Place a stitch marker in the last stitch.
R2: Inc in every stitch (12 sts).
R3: (1 sc, inc) repeat around (18 sts).
R4: (2 sc, inc) repeat around (24 sts).
R5: (3 sc, inc) repeat around (30 sts).
R6: (4 sc, inc) repeat around (36 sts).
R7–R12: Sc evenly around for 6 rounds (36 sts per round).
R13: (4 sc, dec) repeat around (30 sts).
R14: (3 sc, dec) repeat around (24 sts).
R15: (2 sc, dec) repeat around (18 sts). Stuff firmly at this point.
R16: (1 sc, dec) repeat around (12 sts).
R17: Dec around (6 sts). Break yarn, leaving a tail for sewing. Thread yarn needle and insert through the front loops of the final 6 stitches to close the hole. Fasten off securely.
Tip for Beginners: Work slowly during the decrease rounds, as the stitches get tighter. Stuffing helps maintain shape and volume!
Bauble Top
R1: Create a magic circle and make 6 sc inside the loop.
R2: Inc in every stitch (12 sts).
R3: Working in back loops only, sc around (12 sts).
R4: Sc evenly, working in both loops (12 sts).
Sl st into next stitch. Break yarn, leaving a long tail.
Hanging Loop:
- Attach yarn and ch 16 to create a loop. Fasten off and tie the ends securely. Pull the loop through the center of the bauble top. Knot firmly and use tails to stuff the bauble top lightly.
Tip for Beginners: Double-check the loop is evenly spaced at the center to avoid a tilted bauble when hanging!
Feet (Make 2)
R1: Ch 6. Starting in the 2nd ch from hook, work 4 sc, then 3 sc in the last ch. Work around the opposite side of the foundation chain: 3 sc, then 3 sc in the last stitch.
R2: (Inc, 1 sc) repeat around.
R3: (1 sc, dec) repeat around.
R4: (Dec, 1 sc) repeat around. Break yarn and leave a long tail for sewing.
Stuff the feet lightly and sew onto the bottom of the bauble.
Tip for Beginners: Position the feet symmetrically and use a pin to secure them before sewing.
Facial Features
Eyes:
- Use white yarn to create two stitch slits for the whites. Position them 2–3 stitches apart.
- Add black pupils by threading yarn and stitching lightly for definition.
Mouth:
- Thread white yarn and stitch a slight curve between the feet using simple stitches.
Sew loose ends securely into the stuffing inside the bauble.
Tip for Beginners: Use pins to mark facial placements before embroidering for a balanced, cohesive look.
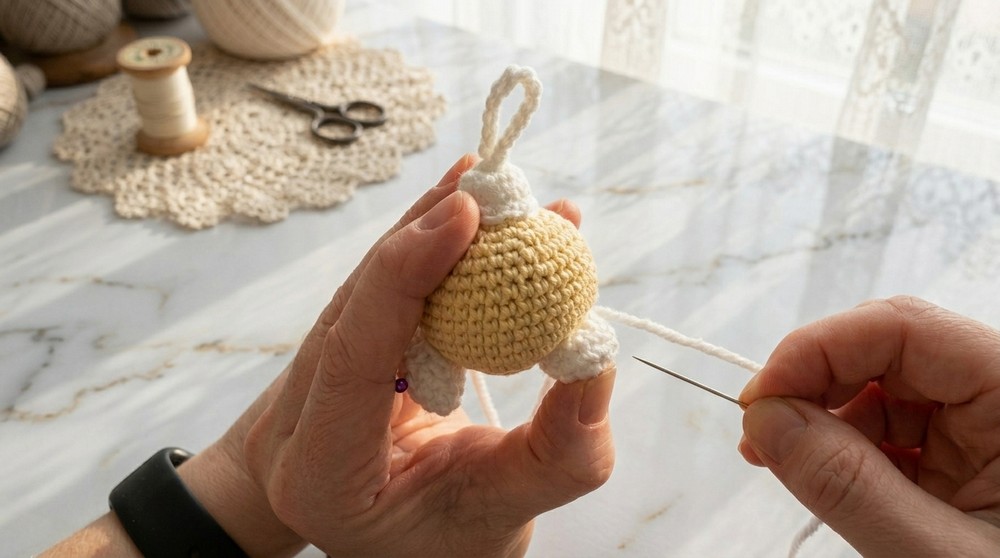
Assembly & Finishing
- Attach the Top: Position the bauble top over the decreases. Use the yarn tail to stitch it into place. Insert your needle through the bauble top and into the body without allowing stitches to show.
- Sew Feet: Align feet at equal distances around the bottom of the bauble. Take care to hide stitches under the body as you sew.
- Add Face: Embroider the eyes and mouth with white and black yarn as desired.
- Secure Ends: Thread all loose ends into the bauble to keep them hidden.
How to Start & Stitches Used
To begin this project, you'll need to know how to make a magic circle and use basic single crochet, increases, decreases, and slip stitches. These stitches are repeated throughout the bauble construction, ensuring a cohesive look. The pattern starts from the base of the bauble and works outward, assembling the top, feet, and facial features for the final piece.
Enjoy making these adorable baubles to decorate your tree or give as handmade gifts!