
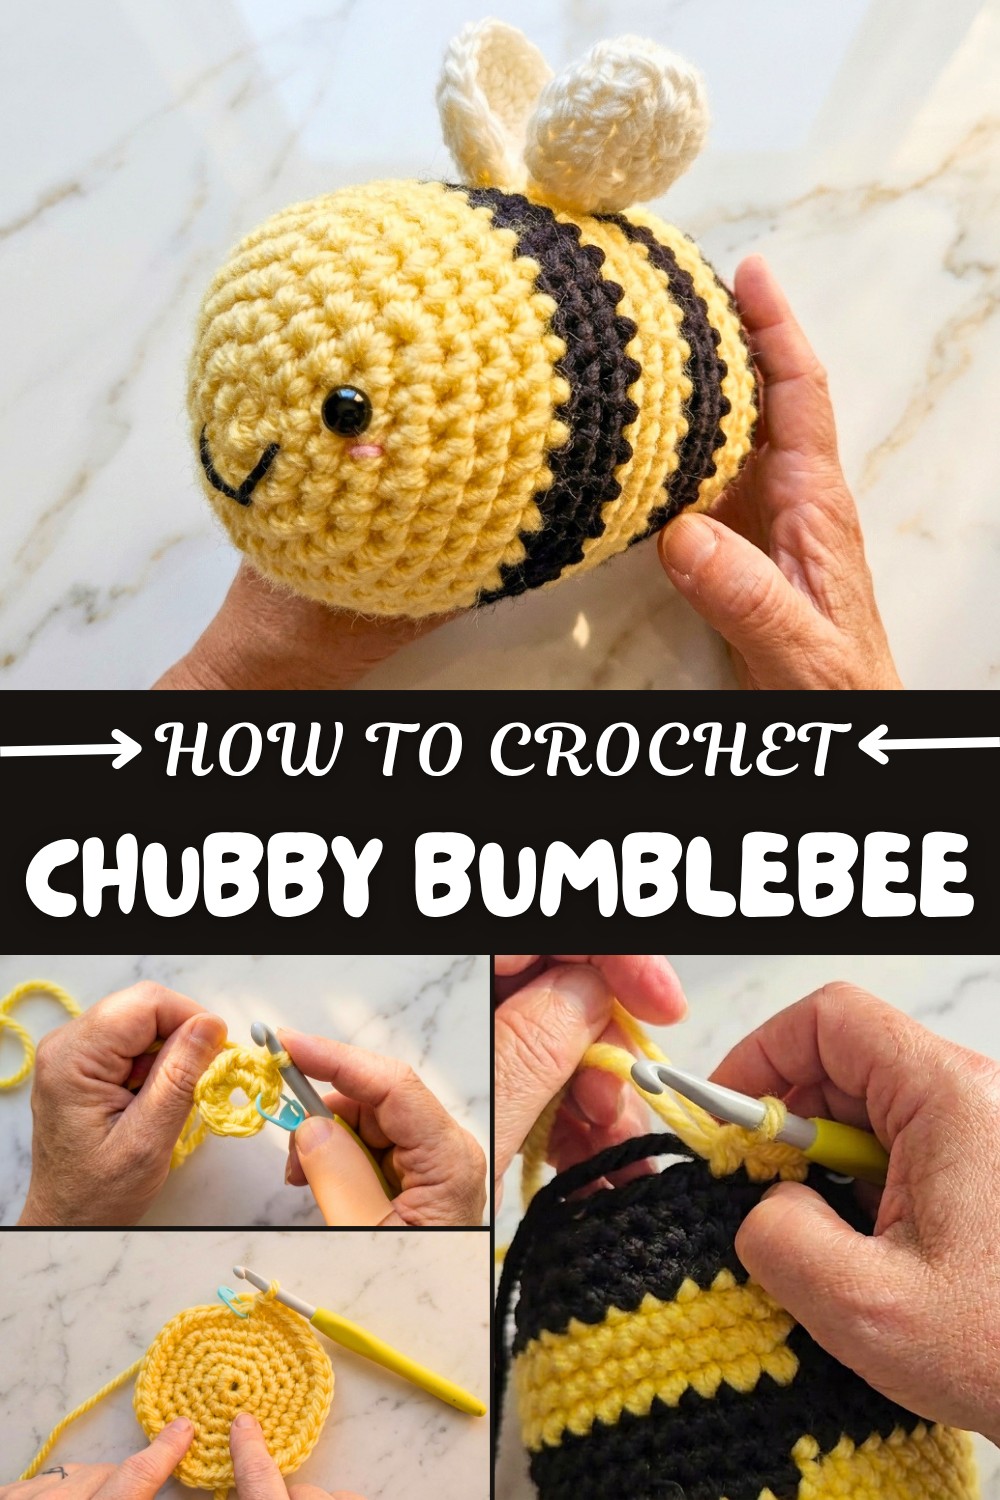
Free Crochet Bumblebee Pattern – Kawaii Bee Amigurumi
Create your own adorable chubby crochet bumblebee with this free pattern perfect for beginners looking for a fun quick and satisfying project to enjoy.
Taking on a playful crochet project is always a treat, especially when the finished result is a character with personality. After spending an afternoon with this Free Bumblebee Pattern, it’s clear how much joy a soft, squeezable bee can offer. This pattern guides crafters through the steps for making a plush bumblebee, complete with expressive features, happy or sad faces, your choice. Created with thick, cozy yarns in yellow, black, and ivory, and a touch of pink and black for the face details, this bumblebee amigurumi is simple enough for slow crocheters, speedy makers, and anyone wanting a quick, cheerful creation.
Quick & Fun Free Crochet Bumblebee Plushie Pattern
The bumblebee stands out for its chubby, round shape and fluffy texture, built with tight stitches to keep it plush and secure. Signature stripes alternating black and yellow are joined by a pair of small, round wings in ivory. The bee’s face can be personalized with a stitched smile and rosy cheeks, giving each project its own character.
Surface features are placed with care and safety in mind, especially for gifts to children. The main body uses single crochet stitches worked in the round, with invisible decreases for a neat finish. Rows are alternated to create bold stripes, and simple magic rings start the wings. Details like eyes and embroidered mouth add extra charm and uniqueness.
This plush bee amigurumi makes a whimsical gift, collectible, or decorative accent for desks, bags, or shelves. Its handmade nature and cheerful look are sure to warm hearts or brighten spaces.
Beginners and intermediate crocheters alike will find the pattern approachable thanks to clear increases, decreases, and basic amigurumi techniques. Anyone seeking a quick, huggable crochet project or a friendly character for their collection will connect with this bumblebee pattern—it invites creativity and guarantees smiles for makers and receivers.
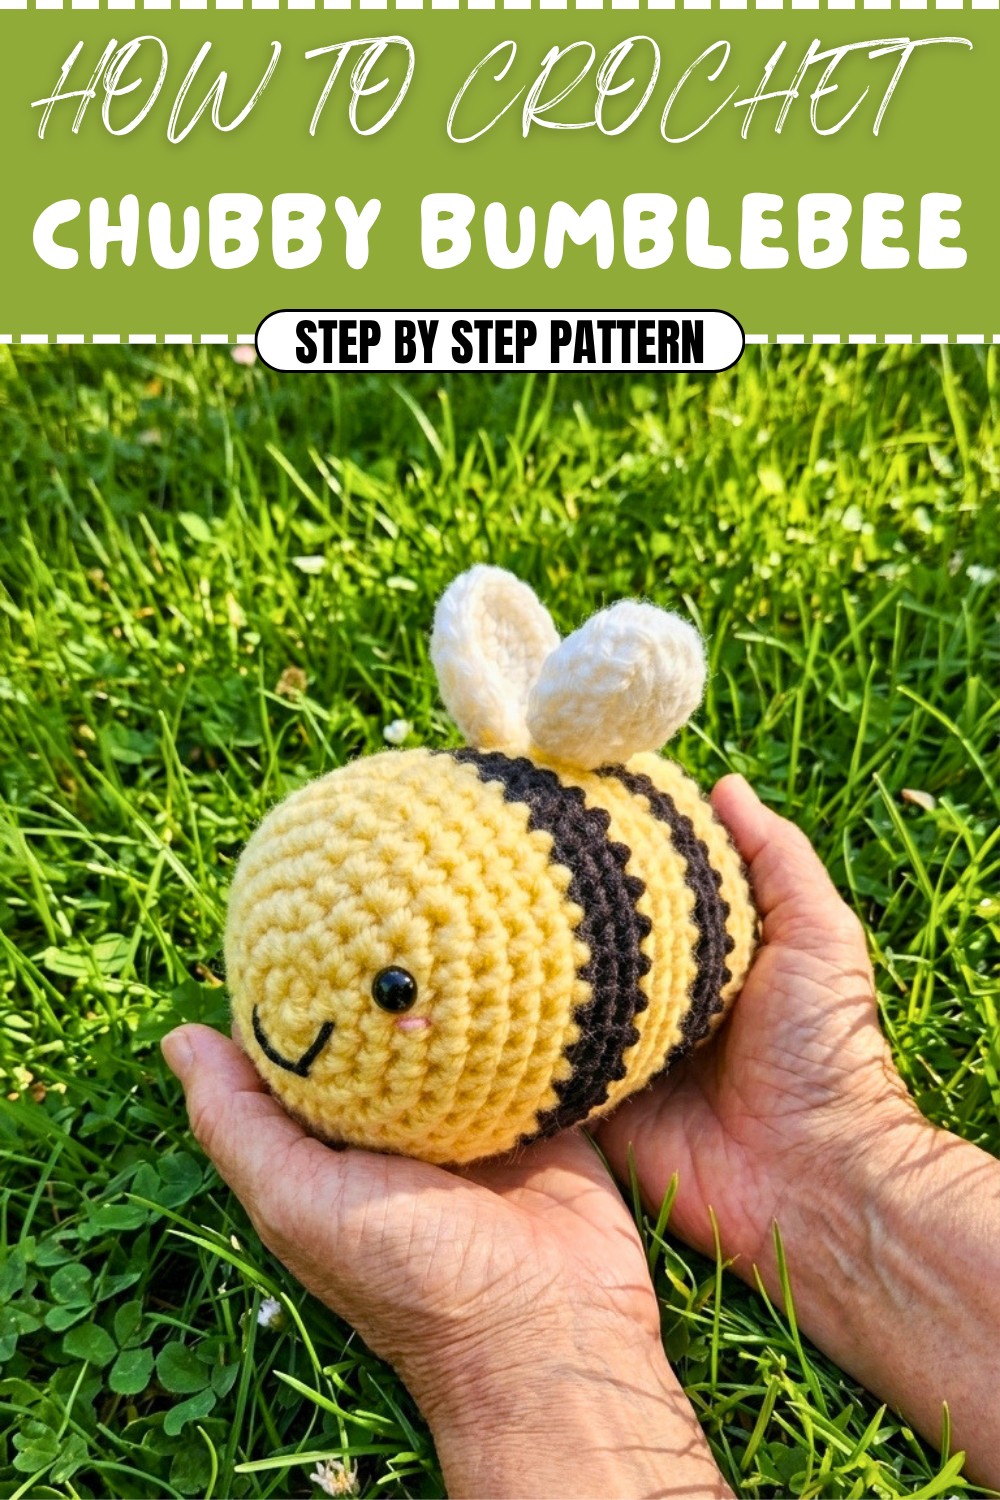
Fluffy Chubby Bumblebee Crochet Pattern
Bring joy with this adorable plush amigurumi bumblebee! With a chubby, squishy body, bold stripes, and small wings, it's perfect for gifts, decor, or a toy. This detailed step-by-step pattern is ideal for beginners and anyone who wants a fast, fun make.
Before You Start
- Watch the video tutorial if you need extra support.
- Familiarize yourself with the magic ring and color changes in the round.
- Have all your supplies ready: yarn, hook, darning needle, stuffing, stitch marker, and safety eyes/embroidery thread.
- Work in a well-lit, comfortable space to easily see your stitches.
- Plan your stripe color sequence before starting.
Pattern Notes
- The bee is worked in the round from the top down, with seamless color changes for the stripes.
- Use invisible decreases for neater shaping and finishing.
- Wings are worked separately and sewn on.
- All stitches are standard US crochet terms.
- Optionally use safety eyes, but embroider eyes for child safety.
- A stitch marker is essential to keep track of rounds.
How I made the Crochet Pattern?
- Started body with a tight magic ring and single crochet increases for a round, dense shape.
- Used staggered color changes to create bold, clean bee stripes.
- Added facial features and embroidered details before closing the body.
- Made small wings using rounds of hdc and dc stitches.
- Assembled by weaving and sewing securely for a professional look.
Skill Level
Beginner to Easy
Finished Size
Approx. 5"–6" (13–15cm) long, 3"–4" (8–10 cm) tall (varies based on yarn and stuffing).
Materials
- Super bulky (#6) weight yarn: yellow, black, and white/ivory
- Small amount of pink and black acrylic yarn for cheeks and mouth
- 7 mm crochet hook (or size to match yarn)
- 10 mm safety eyes (or black yarn for embroidered eyes)
- Stitch marker
- Polyester fiberfill stuffing
- Yarn/darning needle
- Scissors
Measurements / Sizing
- Bee body: approx. 5" tip to tail when stuffed
- Wing: approx. 1.5–2" diameter
Gauge
- Not critical, but work tightly so that stuffing doesn’t show (approx. 4 sc x 4 rows = 2”/5cm in super bulky yarn).
Stitch Abbreviations
- MR – magic ring (magic circle)
- sc – single crochet
- inc – increase (2 sc in same stitch)
- dec – decrease (sc 2 together; use invisible decrease for best result)
- hdc – half double crochet
- dc – double crochet
- sl st – slip stitch
- st – stitch
Special Stitches
Invisible decrease (inv dec):
Insert hook in front loop of next two stitches, yarn over and pull through both front loops, yarn over and pull through remaining loops.
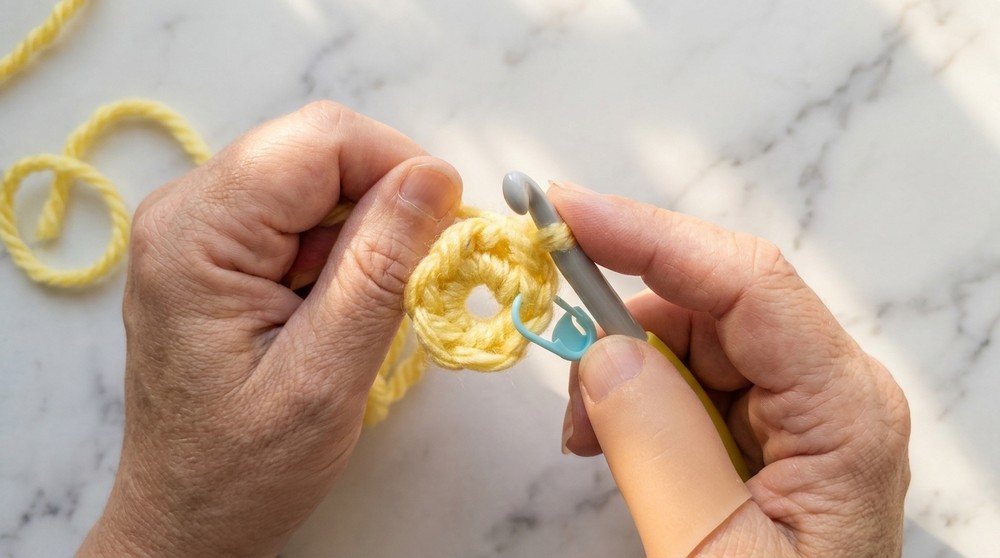
Magic ring:
Make a loop, hold working yarn, insert hook into loop, yarn over and pull up, then sc required number of stitches into loop.
The Pattern!
Bee Body
- With yellow yarn:
- MR, 6 sc into ring (6)
- Inc in each st around (12)
- [1 sc, inc] repeat around (18)
- [2 sc, inc] repeat around (24)
- [3 sc, inc] repeat around (30)
- [4 sc, inc] repeat around (36)
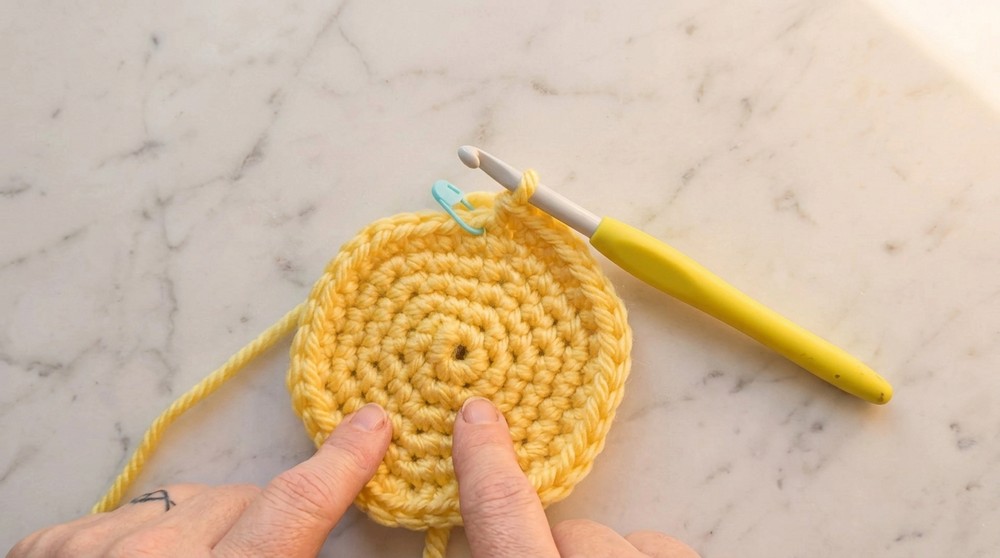
Body is rounding out—use a stitch marker to keep your place.
- 3 rounds sc even:
- sc in each st around for 3 rounds (36)
At this stage, secure your working loop for facial embroidery and eye placement.
Face Placement & Embroidery
- Insert safety eyes between rounds 3 and 4, typically 4–5 stitches apart, or embroider with black yarn.
- Embroider smile using black yarn below eyes.
- Embroider pink cheeks under eyes.
Bee Stripes
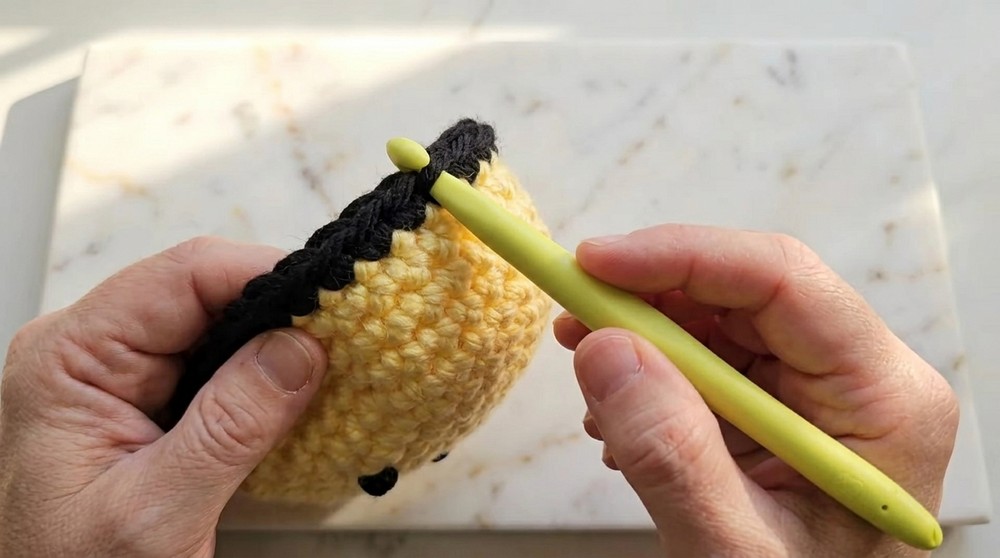
- Join black yarn for stripe:
- sc in each st around for 3 rounds (36)
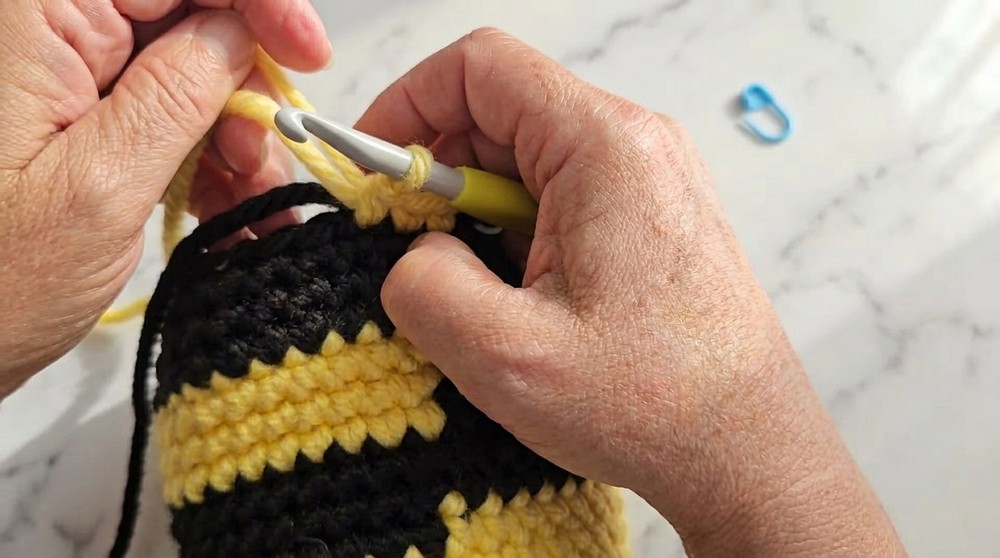
- Switch to yellow, 3 rounds sc in each st (36)
- Switch to black, 3 rounds sc in each st (36)
- Switch to yellow, 3 rounds sc in each st (36)
- Switch to black, 3 rounds sc in each st (36)
- Switch to yellow, 3 rounds sc in each st (36)
Repeat the sequence for as many stripes as desired (traditionally: black, yellow, black, yellow, black).
Shaping for Base (Decreases)
- [4 sc, inv dec] repeat around (30)
- [3 sc, inv dec] repeat around (24)
- [2 sc, inv dec] repeat around (18)
- Stuff bee firmly at this stage!
- [1 sc, inv dec] repeat around (12)
- inv dec around (6)
- Cut yarn, leaving a tail.
Thread tail through front loops of last 6 sts, pull to close. Weave in and trim excess yarn.
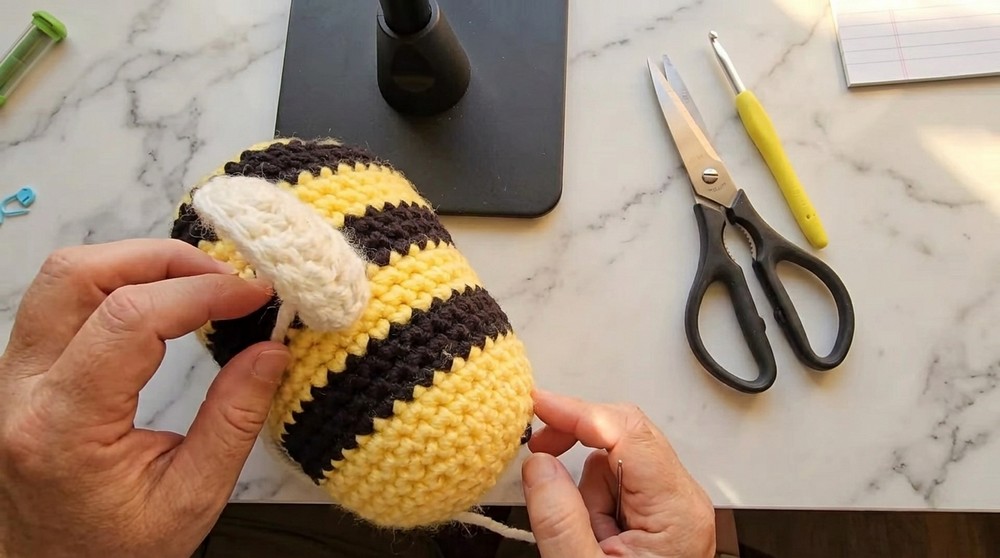
Wings (Make 2)
- With white/ivory yarn:
- MR, 6 sc in ring (6)
- 2 hdc in each st around (12)
- [1 dc, 2 dc in next st] repeat around (18)
- Fasten off, leaving a tail for sewing.
Wings should be a flat round "puff". If you prefer flatter wings, block them gently.
Assembly & Finishing
- Weave in all yarn ends on bee body securely.
- Use darning needle and long tail to sew wings along the center of the body, close together on top at the first black stripe from the head.
- Shape and flatten the wings as desired before attaching.
- Ensure all ends are hidden inside body.
- Adjust stuffing for a round, plump bee.
- If desired, gently brush the bee for extra fluffiness.
Solution of Problem
- Gaps in rounds/yarn too loose: Use a smaller hook or tighter tension.
- Stripes are not crisp: Be precise at each color change—always pull new color through the last two loops of previous stitch.
- Bee doesn’t sit flat: Adjust stuffing and shape with your fingers.
- Eyes loose/unsafe for children: Embroider eyes and smile with yarn.
What you can make by using these stitches
- Other plush insects: ladybugs, caterpillars, wasps (just change colors!)
- Plush fruits or round animals
- Keychain bees (use thinner yarn)
- Bee pillows (scale up the pattern)
- Bees for mobiles, buntings, or amigurumi collections
Now you have your own fluffy chubby bee! Change colors for creative stripes, experiment with facial expressions, or add antennae. These bees make wonderful gifts, desk pals, or nursery decor. Happy hooking from Whip and Chain! Tag your makes—bee proud!