
Free Crochet Pokeball Amigurumi Pattern to Try
Keep your hands busy with this Free Crochet Pokeball Amigurumi Pattern, an easy-to-follow guide for beginners to craft a fun and unique collectible.
You don't need advanced crochet skills or lots of experience to create an eye-catching and themed crochet project. This Free Crochet Pokeball Amigurumi Pattern is designed with accessibility in mind, making it perfect even for beginners who want to craft their own plush toy with recognizable style.
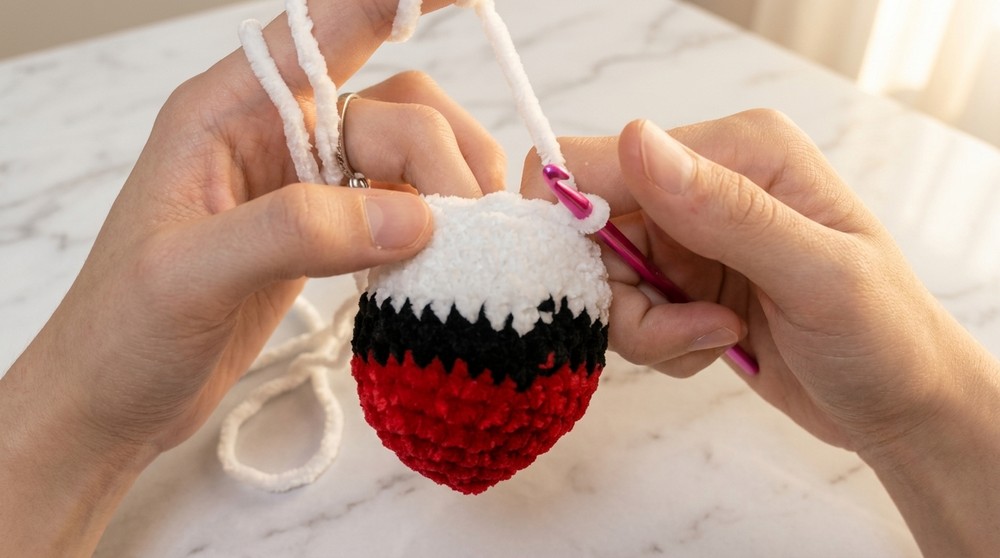
The finished Pokeball features a smooth, round shape and stands out with its classic red top, crisp white bottom, and a striking black band at the center. The highlight is the raised center button, which gives the Pokeball its authentic, playful look—instantly familiar to Pokémon fans of all ages. The soft and squeezable texture, thanks to the filling fiber inside, makes it ideal as a collectible, display piece, or stress toy.
How to Pokeball Amigurumi Free Pattern– Easy Steps
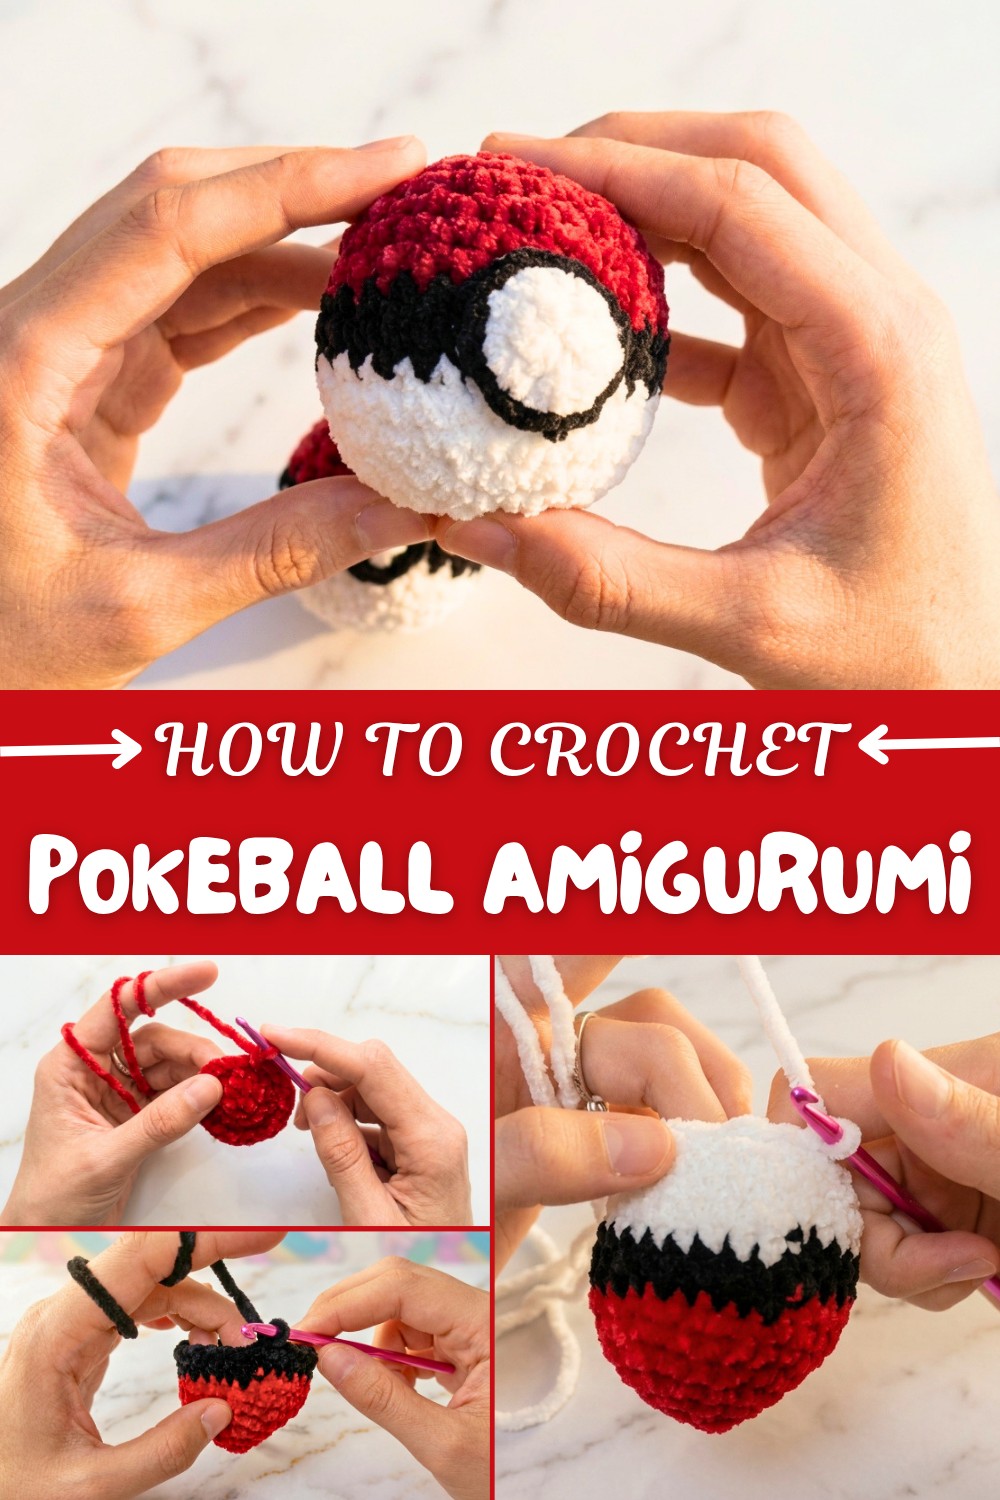
Building this project is clear and straightforward. The main ball is crocheted in the round beginning with a magic circle and using single crochet stitches, making regular increases and decreases to shape the sphere evenly. Simple color changes let you create the three distinctive sections of the Pokeball without confusion; switching from red to black to white is taught in an easy-to-follow way. After the ball is closed, the button is crocheted separately, edged in black for definition, and attached with a few stitches or hot glue for a polished finish.
You’ll acquire core skills as you go like working amigurumi rounds, managing smooth color transitions, and creating neat textured features while building confidence in your crochet abilities. The project is practical too: the Pokeball makes a unique gift, a fun collectible, or a playful desk accessory that highlights your love for both crafting and Pokémon. If you want to make something nostalgic, recognizable, and satisfying without feeling overwhelmed, this project is the perfect place to start.
Pokeball Plush Crochet Pattern
Before You Start
- Read through all instructions before you begin.
- Use a stitch marker to keep track of rounds.
- Work in continuous spiral rounds unless otherwise indicated.
- Change colors carefully for neat transitions.
- Stuff firmly but do not overstuff.
- This pattern is beginner-friendly and uses common amigurumi techniques.
Pattern Notes
- The pattern begins at the “red” top, then transitions to “black” and “white.”
- Increases and decreases are spaced evenly for a round shape.
- Color changes are made at the end of rounds for clear banding.
- The button is made separately and attached at the end.
- Minimal sewing—finishing techniques are simple and accessible.
How I Made the Crochet Pattern
- Started at the top with a magic ring and graduated increases for perfect roundness.
- Switched colors at logical breaks to form the classic Pokeball look.
- Created a simple button embellishment for authenticity.
- Designed with stepwise decreases for a smooth close.
- Completed with finishing instructions for clean, professional results.
Skill Level
Beginner amigurumi pattern
Finished Size
- Approximately 8–10 cm (3–4 inches) diameter, depending on yarn and tension.
Materials
- Super bulky plush yarn or acrylic in red, black, and white
- 4.5 mm crochet hook
- Scissors
- Yarn/tapestry needle
- Polyester fiberfill stuffing
Measurements / Sizing
- Ball diameter: 8–10 cm when stuffed and closed.
- Button diameter: 2 cm (approx.).
Gauge
- Gauge is not critical, but should be tight enough that stuffing won’t show through.
- Sample: 7 sc x 7 rounds ≈ 5 cm (2 in).
Stitch Abbreviations
- MR – Magic ring
- sc – single crochet
- inc – increase (2 sc in same st)
- dec – decrease (sc2tog)
- sl st – slip stitch
- ch – chain
- st – stitch
Special Stitches
- Magic Ring (MR): Make a loop, insert hook, pull yarn through, work required stitches into loop. Pull tail tight.
- Invisible Decrease (dec): Insert hook into front loop of next 2 sts, yarn over, pull through both, yarn over again, pull through remaining loops (yields a neater finish).
- Color Change: Finish last yarn over of previous round with new color.
The Pattern!
Pokeball Main Body
Start with Red Yarn
- MR, 6 sc in ring
- 6 inc (12 sts)
- [sc, inc] x6 (18 sts)
- [sc, sc, inc] x6 (24 sts)
- [sc, sc, sc, inc] x6 (30 sts)
- [sc, sc, sc, sc, inc] x6 (36 sts)
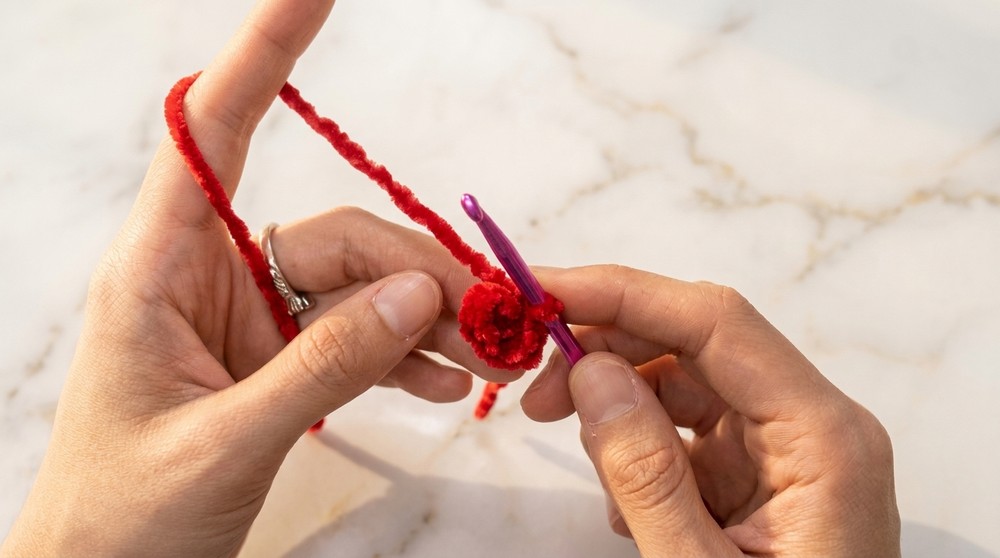
You start with a magic ring and increase evenly to get a flat, round shape. This becomes the top half of your Pokeball.
- 36 sc
- 36 sc
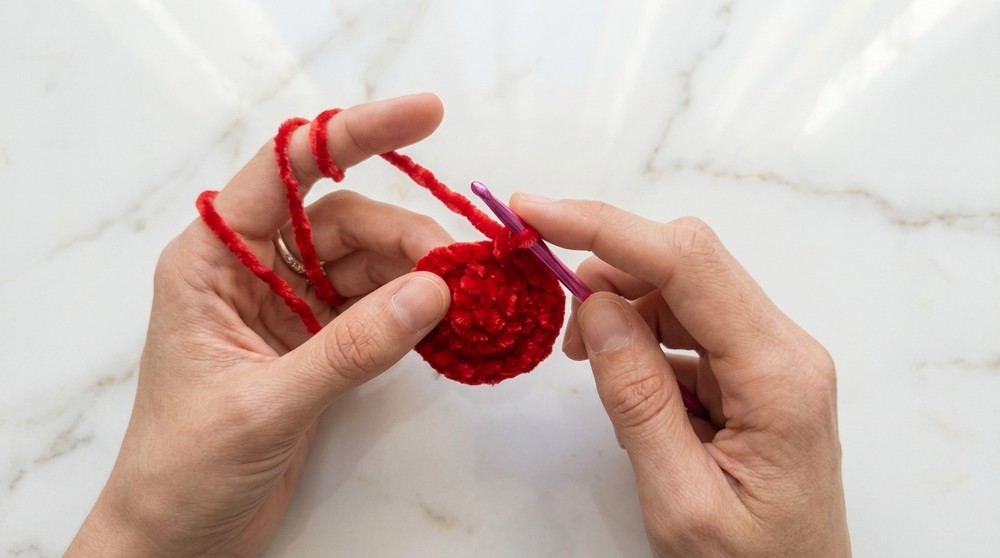
These rounds build height and complete the red section.
Change to Black Yarn
- On last yarn over of R8, switch to black.
- 36 sc
- 36 sc
This forms the neat black band—make sure to tug yarn ends inside for invisible color transition.
Change to White Yarn
- On last yarn over of R11, switch to white.
- 36 sc
- 36 sc
- 36 sc
Three rounds give the characteristic white lower half. Adjust tension for an even transition.
Decrease for Closing
- [sc, sc, sc, dec] x6 (30 sts)
- [sc, sc, dec] x6 (24 sts)
- [sc, dec] x6 (18 sts)
- Stuff firmly with fiberfill—do not overstuff.
- 6 dec (12 sts)
These rounds taper the ball closed. Continue stuffing as the opening shrinks.
- 6 dec (6 sts)
- sl st to next st, ch 1, cut yarn, leave tail for closing
Your ball is now closed! Use the yarn tail to sew the remaining hole neatly shut.
For non-pattern readers:
You start with red and make a flat circle, increasing evenly, then add the black band and white section. After shaping, you decrease and stuff as you go. Close the opening with stitches and use the end to cinch tight.
Pokeball Button (White, then Black Edging)
- MR, 6 sc in ring
- sl st to first sc, ch 1, do not cut yarn
- Change to white if not already
- 6 inc (12 sts)
- sl st to 3rd st, ch 1
- Change to black yarn
- 12 sl st around
- Join, fasten off, cut yarn, weave in ends
Make a small flat disk and edge it in black. Use a sewing needle or dab of glue to attach at the band center.
Assembly & Finishing
- Use the yarn tail from the ball to sew the hole tightly shut (go through remaining front loops and cinch).
- Weave in all yarn tails with the tapestry needle.
- Attach the button securely at the center of the black band—use hot glue or sew firmly.
- Tug and shape the ball evenly with your hands.
- Trim any excess yarn on the inside.
- Double-check for gaps at color changes and patch neatly if needed.
Solution of Problem
Problem: The ball closes unevenly or the color changes leave gaps.
Solution: Change colors carefully with the "yarn over" method, tug each transition tight. For closing, always sew through front loops only and pull firmly to cinch. If needed, use the tapestry needle to patch small holes or gaps.
What you can make by using these stitches
- Use the same spherical method for amigurumi heads, bodies, or plush balls.
- Apply this pattern for sports balls, ornaments, or basic round shapes.
- The button technique is great for doll eyes, noses, or other accents.
- With color changes and increases/decreases, create characters from various fandoms!
For Beginners
You start with a magic ring, increase evenly, build height, and add color changes for a classic look. Decrease and stuff the ball, sew closed, then make the button for the middle. All stitches are explained and easy to follow. This is a perfect project to learn colorwork and closing techniques.
Congratulations! Your Pokeball plush is now ready for play or display. Customize for other Pokémon designs, add a loop for a keychain, or simply share the fun. Happy crocheting!