
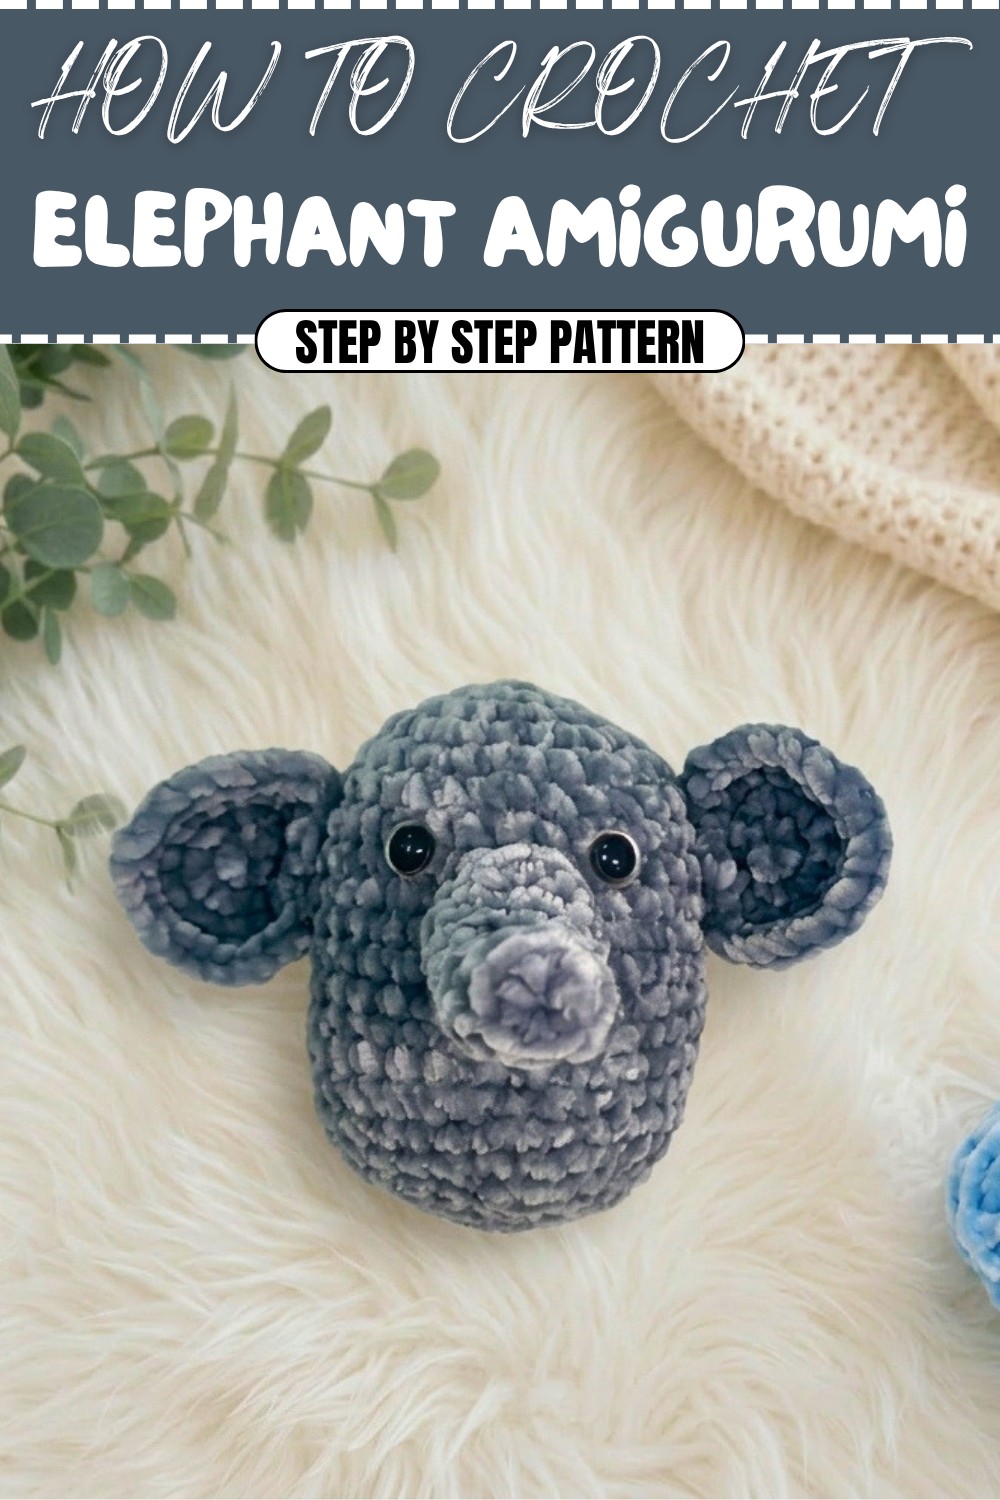
Free Crochet Elephant Amigurumi Pattern for Nursery Decor
Learn how to make an adorable elephant with this Free Crochet Elephant Amigurumi Pattern that's for beginners tackling their first plush toy project.
If you’re searching for an adorable handmade toy or a sweet decorative accent, the Free Crochet Elephant Amigurumi Pattern is the perfect project to ignite your creativity. This pattern allows you to craft a cuddly and cute amigurumi elephant, featuring a classic rounded body, prominent trunk, large floppy ears, and expressive safety eyes. Whether you use soft blue or traditional gray, your finished elephant is sure to charm with its gentle personality and endearing proportions.
How to Crochet Elephant Amigurumi Free Pattern
A key highlight of this elephant pattern is its pleasing texture and balanced shape. The body is worked in simple, tight single crochet stitches for a smooth, plush finish, while strategic use of increases and decreases creates the classic rounded form and sharp shaping in the trunk and ears. The design incorporates basic crochet techniques—like the magic ring to start, invisible decreases for seamless shaping, and slip stitches for neat finishes.

The pattern is constructed in separate parts: beginning from the top of the head down through the body, and followed by the trunk and floppy ears, each section is made and then sewn securely for a polished look.
Ideal for confident beginners yet satisfying for experienced crocheters, this project helps you practice fundamental amigurumi skills such as consistent stitch tension, part assembly, stuffing evenly, and attaching safety eyes at just the right spot. Assembly is straightforward, with helpful tips for counting stitches and using a stitch marker to stay on track.
Perfect as a thoughtful gift for children, a collectible for animal lovers, or a cheery desk companion, this crocheted elephant is filled with warmth and personality. Makers will leave with stronger shaping and assembly skills, and a delightful creation to share or treasure. If you’re looking for a quick, rewarding project that promises smiles and skill-building, the Free Crochet Elephant Amigurumi Pattern is a wonderful choice for any crochet enthusiast!
Easy Amigurumi Elephant Crochet Pattern
Before You Start
- Read through the full pattern and notes before starting.
- All parts are worked in continuous spirals unless specified otherwise.
- Use a stitch marker to mark the last stitch of every round.
- Safety eyes can be swapped for embroidered eyes for children under 3 years old.
- Stuff parts firmly but avoid overstuffing to keep shaping clean.
Pattern Notes
- This pattern is worked from the top of the elephant (head) downwards.
- All stitches are single crochet unless otherwise specified.
- All increases and decreases are placed evenly for smooth shaping.
- Parts (trunk, ears) are made separately and sewn onto the body.
- If circular join is not specified, do not join rounds; always work in spirals.
How I Made the Crochet Pattern?
- Formed body from a sphere with even increases and decreases.
- Stopped mid-way to insert eyes for precise symmetry.
- Created trunk and ears as simple amigurumi shapes for speedy assembly.
- Used invisible decreases for a tidy finish.
- Sewed all elements in place for a classic elephant look.
Skill Level
Beginner to Advanced Beginner – Only basic stitches, shaping, and amigurumi techniques needed.
Finished Size
Approx. 12–15 cm (4.5–6") tall depending on yarn, hook and stuffing.
Materials
- Worsted or DK weight yarn (light blue or gray, and a small amount of contrast if desired)
- 4 mm crochet hook
- Scissors
- Yarn/tapestry needle
- Stuffing (polyester fiberfill)
- Stitch marker
- (Optional) 10–12 mm safety eyes
Measurements / Sizing
- Head/body: About 8–10 cm across
- Trunk: About 6–9 cm long
- Ears: About 5–6 cm wide
Gauge
Gauge is not crucial, but ensure stitches are tight enough to prevent stuffing from showing.
Typical: 8 sc x 8 rows ≈ 2 inches (5 cm) in worked fabric.
Stitch Abbreviations
- MR = Magic ring
- sc = single crochet
- inc = increase (2 sc in one st)
- dec = decrease (sc2tog, or invisible decrease)
- sl st = slip stitch
- ch = chain
- st(s) = stitch(es)
Special Stitches
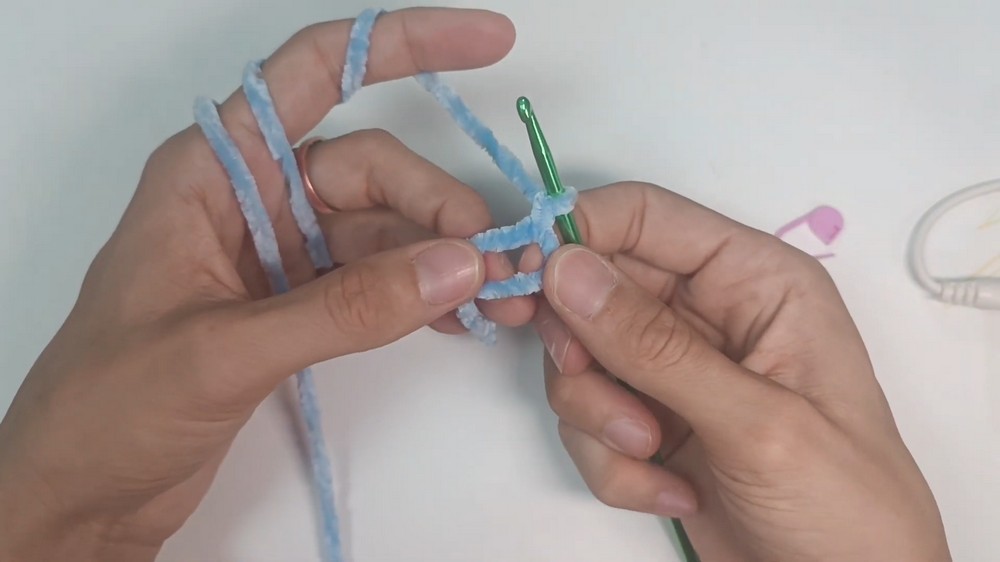
- Magic Ring (MR): Create a ring, insert hook through center & work designated stitches inside, then tighten.
- Invisible Decrease (inv dec): Insert hook into front loop of each of the next two stitches, yarn over and pull through both front loops, yarn over and pull through last two loops on hook.
The Pattern!
BODY (Head & Body Combined)
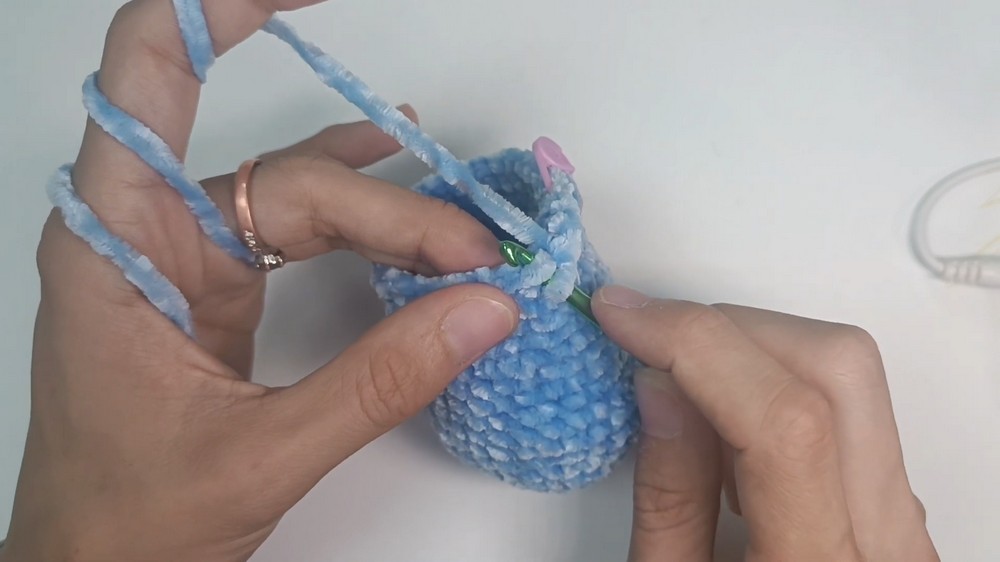
- With body color, start with a magic ring (MR).
- Round 1: 6 sc in MR (6)
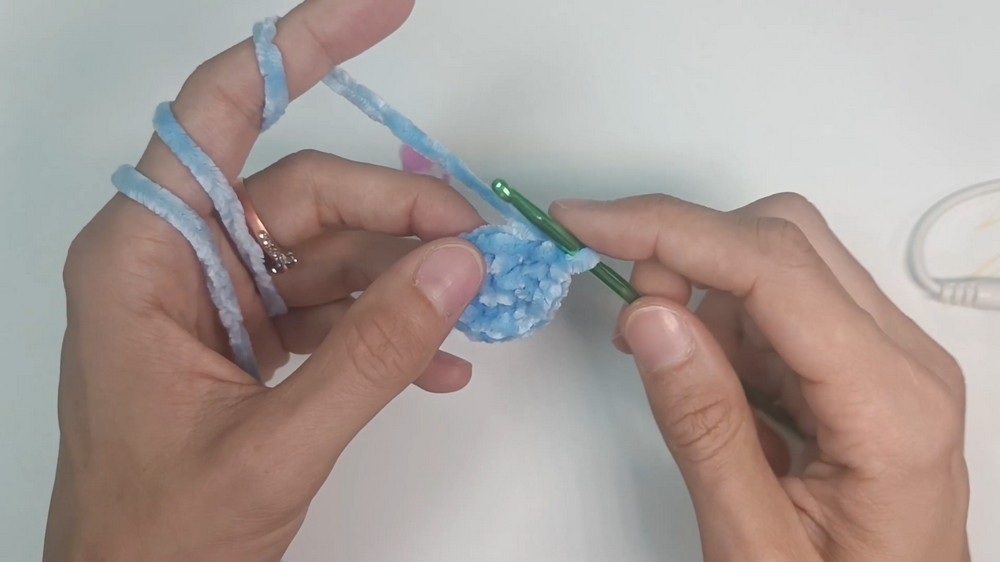
- Round 2: 6 inc (12)
- Round 3: [sc, inc] x 6 (18)
- Round 4: [inc, sc, sc] x 6 (24)
- Round 5: [sc, sc, sc, inc] x 6 (30)
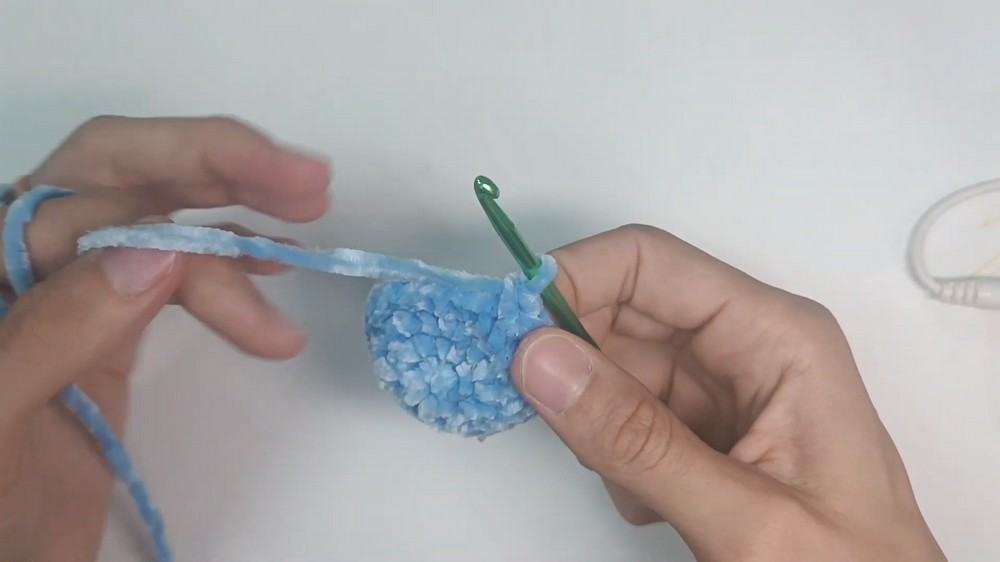
- Round 6: 1 sc in each st around (30)
- Rounds 7–17: 1 sc in each st around (30), for 11 rounds
Paragraph:
You start the elephant by crocheting a rounded sphere, increasing in a logical pattern. After reaching 30 stitches, you crochet straight rows, building height for the main head/body. Use a stitch marker to keep track of your last stitch in each round.
Insert Eyes:
After completing round 17, add safety eyes between Rounds 7 and 8, spaced by five stitches. Optionally, embroider eyes after assembly.
- Round 18: [sc in next 5 sts, dec] x 4 (24)
- Round 19: [sc, sc, dec] x 6 (18)
- Stuff the body firmly at this stage!
- Round 20: [sc, dec] x 6 (12)
- Round 21: 6 dec (6)
- Sl st into next st, ch 1, fasten off leaving a tail.
- Use a tapestry needle to weave through front loops of the last 6 sts, pull tight to close, and secure.
Paragraph:
Decrease rounds gradually close the base of the head and body, creating a neat, rounded silhouette. Add stuffing before the opening gets too small. Fasten off and close the hole securely with your needle.
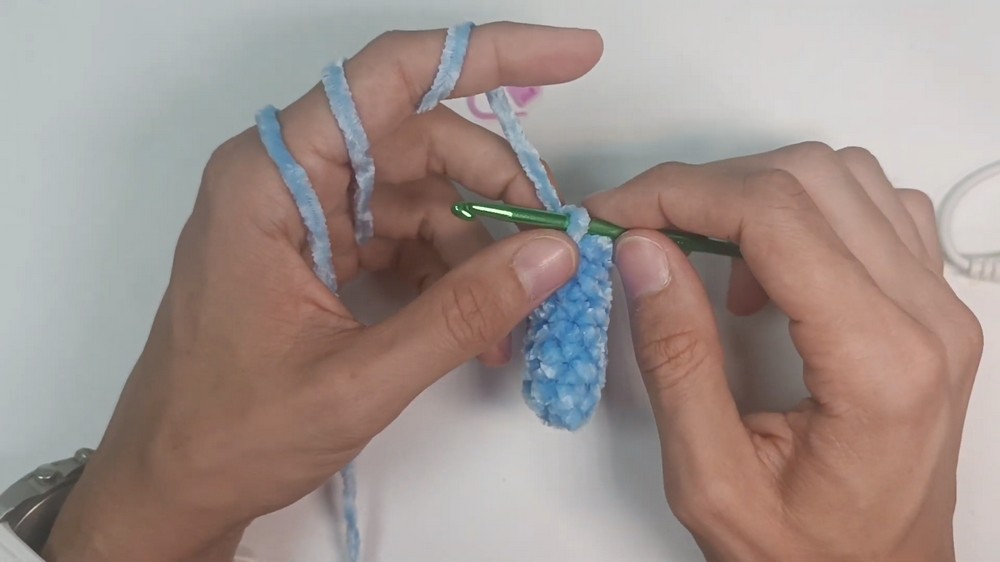
TRUNK
- With body color, MR.
- Round 1: 6 sc in MR. (6)
- Round 2: 6 sc around (6)
- Round 3: inc in first st, sc in next 5 sts (7)
- Rounds 4–7: 7 sc around (7), for 4 rounds
- Round 8: inc in first st, sc, inc in third st, sc in next 2, inc in sixth st, sc (10)
- Round 9: [sc x 4, inc] x 2 (12)
- Sl st, ch 1, finish off leaving a long tail for sewing.
Paragraph:
Work a narrow tube for the trunk tip, then widen it with graceful increases. Keep it unstuffed or stuff lightly, depending on desired look.
EARS (make 2)
- With body color, MR.
- Round 1: 6 sc in MR. (6)
- Round 2: 6 inc (12)
- Round 3: [sc, inc] x 6 (18)
- Round 4: [inc, sc, sc] x 6 (24)
- Sl st, ch 1, finish off leaving a long tail.
Paragraph:
The ears are large circles, quickly worked by increasing at regular intervals in each round. Leave a tail for sewing.
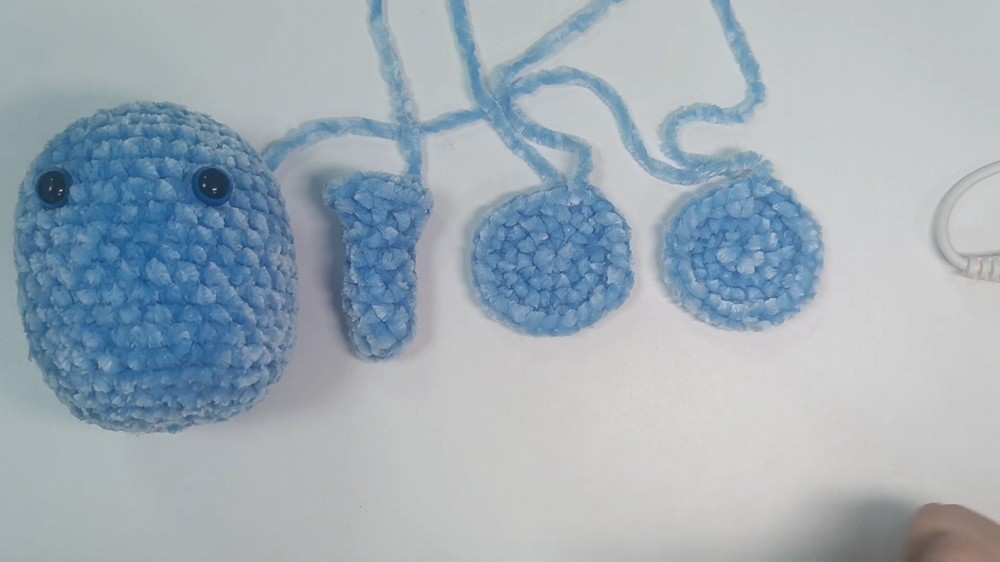
Assembly & Finishing
- Sew the trunk to the center front of the head, slightly below and between the eyes.
- Flatten each ear and sew symmetrically onto the sides of the head.
- Use a tapestry needle to weave in all ends securely inside.
- Adjust placement of pieces as desired for maximum cuteness.
- If using, embroider eyes, mouth, or add blush for details.
Solution of Problem
Possible Problem:
Sometimes the base hole or the areas around the trunk may gape if not sewn tightly.
Solution:
Always stuff parts firmly but not overly full. Use small, close stitches for assembly, and check positions/pin before permanently attaching.
What You Can Make Using These Stitches
- Small elephants in any color—customizable for gifts, baby toys, or mascots
- Keychains or bag charms (add a loop before final closure)
- Mobile or garland elements for children's decor
- Amigurumi animal sets (make other animals with minor changes using this base)
- Add accessories (hats, scarves, hats) as desired
For Non-Pattern Readers
This adorable elephant is made by crocheting a round ball for the head and body, then adding two big circles for ears and a long, tube-shaped trunk. Begin at the head, work increases for shape, crochet straight for a bit, then decrease to close. Place and add two safety eyes, then make and attach the trunk and ears. Stuff as you go, sew parts on, and enjoy your lovable, squishy friend.
Congratulations—your amigurumi elephant is ready! Perfect for gifts, decor, or a sweet handmade toy.