
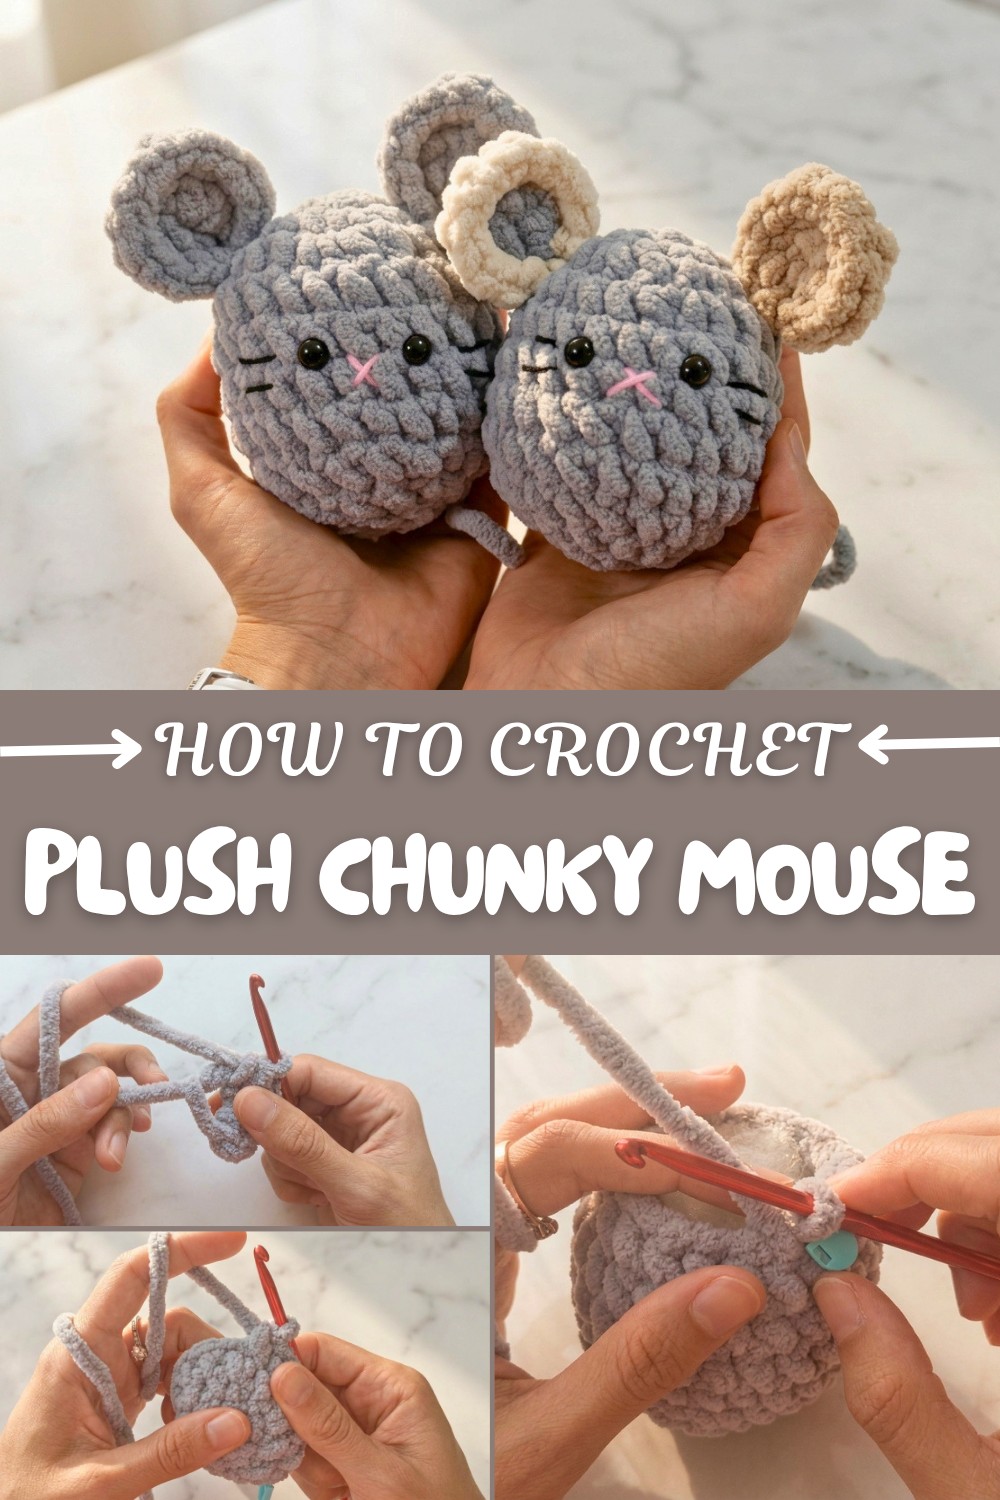
Free Crochet Plush Chunky Mouse Pattern for Soft Toy Lovers
Easy fix for adorable decor, the Free Crochet Plush Chunky Mouse Pattern offers speedy steps to a cuddly, beginner-friendly mouse buddy.
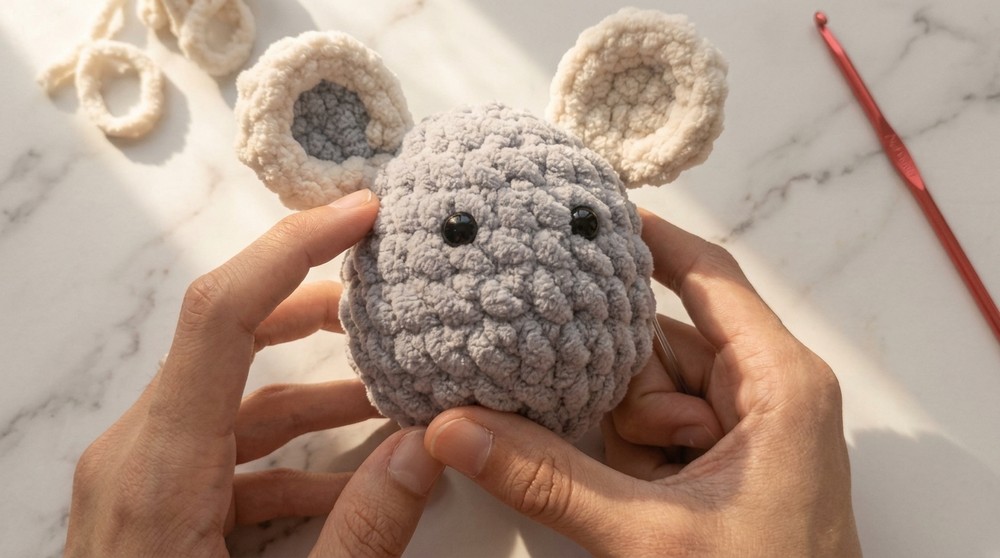
Have you ever wanted to crochet something soft, chunky, and utterly adorable with your crochet skills? This free crochet plush chunky mouse pattern might just be your next favorite project! With its cozy chenille-blended yarn, this little mouse is both irresistibly huggable and simple to make, making it perfect for beginners and seasoned crocheters alike. The neutral gray used for this plush mouse pattern pairs beautifully with delicate black and pink accents to add details like whiskers, a tiny nose, and expressive eyes. Its compact size makes it an ideal choice for room decor, a toy for kids, or even a cute desk buddy.
Chunky Free Crochet Mouse Pattern for Cozy Toys
What truly brings the charm to this project is the invisible decrease stitch, which gives this pattern its smooth, seamless finish. This technique makes it easy to reduce stitches without creating visible gaps. Alongside the invisible decrease, you'll use familiar basic stitches like single crochet, slip stitch, and the magic ring—skills that open the door to a world of plushies, amigurumi animals, and soft, rounded shapes.
From This Pattern, You Can Also Crochet...
- Adorable plush bunnies or bears: Simply swap the ears and color.
- Custom keychains: Make smaller-sized animals for everyday accessories.
- Seasonal themed decorations: Use white yarn for a holiday mouse or pastels for spring.

Crochet Baby Mouse Pattern
This adorable crochet baby mouse is a beginner-friendly project that can be completed in about an hour! It is simple, fun, and uses basic amigurumi stitches. The mouse is perfect as a small toy, keychain, or decorative piece. Follow this detailed step-by-step guide to successfully create your little mouse.
Skill Level & Terminology
- Skill Level: Beginner
- Terminology: This pattern uses US crochet terminology.
Materials & Tools
- Yarn:
- Gray chenille-blended yarn for the body (plush yarn)
- Black and pink cotton yarn for face details
- Hook Size: 5.0 mm crochet hook
- Other Tools:
- Pair of scissors
- Tapestry needle for sewing and embroidery
- Stitch marker (helpful for tracking rounds)
- 8 mm safety eyes
- Stuffing fiber (such as polyfill)
- Optional glue (hot glue or fabric glue) to secure the safety eyes
Gauge
Gauge is not critical for this project. However, keep your stitches tight enough to prevent the stuffing from showing through. Adjust your hook size if necessary.
Abbreviations List
- ch – Chain
- sc – Single Crochet
- sl st – Slip Stitch
- inc – Increase (2 sc in the same stitch)
- dec – Invisible Decrease (front loop only decrease)
- st – Stitch
- magic ring – Adjustable loop to start work in the round
Special Stitch Instructions
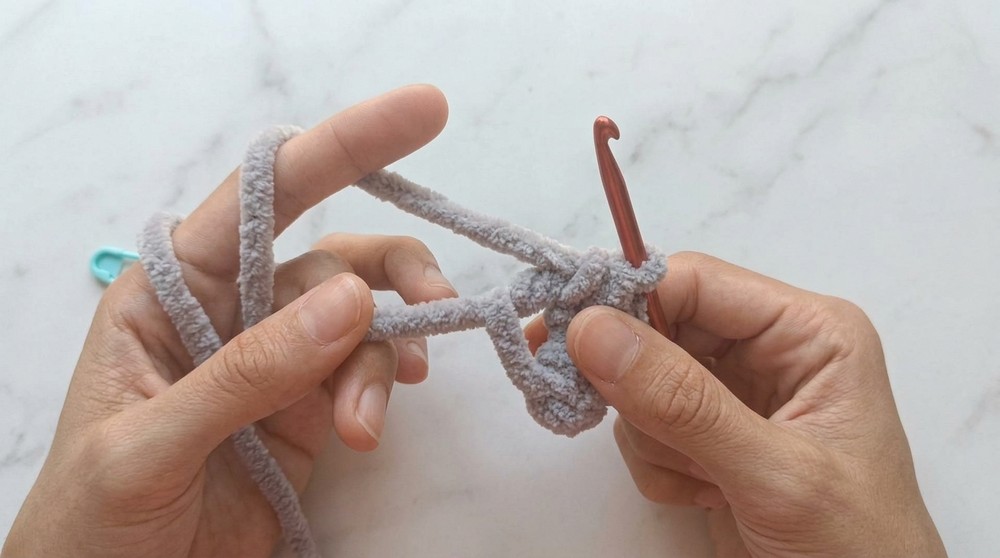
1. Magic Ring:
The magic ring (or magic circle) creates a tightly closed starting round for amigurumi.
- Form a loop with the yarn and secure it around your fingers.
- Insert the hook into the loop, yarn over, and pull up a loop.
- Chain one to secure the ring, and work your first round into the loop.
- Pull the tail tightly to close the ring.
2. Invisible Decrease:
An invisible decrease leaves a clean finish and seamlessly tapers your work.
- Insert the hook into the front loop of the first stitch.
- Without yarning over, insert the hook into the front loop of the next stitch.
- Yarn over and pull through the two front loops.
- Yarn over again and pull through both loops on the hook.
Finished Size
The finished crochet baby mouse will measure about 3–4 inches in height, depending on yarn and hook size.
What You’ll Learn:
- How to crochet in rounds: Perfect for shaping plush toys or amigurumi.
- The magic circle: A vital technique for starting small projects in the round.
- Invisible decreases: A game-changing skill to make clean, gap-free reductions.
- Adding safety eyes and simple face embroidery: To create expressive, lovable designs.
By practicing these techniques, you'll build confidence in your crochet abilities while having fun creating a character!
The Detailed Crochet Pattern
Follow these step-by-step instructions to crochet your baby mouse.
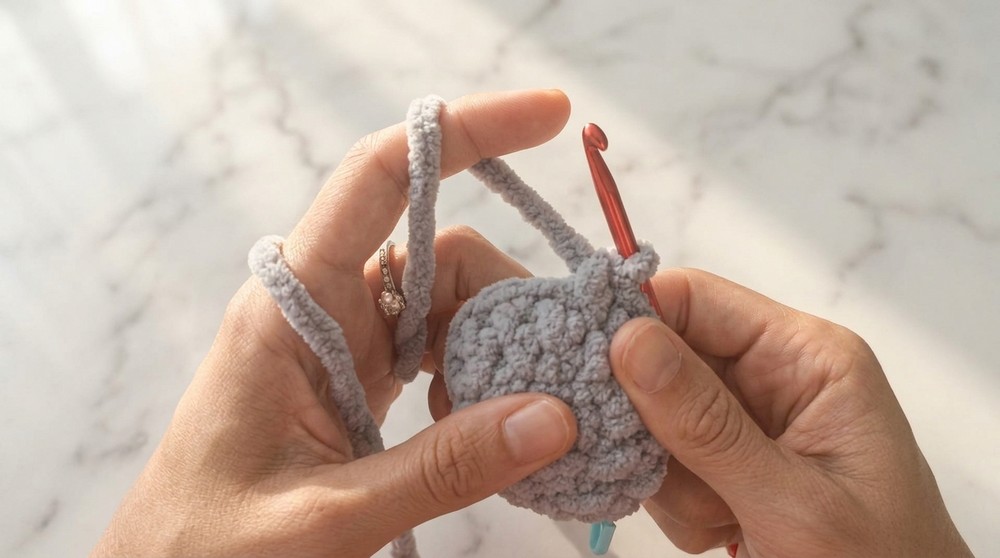
Body (Rounds 1–11):
Round 1:
- Start with a magic ring.
- Work 6 sc into the magic ring.
- Join with a sl st.
(6 stitches total)
(This round forms the base of the body.)
Round 2:
- Work 2 sc into each st (inc) around.
(12 stitches total)
(The circle begins to grow.)
Round 3:
- Alternate 1 sc in the first st, 2 sc in the next st (inc) around.
(18 stitches total)
(Gradual increases give the body a rounded shape.)
Round 4:
- Work 1 sc in each of the first 2 sts, then 2 sc in the next st (inc). Repeat (sc, sc, inc) around.
(24 stitches total)
(The mouse body is widening and gaining its characteristic spherical look.)
Rounds 5–8:
- Work 1 sc in each st around for 4 rounds.(24 stitches total per round)
(These rounds add height and volume to the body.)
Round 9 (Start Decreasing):
- Work 1 sc in each of the first 2 sts, then dec in the next st. Repeat (sc, sc, dec) around.
(18 stitches total)
(The body begins to taper toward the base.)
Insert Safety Eyes:
- Insert the safety eyes between Rounds 5 and 6.
- Place them 3 stitches apart.
- If desired, use glue to secure the eyes in place instead of using the washers.
(The eyes add personality to your baby mouse.)
Round 10:
- Work 1 sc in the first st, then dec in the next st. Repeat (sc, dec) around.
(12 stitches total)
Add Stuffing:
- Firmly fill the body with stuffing fiber, ensuring there are no gaps or uneven areas.
(This step ensures the shape stays consistent.)
Round 11 (Final Decrease):
- Work dec in each st around.(6 stitches total)

(This closes the base tightly.)
Closing the Body:
- Use a tapestry needle to weave through the front loops only of the final 6 stitches.
- Pull tight to close the hole.
- Fasten off and leave a long tail for the mouse's tail.
(The body and tail are now complete!)
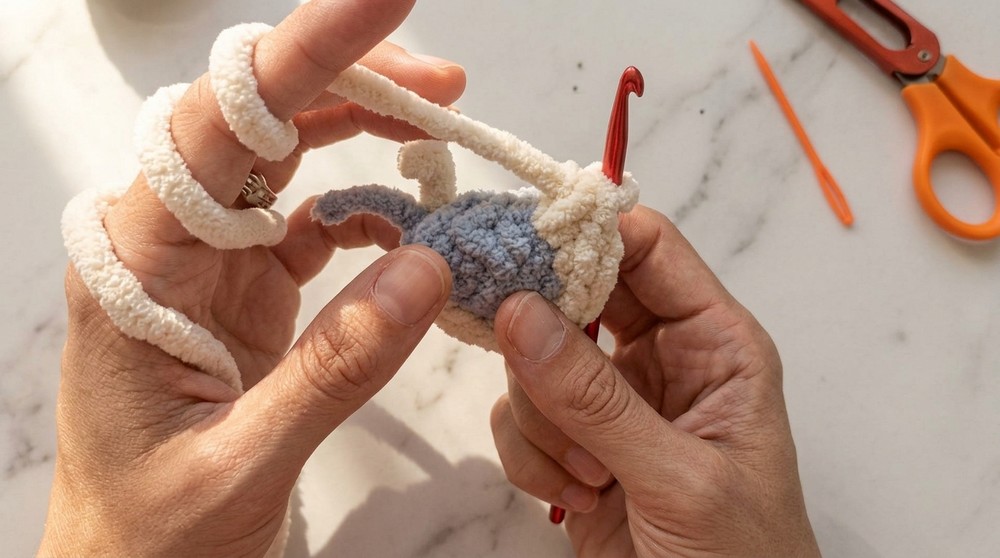
Ears (Make 2):
Round 1:
- With gray yarn, create a magic ring.
- Work 7 sc into the ring. Join with a sl st.
(7 stitches total)
Round 2:
- Work 2 sc into each st (inc) around.
(14 stitches total)
(This round enlarges the ear.)
Finish the Ears:
- Fasten off and leave a long tail for sewing.
(The ears should be small and round, perfect for the mouse’s head.)
Face Details:
Make the Nose (Pink Yarn):
- Thread a needle with pink yarn.
- Embroider a small triangle at the top center between the safety eyes. Secure with knots inside the head.
Whiskers (Black Yarn):
- Thread black yarn onto a needle.
- Stitch two small whiskers angled outward on each side of the nose.
(The face stitching gives the mouse its playful look.)
Tail (From the Body’s Closing Tail):
- Use the tail yarn left at the base of the body to shape the tail.
- Either leave it as is or braid it for texture.
- Secure the end or add a knot for decoration.
Assembly & Finishing:
- Sew the ears to each side of the head (near the top).
- Ensure all loose ends are tucked neatly within the body.
- Adjust the face and tail shape as needed.
About This Pattern:
This crochet baby mouse features basic stitches like single crochet, increases, and decreases. The body, ears, and face embroidery are simple to complete, making this an ideal project for beginners. Its versatility allows for fun customization, such as experimenting with yarn textures or adding accessories (bows, scarves, etc.).
Ending Thoughts:
- Beginner-friendly and quick to make.
- Great for gifting or as a stash-busting project.
- Perfect way to practice essential amigurumi techniques.
With just a hook, yarn, and a bit of imagination, you'll be creating endless plush animals and toys in no time!