
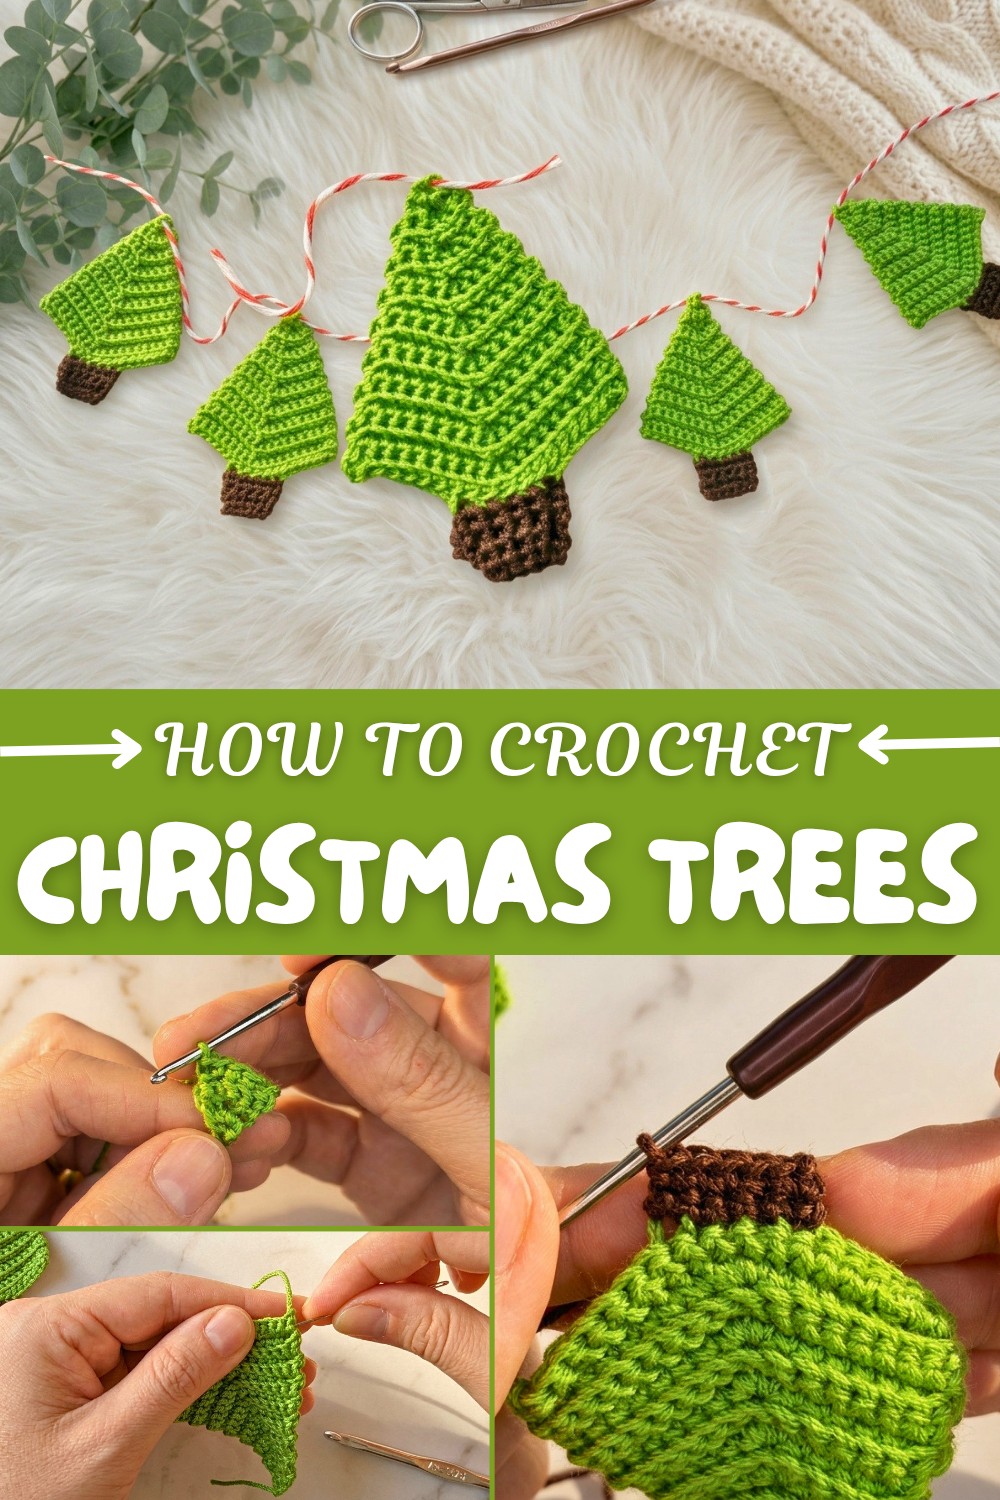
Stunning Crochet Christmas Trees Pattern for Holiday Vibes
Spark joy in every corner with a Free Crochet Christmas Trees Pattern that's perfect for vibrant, personalized holiday decorating.
Have you ever wanted to add a little handmade magic to your holiday decorations? This fun and simple crochet project is just perfect for that! You can create tiny, adorable Christmas trees that you can customize in any color you like. These little trees are made using just single crochet stitches, which are some of the easiest and most basic stitches in crochet. If you're new to crochet, don’t worry; single crochet is a great stitch to master because it builds a strong, neat fabric and can be used in lots of other projects like scarves, coasters, and even plush toys.
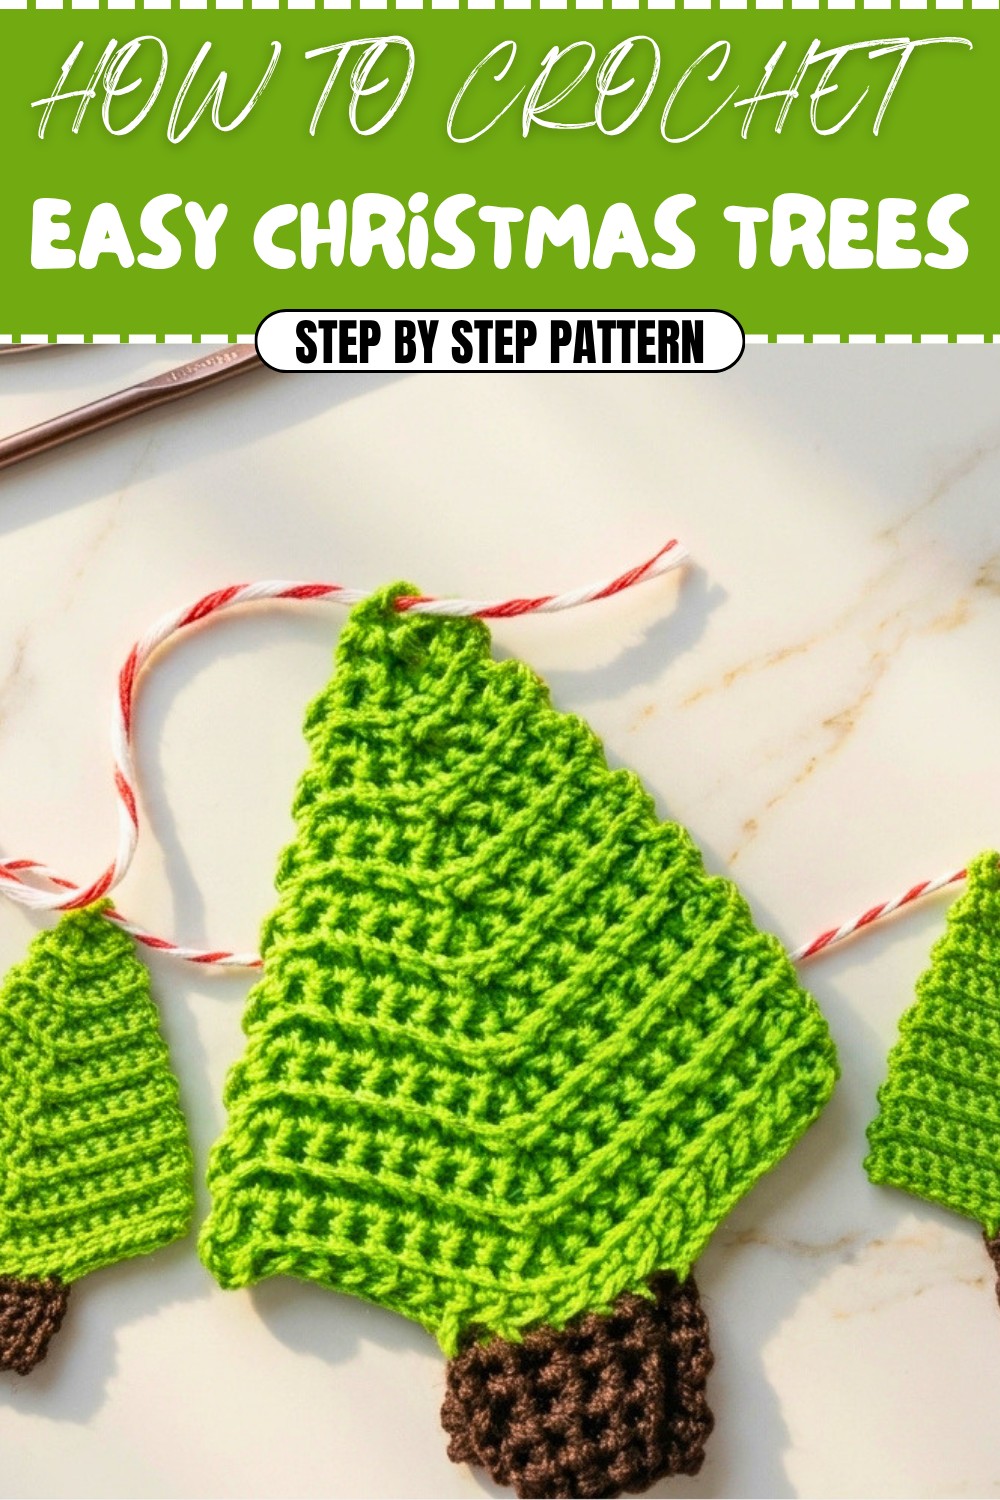
Gorgeous Free Crochet Christmas Trees Pattern for Handmade Holiday Style
What makes these crochet Christmas trees so special is how quickly they work up. You start by making a small base with a few chain stitches, then keep stitching in rounds, sometimes adding extra stitches to shape the tree perfectly. By working into the back loops of stitches, you get a lovely texture that gives the tree a charming look. You can choose a bright green for a classic tree or mix in reds, whites, or even sparkly yarn to make them festive and unique!
This pattern is super versatile. Once you’ve made a bunch, you can string them together to create garlands for your mantel or walls. You can also attach keyrings to transform them into cute keychains or use them as sweet little gift toppers that really show you care. Their small size makes them perfect for decorating desks, shelves, or even as playful ornaments for your Christmas tree.
More Creative Ideas from This Pattern
Besides the trees themselves, this pattern teaches you techniques that are handy for other crochet projects. Using the same basic stitches and shaping methods, you can make mini pumpkins for autumn, berry clusters for embellishments, or even tiny flowers to brighten up a hat or bag. So whether it’s your first crochet gift or just a quick festive crochet, this little crochet pattern is sure to bring joy and creativity into your holiday season!
Crochet Pattern: Easy Little Trees
This simple and quick crochet project is perfect for beginners, as it uses only single crochet (sc) stitches. These adorable trees can be made in any color, any size, and are perfect for holiday decorations, garlands, or keychains.
What You'll Learn from This Pattern
This pattern teaches simple and essential crochet techniques, including:
- Working single crochet stitches and creating stable shapes.
- Using back loop only (blo) stitches to add texture and structure.
- Creating a foundational triangle with strategic increases.
- Attaching components (like the trunk) seamlessly into the work.
Crocheting these trees will sharpen your skills in building shapes, working rows with turning, and creating decorative crochet items. These lessons are foundational for more complex projects down the line!
Skill Level & Terminology
- Skill Level: Beginner
- Crochet Terminology: US terms
Materials & Tools
- Yarn: Two colors (e.g., green for the tree and brown for the trunk)
- Crochet Hook: Size 2 crochet hook
- Tapestry Needle: For weaving in ends
- Scissors: For cutting yarn
Gauge
Gauge is not critical for this pattern, as you can make the trees in various sizes depending on the number of rounds you choose.
Abbreviations List
- ch: Chain
- sc: Single Crochet
- blo: Back Loop Only
Special Stitch Instructions
Triple Increase: In one stitch, work three single crochet (sc) stitches.
Finished Size
The dimensions of the trees will depend on the number of rounds added, but typically, the small trees measure approximately 2–3 inches tall, while the larger trees can be extended to 5 inches or more.
The Pattern Itself
Tree Base (Green Yarn)
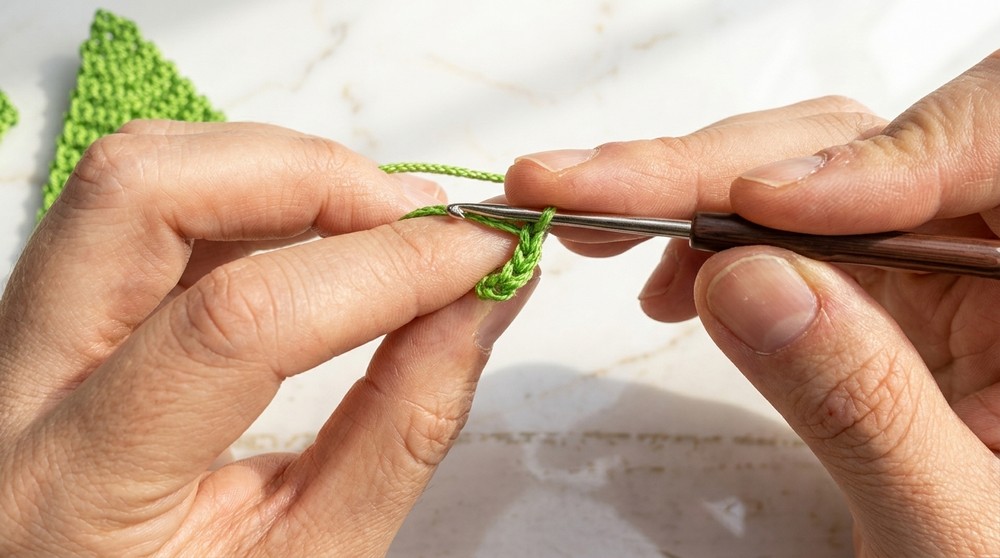
- Start the base:
- Instead of using a magic ring, begin with 3 chain stitches. Keep the first stitch slightly loose.
- Work 1 sc into the first chain, followed by 3 sc into the same stitch (triple increase).
- [Round 1]: You now have 3 stitches in the first round.
Explanation: You’re forming the base of the tree with a small triangle shape created using single crochet stitches and a triple increase.
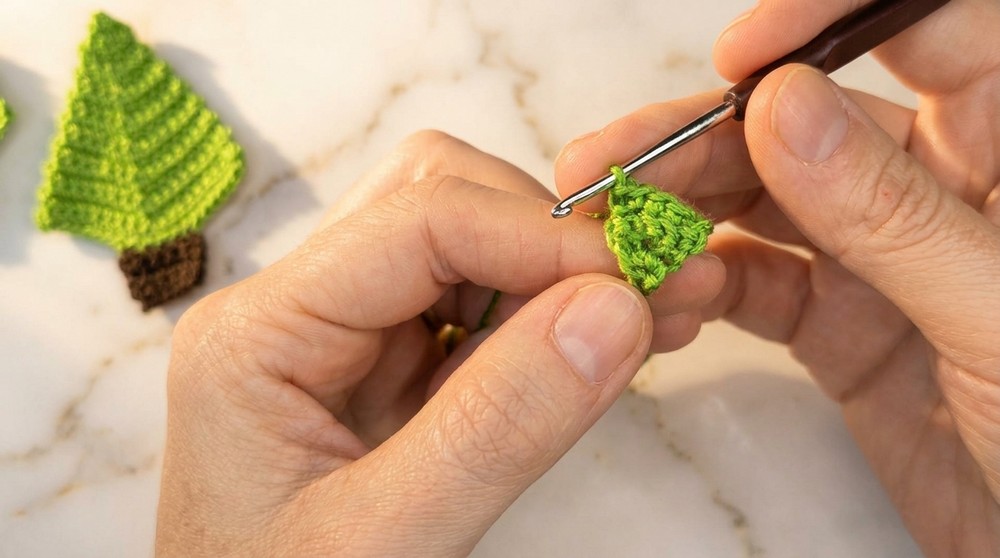
- Round 2:
- Chain 1, turn your work, and only work into the back loop only (blo).
- Work 1 sc in each stitch across, making a triple increase in the middle stitch of the round.
- [Round 2]: You now have 5 stitches.
Tip: The triple increase creates the triangular shape that forms the tree’s peak.
- Round 3:
- Chain 1, turn your work.
- In odd-numbered rounds, work sc in each stitch without increasing.
- [Round 3]: You still have 5 stitches.
Reminder: Odd rounds are simple—no increases are made in these rounds.
- Round 4:
- Chain 1, turn your work, and work into the blo again.
- Work 1 sc in each stitch, making a triple increase in the middle stitch (as done in Round 2).
- [Round 4]: You now have 7 stitches.
Explanation: Even rounds are where increases occur to keep the tree growing wider and taller.
- Continue alternating rounds:
- Repeat the sequence: odd rounds (no increase) and even rounds (triple increase in the middle stitch), turning your work after each round.
- Crochet as many rounds as you wish to achieve your desired tree size.
Note: For a small tree, work up to 9–10 rounds. For a larger tree, work up to 17 rounds.
- Finish:
- After completing your final round, cut the yarn, leaving a small tail.
- Pull the yarn through the last stitch to secure it.
- Use a tapestry needle to weave in any loose ends.
Congrats! The triangular shape of your tree is complete at this stage.

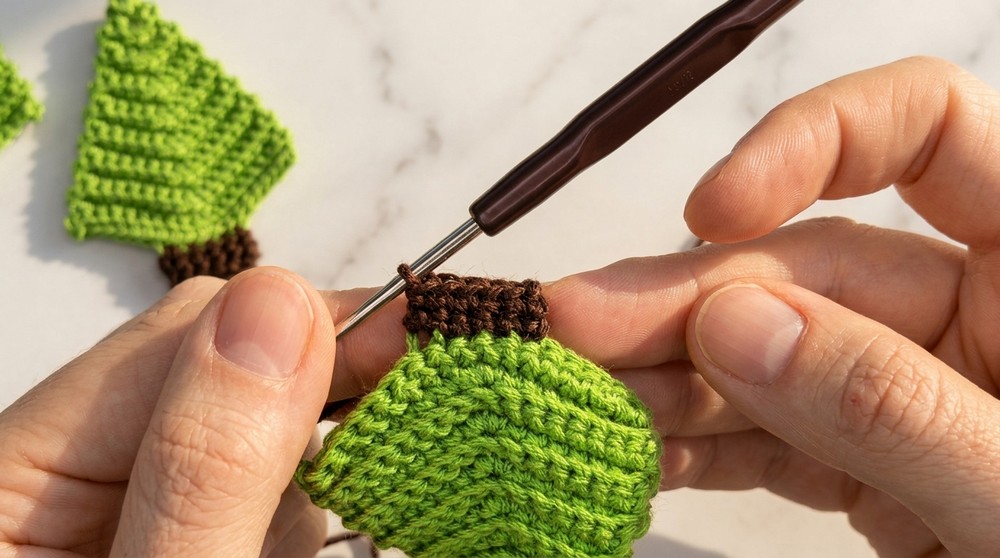
Tree Trunk (Brown Yarn)
- Attach the brown yarn:
- Start with 1 chain stitch and leave the yarn slightly loose.
- Locate the center point at the base of the tree by counting from each side.
Tip: The center stitch ensures the trunk is symmetric and directly below the triangle.
- Make the trunk:
- Work 5 sc across the center stitches, ensuring 2 stitches are taken from either side of the center point.
- [Round 1]: You now have 5 stitches making the base of the trunk.
Explanation: The trunk is rectangular, so you’ll keep working into these 5 stitches in subsequent rounds.
- Round 2:
- Chain 1, turn your work, and work 1 sc into each stitch (5 sc total).
- Pick up both loops for each stitch.
Note: Working into both loops gives the trunk a sturdy appearance.
- Round 3 and 4:
- Continue repeating 1 sc in each stitch for a total of 4 rounds (or adjust the height based on preference).
Optional: You can make the trunk longer or shorter by adding or reducing rounds.
- Continue repeating 1 sc in each stitch for a total of 4 rounds (or adjust the height based on preference).
- Finish:
- After the final round, cut the yarn, leaving a small tail.
- Pull the yarn through the last stitch to secure it.
- Use a tapestry needle to weave in loose ends.
Well done! Your tree now has a trunk, completing the entire design.
Assembly & Finishing
- Hide loose ends:
- With a tapestry needle, tuck any visible yarn ends into the back of your work using a zigzag motion.
- Optional Decorations:
- Add a loop at the top by threading string or thin yarn through the first stitch to create a hanger for garlands.
- Attach a keyring hook to the trunk for a cute crocheted keychain.
- Ideas for use:
- Use multiple trees to make a garland for your holiday decor.
- Gift them as adorable, handmade stocking stuffers.
Summary of Stitches Used
This tree pattern uses only single crochet (sc) and a simple growth pattern of triple increases in alternating rounds. The triangular form creates the tree shape, while the rectangular trunk is crocheted directly onto the base stitches.
Skill Level: Beginner – All you need to know is how to make chain stitches, single crochet stitches, and increase stitches.
Why I Love This Pattern
This project is a joyful reminder of how simplicity can yield stunning results! I love crocheting these trees because they are:
- Effortless to make yet so versatile—it’s amazing how one basic stitch produces charming decorations.
- Quick and portable, making it the perfect project for relaxing evenings or on-the-go crafting.
- Customizable, allowing for personal creative touches with colors, sizes, or added embellishments.
Whether making one or dozens, these trees bring a wonderful handmade touch to holiday festivities!