
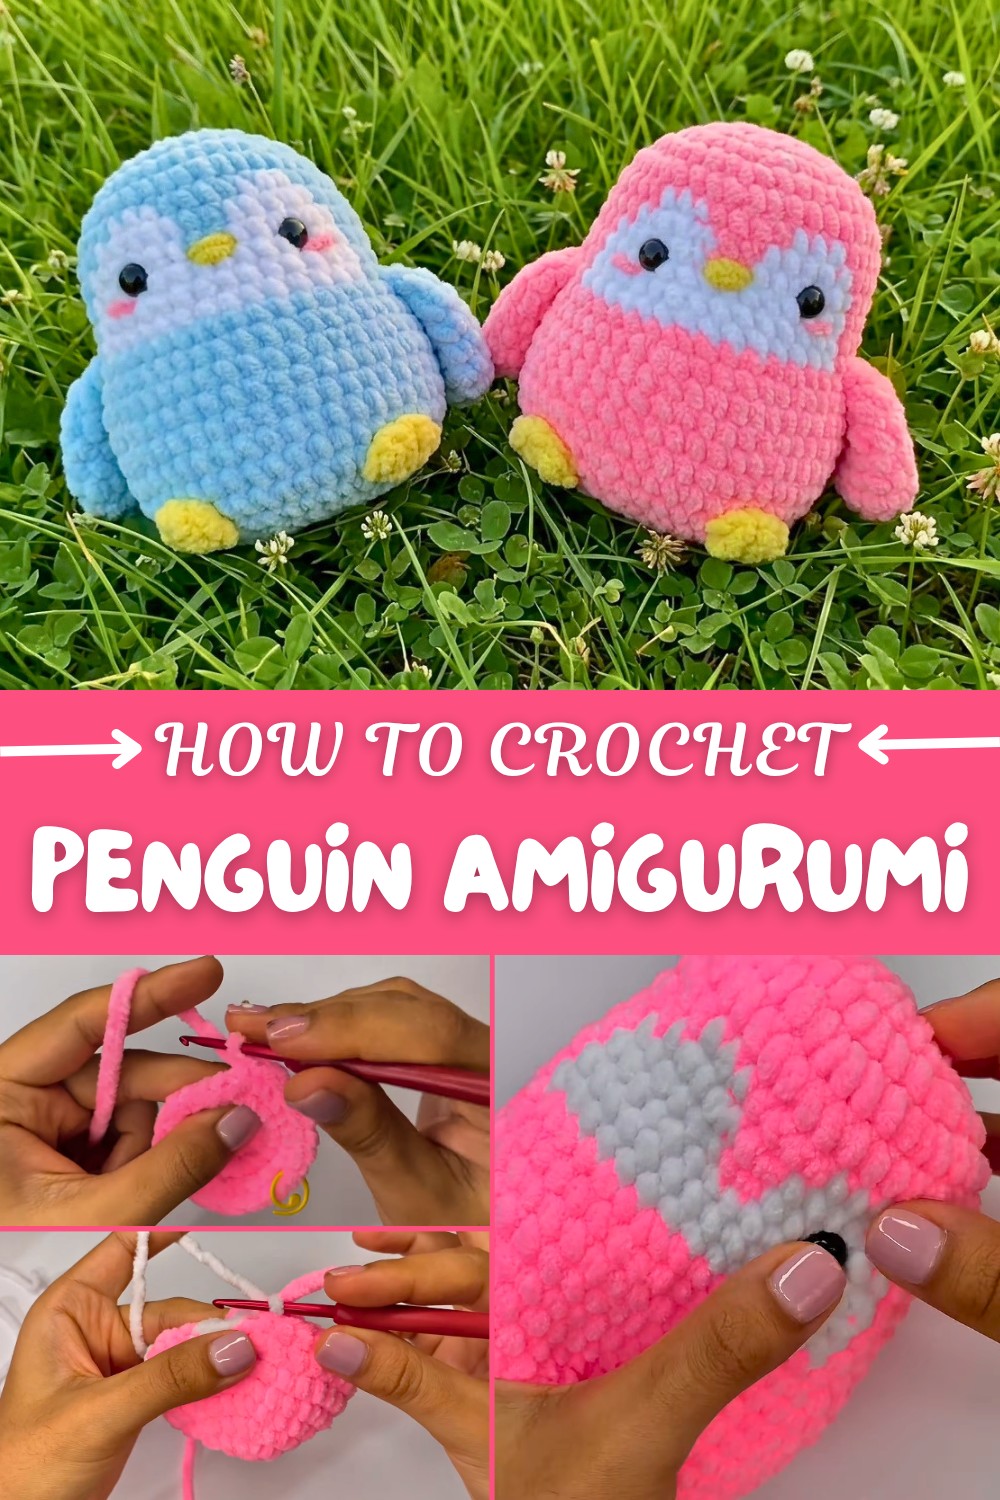
Crochet Penguin Amigurumi Free Pattern for All Skill Levels
Master this Free Crochet Penguin Amigurumi Pattern with step-by-step guidance, requiring basic crochet skills while learning a neat color-changing technique.
Simple construction and a charming design make this crochet project a rewarding choice for anyone who loves making cute toys. The Free Crochet Penguin Amigurumi Pattern is one of my all-time favorites when it comes to creating something both fun and adorable. This little penguin features a perfectly rounded body, short stubby wings, and tiny orange feet—details that really capture the heart of what makes amigurumi so delightful.
How to Crochet Penguin Free Pattern Using Simple Materials
The best part is how easy it is to follow. Most of the work is done in single crochet stitches, so it’s manageable for beginners but satisfying for experienced crocheters too. The pattern all comes together seamlessly, often with no difficult sewing, and the final result is always neat and tidy. I especially love how the simple shaping lets the penguin stand upright, making it look even more lifelike and cute.
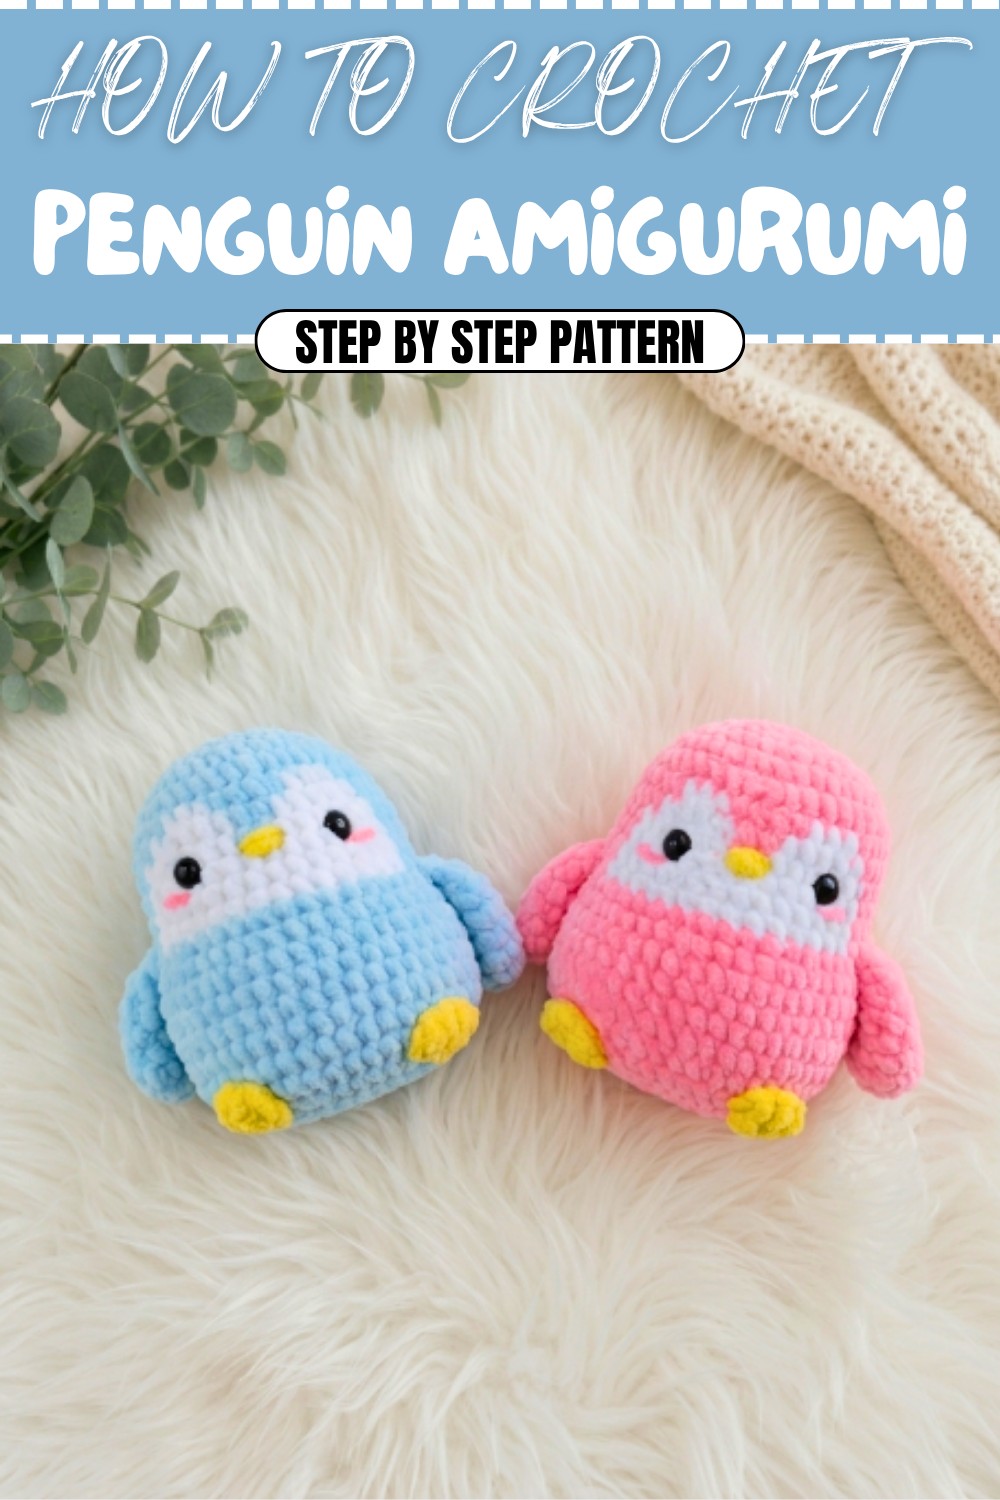
If you use soft yarn, especially something plush or velvety, your penguin will feel extra snuggly. The black and white color combo gives it that classic penguin look, but you can easily switch it up with your favorite colors for a more playful or personalized buddy. The face is usually finished with safety eyes and a felt or stitched beak, giving each penguin a unique and friendly expression.
Kids often fall in love with these penguins, they’re great as a bedtime buddy, a stocking stuffer, or a birthday surprise. But I’ve also seen adults use them as office desk pals or cheerful winter decorations. Because the finished size is small, you don’t need much yarn, making it a wonderful stash-buster. If you’re looking for a project that’s quick, cute, and sure to make you smile, the Free Crochet Penguin Amigurumi Pattern is the way to go.
Amigurumi Penguin Crochet Pattern
Welcome to this detailed step-by-step crochet pattern for an adorable amigurumi penguin! This project creates a plush, huggable companion featuring colorwork on the belly, cute embroidered cheeks, and sturdy wings and feet. Slightly larger than classic mini amigurumi, this penguin uses simple stitches, color changes, and basic shaping. Each section includes an explanation in plain language, so whether you're an advanced crocheter or a beginner, you’ll feel supported from start to finish.
Skill Level & Terminology
Skill Level:
Advanced Beginner. You should feel comfortable with the magic ring, working in rounds, basic increases and decreases, color changes, and sewing pieces together.
Pattern Terminology:
This pattern uses US crochet terms. If you are familiar only with UK terms, single crochet (sc) is equivalent to double crochet (dc) in UK terms.
Materials & Tools
- Chenille or plush yarn (such as Cartopu Yarca, 3.5 mm thickness): Two contrasting colors for body & belly (ex: pink & white, black & white, or blue/grey & white)
- Small amount of yellow yarn (for feet and nose)
- 1 skein white yarn (for colorwork on belly)
- 9mm safety eyes (x2)
- Polyester fiberfill or silicone-coated stuffing
- 3mm crochet hook (adjust if you use thinner/thicker yarn)
- Tapestry needle
- Stitch marker
- Scissors
- Pins (optional, to position wings/feet before sewing)
- Lighter (for optional flattening of eye backs)
Gauge
No strict gauge: Just ensure stitches are dense enough so stuffing does not show through. For reference, with recommended hook and plush yarn, 8 sc ≈ 4 cm.
Abbreviations List
- ch: chain
- sc: single crochet
- hdc: half double crochet
- inc: 2 sc in same stitch (increase)
- dec: invisible decrease (sc next 2 sts together)
- st(s): stitch(es)
- sl st: slip stitch
- FO: fasten off
Special Stitch Instructions
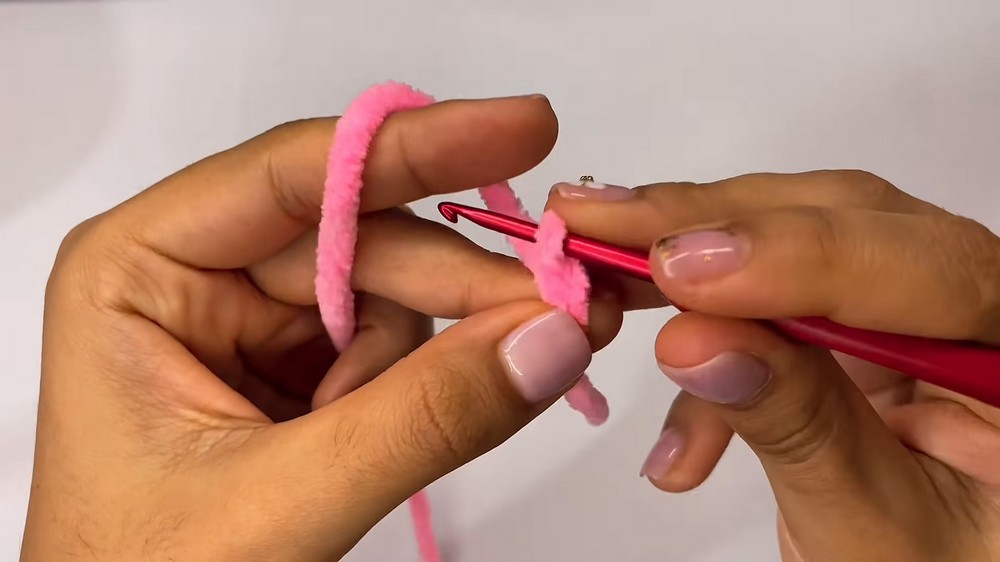
- Magic Ring: Wrap yarn into a ring, insert hook, pull up loop, and crochet into ring as required (used for starting pieces).
- Invisible Decrease: Insert hook into front loops of next two stitches, yarn over and pull through, yarn over and finish sc.
- Color Change for Belly: Change color by drawing new yarn through last two loops of previous sc; always carry the contrasting color inside when switching, and work over unused yarn for several stitches to secure.
Finished Size
Approximately 16–18 cm tall, 11–13 cm wide depending on yarn and tension.
Pattern Notes
This penguin is worked in a continuous spiral, starting from the bottom of the body upwards. Color change rounds create a white belly patch framed by the main color. Separate wings and feet are crocheted and sewn on, with embroidery for beak and cheeks.
Core Stitches in the Pattern
The pattern uses the following basic crochet techniques: slip knot, chaining, single crochet, half double crochet, increasing and decreasing (invisible decrease), changing colors, embroidering, seaming, and weaving in ends.
The Pattern
Penguin Body
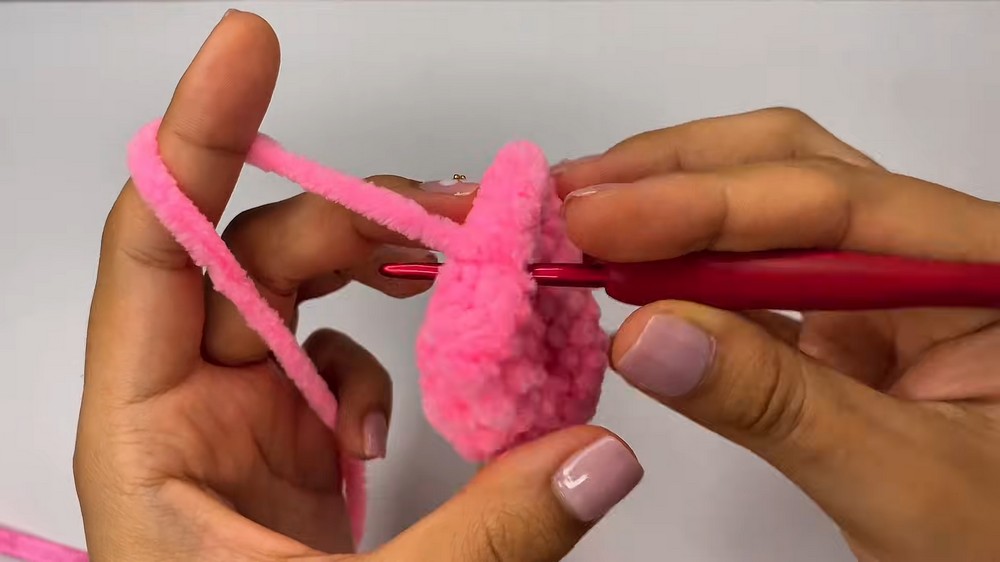
Start with main color (example: pink or grey):
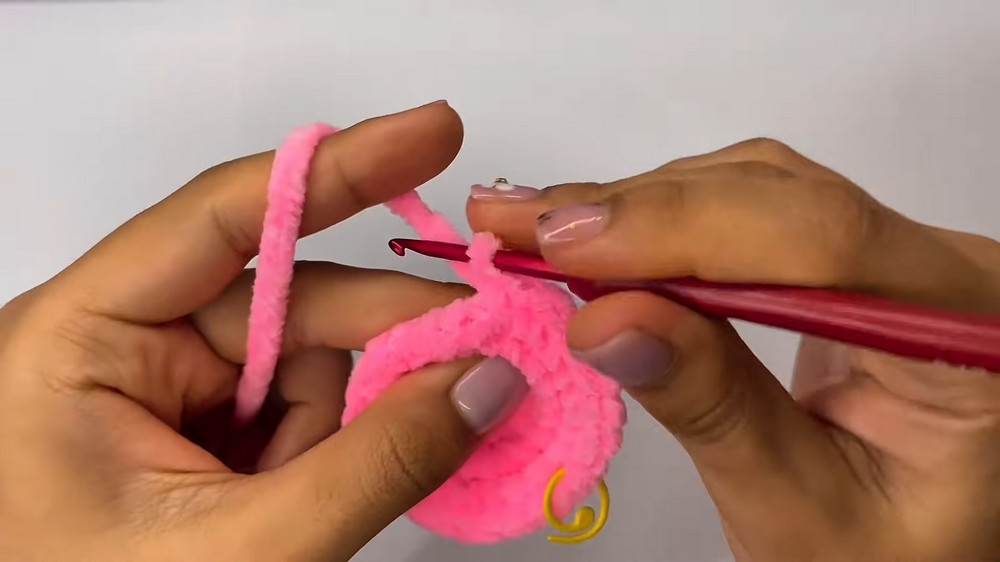
- Foundation: Make a slip knot. Ch 2. 8 sc in first ch. (8)
- This forms the closed bottom of your penguin and gives a neat round base.
- Rnd 2: 8 inc (2 sc in each st around). (16)
- Rnd 3: [Sc 1, inc] 8 times. (24)
- Rnd 4: [Sc 2, inc] 8 times. (32)
- Rnd 5: [Sc 3, inc] 8 times. (40)
- Rnd 6: Sc in each st. (40)
- Rnd 7–12: Begin color work. For rounds 7–12, follow these stripe patterns:Rnd 7: Sc 15 main color, switch to white, sc 3, switch to main color, sc 4, switch to white, sc 3, remainder in main color (15). (40)
- Whenever instructed, change color as above: Insert hook in indicated loop(s), yarn over new color to switch.
Rnd 8: Sc 14 main color, sc 5 white, sc 2 main color, sc 5 white, remainder main color (14). (40)
Rnd 9: Sc 13 main color, sc 6 white, sc 2 main color, sc 6 white, remainder main color (13). (40)
Rnd 10–12: Sc 13 main color, sc 14 white, sc 13 main color. (40) Each round.
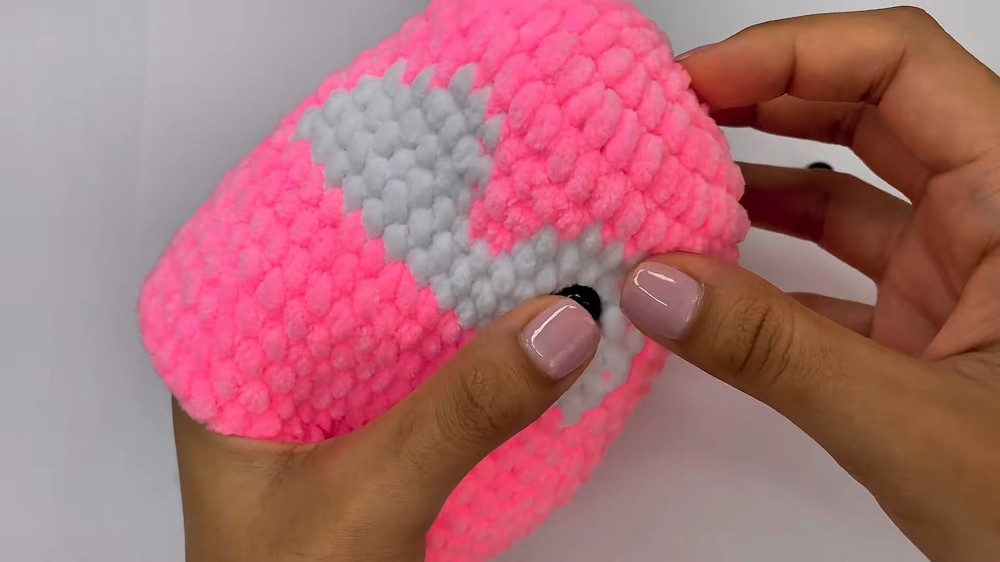
At this point, the white belly oval is formed. Carefully count color stitches each round for symmetry, and use stitch markers to mark color changes if helpful.
- Rnd 13: [Sc 4, inc] 8 times. (48)
- Rnd 14–20: Sc in each st. (48)
- As you work, stuff the body lightly but evenly, taking care not to overfill.

**If you’re new to reading patterns, at the end of the colorwork you’ll have a pink body with an oval white belly. You are now crocheting straight upwards for height._
Insert Eyes & Embroider Face
- Insert 9 mm safety eyes between rounds 9 & 10 of the body, at either side of the color patch, spaced about 6 stitches apart. Use washers to secure at back.
- Embroider the yellow beak as a tiny vertical line between the eyes, over the central white belly stripe.
- For cheeks, use pink yarn to create a small half-circle blush to each side of the beak (optional), knot and hide tails inside body.
Shape the Head—Decreases
- Rnd 21: [Sc 4, dec] 8 times. (40)
- Rnd 22: [Sc 3, dec] 8 times. (32)
- Rnd 23: [Sc 2, dec] 8 times. (24)
- Stuff the rest of the body firmly but smoothly.
- Rnd 24: [Sc 1, dec] 8 times. (16)
- Rnd 25: 8 dec. (8)
- Fasten off, and with a tapestry needle, weave tail through front loops of remaining 8 stitches; pull tightly to close and bring end through to inside.
After these rounds, your penguin’s main body is complete and securely closed. It should have a neat oval shape if gently stuffed.
Wings (Make 2)
- With body color, ch 2. 8 sc in first ch. (8)
- Rnd 2: 8 inc. (16)
- Rnds 3–4: Sc in each st (16)
- Rnd 5: [Sc 3, inc] 4 times (20)
- Rnd 6: Sc in each st (20)
- Rnd 7: [Sc 3, dec] 4 times (16)
- To close: Fold wing in half lengthwise. Sc through both sides across to close. Leave long tail for assembly.
- Make two.
In plain words: The wings are flat ovals, closed along the edge for a tidy finish. You should end up with two similar pieces.
Feet (Make 2)
- With yellow yarn: Make a slip knot, ch 2. Work 4 hdc in first ch. Ch 1, then sl st into the base to form a fan shape.
- Fasten off, leaving a long tail for sewing. Make two.
Feet are small, simple fans—these will be hand-stitched to the body later.
Assembly & Finishing
- Sew Wings: Position wings on either side of the body, roughly level with color changes. Use tail and tapestry needle to stitch through both body and wing edge. Pull thread inside, knot, and clip.
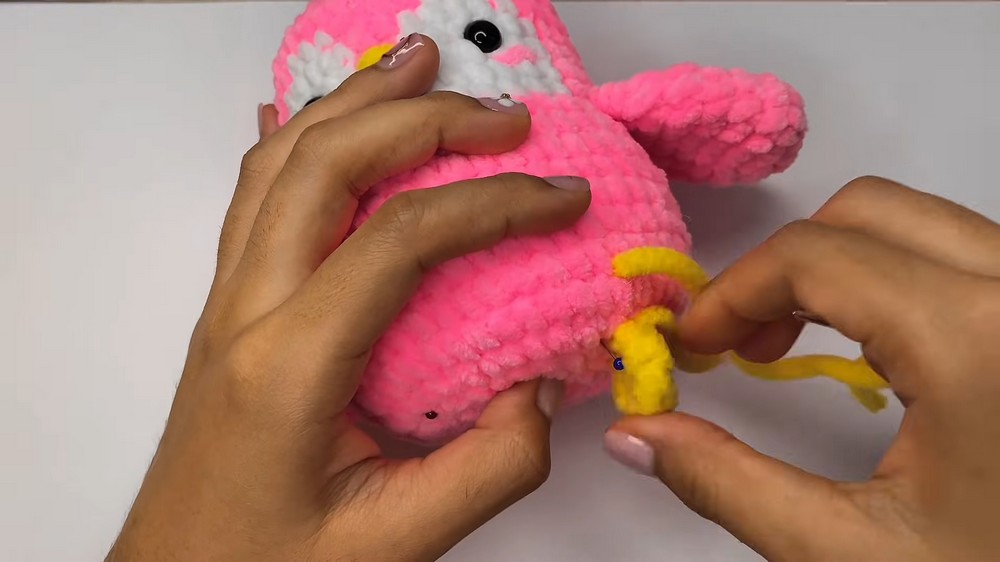
- Attach Feet: Sew both feet under the white belly patch, two rounds up from the base, symmetrically spaced. Knot and hide yarn ends inside.
- Weave Ends: Hide all yarn tails securely in the stuffing.
- Final Adjustments: Steam lightly or shape with your hands for neatness.
If you’re unfamiliar with sewing on parts, pin in place first for symmetry, stitch from the center outward, and always knot securely inside.
Conclusion
Congratulations! You have completed a plush amigurumi penguin with a cheerful belly patch and sweet embroidered features. This project covered working in the round, colorwork, increasing and decreasing for shaping, and assembling amigurumi parts. Each penguin can be personalized by adjusting yarn colors, adding scarves or hats, or trimming with a keychain ring.
Amigurumi toys like this make heartfelt gifts or personal mascots. If you enjoyed this pattern, share your creation online and tag the designer for credit and inspiration for fellow crocheters!