
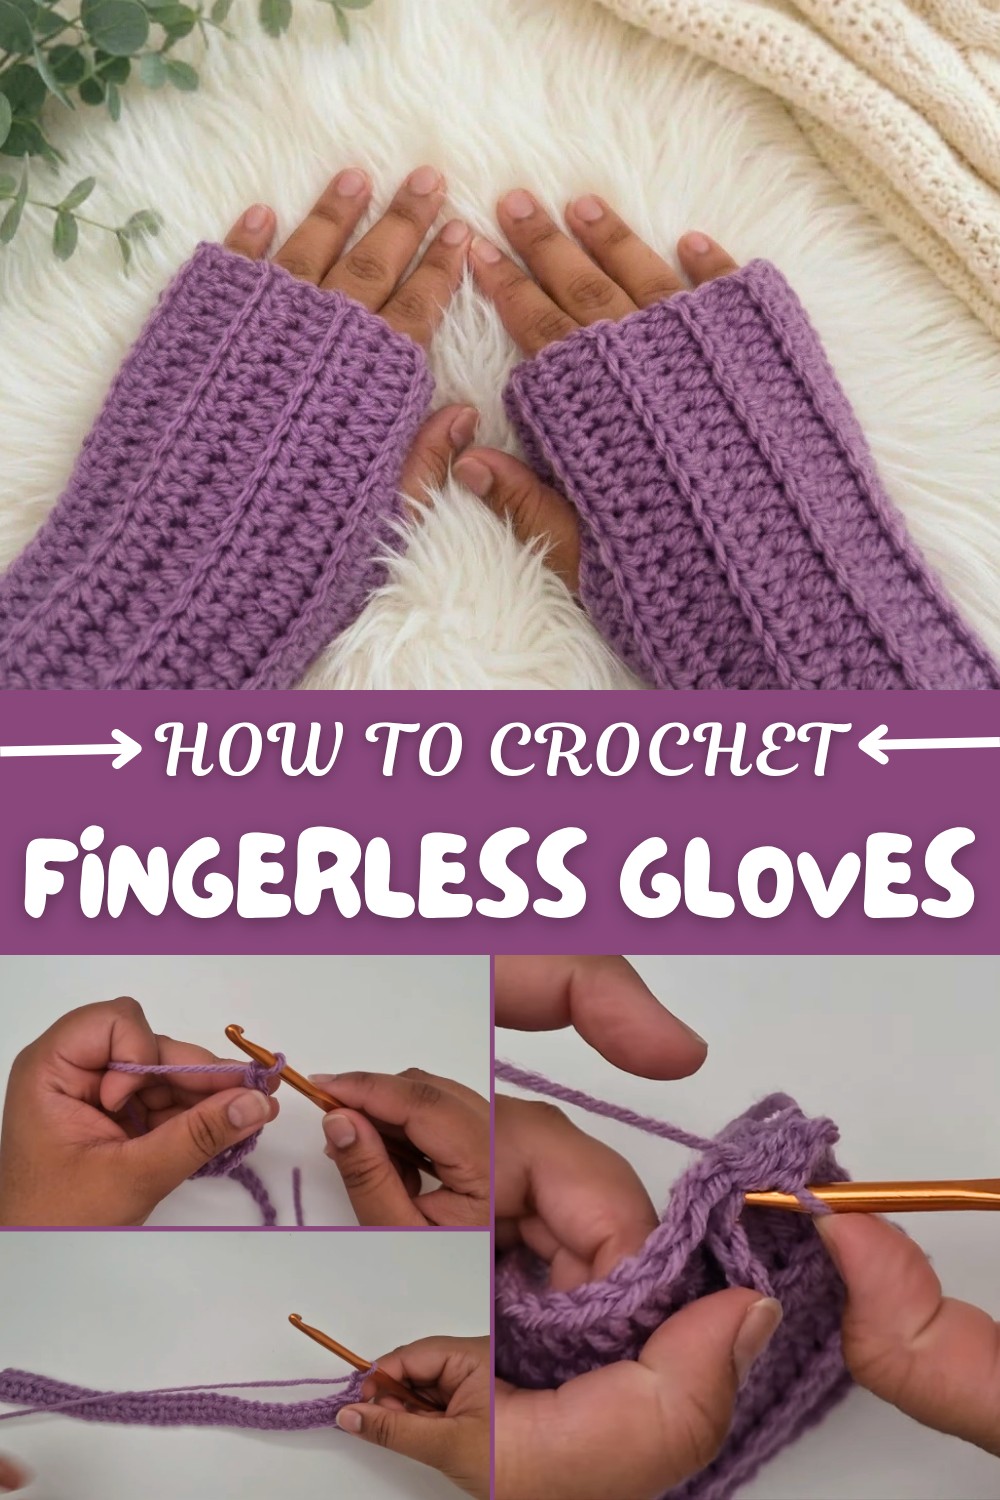
Free Crochet Fingerless Gloves Pattern for Everyday Comfort
Follow this free crochet fingerless gloves pattern with simple steps using category 4 yarn and a 5.5mm hook to create comfortable and stylish gloves.
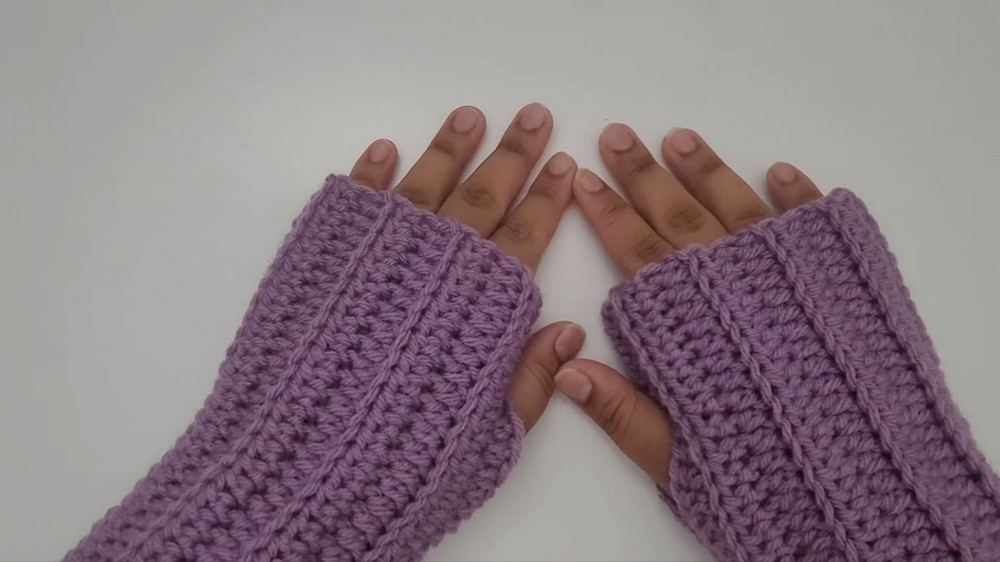
If you are looking for a cozy and simple project, this free crochet fingerless gloves pattern is a perfect pick! These gloves look both pretty and modern, and they are super comfy to wear. What I love most is the clean, straight shape, it fits right from the middle of your fingers to just above the wrist, but you can easily adjust this length as you like. The gloves have a soft ribbed texture, thanks to working half double crochets in the back loops, which also makes them stretchy and snug.
Simple and Stylish Free Crochet Fingerless Gloves Pattern
The pattern is worked flat in rows and then stitched up the side, leaving a neat thumb opening. Making the thumb hole is simple and you can decide how big it should be, so your gloves will fit just right. I also love how you don’t need any fancy stitches or shaping, just chain, half double crochet, and slip stitch.
Crocheters will enjoy this pattern because it comes together quickly and you can finish a pair in just a few hours. You can also create matching sets for friends by changing the color or adding stripes. With a few changes to the starting chain or number of rows, you could even make wristbands or simple arm warmers.
These fingerless gloves are not just pretty, but practical too! They are great for chilly days when you want warm hands but still need your fingers free—for working on the computer, driving, or texting. Wear them at home, at the office, or while running errands. Once you try this pattern, you’ll want to make a pair for everyone you know.

Crochet Sleeveless Gloves Pattern
These gloves are not only stylish and practical, but also a fantastic project for anyone who wants to build their confidence with crochet garments. Using simple stitches and a flexible construction, you’ll create a fitted glove that adapts to your hand size and style. Each section includes plain language guidance, making this pattern accessible for crocheters familiar with basics but needing a little extra support.
Skill Level & Terminology
Skill Level: Confident Beginner
Terminology: US Crochet Terms
This pattern requires knowledge of chaining, half double crochet, back loop technique, slip stitch, and basic sewing/weaving in ends. If you can crochet flat pieces and seam them, you’ll be comfortable with this project.
Materials & Tools
- Yarn: Category 4 (worsted weight) or any similar yarn of your choice
- Sample uses purple yarn
- Hook: 5.5 mm crochet hook (adjust size for your yarn)
- Scissors
- Tapestry/darning needle
Gauge
Gauge is not crucial, but you want a moderate, stretchy fabric that’s not too loose.
Aim for about 4" x 4" = 12 hdc x 10 rows (adjust as needed for fit).
Abbreviations List
| Abbreviation | Meaning |
|---|---|
| ch | Chain |
| hdc | Half double crochet |
| BLO | Back loop only |
| sl st | Slip stitch |
| st(s) | Stitch(es) |
Special Stitch Instructions
- Half Double Crochet (hdc): Yarn over, insert hook in st, yarn over and pull up loop (3 loops on hook), yarn over and pull through all 3 loops.
- Back Loop Only (BLO): When you work a stitch, insert hook under the back loop only (furthest from you), leaving the front loop unworked. Creates ribbing and stretch.
- Slip Stitch (sl st): Insert hook, yarn over and pull through both stitch and loop on hook in one step.
Finished Size
- Length: Customizable — typically from mid-finger to just above the wrist
- Width: Customizable for a comfortable fit around your hand/arm
- Sample: Chain length of 30 for glove length, 17 hdc rows for width
Starting Notes
You begin with a chain as long as you want the glove to be (from fingertips to wrist). Then you work rows of half double crochet in the back loop only, which gives the glove a stretchy, ribbed texture. When your rectangle fits snugly (but comfortably!) around your hand, you'll seam it to form a tube, leaving an opening for your thumb. The pattern includes instructions for adjusting fit, creating the thumb hole, and tidying up your finished gloves.
Stitches used: Chain, half double crochet (BLO), slip stitch.
The Pattern Itself
1. Foundation Chain
- Make a slip knot and leave a small tail for weaving in.
- Using a 5.5mm hook, ch the desired glove length (sample: ch 30).
- Add 2 more chains (for turning; total: 32 ch).
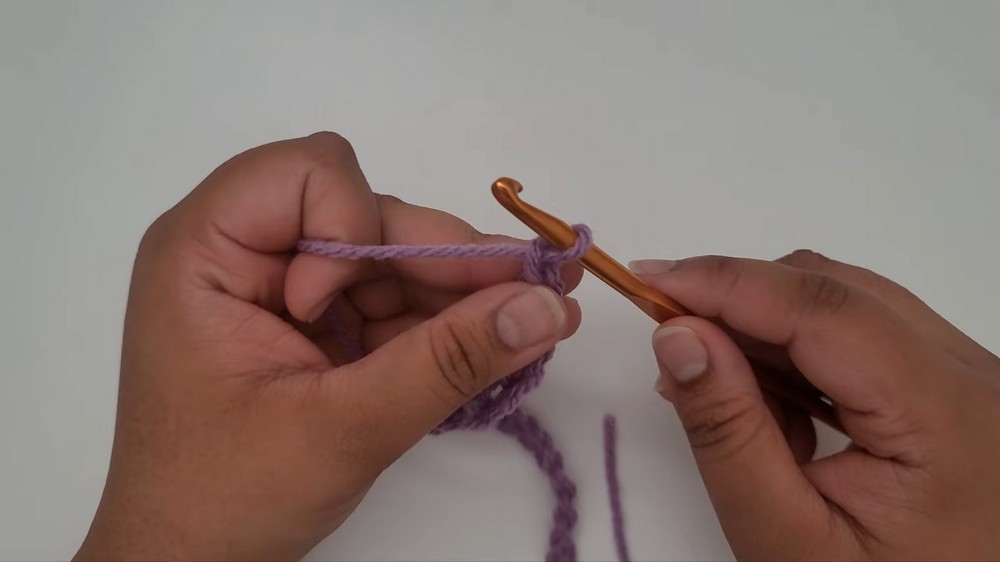
Start with a chain. This is how long your glove will be; measure from mid-fingers to just above the wrist, or adjust for your preferred style.
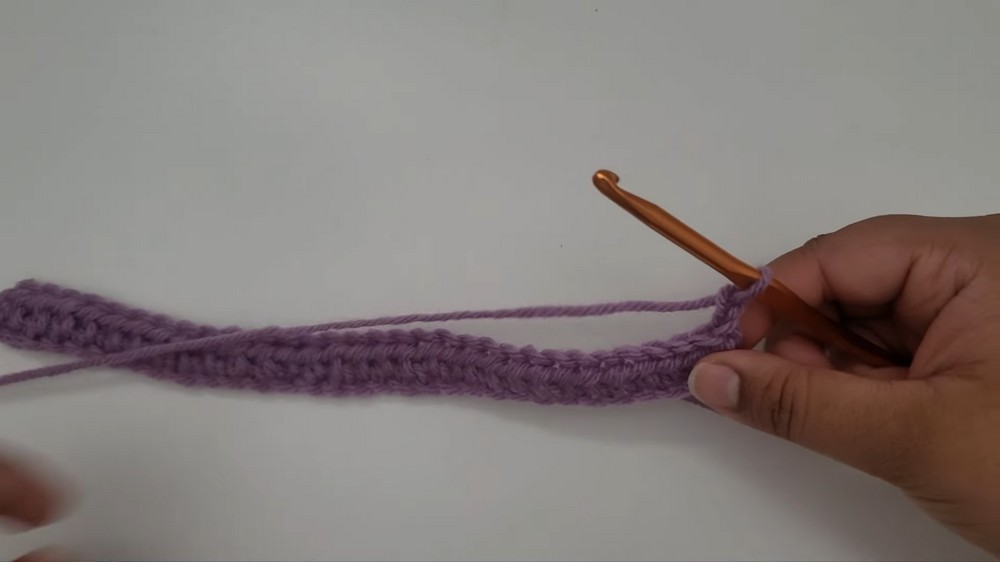
2. Row 1 – Half Double Crochet
- Skip the last 2 ch (turning chains).
- In the 3rd ch from hook, hdc.
- Continue working hdc in each chain across (into the back bump or back loop for easier seaming later).
- At the end, ch 2, turn.
Work one row of half double crochet into your chain. This makes the first row of your glove. The back bump/back loop gives a neater edge for joining later.
3. Row 2 – Back Loop Only Half Double Crochet
- Skip the turning ch.
- Starting in the first stitch, hdc BLO in each st across.
- Ch 2, turn at the end.
From now on, work each stitch into the back loop only. This gives your fabric a stretchy, ribbed look and is key for a snug, comfortable fit.
4. Row 3 and Onward – Continue Ribbing
- Repeat Row 2 for each new row:
- hdc BLO across, ch 2, turn.
- Continue until your glove rectangle wraps snugly around your hand/arm. For the sample: repeat until you have 17 rows.
Keep working in the back loop only. This builds up the stretchy fabric. The number of rows needed depends on your hand size and desired fit. Try wrapping the rectangle as you go to check fit.
Mid-pattern note:
At this stage, you'll feel the glove start to take shape. The ribbed fabric will be a bit elastic and look like stripes. Adjust your row count if you want a looser or tighter fit, and remember the fabric will stretch!
5. Final Row
- Finish the last row with hdc BLO as before.
- Instead of “ch 2,” ch 1 to finish (for a tighter edge).
Once your rectangle is wide enough, chain one to finish off. This edge will help keep your seam neat.
6. Seaming – Creating the Glove Shape
- Fold the glove rectangle so long sides meet.
- Starting at the edge opposite your beginning tail, insert hook into both the last row and the starting chain to begin slip stitching.
You are now turning your flat crochet into a glove. The seam along the long edge will close it into a tube shape.
Seaming Instructions
- Slip stitch (sl st) through both sides to join:
- Insert hook into first stitch on both sides, yarn over and pull through both, then through loop on hook.
- Repeat along the edge, working stitch by stitch.

Slip stitch both sides together so your glove becomes a tube. If you prefer, use a tapestry needle and whip stitch the edge instead.
7. Thumb Hole
- Stop slip stitching (or sewing) when you reach the place where you want the thumb hole to start.
- Put on the glove and test placement. Pinch at the desired spot, count how many stitches you’ll skip.
- Skip stitches for desired thumb hole width, do not join these stitches.
- Resume slip stitching (or sewing) the rest of the edge after the thumb opening.
Leave an opening for your thumb by not joining some stitches. The exact amount depends on your hand and glove size. Make sure to have equal stitches skipped on both sides for a neat opening.
Mid-pattern note:
This step is how you customize your glove. Pause, try on the glove, pinch where you want the hole to start/end, and count stitches carefully.
8. Finishing the Seam
- Finish joining the seam after the thumb hole is created.
- Chain 1 (or 2 for extra strength), cut yarn, pull through to finish.
Finish your seam securely. The glove tube should be closed except for a neatly sized thumb hole.
9. Weaving In Ends
- Thread yarn tails onto your darning needle.
- Weave in ends through side stitches, being careful not to close the thumb hole by accident.
- Repeat for both beginning and ending tails.
Hide your yarn tails in the edge of the glove so they’re invisible and the glove stays sturdy.
10. Turn Glove Right Side Out
- Flip the glove so the seam is inside.
- Use your hands to stretch and arrange the ribbing.
This is your finished glove! The seam is hidden inside, and the thumb hole is ready for comfort and movement.
Assembly & Finishing
- Repeat the pattern for the second glove.
- Try on both gloves and adjust thumb placement if needed by counting your skipped stitches.
- Customize length and width as preferred. If desired, edge the thumb opening with single crochet for extra finishing.
Follow the same process for your second glove. Try on to check fit and enjoy your new pair! If you want, add a decorative border or edge for extra flair.
Conclusion
Congratulations! You’ve completed a pair of crochet fingerless gloves using simple, stretchy ribbed crochet and basic seams. The gloves are warm, soft, and perfect for chilly days, keeping your fingers free while covering your hands and wrists. This pattern is easily adjustable—change chain or row counts to fit your style, and experiment with colors or embellishments as desired.
Pattern Recap & Process
- Start with a foundation chain (long as glove length).
- Work rows of half double crochet (BLO) to desired glove width.
- Seam the rectangle into a tube with slip stitch, leaving a thumb hole.
- Finish, weave in ends, and turn right side out.