
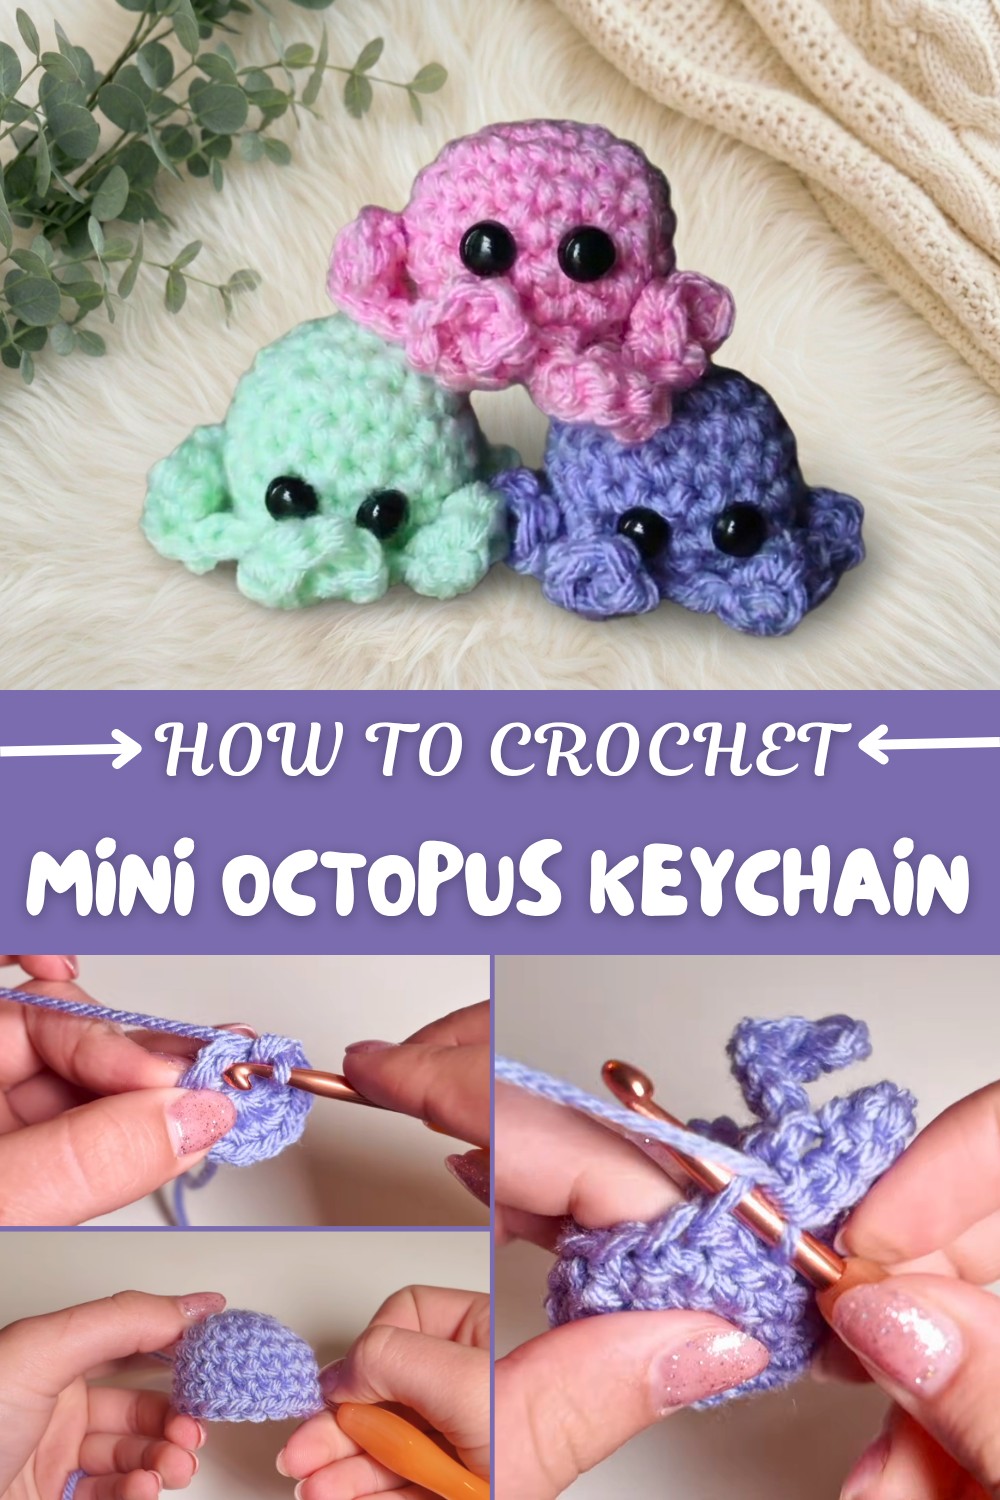
Mini Octopus Keychain Free Crochet Pattern with Easy Steps
Learn how to crochet a mini octopus keychain with this free beginner-friendly pattern, complete with tiny details perfect for quick and fun handmade creations.
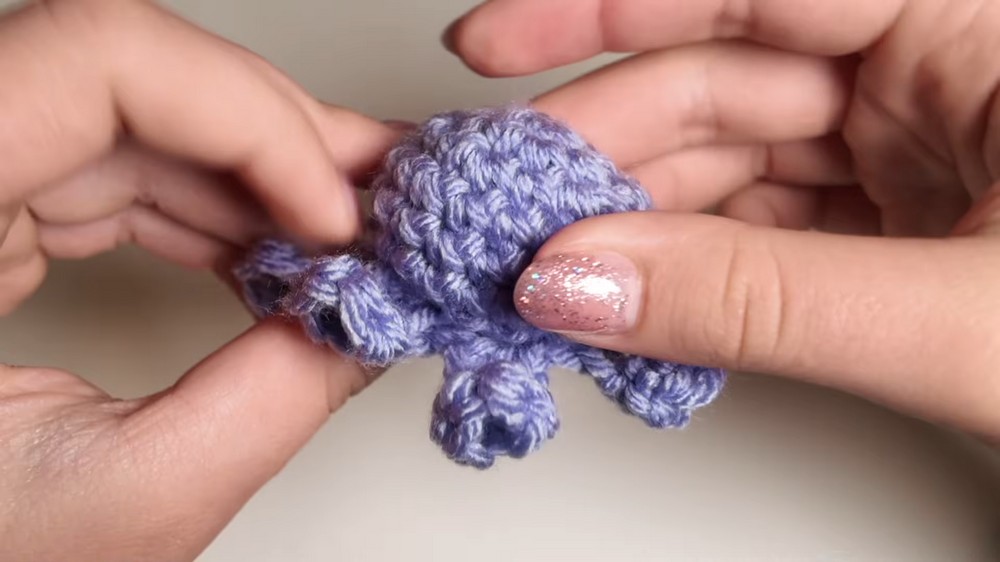
I love how something so small can bring so much joy, this mini octopus is one of those special creations. With its curly, wiggly legs and a soft, round head, it feels cheerful and friendly right in your hand. You can make it as a keychain for your backpack, turn it into a cute bag charm, or let it brighten up your desk as a tiny toy.
Adorable Free Crochet Mini Octopus Keychain Pattern
Choosing colors is one of the best parts, I like making mine with purple, but you can use any that make you happy: blue, pink, green, even a whole rainbow. Every little octopus looks different, and making a set in all your favorite shades is double the fun. This is a beginner-friendly pattern, easy for both kids and adults to enjoy.
The most important part is using the magic ring—that’s how the head starts, staying neat and tidy. A 5mm crochet hook fits perfectly in your hand for smooth crocheting with medium-weight acrylic yarn. You’ll shape the round body using single crochet stitches, and the legs are curled just by chaining and adding more single crochets in the loops. In no time, each tentacle springs to life, giving your octopus its playful style.
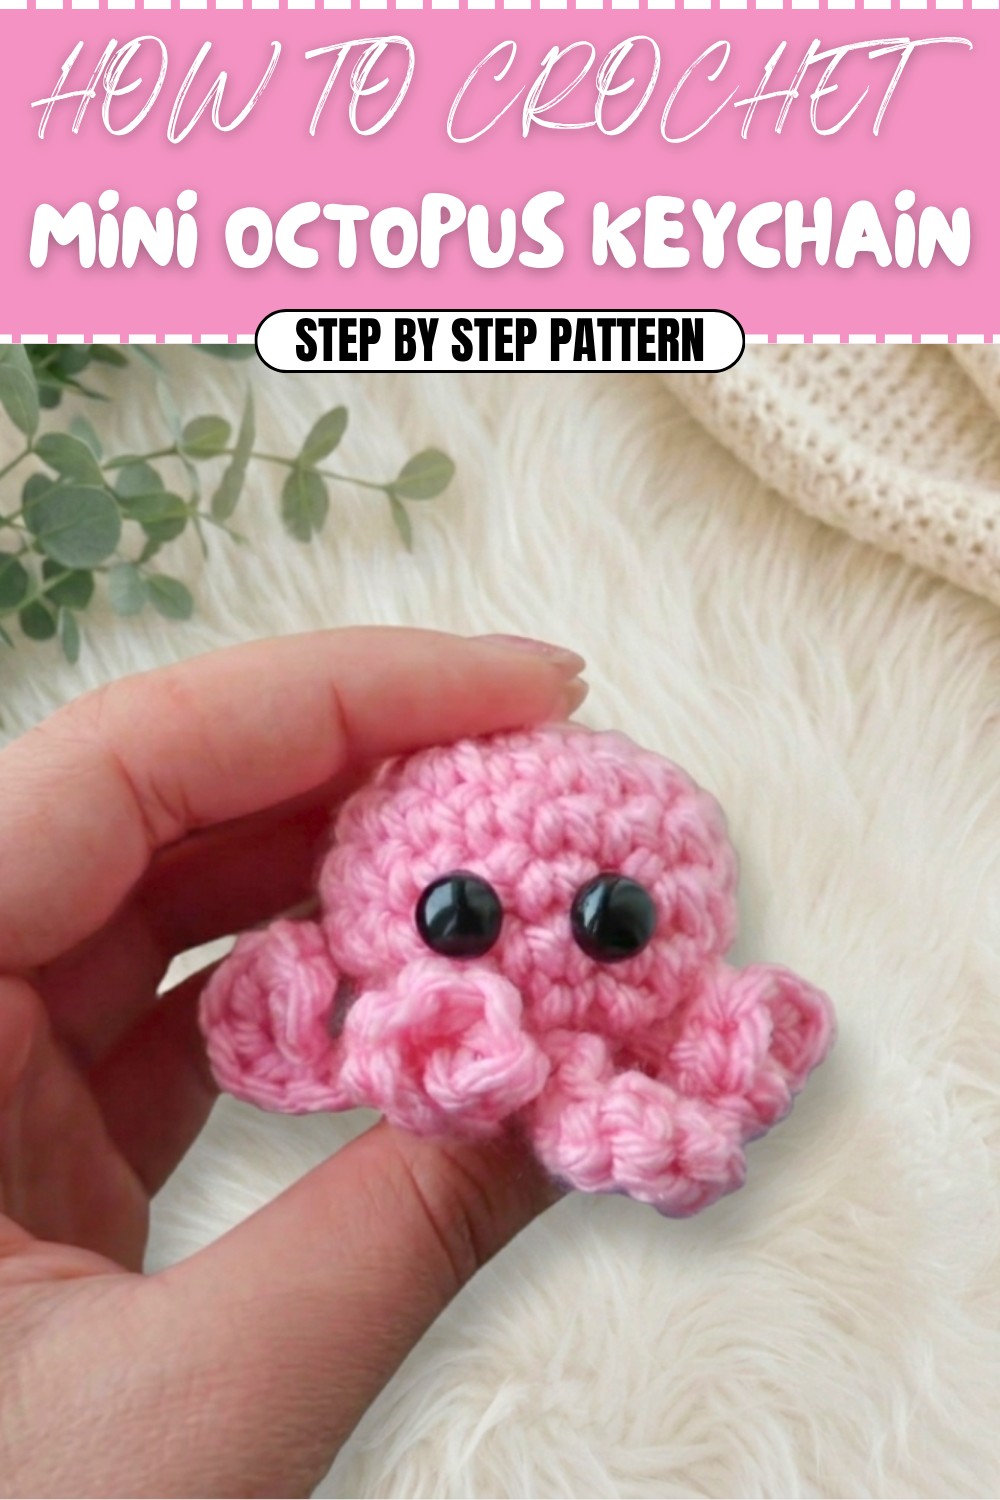
Eyes are where the personality shines add tiny safety eyes, buttons, or just stitch a smiley face. Each one is about 2 inches across, close to the size of a small flower, but you can make bigger or smaller ones by changing your yarn.
I always feel proud finishing these adorable octopuses, knowing they’ll bring smiles, whether hanging on a school bag or sitting at the corner of a desk. With a little yarn, a hook, and your favorite color, you can make something truly delightful.
Mini Crochet Octopus: Step-by-Step Pattern
Welcome to this formal and friendly step-by-step crochet guide for making a super tiny mini octopus. This project is crocheted for beginners who want to build confidence with amigurumi, as well as for more advanced crocheters who desire a quick and charming project. With clear instructions, simplified explanations after each round, and plenty of tips, you’ll find this octopus the perfect addition to your collection of amigurumi or as an adorable keychain gift.
Who Can Use This Pattern?
This pattern is beginner-friendly and suitable for crafters who know the basics of crochet (chains, single crochet, slip stitch) and wish to practice or learn the magic ring and basic increases and decreases. It’s also perfect for intermediate makers who enjoy small, quick projects, and advanced crocheters who want to create miniature gifts or market items efficiently. Whether you’re starting out or sharpening your skills, you’ll find this guide approachable and rewarding!
What Will You Learn?
- Forming a magic ring (crucial for seamless amigurumi starts)
- Increasing and decreasing stitches for shaping
- Working in the round and understanding amigurumi construction
- Creating and attaching tentacles with curly chain methods
- Attaching safety eyes or embroidering cute expressions
- Sewing and finishing amigurumi neatly
- Stuffing and shaping for the perfect plush result
These skills will not only build your confidence but also lay the groundwork for more complex amigurumi and 3D crochet designs.
Materials List
- Yarn:
- Medium weight (worsted/size 4) acrylic yarn.
- Recommended: Soft brands like "I Love This Yarn" for cuddly texture.
- Color: Any you like! Purple is used in the sample, but blues, greens, or multi-color yarns work beautifully.
- Crochet Hook:
- 5.0 mm (H-8) or size suggested for your chosen yarn
- Notions:
- Stuffing (polyester fiberfill, or upcycled pillow stuffing)
- Yarn needle for sewing and weaving in ends
- Stitch marker or scrap yarn (for marking rounds—optional)
- Small safety eyes (or buttons/embroidery thread for eyes)
- Scissors
- Hot glue (if you wish to glue on eyes)
Finished Size
- Each octopus measures approximately 1.5 to 2 inches tall when made with a 5 mm hook and worsted yarn, making it the perfect keychain or pocket-sized friend.
Special Techniques & Stitches
- Magic Ring (MR): Starting circle for closed, seamless amigurumi
- Single Crochet (sc): Basic amigurumi stitch
- Increase (inc): 2 sc in one stitch
- Decrease (dec): sc two together, optionally worked through front/back loops for an invisible decrease
- Slip Stitch (sl st): Joining and finishing
- Working in the round: Building up and down in spiraling circles
- Chain (ch): Building tentacle curls
- Crocheting in front/back loops only: For detail and shaping
Pattern Start: Foundation and Rounds
The octopus starts with a magic ring—the foundation for most amigurumi because it closes tightly so no stuffing leaks through. From there, you’ll crochet in spiraling rounds, using common shaping techniques.
Round-by-Round Simplified Explanations
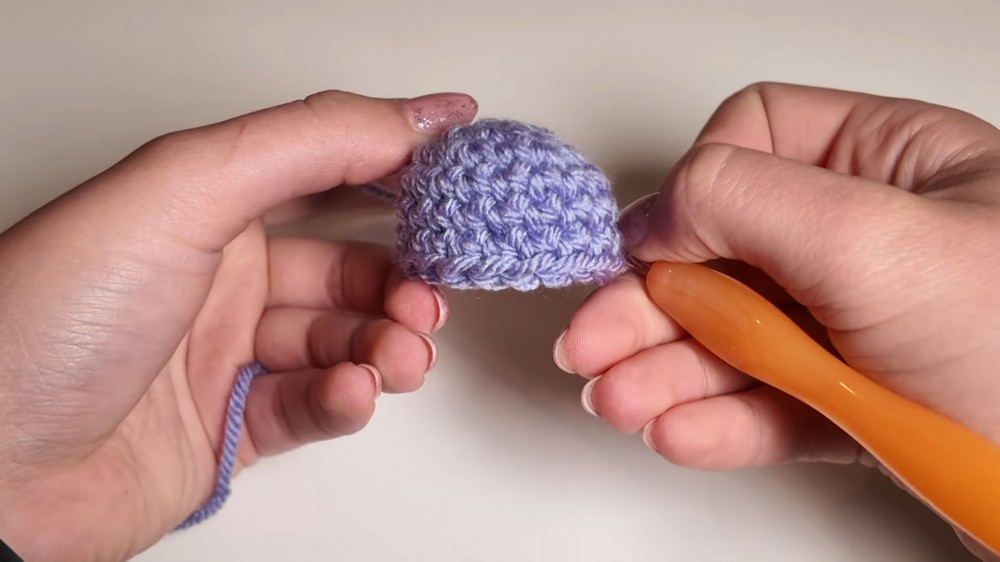
Round 1: The Magic Ring
- Create a magic ring.
- Work 6 sc into the magic ring.
- Pull the tail to tighten the ring.
- Join to the first sc with a sl st. (6 sts)
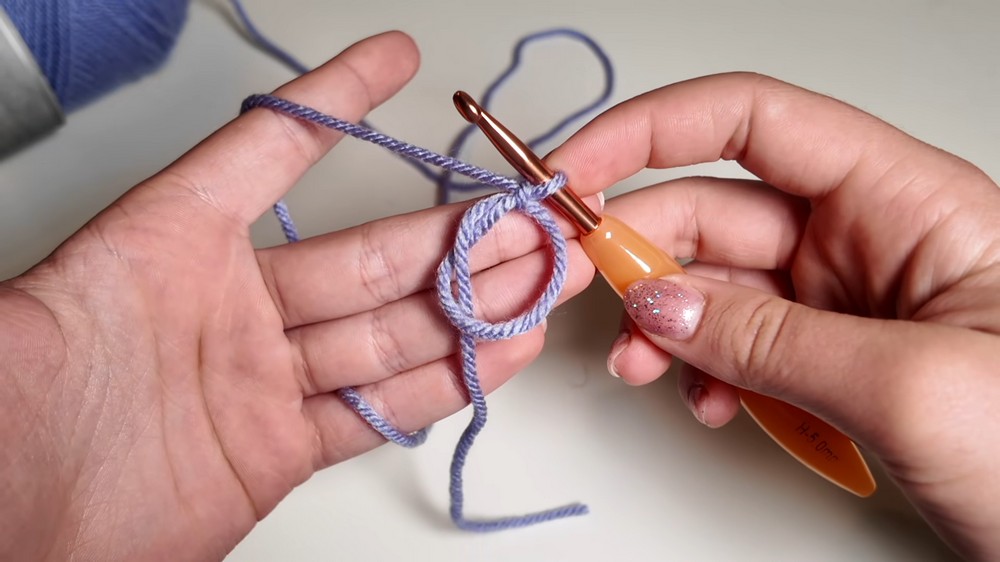
Simple explanation:
This round is the very center of your octopus. You’ll crochet 6 stitches into a flexible ring, then pull tight for a neat start.
Round 2: Increasing the Head
- 2 sc in each stitch around.
- Join with a sl st to the first sc. (12 sts)
Simple explanation:
Now, increase every stitch in the circle so your head grows bigger and flatter, creating a base for the octopus.
Round 3: Shaping the Form
- (2 sc in next st, 1 sc in next st) repeat around.
- Join with a sl st to the first sc. (18 sts)
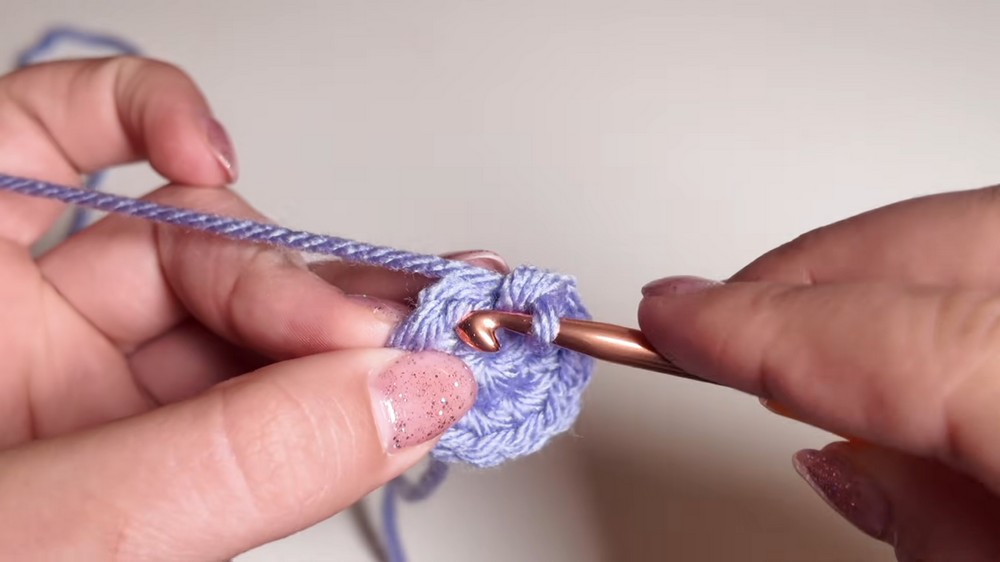
Simple explanation:
You’re alternating increases and singles to smoothly expand your tiny sea friend.
Rounds 4-6: Building Height
- 1 sc in each stitch around for three rounds.
- At the end of each round, sl st to join. (18 sts each round)
Simple explanation:
These rounds just add depth and height, forming the hollow shape of the octopus’s head.
Visual tip:
If the work curves the wrong way, just pop it outward into a bowl shape.
Round 7: Shaping the Bottom
- (1 sc in next st, decrease over next 2 sts) repeat around.
- Join with a sl st. (12 sts)
Simple explanation:
A mix of singles and decreases narrows the opening so your octopus head takes shape.
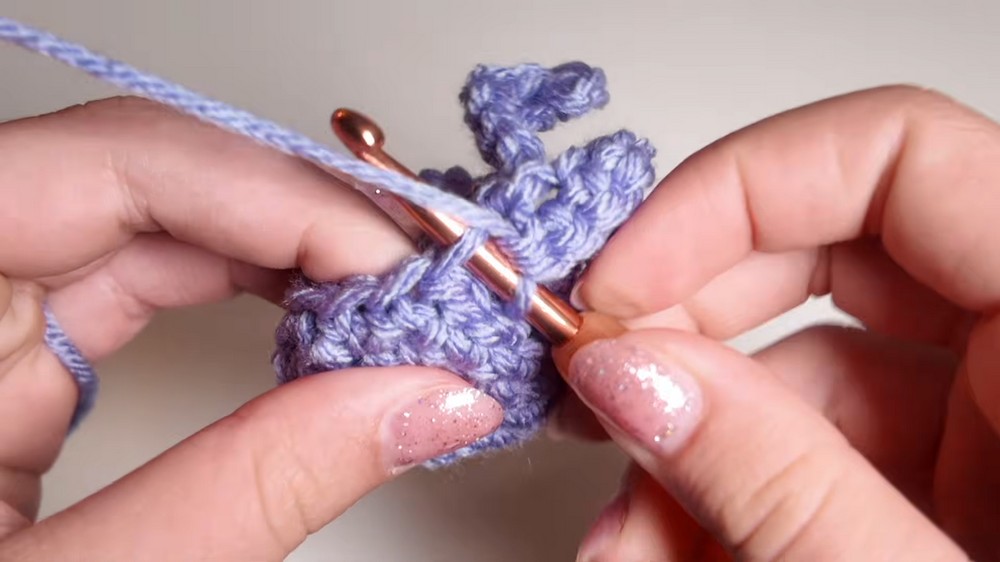
Round 8: Creating Tentacles
- In front loop only of each stitch:
- sc, ch 5, 2 sc in each chain back down the chain, sl st in next front loop, repeat for all 6 tentacles.
Simple explanation:
For each tentacle, work into just the front part of the stitch. First, make a single crochet, then a chain for a tentacle, work back along the chain to make it curly, then slip stitch to anchor. Repeat all the way around for 6 playful legs!
Before Final Round: Stuffing
- Before moving to the last round, stuff your octopus gently with fiberfill.
Stuff from the bottom for a plump, firm shape. Don’t overfill or seams will stretch.
Round 9: Closing the Base
- In the back loops only (from Round 7), sc decrease around to close.
- Fasten off with a long tail for sewing.
- Use the yarn needle to weave tail through all remaining loops, pull tight to close any opening, and weave in ends.
Simple explanation:
This round invisibly closes the base of your octopus. Take your time and use the back loops for a neat finish.
Final Touches: Eyes and Personalization
- Attach eyes with either sewing, glue, or by using safety eyes.
- Position slightly above the tentacles for a sweet, inviting expression.
- Embroider a smile, or customize with cute details (blush, bows, etc.).
- For a keychain, sew or glue a split ring to the top.
These finishing touches turn your octopus from a plush into a true buddy!
Customization Ideas
- Colors: Mix and match for a rainbow octopus army!
- Tentacle Variations: Change the chain length for long or short tentacles.
- Expression: Use button or felt eyes for unique personalities.
- Accessories: Add mini hats, bows, or facial details.
- Size: Use finer yarn and a smaller hook for micro-octopi, or chunky yarn for a squishy plush.
Important Remarks & Tips
- Always pop the work the right way out (see where your starting tail is to orient).
- Stitch markers help beginners keep track of the start of each round—don’t skip this step if you’re new.
- Don’t overstuff; stuffing should stay inside but give the octopus a firm, not stretched look.
- If closing the bottom in Round 9 is tricky, sew with a yarn needle for a flawless finish.
- Use invisible decreases if you want a smoother face.
Pattern Flow: Start, Mid, and Completion
- Start: Your journey begins with just a magic ring and a handful of stitches, setting the base for big personality in a tiny form!
- Mid: As rounds build up, you’ll shape and sculpt the octopus, adding delightful curly tentacles for character and fun.
- Completion: After stuffing and closing, every finishing touch brings your mini octopus to life—a true joy from start to finish.
What You’ll Gain
By following this pattern, you’ll master magic rings, increases, invisible decreases, and assembly. This little octopus makes the perfect practice piece for learning amigurumi principles—empowering you to tackle larger, more complex creatures in the future.
- For Beginners: A friendly, detailed entry to simple amigurumi and increasing/decreasing skills.
- For Advanced Users: An efficient, customizable scrap-busting project you can finish in one sitting!
Conclusion
The mini crochet octopus is more than a project; it’s a bridge to mastering amigurumi, understanding shape and form, and unleashing creative expression! Whether for a keychain, tiny plushie, or a gift, your octopus will bring smiles to all who see it.