
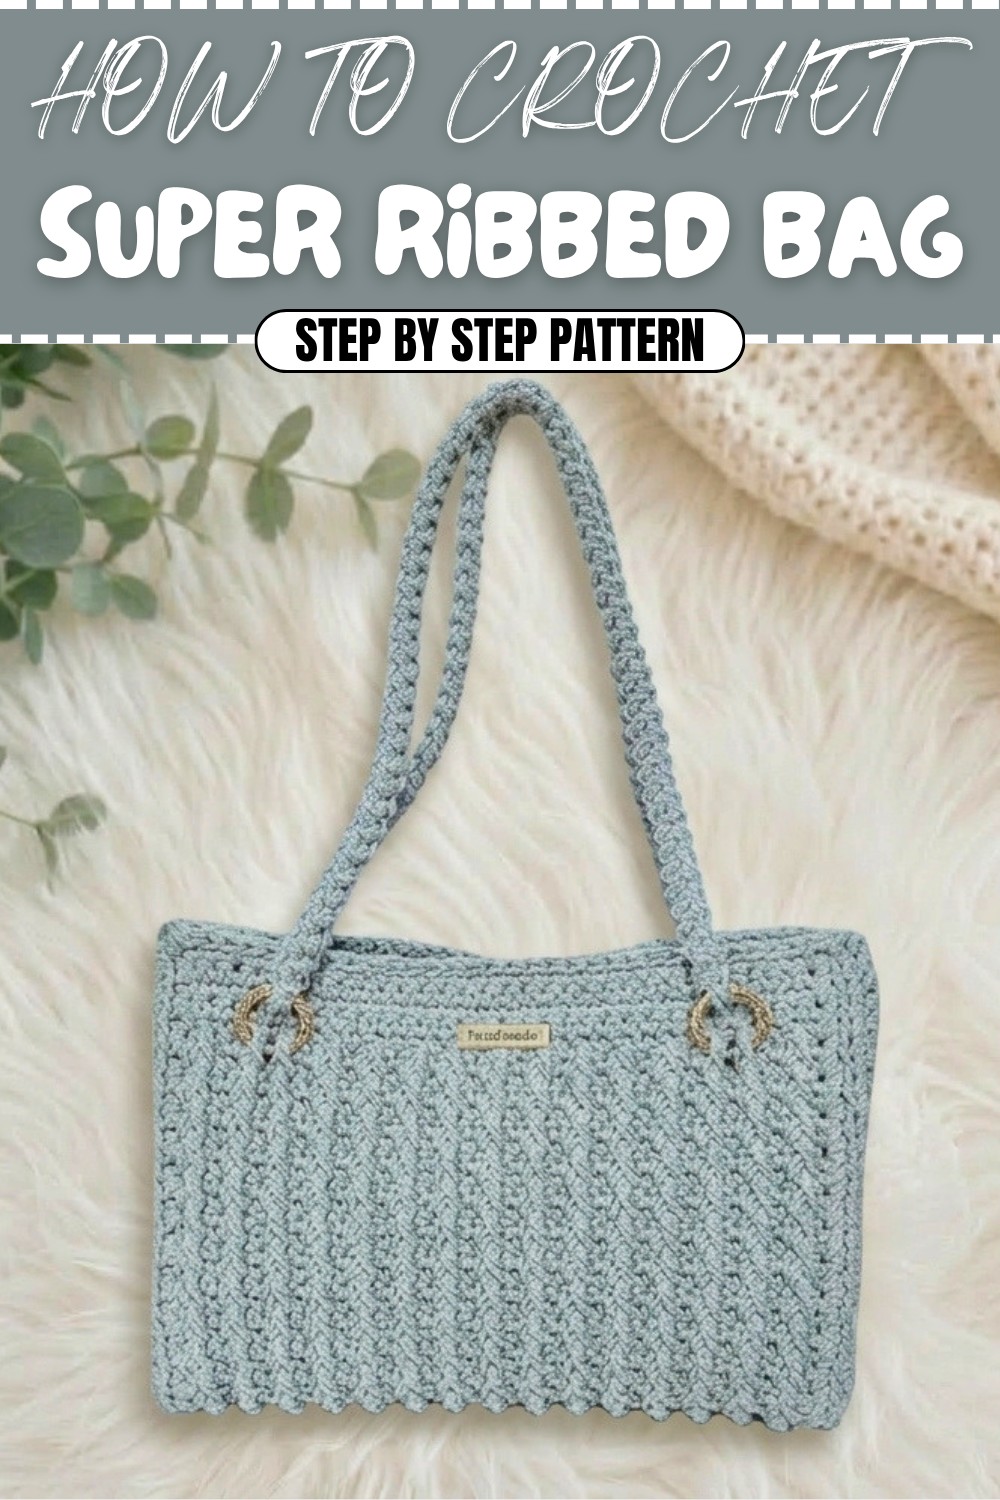
Crochet Ribbed Bag Free Pattern for Trending Fashion
A ribbed bag is eye-catching and feels nice to touch, thanks to its neat lines and squishy look. The Free Crochet Ribbed Bag Pattern uses basic stitches to create rows that stand up like ridges. These raised stripes make the bag strong and roomy, so you can carry school supplies, snacks, toys, or even a book.
The ribbing gives the bag a smart and tidy appearance. Soft yarn and the special front post double crochet stitch are used to make the bumpy lines, which look cool and help the bag keep its shape. Handles can be added to sling it over your shoulder, or kept short for holding in your hand.
Free Crochet Ribbed Bag Pattern with Step-by-Step Instructions

Choose any color you like! Soft pastels make a gentle, pretty bag, while bold shades or stripes will stand out for fun. It’s simple to make a small or big bag—just add more rows or start with a longer base. Change the size as you need: tiny for coins and treasures, medium for snacks or pencils, or large for carrying your favorite toys.
From this kind of pattern, it’s possible to make ribbed tote bags, pencil cases, snack pouches, small purses, and mini backpacks. Each one will be sturdy and useful, thanks to the ribbed design.
Convertible Multi-Way Crochet Bag Pattern
This elegant Convertible Multi-Way Bag uses textured ribbing and sleek side panels to create a stylish, versatile accessory. Wear it as a handbag, shoulder bag, or crossbody—the detachable Romanian cord handles make switching looks effortless. The pattern is designed for beginners and includes step-by-step directions, special stitches, and full finishing details.
Skill Level & Terminology
- Skill Level: Beginner
- Terminology: US Crochet Terms
The pattern uses basic crochet stitches, front post double crochets, simple increases and decreases, and the Romanian cord for handles/strap.
Materials & Tools
- Yarn: Approx. 420g 3-ply cotton macrame cord, medium (Size 4/worsted), 100% cotton
- Hooks: 6mm for foundation chain, 5mm for main work
- Notions:
- 18mm magnetic buttons
- Metal tag plate (for embellishment)
- Four 19mm spring rings (for removable handles)
- Sewing thread and needle
- Scissors, Darning/yarn needle, Stitch markers
Gauge
Gauge is not critical due to the bag’s flexible design, but for reference:
31 sc x 6 rows (5mm hook) = approx. 10 x 6 cm rectangle
Abbreviations List
| Abbr. | Meaning |
|---|---|
| ch | Chain |
| sc | Single crochet |
| fpdc | Front Post Double Crochet |
| sl st | Slip Stitch |
| st(s) | Stitch(es) |
| BL | Back Loop |
| rep | Repeat |
| dec | Decrease (sc2tog/sc3tog as directed) |
| inc | Increase (2 sc in same st) |
Special Stitch Instructions
- Front Post Double Crochet (fpdc):
Yarn over, insert hook from front to back around the post of the next stitch, yarn over, pull up loop, finish dc as normal (yarn over, pull through 2, yarn over, pull through last 2 loops). - Romanian Cord:
Chain 2, sc in 2nd chain. Insert hook diagonally into the side "bars" of previous stitch, yarn over, pull up a loop, sc. Repeat, always working into the side bars to create a dense cord. - Decrease (sc2tog/sc3tog):
Insert hook into next stitch, yarn over, pull up a loop; do so for 2 or 3 stitches, yarn over and pull through all loops.
Finished Size
- Body: Approx. 26 x 20 cm before assembly
- Handle/strap: Each approximately 50 cm (adjustable per preference)
- Bag depth and closure: Flexible, with additional width from side panels.
How to Start & Stitches Used
Begin with the center panel using single crochet rows, then alternate with ribbing rows in front post double crochet. Work single crochets and slip stitches for edges. Side panels are formed with single crochets (BL), then decreases. Handles are Romanian cords. All features are worked with simple stitches and easy assembly.
The Pattern
PART 1: CENTER PANEL AND RIBBING
With 6mm hook:
- Make a slip knot, then ch 32.
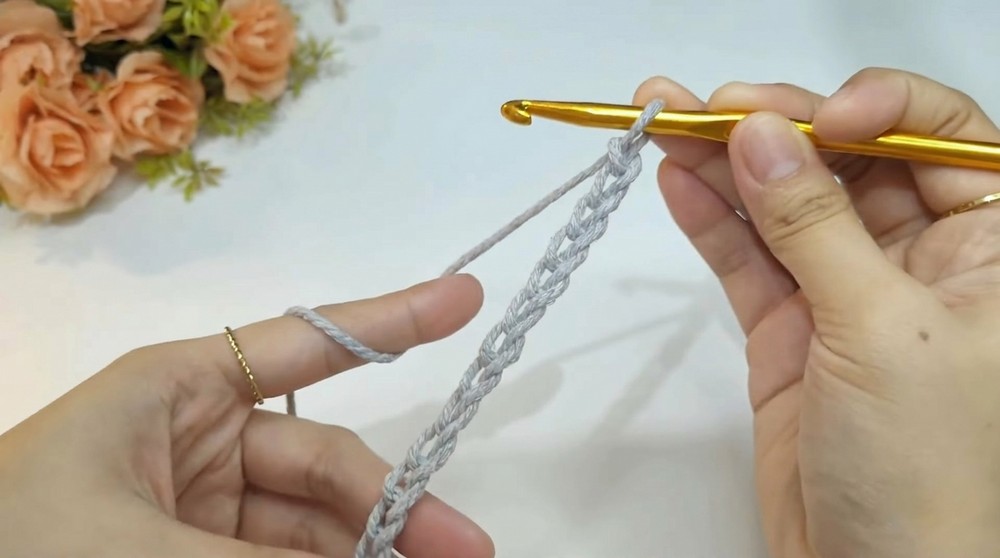
Switch to 5mm hook:
- Row 1: Skip first ch, sc in back bump (back ridge) of 2nd ch from hook, sc in each ch across (31 sc).
- Place stitch markers in the first and last stitch.
- Rows 2–6: Pull up working loop (for easier tension), turn, sc in first st, sc in each st across (31 sc). Mark first stitch.
- Tip: Don’t use chain-1 as a turning chain; pulling up loop keeps sides neat.
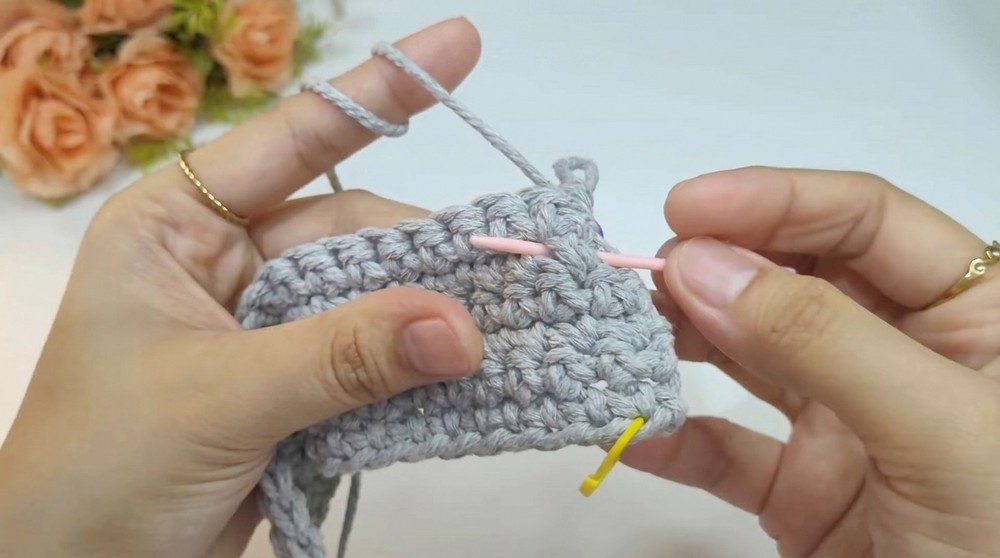
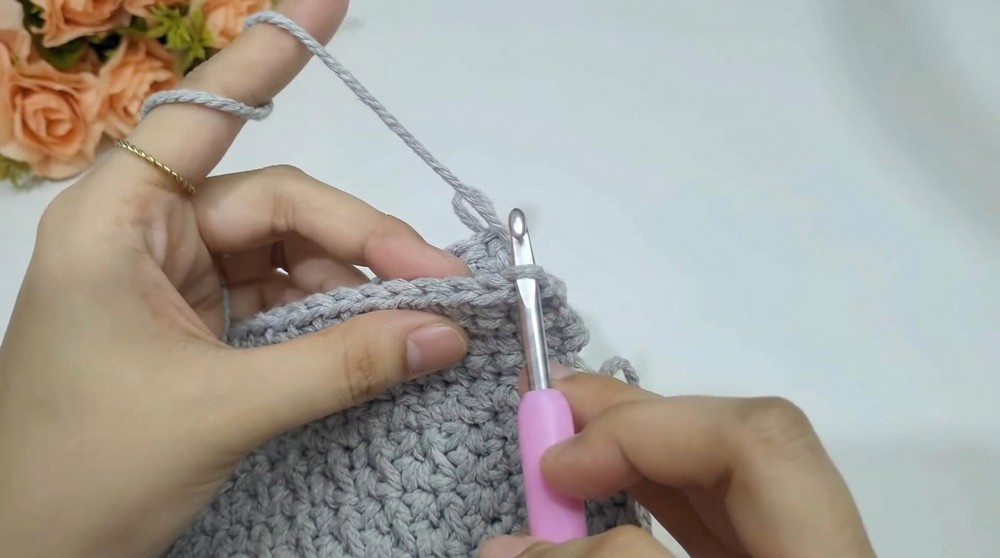
Now, begin ribbing:
- Row 1 (Ribbing): Turn, sc in first st, mark.
Into next st, work fpdc:- Yarn over, insert hook around post of next st (front-to-back), yarn over, pull up to match the height of edge, finish dc.
- Next st: sc; next st: fpdc.
- Rep [sc, fpdc] across, ending with fpdc and sc in last st.
- Row 2: Pull up working loop, turn, sc in each stitch across (31 sc).
- Row 3: Turn, sc in first st (mark).
Repeat [fpdc, sc] across as before, ending with sc in last st. - Row 4: Pull up working loop, turn, sc in each st across.
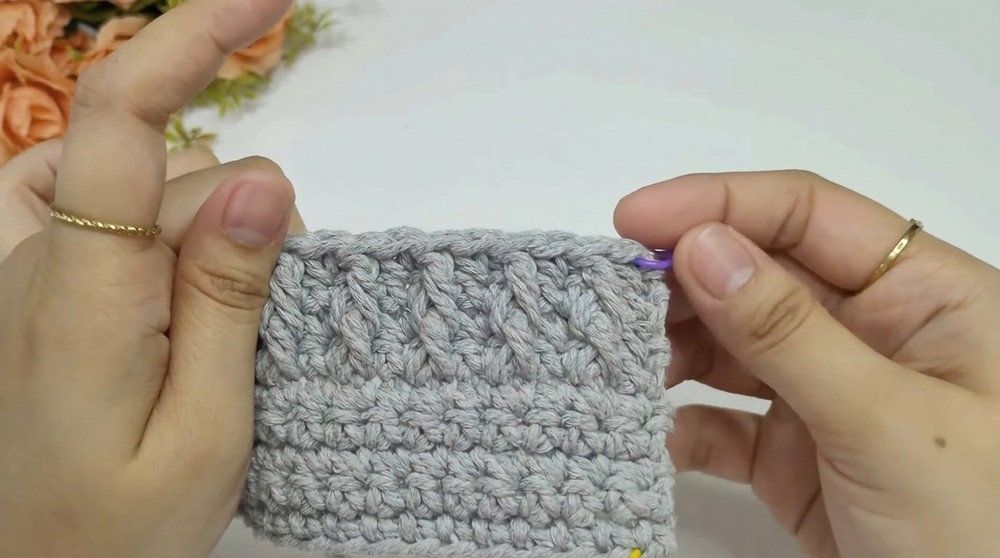
Repeat ribbing sequence:
- Alternate rows of [sc, fpdc, sc…] and rows of sc until you have 26 ribbed edge loops (counted as “side loops” after the line near ribbing).
- Mark the first and last loop for counting.
Finish with Top Band (Second Band):
- Rows 1–4: Turn, sc in each st across.
For beginners:
This section builds the main body—single crochet rows for stability, ribbing for texture and style.
PART 2: EDGING
Turn work clockwise to start side edgings.
- Work 2 sc into first ridgeline stitch (same as last single crochet). Mark the next st as your corner.
- Work 2 sc into each ridgeline stitch (side bumps every second row) along the ribbing edge to next corner.
- At corner: Mark with stitch marker, turn, then work slip stitches across top band edge (next side). Remove marker, place on last sc (as new corner).
- Continue: Work slip stitches across, turn, work 2 sc into ridgeline stitches along ribbing edge to corner.
- Repeat sequence on all sides (2 sc into ridgeline stitches on ribbed sides, slip stitches across top bands).
- Count: There should be 30 single crochet increases (60 stitches) per ribbed side.
For beginners:
Adding edging creates a strong, neat border for the bag and helps with final structure.
PART 3: METAL TAG & BUTTONS
- Attach metal tag to bag’s center, between top band and ribbing rows.
- Turn to WS, sew magnetic buttons above tag with sewing thread and needle (front piece first, then back piece directly opposite).
- Ensure alignment and secure the closure.
For beginners:
Sew embellishments gently for a high-quality finish. Magnetic buttons add both beauty and function.
PART 4: SIDE PANELS
LEFT SIDE PANEL:
- Remove stitch marker from corner, work sl st into corner mark.
- Ch 1, sc into same st (mark it).
- Work 21 sc-BL (in back loops only) across.
- Always sc in first and last st as regular (not BL) for structure.
Corner shaping:
- Decrease over next 2 sts (sc2tog), 8 times.
- Place markers in first and last decrease.
- Continue 21 sc-BL, finish with regular sc in last st.
Row 2:
- Turn, 22 sc across to stitch marker.
- Decrease 4 times inside marked section (sc2tog), mark each decrease.
- Continue 22 sc across.
Rows 3 & 4:
- Row 3: 22 sc; 2 decreases (mark) in center section; 22 sc to end.
- Row 4: 22 sc; 1 decrease in center; 22 sc.
Assembly:
- Turn WS, join edges with sl st into back loop, joining sides cleanly down panel.
- Weave in ends.
RIGHT SIDE PANEL:
- Repeat as for LEFT side panel, joining yarn in marked corner, ch 1, sc, mark, then 22 sc-BL; corner shaping; join edges.
For beginners:
Panels add depth and function. Use decreases to shape the sides and join edges for a real bag structure.
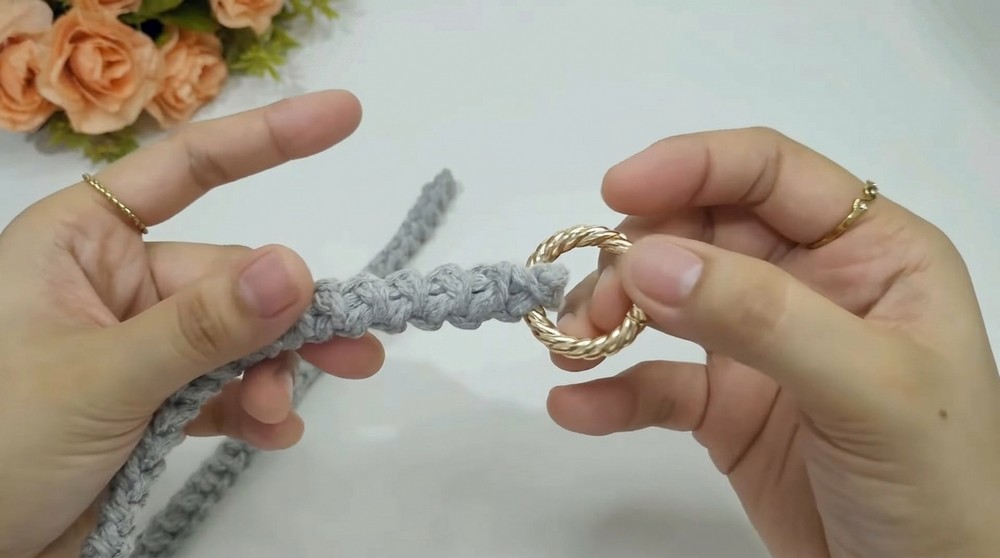
PART 5: ROMANIAN CORD HANDLES/STRAP
- Make slip knot, ch 2.
- Skip first ch, sc in second ch.
- Insert hook diagonally into side loops/bar, sc.
- Always work into both loops and turn, sc.
- Repeat until your cord reaches 50 cm (or preferred handle/strap length).
- Fasten off, weave in ends neatly.
- Attach spring rings firmly to both ends of cord.
- Make a second cord if desired; attach to front and back sides of bag, hooking into second and third ribbing post stitches.
For beginners:
The Romanian cord is easy, looks professional, and feels sturdy as a handle or crossbody strap.
Assembly & Finishing
- Check bag for symmetry and remove all stitch markers.
- Attach handles or straps to spring rings and hook to post stitches for multi-way wear.
- Weave in and trim all ends.
For beginners:
Enjoy the flexibility—handles can be detached for clutch style, or swapped for crossbody.
Conclusion
Congratulations! Your Convertible Multi-Way Crochet Bag is ready for any occasion. The textures, ribbing, and clean finishes make this a professional-level piece with beginner skills. Try customizing with color-blocked ribbing, extra pockets, or contrast handles. With clear construction, sturdy panels, and easy assembly, this bag will become a favorite accessory!