
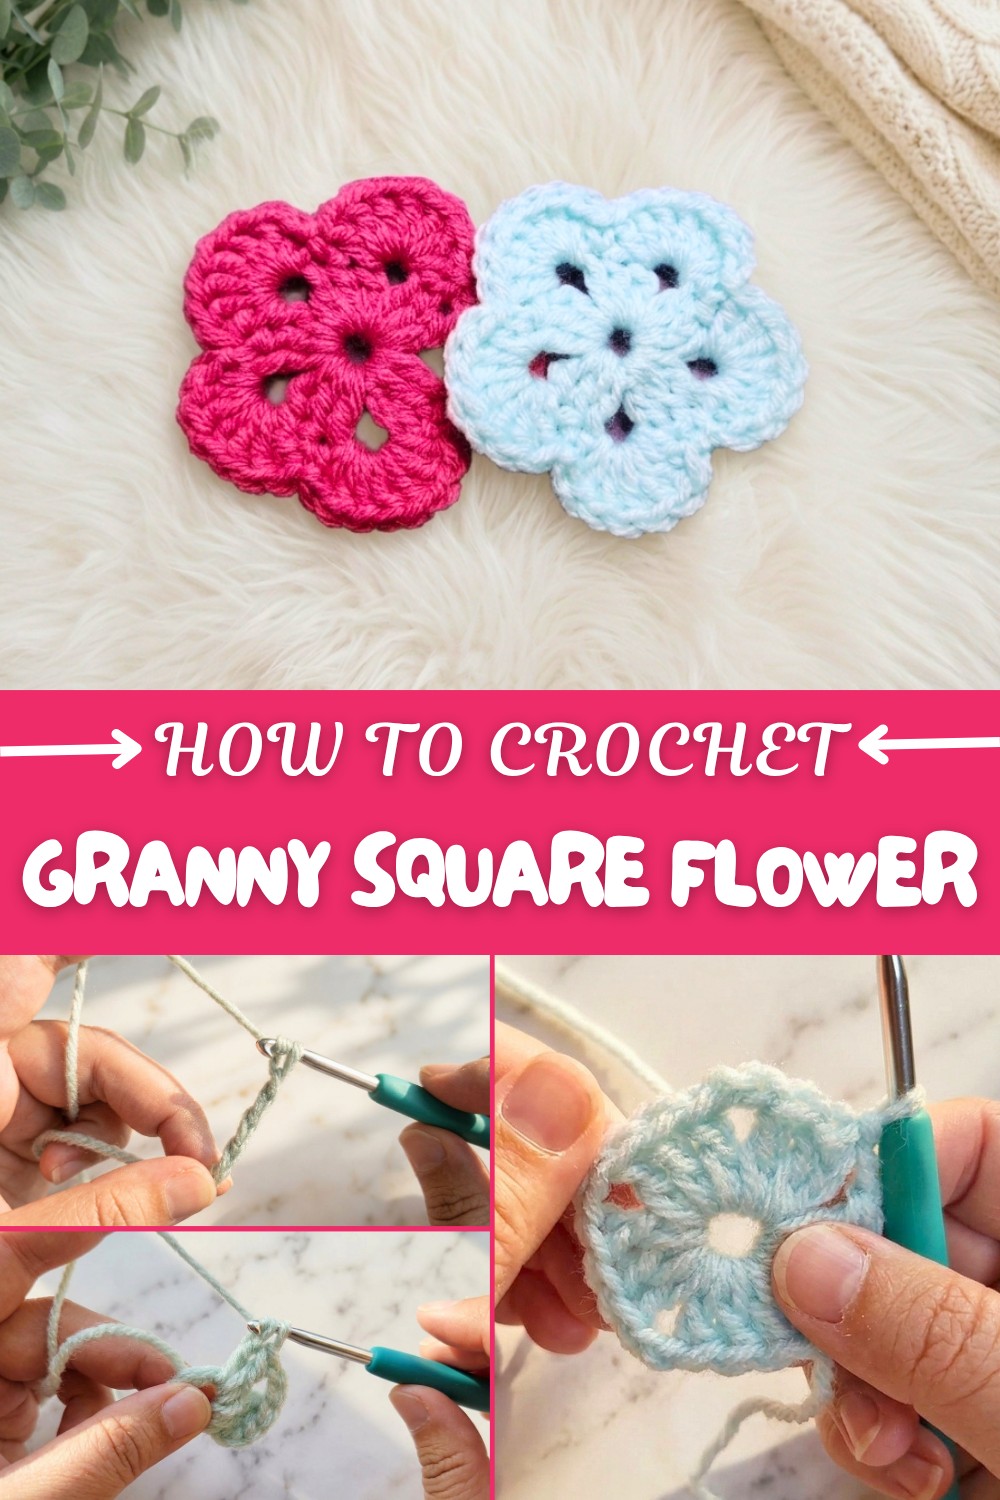
Easy Crochet Granny Square Flower Pattern for Handmade Decor
Refresh your style using a Free Crochet Granny Square Flower Pattern, perfect for quick gifts, blankets, or eye-catching accessories.
Turning simple yarn into a beautiful floral motif is one of the most rewarding parts of crochet, and this granny square flower pattern does just that with style and ease. Working with a 4.5 mm hook and soft, colorful yarn, you’ll create a stunning flower using classic stitches that give it both structure and charm. The heart of this pattern lies in the double crochet clusters combined with chain spaces, which come together to form petals that have a perfect balance of fullness and delicacy.
Chic Free Crochet Flower Granny Square Pattern for Vintage-Inspired Creations
The project begins with a small ring made by chaining five and joining into a circle. Into this ring, you’ll crochet clusters of three double crochets separated by chain two spaces to create the flower’s petals and corners. Moving to the next round, you’ll fill those chain spaces with seven double crochets each, separated by single crochets that hold everything neatly in place. This mix of stitches creates texture and definition, making the flower come alive with dimension.
This crochet flower pattern is not only a charming decorative piece but also great for countless creative uses. Combine several flowers to make vibrant blankets, add them as playful accents on hats, scarves, or bags, or sew them onto your home decor items for a handmade touch. The standard stitches used here serve as an excellent foundation for beginners and can inspire many variations.
Learning More Crochet Creations
The skills you develop in this pattern mastering double crochet clusters, chain spaces, and single crochets are essential building blocks for a wide range of crochet projects. From crocheting traditional granny squares to delicate lace shawls and elegant doilies, these techniques open up wonderful opportunities. Experimenting with colors and yarn types will let your crochet creations blossom into unique treasures.
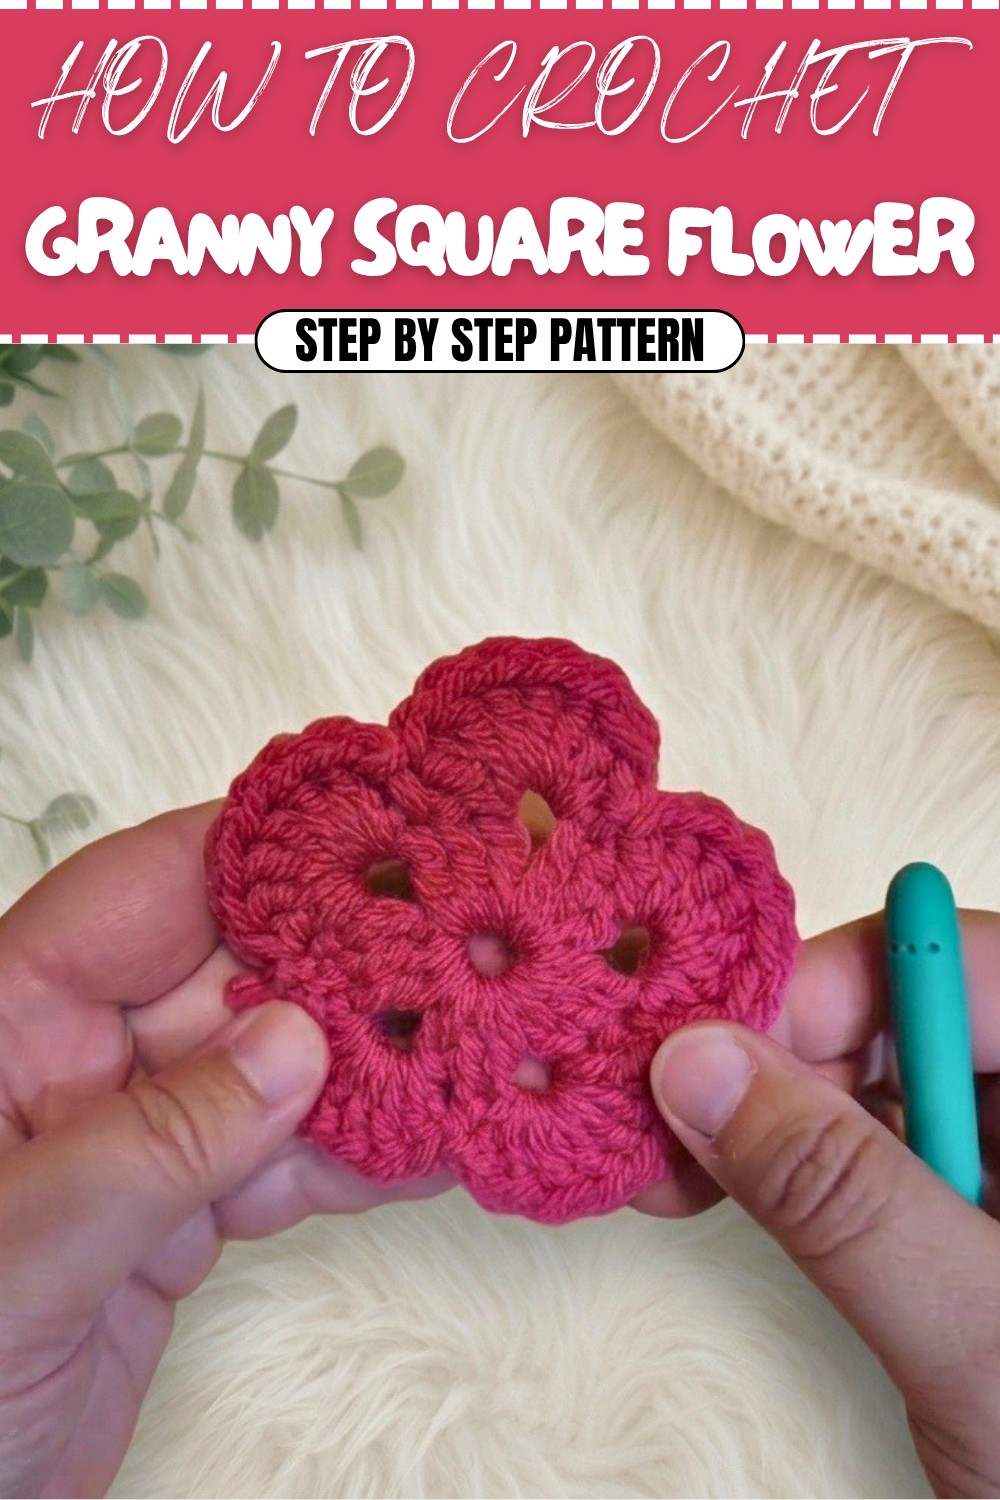
Crochet Pattern: Granny Square-Style Flower
This Granny Square-Style Flower pattern is a versatile and delightful project, perfect for beginners and experienced crocheters alike. Using just a few basic stitches such as chains, double crochets, and slip stitches, you can create a beautiful flower with a slightly vintage charm. This pattern can be used as a standalone decorative piece, an appliqué for other projects, or as a foundation for larger works like blankets!
This detailed guide will take you step-by-step through the process of creating this five-petal flower. Gather your materials, pick your favorite yarn color, and let's get started on this fun project!
Skill Level & Terminology
- Skill Level: Beginner
- Crochet Terminology: US terms
Materials & Tools
- Yarn: Bernat Premium Yarn, size 4 (or any medium-weight yarn in your preferred color).
- Crochet Hook: 4.5 mm (US 7).
- Scissors
- Tapestry Needle: For weaving in ends.
Gauge
Exact gauge is not critical for this pattern. Adjust your hook size and tension based on your yarn to achieve the desired size.
Abbreviations List
- ch: Chain
- sc: Single Crochet
- dc: Double Crochet
- sl st: Slip Stitch
Special Stitch Instructions
Double Crochet (dc):
- Yarn over, insert the hook into the stitch or space, yarn over again and pull up a loop (3 loops on hook).
- Yarn over, pull through 2 loops.
- Yarn over and pull through the remaining 2 loops on the hook.
Slip Stitch (sl st):
- Insert hook into the stitch, yarn over, and pull through both the stitch and loop on the hook.
Finished Size
With the specified yarn and hook size, your flower will measure approximately 4–5 inches in diameter.
What You’ve Learned in This Pattern
This Granny Square-Style Flower pattern includes essential techniques like:
- Creating a Slip Knot and Working in a Ring: The foundation for many crochet motifs.
- Cluster Stitches: Forming groups of double crochets.
- Understanding Pattern Repeats: Following a sequence of stitches to create petals.
This pattern provides excellent practice for beginners looking to enhance their skills while creating something beautiful.
The Pattern Itself
Center of the Flower
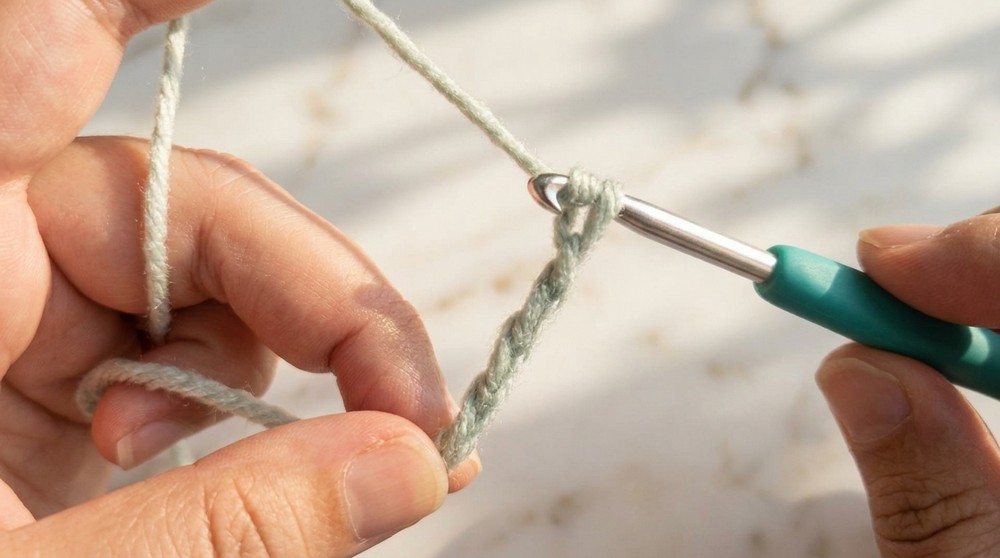
- Create a Slip Knot and Chain 5:
- Form a slip knot and chain (ch) 5.
- Form a Ring:
- Slip stitch (sl st) into the first chain to form a circle.
- Slightly pull the ring to reveal the center hole, where all stitches for this round will go.
This is the base for your flower.
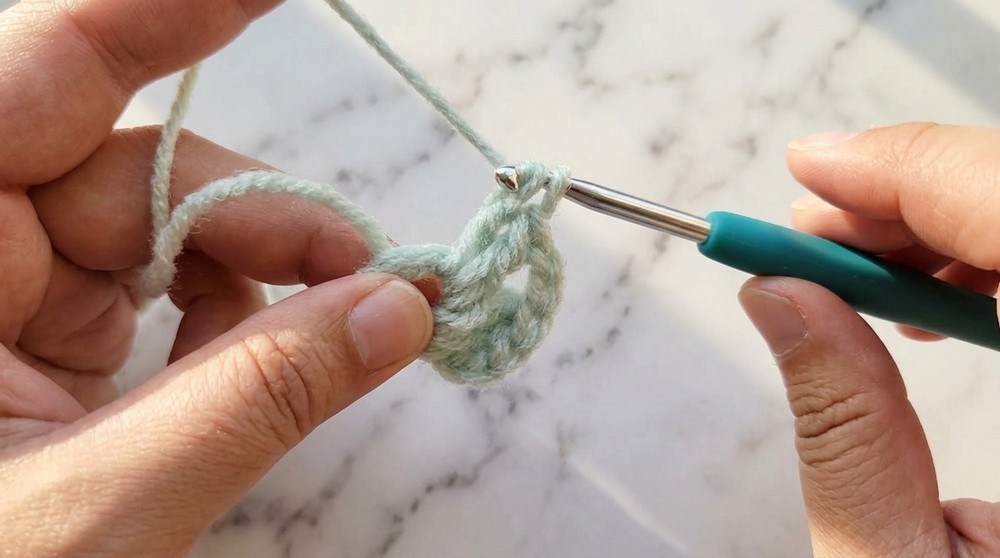
Round 1: Foundation Clusters
- Chain 3:
- Acts as the first double crochet of the first cluster.
- Work 2 dc in the Center:
- Yarn over, insert your hook into the center of the ring, and complete two double crochets. This forms a cluster of 3 stitches.
- Chain 2:
- Creates a corner.
- Repeat Clusters and Chains:
- Into the center of the ring:
- Work 3 dc, followed by ch 2, for a total of five clusters.
- Into the center of the ring:
- Join Round:
- After the final chain 2, slip stitch into the top of the starting chain 3 to close the round.
You should now have a five-sided shape with five clusters of three double crochets separated by chain-2 corners.
- After the final chain 2, slip stitch into the top of the starting chain 3 to close the round.

Round 2: Forming the Petals
- Slip to the Next Cluster Top:
- Slip stitch across the top of the first 3-dc cluster to position your hook.
- Work 7 Double Crochets into the First Chain Space:
- In the chain-2 space (corner), crochet 7 dc.
- Single Crochet into the Next Cluster’s Top:
- Skip over the next cluster and chain space, then sc into the top of the next cluster.
- Repeat Around:
- For each chain-2 space, work 7 dc, and for each cluster top, sc to create a petal effect.
- Complete the Round:
- After the final petal, slip stitch into the base of the first petal to secure the round.
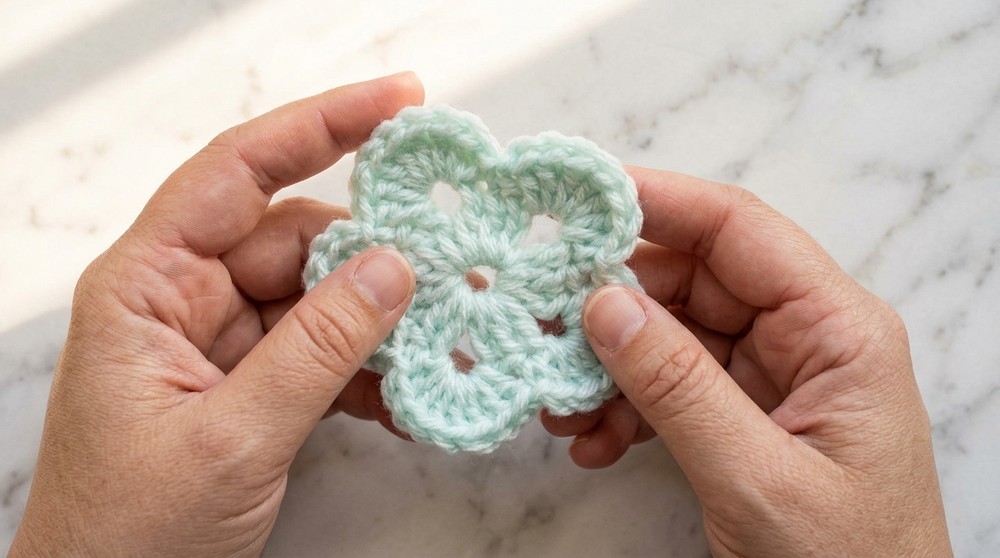
You should now have five distinct petals.
Assembly & Finishing
- Trim the Yarn:
- Cut your yarn, leaving about 4–6 inches for weaving in.
- Fasten Off:
- Pull the yarn tail through your final loop to secure.
- Optional Center Tightening:
- If the center ring is too loose, use your tapestry needle to carefully tighten it by weaving in the tail and cinching it slightly.
- Weave in Ends:
- Use a tapestry needle to weave the loose tails into the back of the flower for a neat finish.
Difficulties and Solutions
Difficulty: Forming the center circle and ensuring it doesn’t unravel later.
- Solution: Take extra care while pulling the slip knot and center ring together. Weave in the center yarn tail securely after completing the first round.
Difficulty: Maintaining consistent spacing for the petals.
- Solution: Use stitch markers to keep track of where the petals will start or end, especially if petals overlap.
By focusing on stitch placement and ensuring tension consistency, you’ll achieve a symmetrical flower.
Why I Love This Pattern
This flower is simple, quick to make, and versatile! The Granny Square-Style design provides a nostalgic vibe that works beautifully for projects like table runners, blankets, or standalone decorations. I love how customizable it is—experimenting with colors and yarn weights creates endless variations!