
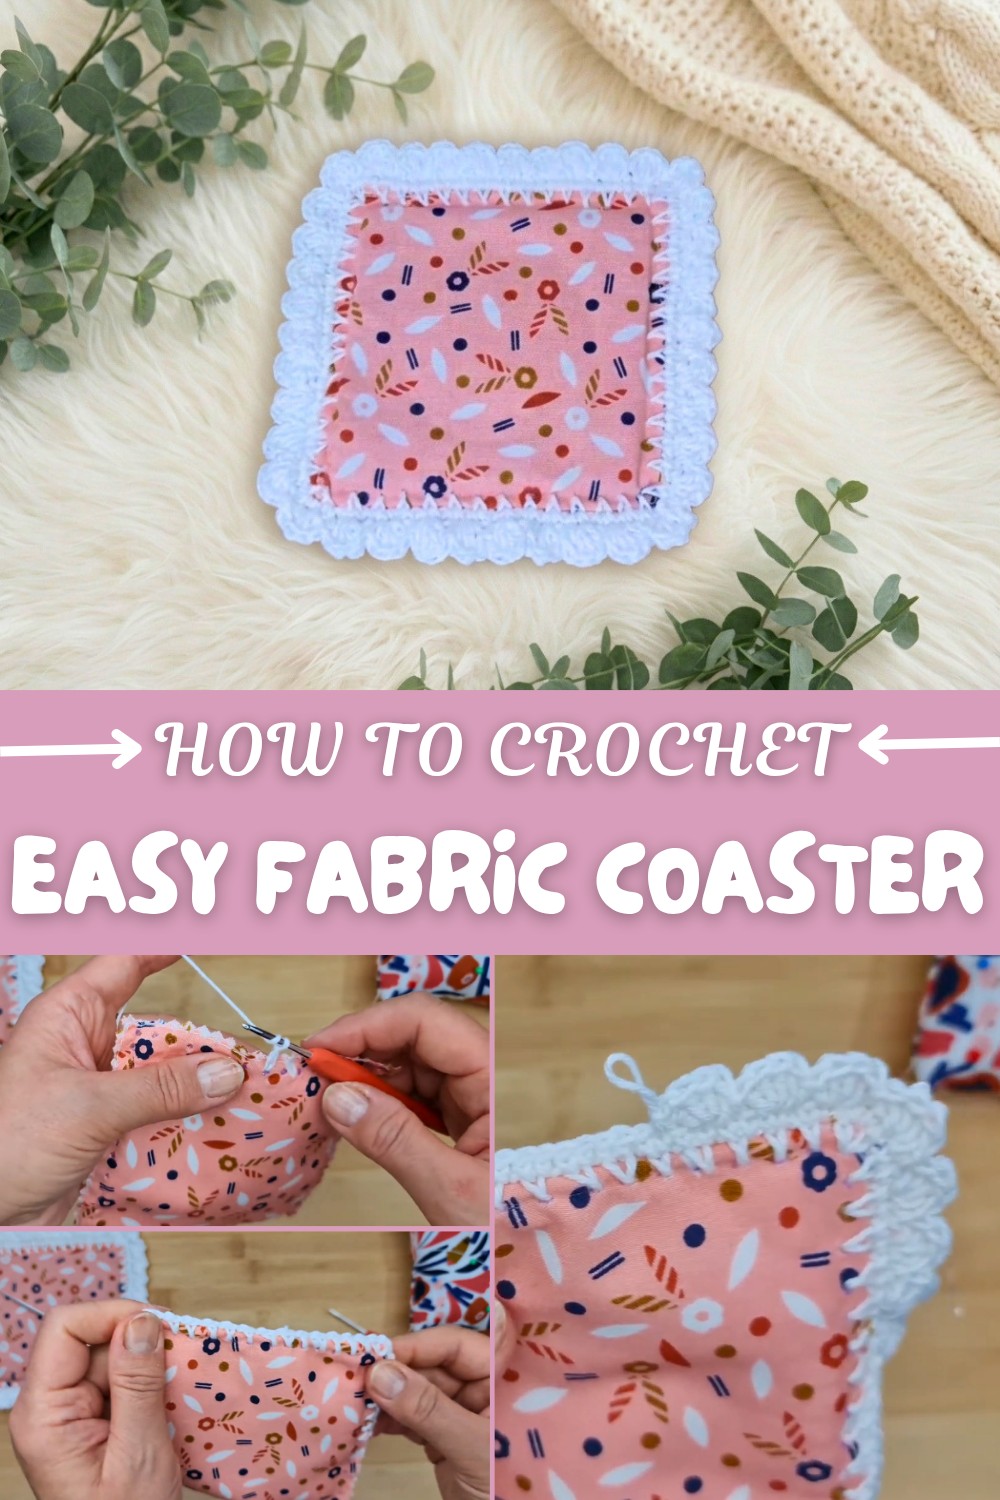
Free Crochet Fabric Coaster Pattern in Any Color
A Free Crochet Fabric Coaster Pattern is a simple way to add personality and function to your living space, plus a chance to try out both sewing and crochet skills in a single project. Starting this pattern is a great idea for anyone who enjoys making quick, useful items. Making these coasters means you can use up fabric scraps and experiment with colors you already love, all while enjoying a relaxing, creative process. There’s real satisfaction in finishing a project you can use every day and sharing handmade gifts with friends and family.
Free Crochet Fabric Coaster Pattern for Hot Drinks
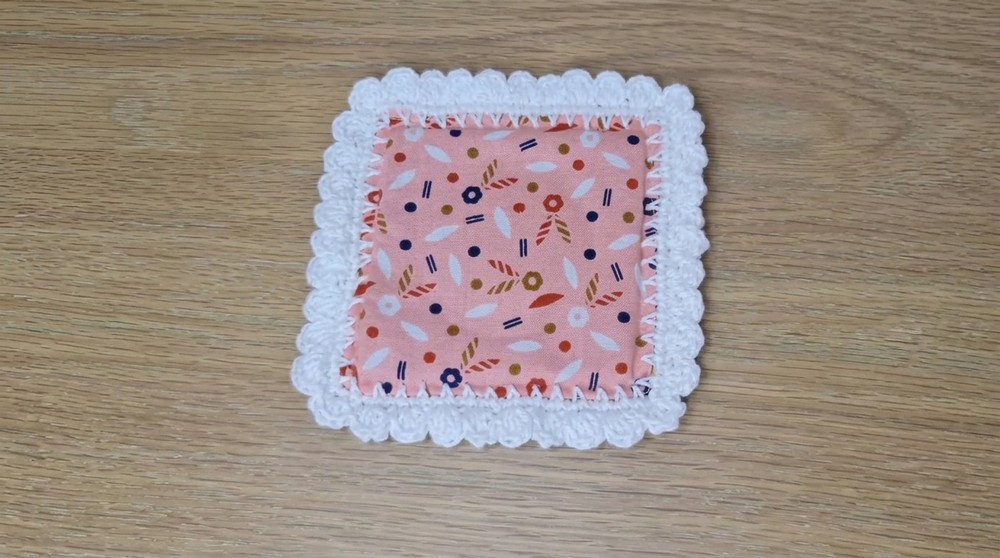
This fabric coaster stands out for its neat, double-layered design that adds durability. You can select any cotton yarn to complement your décor—think cheerful brights, subtle neutrals, or soft pastels. The main stitch is single crochet, with a scalloped shell border that adds a decorative finish. What’s versatile is that, with a few size tweaks, this pattern works for items like placemats, pan protectors, or even mug rugs.
Potential issues and solutions:
- If the hook catches or the holes are too tight, use a larger needle or properly sized hole punch.
- Uneven holes can make the edge bumpy—measure and mark them carefully before punching.
- Some fabrics can pucker after sewing. Press the coaster flat with an iron for a neat finish.
The recommended size is about 5 inches square, perfect for mugs and glasses. To make larger items like placemats or trivets, simply increase your fabric and felt squares and keep your border stitch consistent. By following each step and taking your time, you’ll reach a beautifully finished fabric coaster with sturdy structure and a charming look that stands out on any table.
Crochet Fabric & Felt Coaster with Shell Edge
This project blends sewing and crochet to create a beautiful, sturdy coaster that protects your surfaces and adds a custom touch to your kitchen. The clever use of fabric, a felt insert, and cotton yarn results in a heatproof, washable coaster. You’ll sew the coaster base, punch holes, and work an elegant shell crochet border.
Skill Level & Terminology
- Skill Level: Beginner/Confident Beginner
- Crochet Terminology: US terms throughout
Materials & Tools
- DK weight 100% cotton yarn (e.g., Patons Cotton DK)
- 2 pieces of fabric, each 5" x 5" (cotton preferred)
- 1 piece of felt, 4" x 4" (for sturdy insert)
- 2.5 mm crochet hook
- Fabric hole punch tool (e.g., Clover)
- Air-erasable or washable pen for marking
- Straight pins
- Sewing needle and thread (or sewing machine)
- Yarn needle
- Scissors
Gauge
Gauge is not critical on this project. Your stitches should be firm to maintain coaster shape but not so tight that they pucker the fabric.
Abbreviations List
- ch – chain
- sc – single crochet
- dc – double crochet
- sl st – slip stitch
- st(s) – stitch(es)
- rep – repeat
Special Stitch Instructions
- Single Crochet (sc): Insert hook, yarn over, pull up loop, yarn over, pull through both loops.
- Double Crochet (dc): Yarn over, insert hook, yarn over, pull up loop, yarn over, pull through 2 loops, yarn over, pull through next 2 loops.
- Shell: 4 dc in same stitch or space.
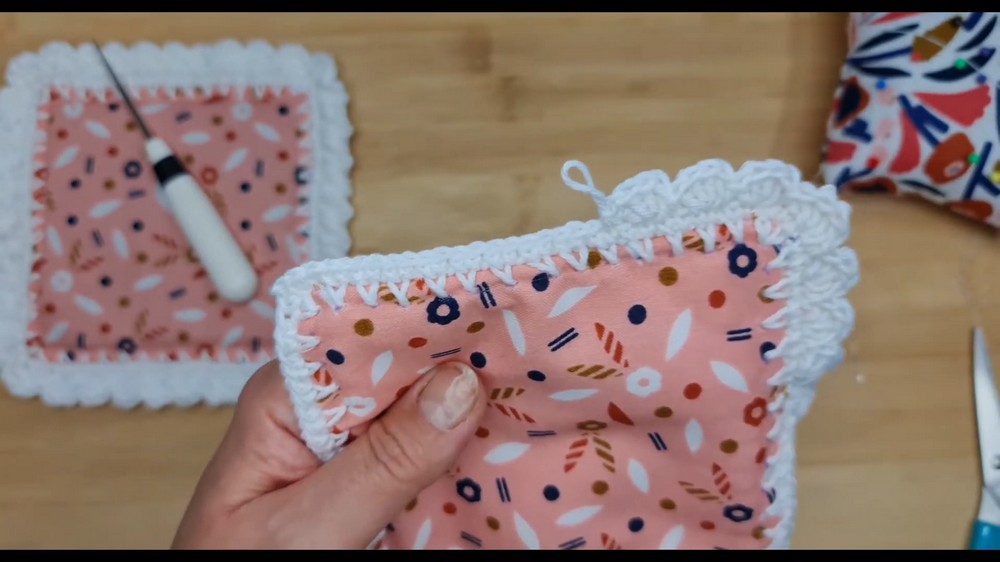
Finished Size
Completed coaster: approx. 5 inches square with scalloped edging (~5.5 inches with border).
The Pattern Itself
Step 1: Prepare the Fabric Sandwich
- Lay one 5" x 5" fabric square right side down.
- Center your 4" x 4" felt piece on top.
- Place the second fabric square on top, right side up.
- Pin layers together, keeping felt centered.
- Sew all around at the very edge (about ¼"–½" from edge), making sure NOT to catch the felt in your stitches.
- Remove pins after sewing.
Tip: If you sew by hand, use small, neat stitches; don't worry if they aren't perfect, as they'll be hidden.
For non-pattern readers: Stack fabric, felt, and fabric like a sandwich. Sew all the way around the edge to secure.
Step 2: Mark & Punch Holes
- Using a pen, mark 1 hole at each corner (½" in), and 1 at the mid-point of each side.
- On each side, mark 6 equally spaced dots between the corners/side centers for a total of about 13 holes per side.
- Punch holes at each mark (corners, centers, between) using your fabric punch. Make sure each hole is big enough for the crochet hook.
Extra help: Mark all around the edge with dots, then punch holes at those marks so your hook goes through easily.
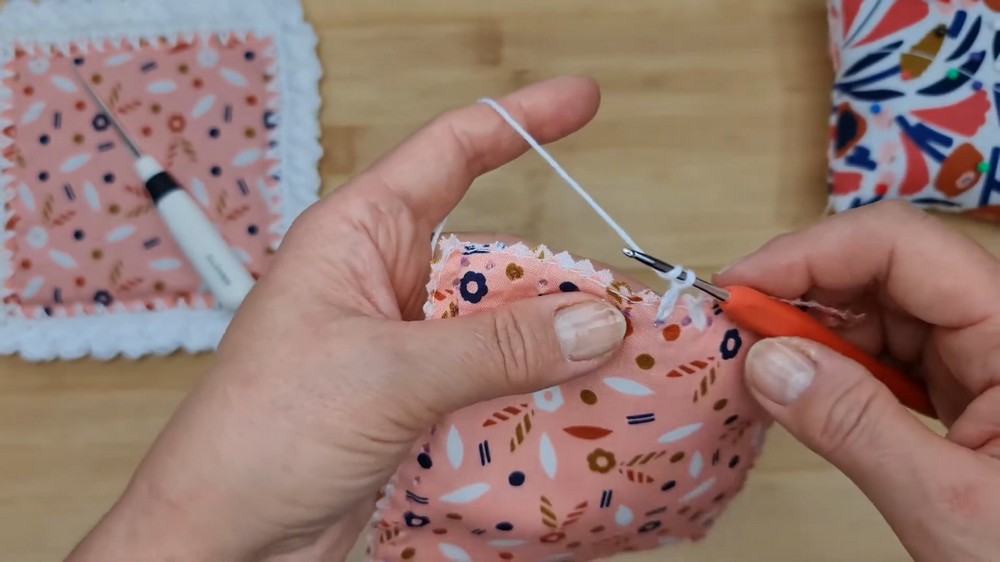
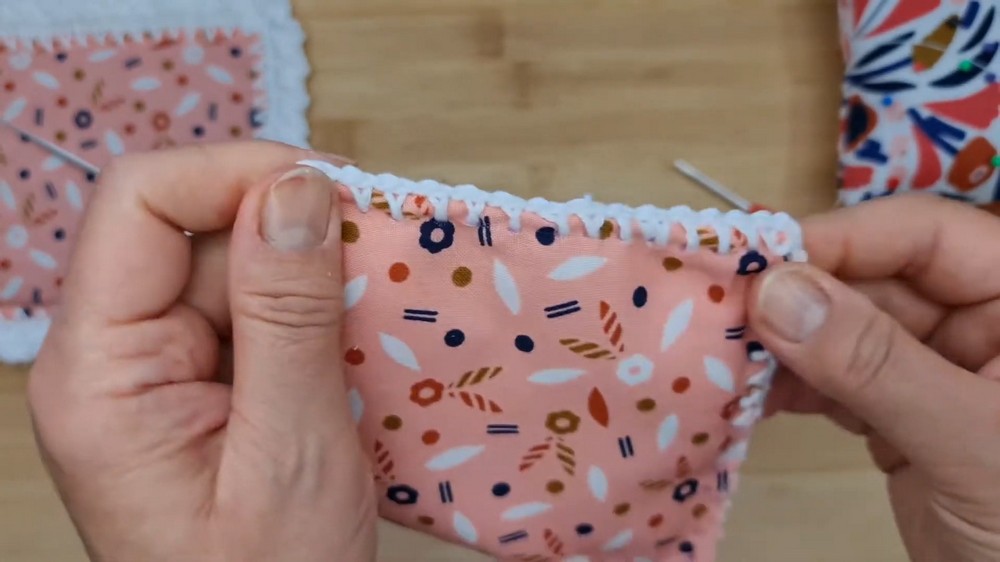
Step 3: First Border Round – Setting the Foundation
Attach yarn: Insert hook into any hole, pull up a loop, and ch 2 (counts as turning and tightening chain).
Round 1:
- Into the same hole: sc
- Ch 1
- Into next hole: sc, ch 1
- Repeat sc, ch 1 in each hole around.
- Corners: In each corner hole, work sc, ch 2, sc (to turn the corner), then ch 1 before moving to next hole.
- Join with sl st to first sc at end of round.
If you’re new:
Work one single crochet and chain one in each hole. In the corners, do one single crochet, chain two, and another single crochet in the same hole (for shape).
Step 4: Second Border Round – Filling and Firming
Round 2:
- Ch 1
- Sc in first sc and in each ch-1 space all the way around.
- Corners: In ch-2 space, work sc, ch 2, sc.
- Continue sc in each sc and each ch-1 space across all four sides.
- Join with sl st to first sc at end of round.
For non-pattern readers:
Crochet single crochets into every stitch and gap, adding two chains in every corner. This makes the border tight and neat.
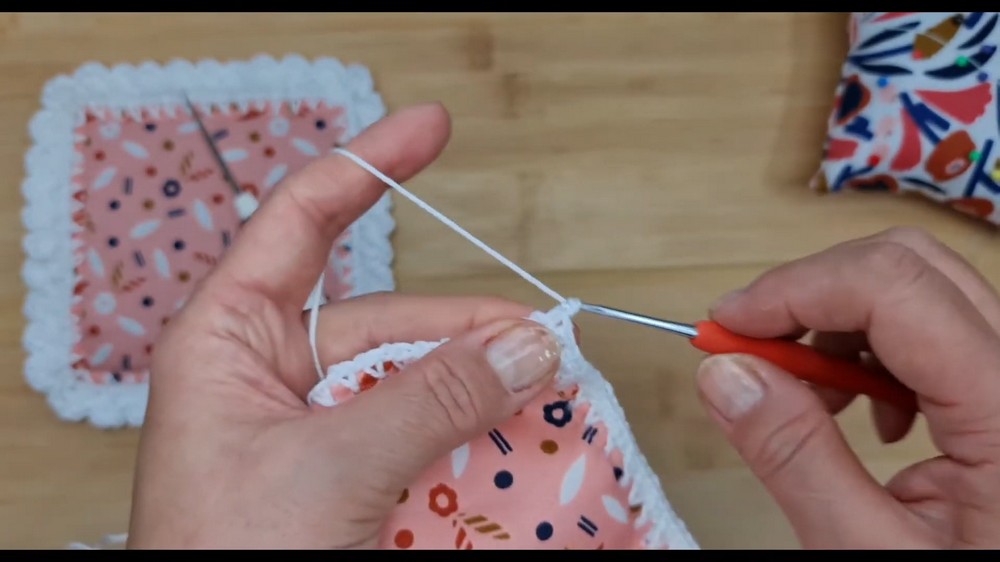
Step 5: Shell (Scallop) Edging
Round 3:
- Ch 2 (acts as start of round).
- Skip 1 st, then 4 dc in next st (shell).
- Skip 1 st, then sl st in next st to anchor shell.
- Rep: (Skip 1 st, 4 dc in next st, skip 1 st, sl st in next st) all around.
- At corners: Ensure a shell sits in or near each corner. If your stitch count doesn't land perfectly, you can skip an extra stitch or work into the next one for symmetry.
- Join with sl st to start of round or into chain-2 of beginning, depending on neatness.
- Fasten off and pull yarn through.
Plain tip:
Make four double crochets in one space, skip a stitch, slip stitch—repeat all the way around. Adjust at corners so shells line up.
Step 6: Assembly & Finishing
- Use a yarn needle to weave in all threads on the back, threading under the scallop stitches.
- Press or steam the coaster, if desired, to flatten.
- Trim all loose ends for a tidy finish.
If you don't read patterns:
Thread in your yarn tails with a needle so they’re hidden on the back, then iron or flatten the coaster for a professional look.
Pattern Recap, Notes & Stitch Use
You begin by stacking and sewing squares of fabric and felt for the coaster base. Evenly mark and punch holes around the edge. With a small hook, first crochet into all holes with single crochet and chains. The second round fills out the border neatly. Finish with a simple shell edging (four double crochets in one stitch, skip, and slip stitch), adjusting at the corners so shells look balanced.
Stitches Used:
- Single Crochet (sc)
- Double Crochet (dc)
- Chain (ch)
- Slip Stitch (sl st)
- Shell (4 dc in one stitch)