
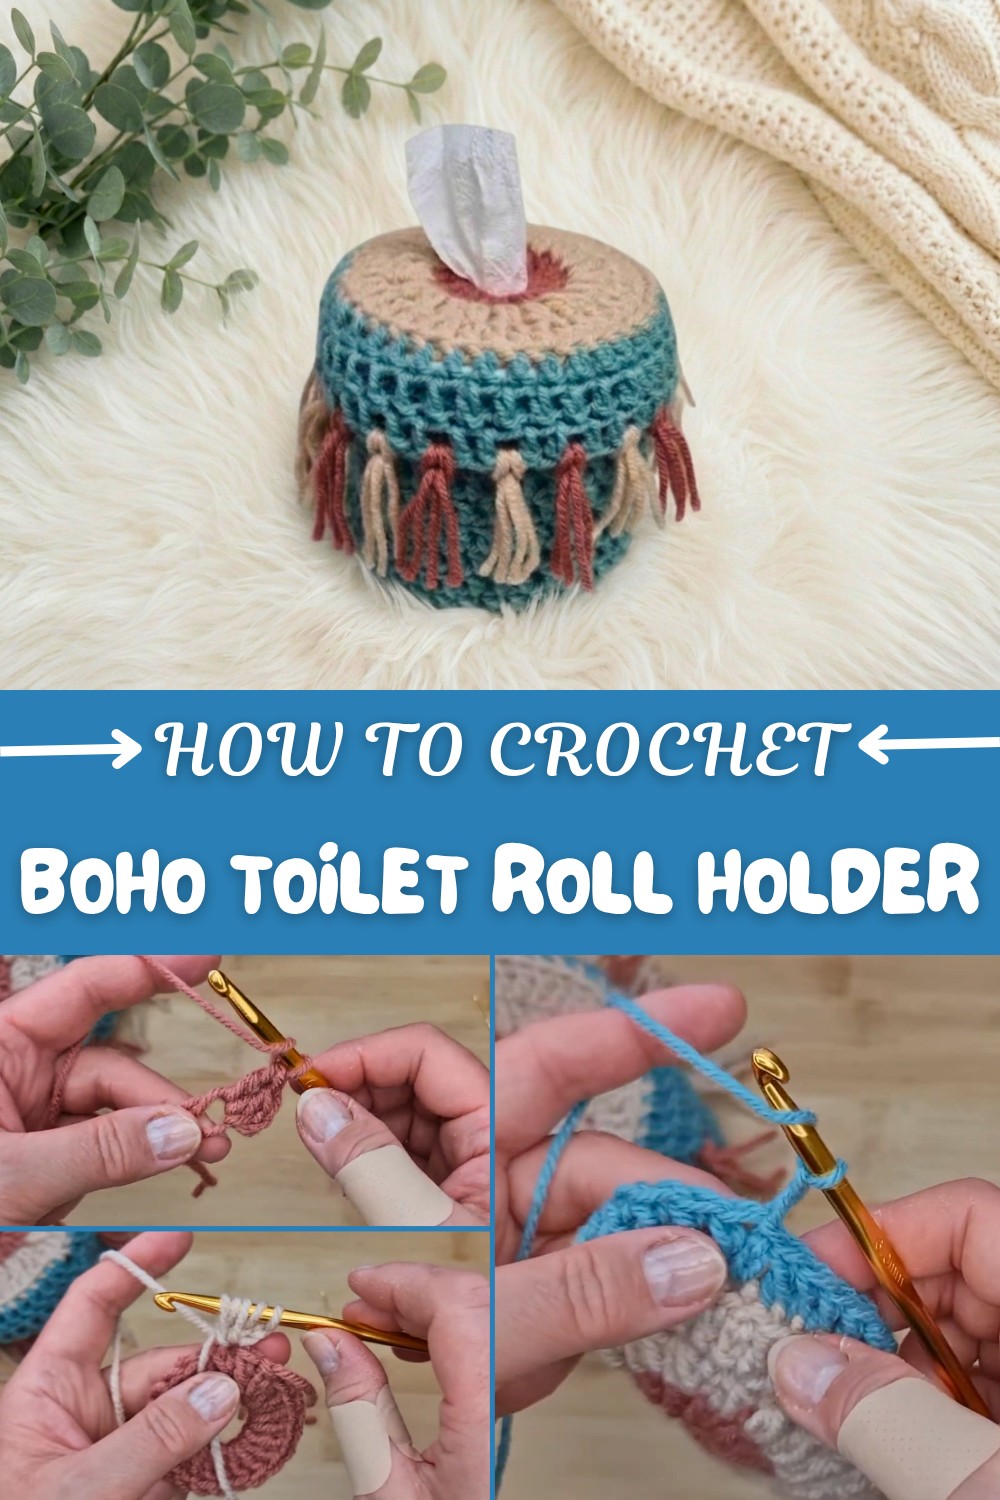
Easy Free Crochet Boho Toilet Roll Holder Pattern with Tassels
There’s something truly comforting about adding a handmade touch to the little corners of your home, and with the Free Crochet Boho Toilet Roll Holder Pattern, the bathroom gets its own slice of cozy, creative charm. This delightful project effortlessly merges functionality and style, allowing anyone to organize their essentials while showcasing a bit of artistic flair.
Colorful Free Crochet Boho Toilet Roll Holder Pattern
The beauty of this crochet boho holder lies in its intricate details and bohemian spirit. The holder features striking textured stitches, playful tassels, and a prominent floral motif that instantly draws the eye. After completion, the cheerful flower embellishment reaches approximately 6 cm in size, making it a vibrant focal point. It’s more than just a container for toilet rolls; it’s a decorative accent that brings color and personality into an everyday space.
One of the standout aspects of this pattern is the remarkable color customization. Whether you adore earth tones, pastels, or bold hues, you can easily select shades that blend effortlessly with your bathroom décor or express your unique style.
The project requires a 3.5mm hook and cotton or soft acrylic yarn, ensuring durability as well as a beautiful drape. A key feature is the use of the granny stitch, known for its easy repetitions and textured finish. This special stitch forms the backbone of the holder, offering both strength and decorative appeal.
With this single pattern, you can easily make thoughtful gifts, practical organizers, or chic holders for other household items. The Free Crochet Boho Toilet Roll Holder Pattern is not only a functional upgrade for your bathroom, but also an inviting project to infuse handmade warmth throughout your home.
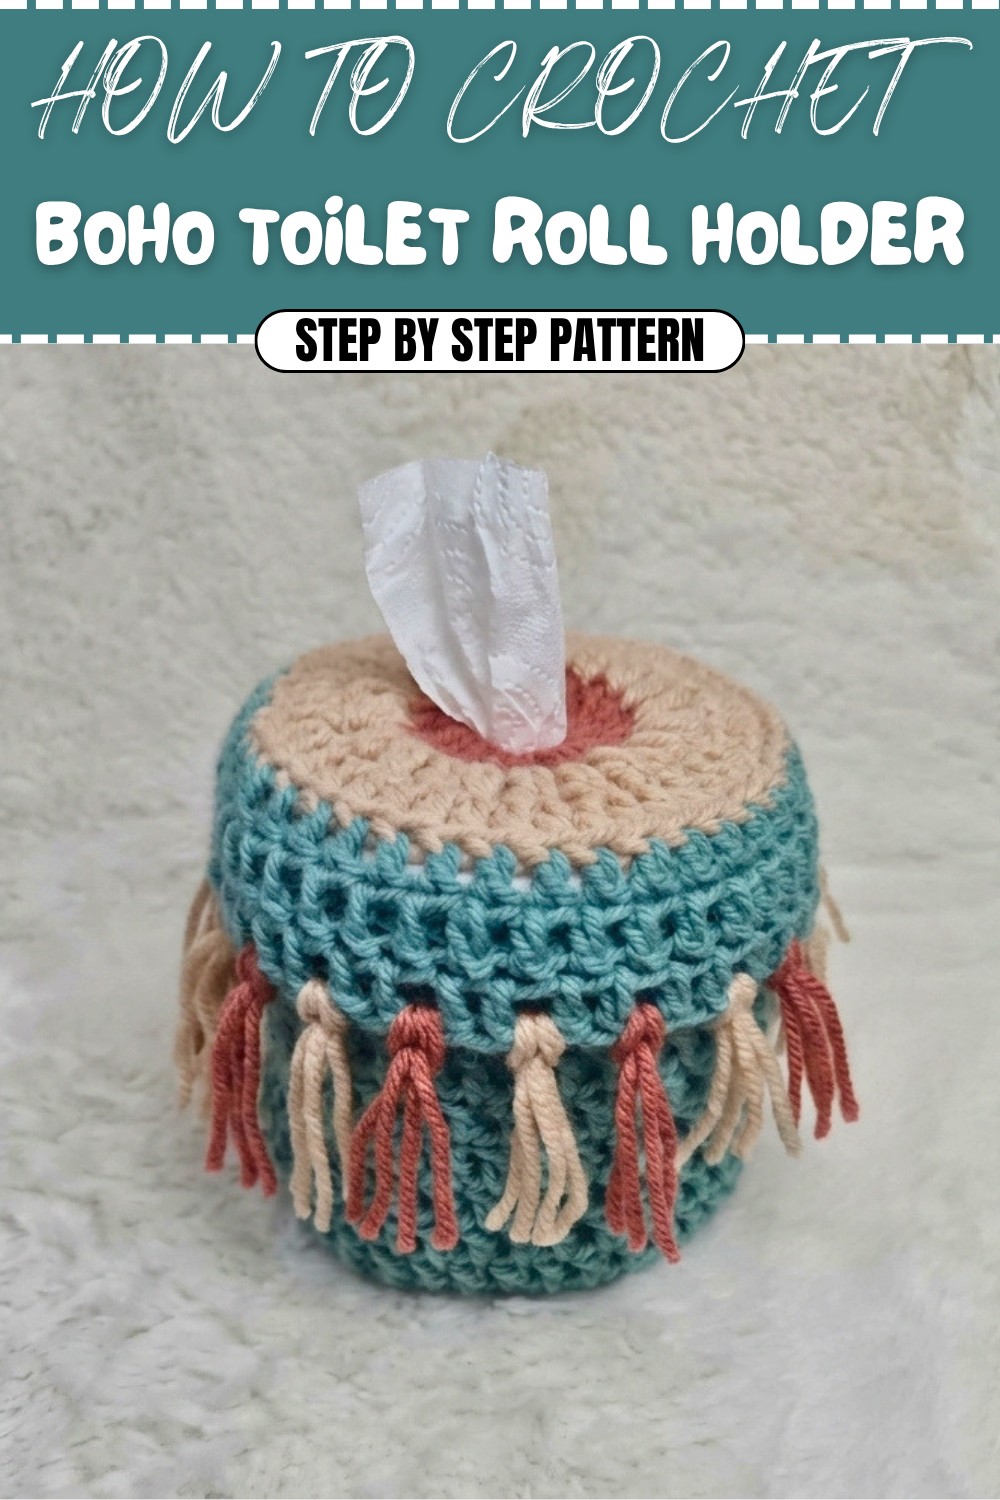
Boho Toilet Roll Holder – Crochet Pattern
Bring charm and practicality to your bathroom with this boho-inspired crochet toilet roll holder, featuring a decorative lid, sturdy base, and playful tassels. Designed for standard rolls, the cover keeps paper clean, stylish, and easily accessible through a central opening. With clear steps, color changes, and simple stitches, this project is perfect for beginners and a creative accent for your home.
Skill Level & Terminology
Skill Level: Beginner – Suitable for those comfortable with basic crochet stitches.
Terminology: US Crochet Terms
Materials & Tools
- Yarn:
- 3 colors of aran/worsted weight yarn (approx. 80–100g total). Sample uses coral, beige, and sage green.
- Hook: 6 mm
- Darning (Yarn) Needle: For sewing in ends.
- Scissors: For cutting yarn and trimming tassels.
- Optional: Stitch markers
Gauge
Gauge is not critical.
Approximate Gauge:
- 10 dc x 6 rows = 4” (10 cm)
Check fit after first few rounds: Lid and base should snugly fit around standard toilet roll.
Abbreviations List
- ch – chain
- sc – single crochet
- dc – double crochet
- sl st – slip stitch
- st(s) – stitch(es)
- rep – repeat
- yo – yarn over
Special Stitch Instructions
- Magic Ring: Create adjustable center for lid/base.
- Puff Stitch (2-loop version): Yo, insert hook in st, pull up loop. Repeat once more (2 loops made). Yo, pull through all loops on hook (5 loops).
- Back Loop Only (BLO): For dc, insert hook under back loop only of st.
- Third Loop: For dc, also insert hook into the "third" loop located below the back loop for firmer edge.
Finished Size
Fits standard toilet roll (approx. 4.5" diameter, 4–5" height).
Adjust rounds or stitch count for larger/smaller rolls.
Pattern Overview
Stitches Used: Magic ring, double crochet (dc), single crochet (sc), puff stitch, slip stitch (sl st), chains (ch).
The Pattern Itself
Lid (Top Panel with Tassels)
Step 1: Lid Center
- With Color A (e.g., coral), make a magic ring.
- Ch 2 (counts as first dc).
- Work 21 dc into ring (total 22 dc including ch 2).
- Sl st to first dc to join. Leave the central hole open enough for pulling paper through.
If you don’t read patterns: Make a loop, chain 2, crochet 21 double crochets into the center, and join the ends. Don't pull the loop tight; leave a hole in the middle.
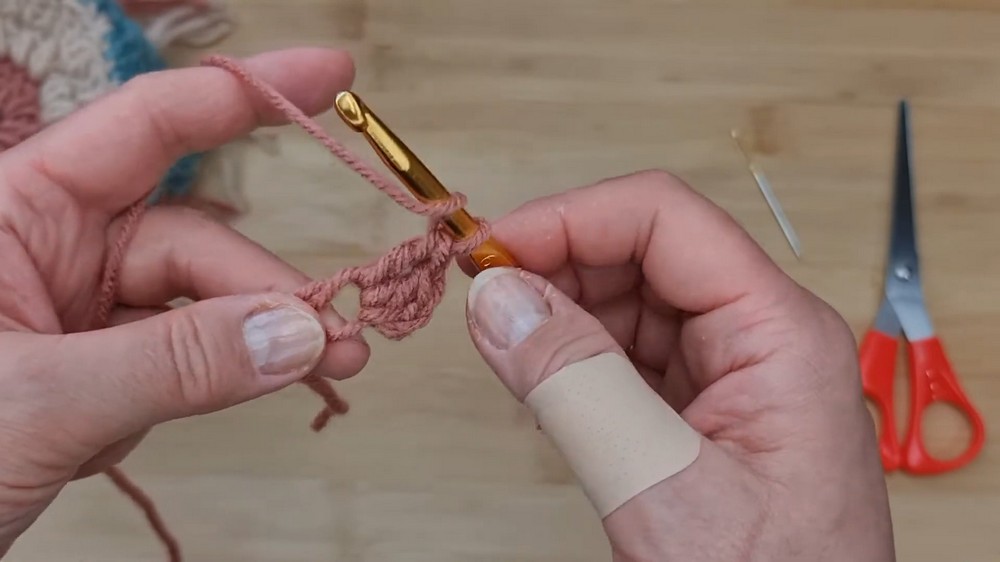
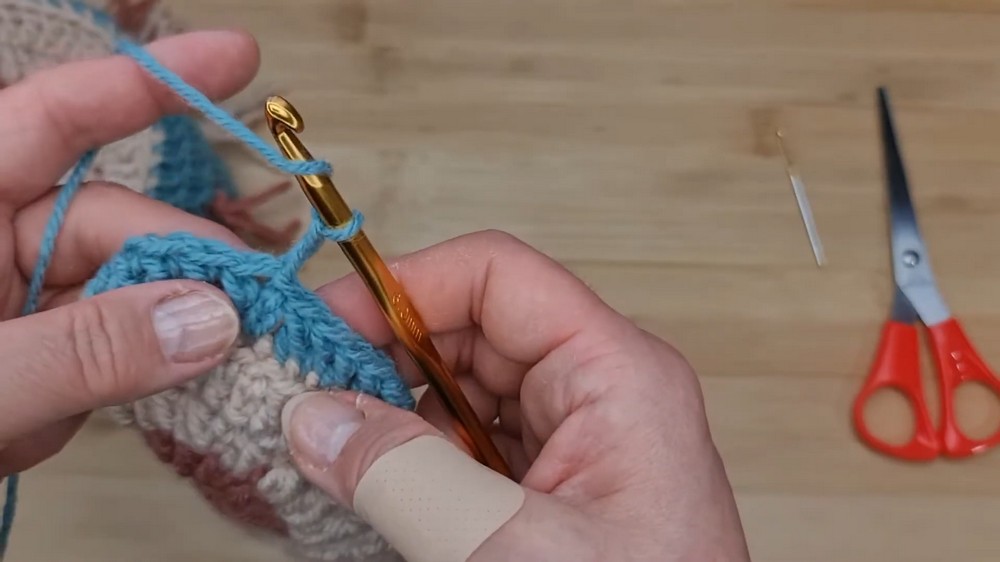
Step 2: Puff Stitch Round
- With Color B (beige), attach yarn to any dc.
- Ch 2.
- Into same st:
- Yo, insert hook, pull up loop (1 loop).
- Yo, insert hook, pull up loop (2 loops).
- Yo, pull through all 5 loops.
- Ch 1.
- Rep puff st (2 loops), ch 1 in each dc around (22 puffs).
- Sl st to top of first puff st to join.
Go all the way around making puff stitches with a chain in between. Join at end. The lid is now textured and decorative.
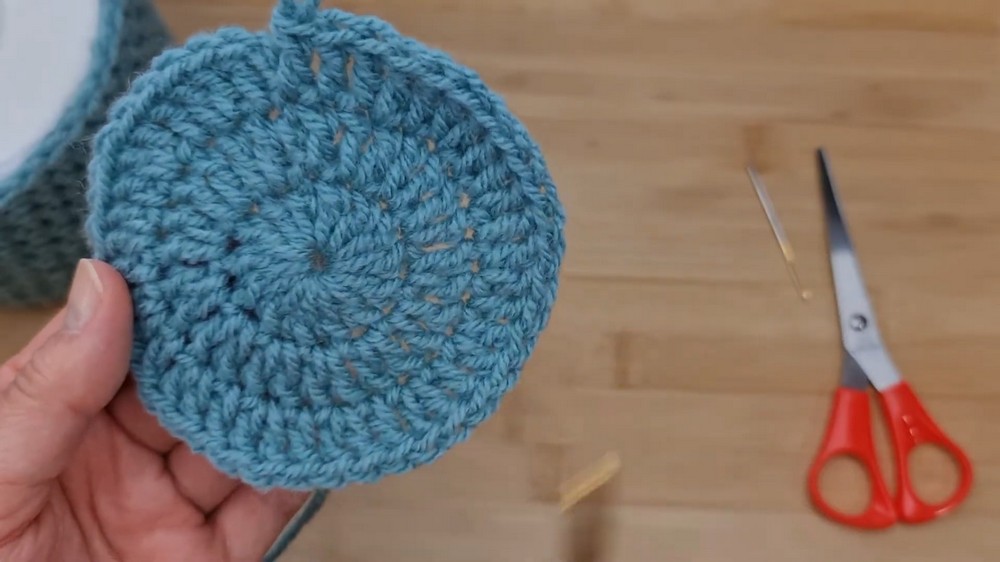
Step 3: Double Crochet Round
- Ch 2.
- [Dc in top of puff st, dc in ch-1 space] around (45 dc).
- Sl st to first dc to join. Fasten off.
Switching colors, make double crochets in each puff and between them for a solid round.
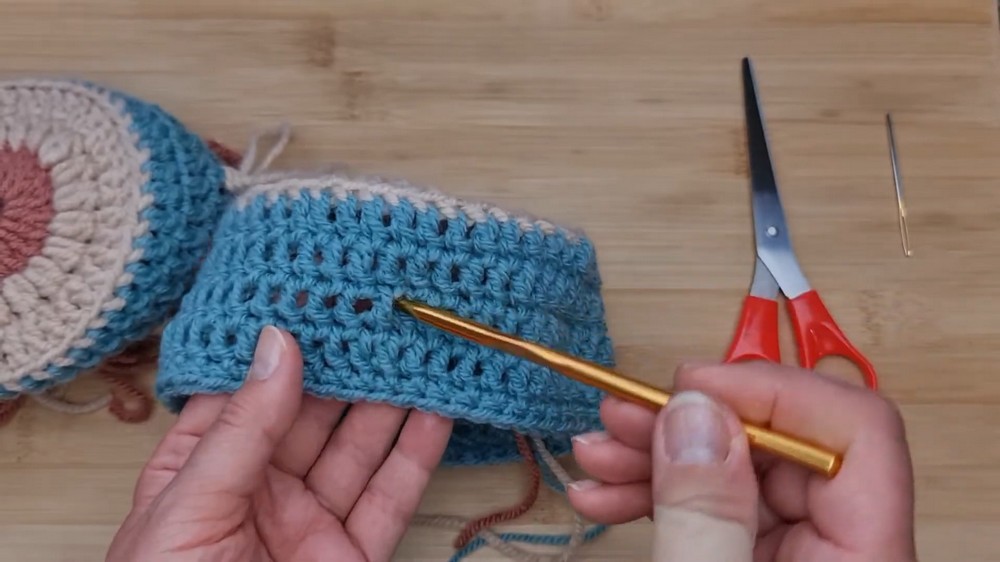
Step 4: Side Walls/Brim
- With Color C (sage green), attach yarn to any dc BLO from previous round.
- Ch 2.
- Dc in BLO of each st around (45 dc).
- Sl st to join.
This round is only in the back loop, which creates a ridge and rounded edge for the lid.
Step 5: Continue Side Rows
- Work 3 more rounds of dc in both loops (normal)—always ch 2 to start, sl st to join.
- Final round: sc in each st around for edging. Sl st to join, fasten off, weave in ends.
Build 3 more rows to form the lid’s lower edge, then trim with a round of single crochet. Secure all ends inside.
Base
Step 1: Base Center
- With Color C (sage green), make a magic ring.
- Ch 2, work 13 dc into ring (14 dc including ch 2).
- Pull tight to close center. Sl st to first dc to join.
Make a solid circle for the base, pulling the ring tight (unlike the lid).
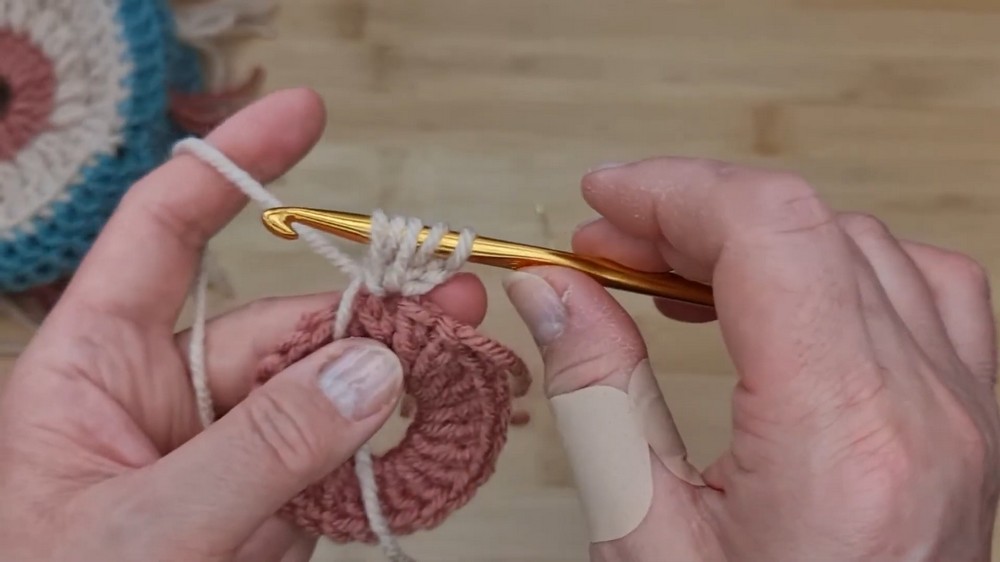
Step 2: Increase Rounds
- Ch 2, 2 dc in each st around (28 dc). Sl st to join.
Work two double crochets in every stitch around to expand the base.
- Ch 2, [dc in next st, 2 dc in next st] around. End with 42 dc.
Alternate between 1 and 2 double crochets in each stitch for the next round.
Step 3: Single Crochet Round
- Ch 1, sc in each st around (42 sc). Sl st to join.
Single crochets help create a firm edge before building sides.
Step 4: Build Sides
- Ch 2, work dc in BLO and “third loop” for this round (for extra firmness).
- Sl st to join.
- Work 8 more rounds of dc in both loops, always ch 2 to start, sl st to join. (Total 9 dc rounds for sides).
- Fasten off and weave in ends.
Start the first side round in back and third loop for structure, then continue with normal double crochets to build depth. Adjust height as needed.
Tassels
- Choose your tassel colors. Cut double-stranded yarn to desired length (approx. 3–4” after folding).
- Make around 15 tassels.
- Attach in the third round from the lid’s bottom edge, spaced every 2 dc.
- Insert hook under target dc.
- Pull folded yarn through, making a loop.
- Pull ends through loop and tighten.
- Trim tassels to even length as desired.
Make tassels from two colors, alternating along the lower edge of lid. Trim for even, neat appearance.
Assembly & Finishing
- Remove cardboard core from toilet roll. Place roll inside base.
- Feed tissue up through center hole in lid, then fit lid over base.
- Trim tassels as needed while lid is on holder to ensure even edges.
- Weave in any remaining ends securely with yarn needle.
- Make an invisible join for final round if desired for a seamless look.
Place toilet paper in, put lid on top, feed paper out the lid hole, and trim tassels. Ready to use!
About the Pattern
- Starting: Begin with a magic ring, work basic increases, switch colors for creative touch.
- Stitches Used: Double crochet, single crochet, puff stitch, slip stitch.
- Customizing: Add more rounds for larger rolls, decorate with more tassels or skip them for a simpler look.
- Border: Single crochet makes neat edge; invisible join enhances finish.
Conclusion
This stylish toilet roll holder adds a handmade touch to your bathroom. With simple, clear instructions, customizable colors, and optional boho tassels, even beginners will find success. Enjoy your practical yet decorative cover, and delight guests with your unique crochet skills!