
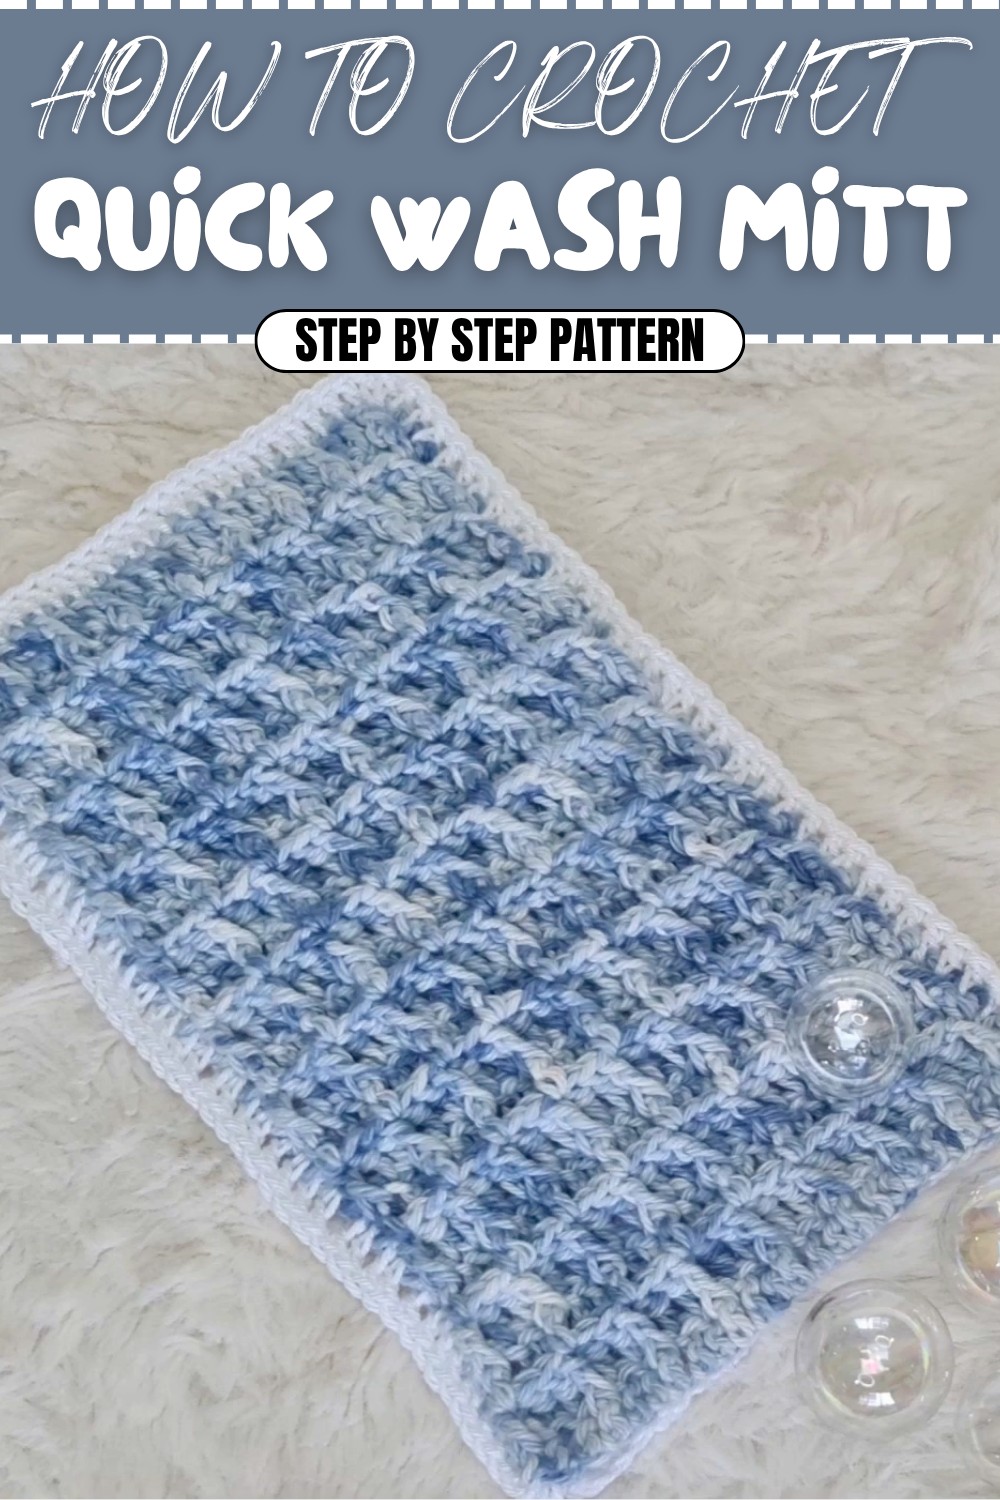
Easy Crochet Wash Mitt Free Pattern by using Waffle Stitch
Warmth and handmade style meet practicality in this Free Crochet Wash Mitt Pattern, bringing a touch of comfort and artistry to your daily routine. The highlight of this mitt is its plush, raised waffle stitch an arrangement of front post double crochet and double crochet stitches. This pattern forms a soft, pillowy texture that not only looks appealing but also feels gentle and effective during use.
Quick Crochet Wash Mitt Pattern for Bath & Beauty
Each finished mitt stands out with its inviting structure and thoughtful details. Using DK weight cotton yarn or a cotton-linen blend ensures durability and absorbency, comfortable even on sensitive skin. A sturdy 3.5 mm hook shapes an ergonomic mitt that fits snugly while allowing for a full range of color customization: soft pastels for a spa feel, earthy neutrals for a natural vibe, or bold brights that add cheer to your bathroom.
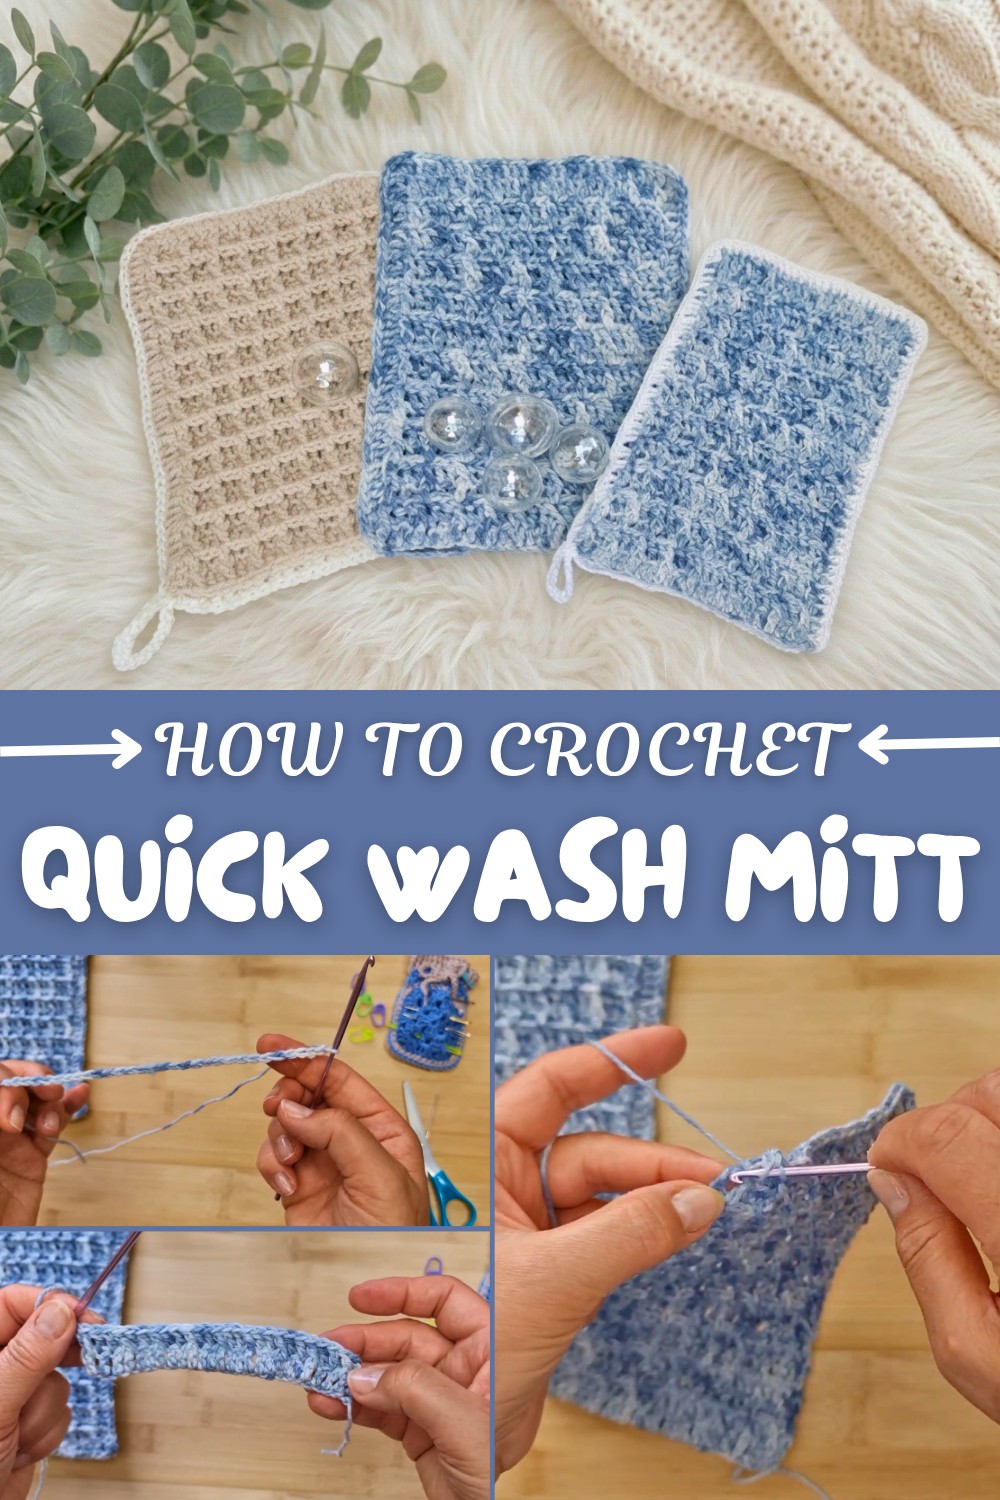
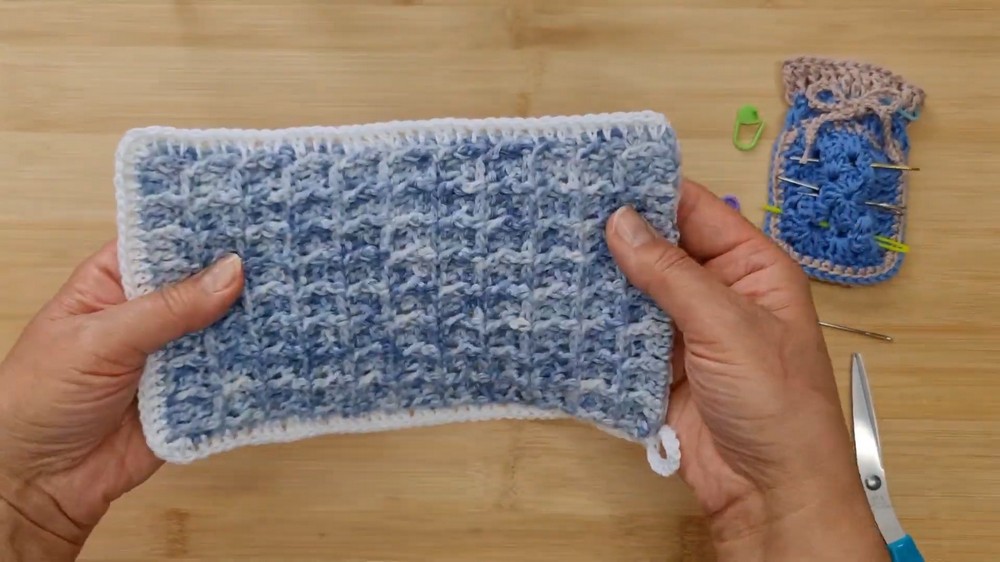
You’ll appreciate the mitt’s size once it’s off the hook and ready for action. Designed to fit most adult hands, the completed project features approximately 22 rows and 11 waffle squares per side, creating a nicely padded, functional wash mitt. Rows of slip stitches along the edge lend a crisp, clean finish, and a small hanging loop keeps it within convenient reach.
Aspects to Focus On:
- Waffle stitch: The special stitch at the heart of this project creates rich texture, depth, and softness.
- Custom color work: From gentle tones to lively brights, color choice can personalize each mitt.
- Features: Durable, absorbent cotton construction; simple hanging loop; slip stitch border for neatness.
- Stitch count and size: The pattern forms 11 waffle squares per side with 22 rows, comfortably fitting most adult hands.
- Hook size: A 3.5 mm hook is ideal for even stitches and a professional finish.
The waffle stitch transforms classic DK cotton into a textured, useful mitt perfect for gifting, self-care, or dressing up your bath. The result is a beautiful, functional accessory, ready to brighten the everyday and showcase the versatility of textured crochet.
Waffle Stitch Wash Mitt Crochet Pattern
This beautifully textured wash mitt is crafted using the versatile waffle stitch, providing gentle exfoliation and comfort in your bath or shower routine. Easily customizable, you can use a single color or create a striking two-tone effect, and a practical hanging loop is included for easy storage. This pattern guides you step-by-step, making it accessible for intermediate to advanced crocheters, and is written using US crochet terminology.
Skill Level & Terminology
Skill Level: Intermediate
Terminology: US Crochet Terms
Materials List
- Yarn:
- Front Panel: Hand-dyed cotton/linen DK yarn (“Rainy Day” by Zeoli Yarns used in sample: 250 yds/skein; any soft DK cotton, cotton/linen mix, or milk cotton is suitable)
- Back Panel: DK-weight cotton or other color of your choice (sample used white DK cotton)
- Crochet Hook: 3.5mm (E)
- Notions:
- Yarn or tapestry needle (for sewing and weaving in ends)
- Sharp scissors
- Optional: Stitch markers (helpful for alignment during assembly)
Abbreviations & Special Notes
- ch – chain
- st(s) – stitch(es)
- dc – double crochet
- fpdc – front post double crochet
- sl st – slip stitch
- rep – repeat
- Standing dc – a dc made at the start of a round to avoid ch-3 (optional, can be replaced with ch 3)
Special Notes:
- Waffle stitch is a two-row repeat, alternating standard dc with post stitches to create dimensional “boxes.”
- Edging is worked by joining both panels with double crochets; corners are shaped with 3 dc in one space.
- Loop is made with a chain and reinforced with slip stitches for durability.
Gauge
Gauge:
16 dc x 8 rows = 4" / 10 cm (not crucial, but affects sizing)
Finished Size
Approx. 5" x 7" (13 x 18 cm) when sewn, fits an average adult hand. Easily adjusted by changing starting ch or number of rows/boxes.
Pattern
Panel (make 2, one for front, one for back)
Step 1: Foundation Row
- Ch 27 (for width; multiple of 3 for waffle stitch pattern)
- Ch 2 more (for turning, total 29 ch)
- Row 1:
- Dc in 4th ch from hook.
- Dc in each ch across. (27 dc total)
You start with a row of double crochets across a foundation chain. This will establish the width of your wash mitt—adjust as needed for your hand.
Step 2: Begin Waffle Stitch Texture
- Row 2 (Waffle row A):
- Ch 2, turn.
- Fpdc around first dc from previous row (not in ch-2, but actual dc).
- Dc in next 2 sts.
- Rep [fpdc around next dc, dc in next 2 sts] across.
- End: fpdc around second to last dc, dc in top of last dc/ch-2.
- Row 3 (Waffle row B):
- Ch 2, turn.
- Dc in first st.
- Fpdc around next 2 sts.
- Rep [dc in next st, fpdc around next 2 sts] across.
- End: dc in last st/ch-2.
- Repeat Rows 2 and 3 for a total of 22 rows (11 “boxes” for sample size), ending with a completed full “box” repeat.
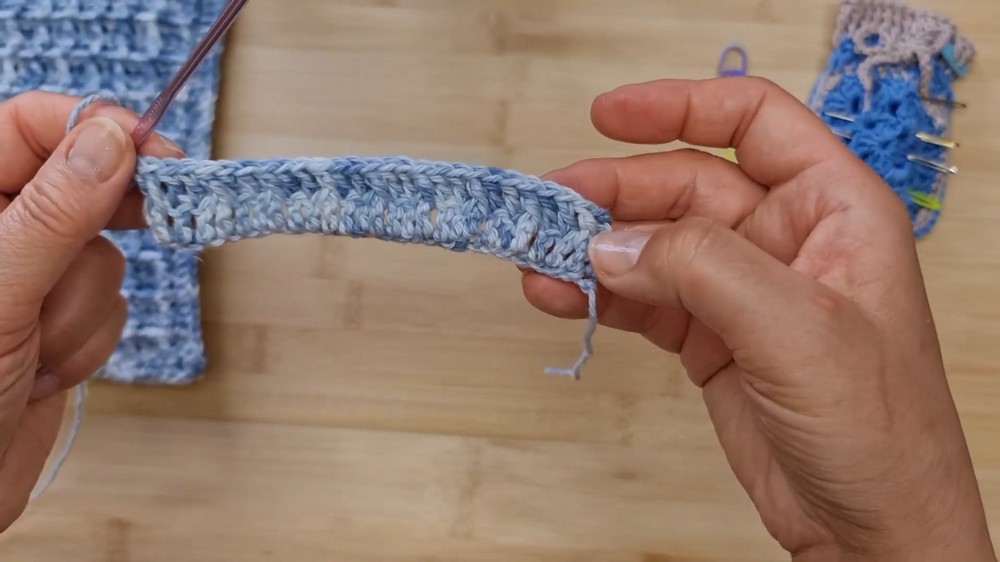
This two-row repeat is what builds the three-dimensional waffle texture. A front post double crochet is made around certain stitches as indicated; all other stitches are standard double crochets. This forms the classic "waffle boxes" across your fabric.
Step 3: Make Matching Back Panel
- Repeat above (foundation + 22 rows waffle pattern) for back panel. If using a different yarn brand or weight for back, match physical size by adjusting row count as needed.
- Ensure both panels have complete, even “boxes” and are the same size.
For a two-tone effect, use a contrasting yarn for the back panel and ensure both panels measure equally before assembly.
Assembly: Join Panels by Edging
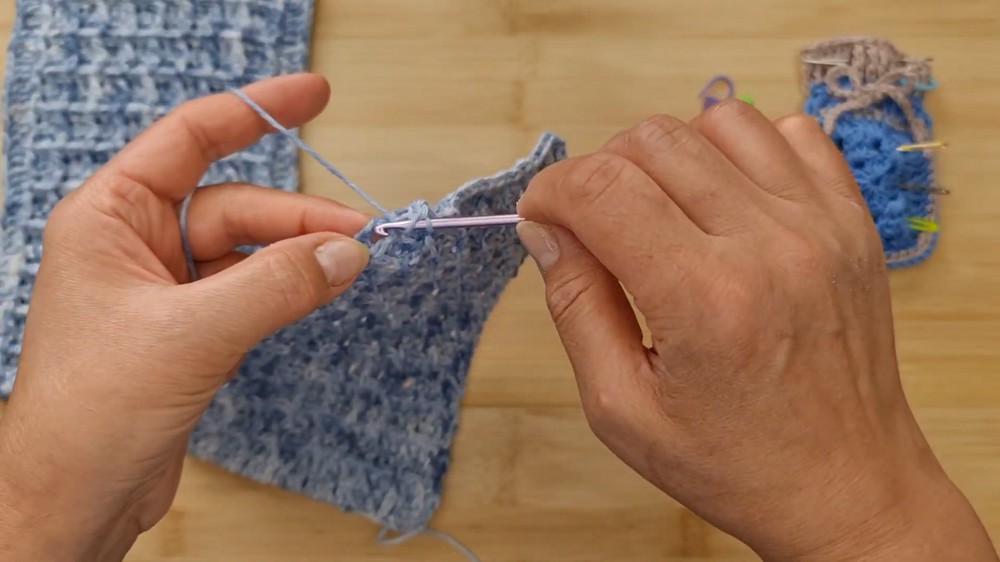
Step 4: Prepare and Align
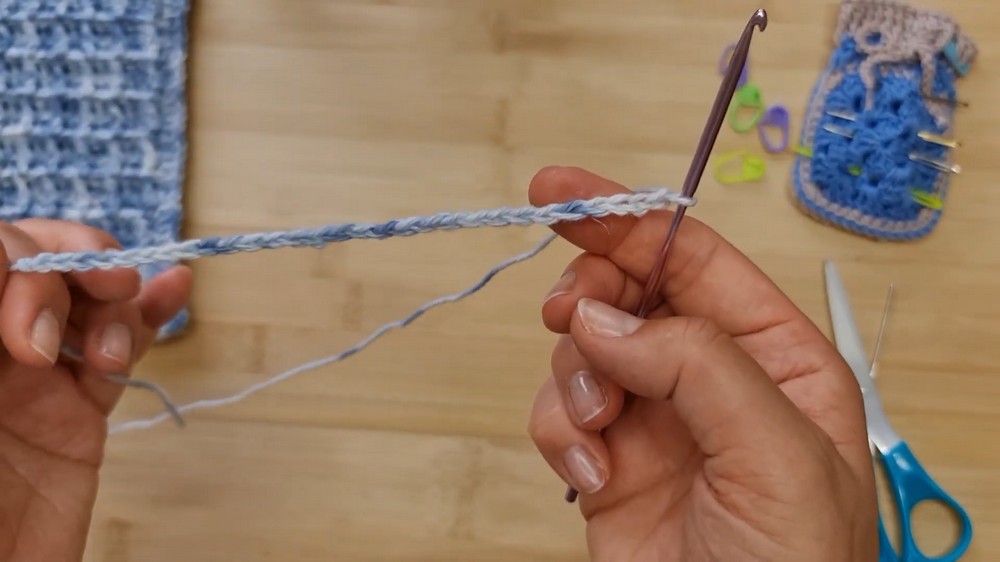
- Weave in ends on both panels with yarn needle.
- Stack panels with right sides facing out, matching edges and corners.
- Use stitch markers to secure corners if needed.
Step 5: Seam with DC Edging
- Attach yarn (back panel color or contrast) at any corner with standing dc or ch 3.
- Edging round:
- Work 2 dc in starting corner.
- Along each edge: dc evenly through both panel edges, spacing for a smooth, flat join.
- At each corner: 3 dc in one spot through both panels.
- Continue all around, join with sl st to first dc at end.
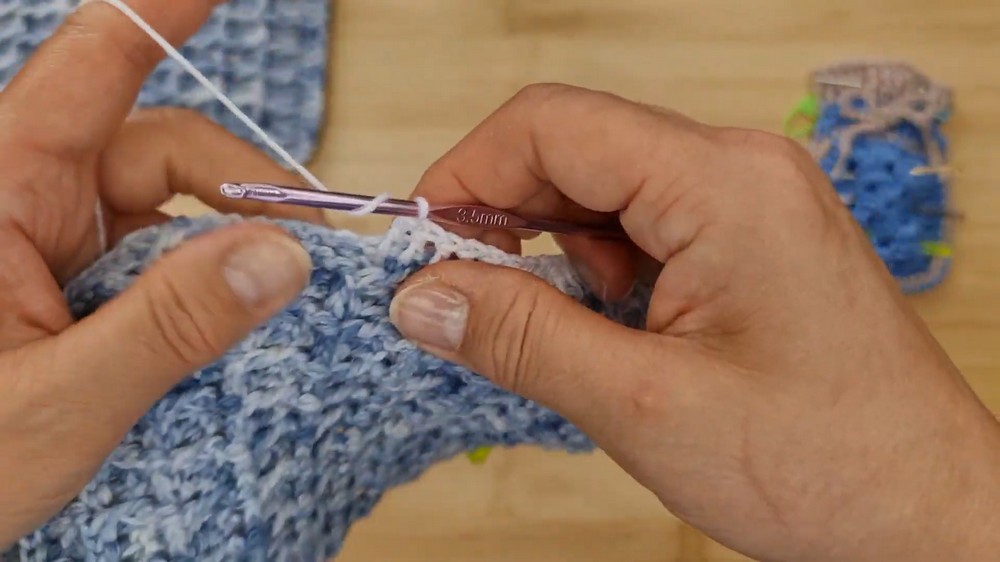
With wrong sides together, you work double crochets through both layers at once, creating a sturdy, attractive joined seam. Corners are rounded with 3 dc in one spot.
Step 6: Fasten off, weave in edging ends securely.
Optional: Hanging Loop
Step 7: Adding a Hanging Loop
- Attach yarn at one upper corner.
- Ch 16 (or longer if preferred).
- Sl st into same corner to form loop.
- Turn, sl st in each ch back to starting corner for a thicker, more robust loop.
- Secure with a sl st, fasten off.
- Weave in all yarn ends.
The slip-stitched chain easily supports the weight of your mitt and keeps it looking neat when hung.
For Beginners and Non-Pattern Readers
Create two rectangles with rows of dcs and post dcs to make a “waffle” texture. Hold both rectangles together and crochet around the edges to join. Add a chain loop at one corner, if you want to hang it. Hide all yarn ends neatly inside.
Pattern Correction
- Be sure to work through both panels’ edges when joining—missing a side creates a hole.
- Always end panel rows with full “waffle” boxes.
- If sizes don’t match up, add a row or two before joining.
Helpful Tips
- Wet-block panels for the perfect size and squareness before assembly.
- Evenly space edge stitches when joining for a neat border—don’t over-crowd.
- For smaller hands, reduce foundation chain in multiples of 3; for larger, increase.
- Use tight slip stitches on the loop for best strength.
Conclusion
Your waffle stitch wash mitt is now complete! Its thick texture makes it perfect for gentle exfoliation, and the cotton/linen blend dries fast and is easy to clean. Personalize with color changes, stripes, or size adjustments as desired—these make delightful gifts or additions to your bathroom. The sturdy hanging loop adds functionality and polish to your finished item.