
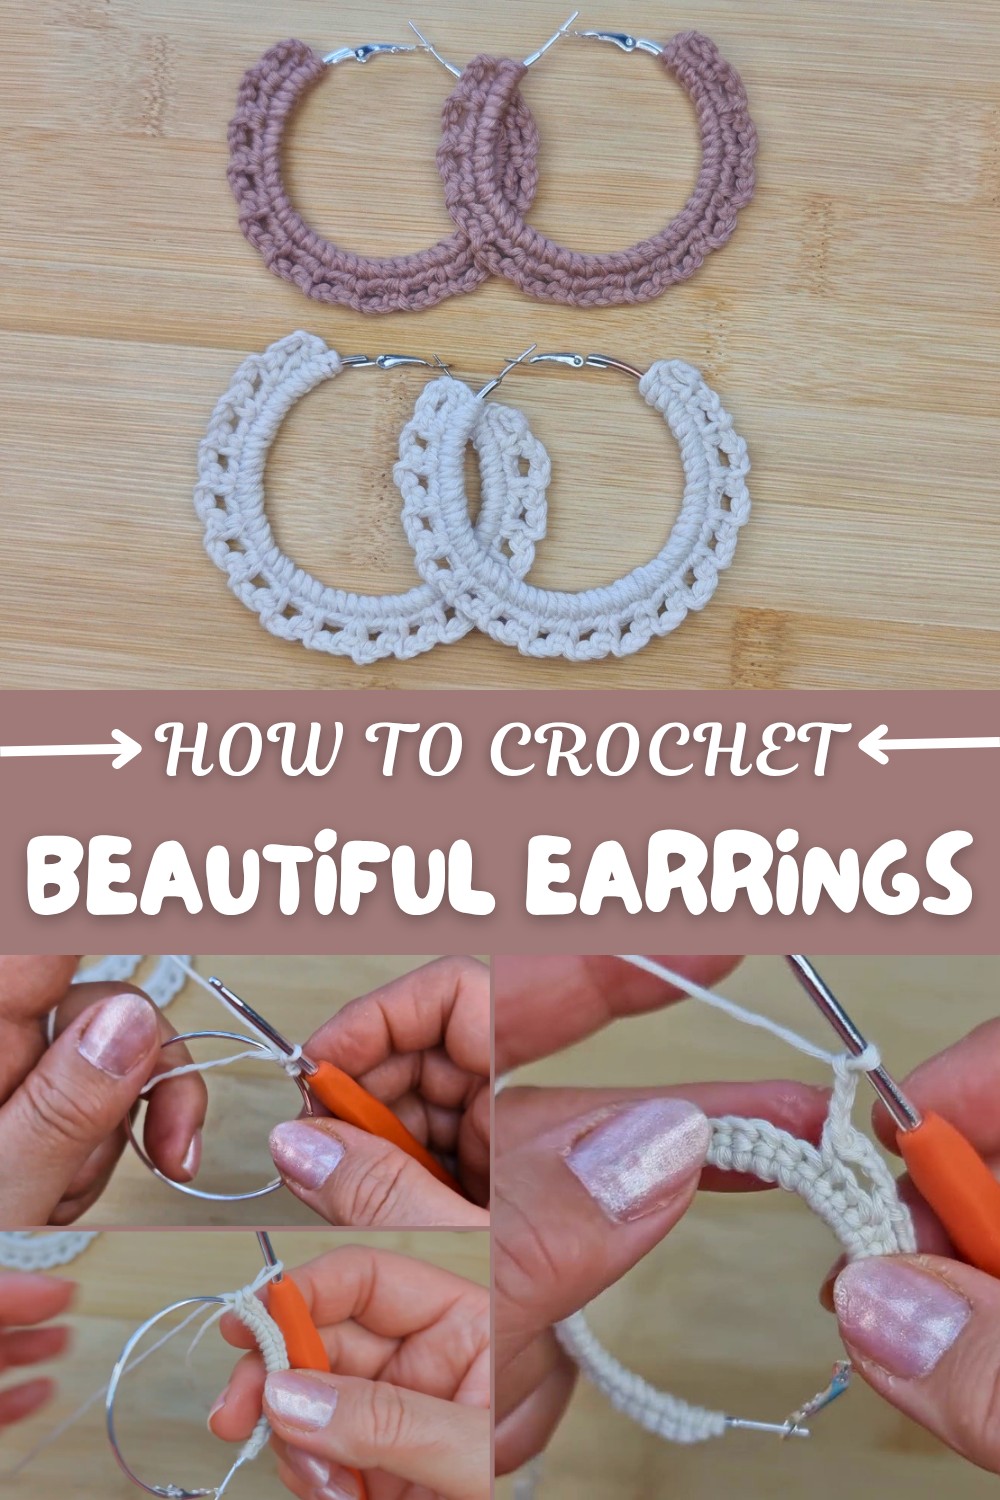
Handmade Crochet Earrings Tutorial – Free Pattern
A pair of crochet earrings is more than just an accessory, it’s an expression of style, color, and creativity made with your own two hands. Starting this project offers a quick sense of accomplishment and a personal way to match your jewelry with any outfit. Even those new to crochet can finish a pair in under half an hour, making them a satisfying project for any level.
Simple Crochet Hoop Earrings – Free Step-by-Step
These earrings stand out for their vibrant shades and airy, delicate design. Using DK organic cotton yarn, each earring stays lightweight and soft against the skin. Choose from calm creams, bold blues, or subtle mocha tones to fit your mood.
The process uses easy single crochet stitches combined with simple chains worked around a classic two-inch hoop. A slightly different stitch count or loop size gives you options to adapt the same style for necklace pendants, bracelet charms, or even bag accessories, just a few minor adjustments can lead to an entirely new look.
Issues that might come up and easy fixes:
- Stitches not evenly spaced: Gently slide them closer together on the hoop
- Yarn ends sticking out: Use a fine-tipped needle to weave them in securely
- Asymmetrical earrings: Check that you begin the second earring on the opposite end of the hoop, so both right sides face outwards
Size guide:
A two-inch hoop suits most preferences, with 43 single crochet stitches providing a balanced and full coverage. Larger or smaller hoops can be used, but adjust your stitch count to keep the design neat.
When all is finished, you’ll have a lightweight, colorful set of handmade earrings, ready to be shown off or shared as thoughtful gifts—unique pieces that highlight your new skill and personal style.
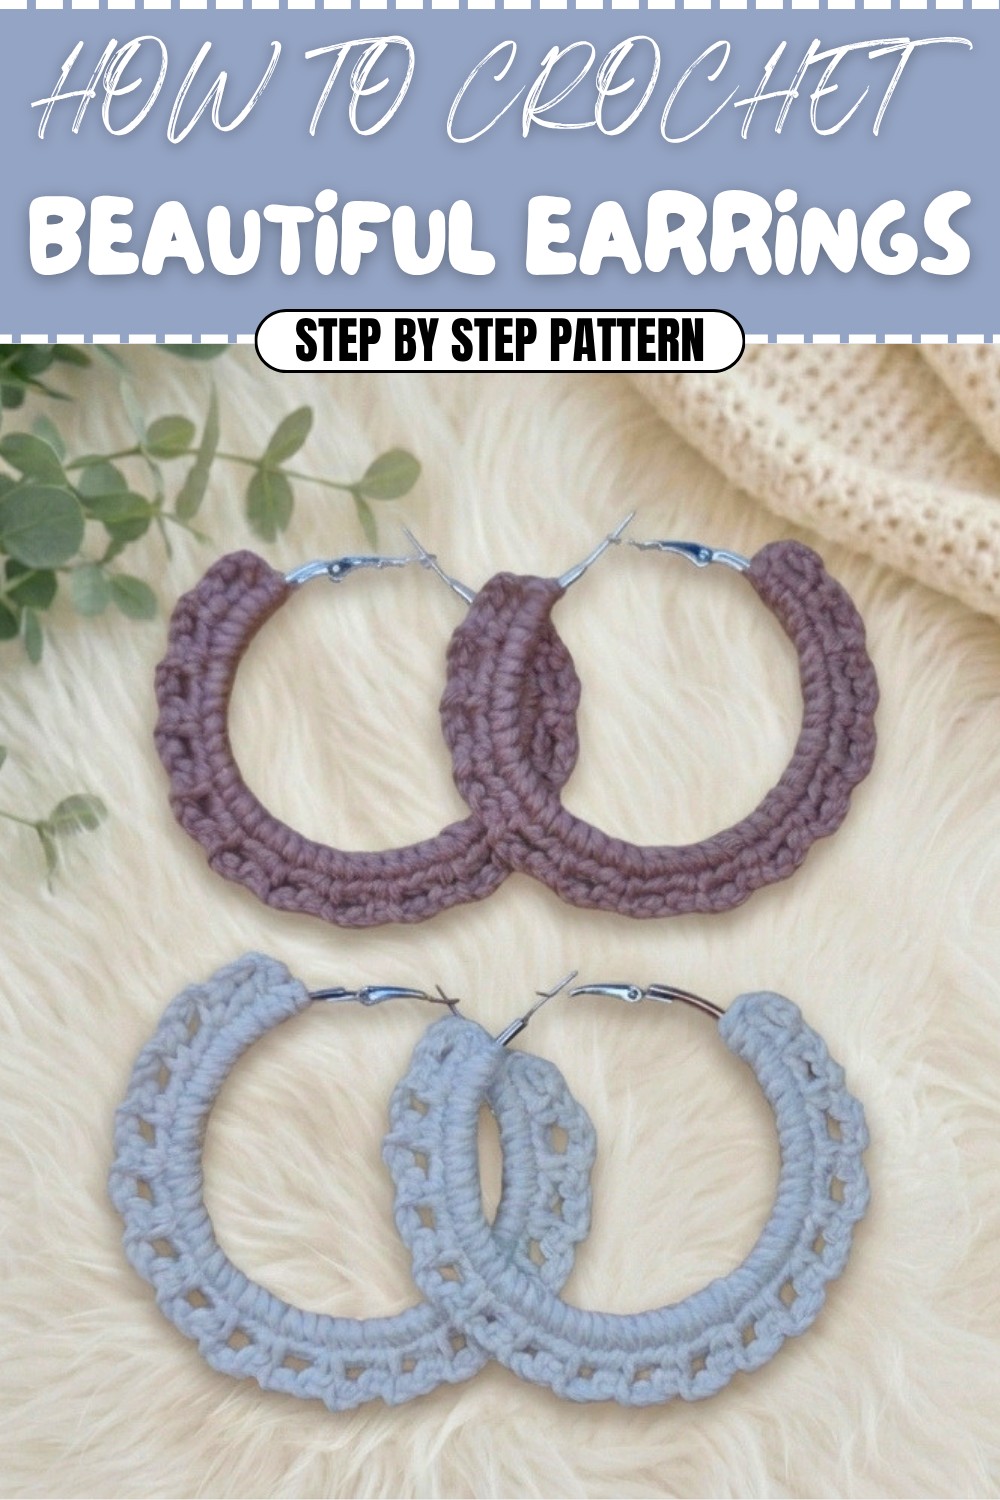
Crochet Lacy Hoop Earrings Pattern
Create beautiful, contemporary crochet hoop earrings to match any outfit in just 15–20 minutes! These lacy crochet earrings use simple stitches for a stunning openwork effect that showcases the beauty of your chosen yarn. Perfect for using up yarn scraps and refreshing old earring hoops, this pattern delivers quick results and high-impact style.
Skill Level & Terminology
- Skill Level: Beginner (accessible to anyone comfortable with single crochet and chains)
- Terminology: Written in standard US crochet terms
Materials & Tools
- Yarn: DK (light worsted) weight 100% cotton yarn (organic or mercerized recommended for crispness and shine)
- Hook: 2.5 mm crochet hook (adjust for your tension)
- 1 Pair Metal Hoop Earrings (about 2" / 5cm diameter; any unused hoops or inexpensive fashion earrings with circles will work)
- Scissors
- Yarn Needle (small eye, for sewing ends neatly)
- Optional: Beads or charms for additional embellishments
Gauge
Gauge is not critical. The main aim is to achieve even, snug single crochets around your hoop, with no significant gapping or buckling. For reference, you should fit approximately 43 single crochets around a 2" (5cm) hoop.
Abbreviations
| Abbr. | Meaning |
|---|---|
| ch | chain |
| sc | single crochet |
| st(s) | stitch(es) |
| sl st | slip stitch |
Special Stitch Instructions
- Single Crochet Around a Hoop: Insert hook under hoop, yarn over, pull up a loop (two loops on hook), yarn over, pull through both loops.
- Neat Joining: After fastening off, pull the end tightly into the preceding stitches and weave neatly for a seamless finish.
Finished Size
- Fits a 2" (5cm) diameter hoop
- Full earring approximately 2.25–2.5" (6–6.5cm) including lacy border
Pattern Overview and Starting Tips
This pattern is worked in two simple rounds:
- A round of single crochets worked around the hoop's metal frame.
- A round of lacy arches made with chains and skipped stitches, giving a delicate openwork border.
You can start anywhere on the hoop, but for best symmetry, consider the position of the clasp and work so both earrings will be "mirrored" when worn.
The Pattern
First Earring
R1: Cover the Hoop with Single Crochets
- Attach yarn with a secure knot about ½" from the earring clasp or desired starting point. Leave a tail to crochet over.
- Ch 1 to secure yarn on the hoop.
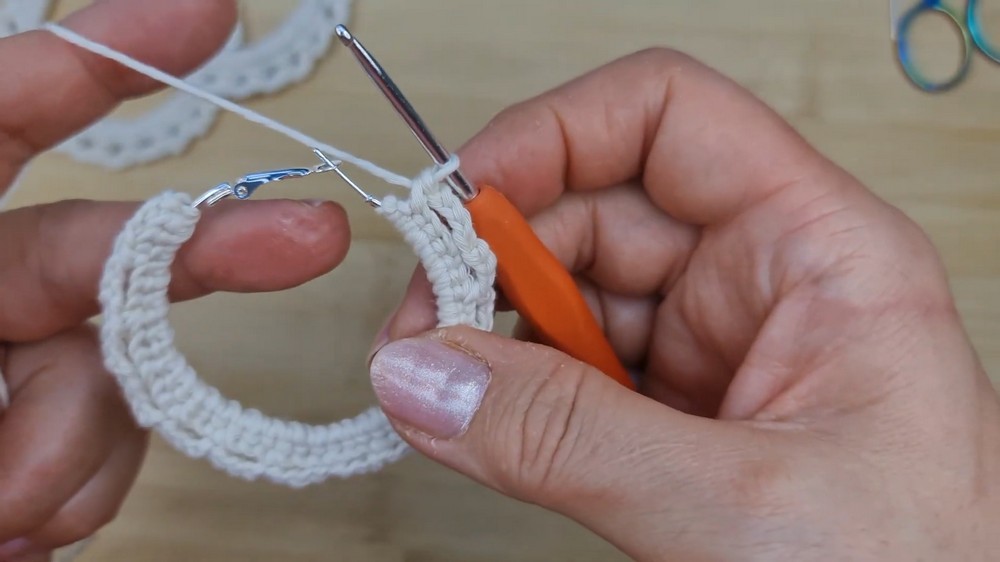
- Work 43 sc evenly around the hoop, inserting the hook under the hoop, yarning over, pulling up a loop, yarning over and pulling through both loops. Either slide stitches as you go to crowd them neatly or push them together at the end.
- When 43 sc are complete, ensure they are packed snugly with no metal visible.
- Do not join—continue directly to the next round.
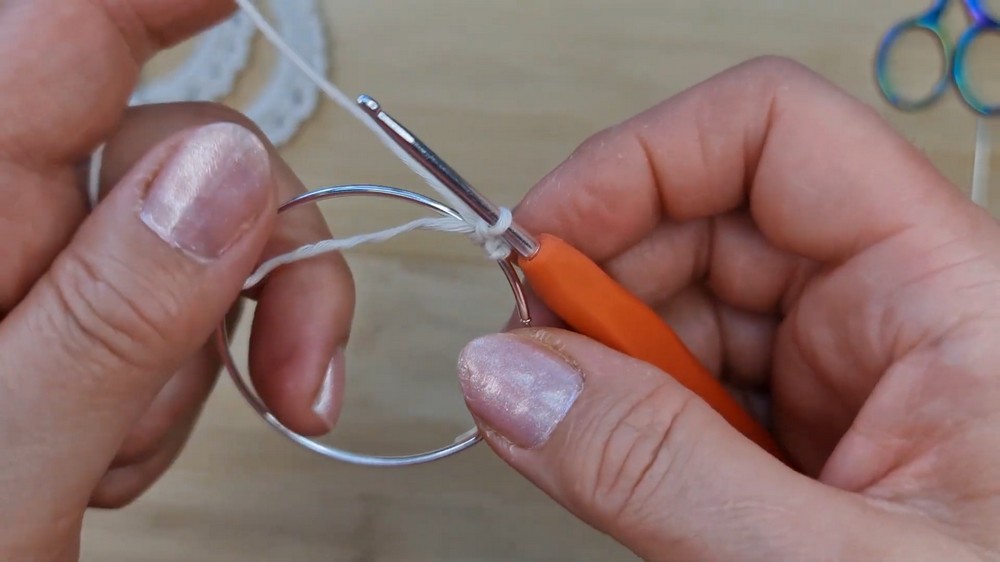
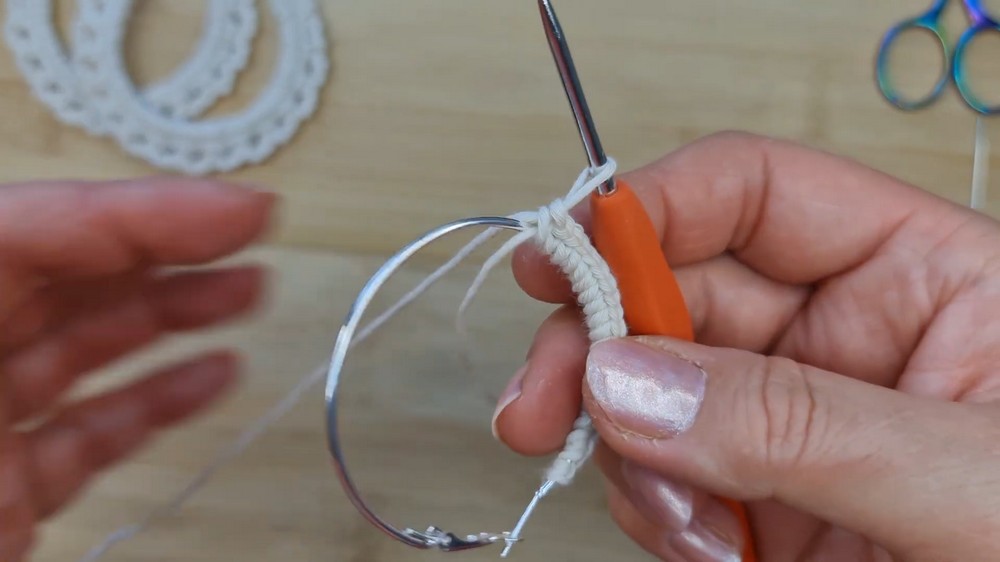
To begin, simply knot your yarn and work 43 single crochets evenly spaced around the hoop. Slide them as needed so the hoop is completely covered.
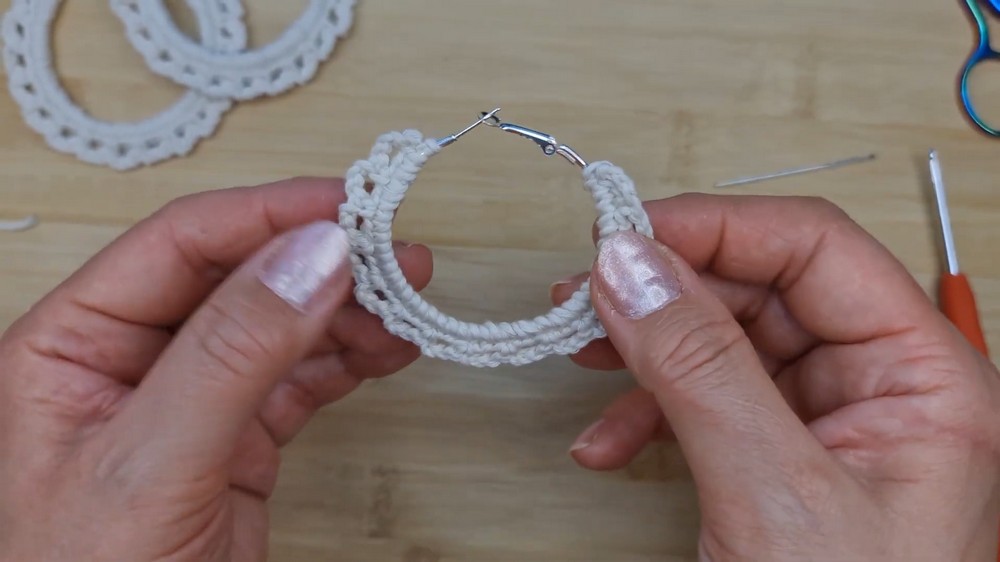
R2: Lacy Arch Border
- Ch 3, turn work.
- Skip 2 sts, sc in the next st.
- Ch 3, skip 2 sts, sc in next st, repeat from * all the way around the hoop.*
- Continue working [ch 3, skip 2 sts, sc] until you reach the end of the round.
- After your last arch, if you have extra stitches, ensure you finish in the last sc—it's fine if arches are not exactly even; simply redo if needed for symmetry.
- Fasten off and pull end to the back.
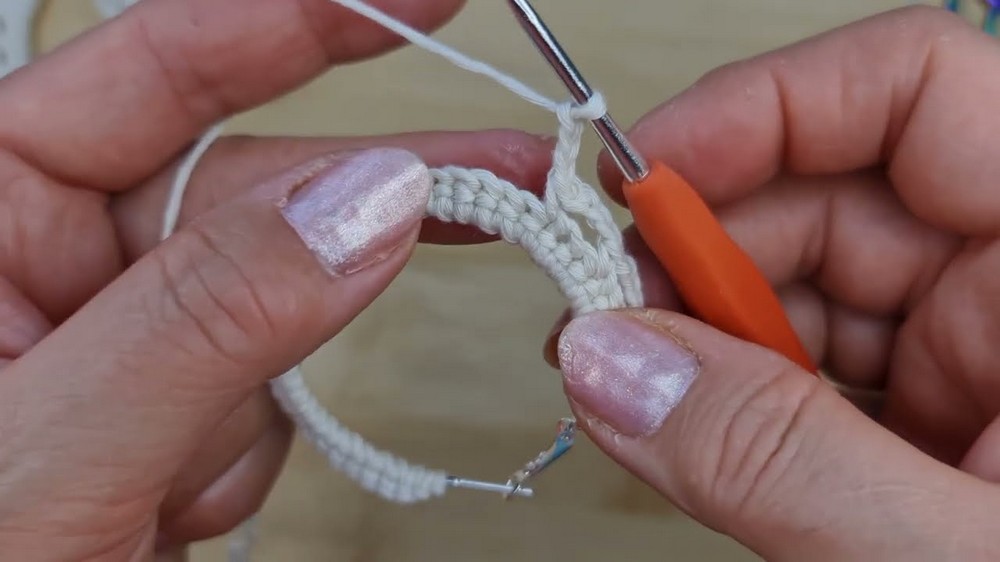
For the second round, create the lacy effect by chaining 3, skipping two single crochets, and securing with another single crochet—repeat this all the way around. End with a last single crochet in the final stitch.
Finishing
- Turn the earring over.
- Using a yarn needle, weave in the final yarn tail through several stitches on the back/wrong side.
- Pull ends tight for security and trim excess yarn. Make sure yarn tails are hidden and the work is neat.
- Adjust arches evenly with fingers for a symmetrical finish.
Finish off your earring by weaving in the ends securely at the back. This keeps your earrings neat and sturdy.
Second Earring (Mirrored Pair)
To ensure your earrings both present the “right side” facing out while worn:
- For Earring #1, begin with the clasp on your left (or as per your preference), working clockwise or counterclockwise.
- For Earring #2, start with the clasp on the opposite side and work in the other direction. This way, both earrings’ right sides will show on opposite ears.
Repeat R1 and R2 in the opposite direction for the second earring, following the same instructions.
Begin your second earring from the opposite side so both have matching right sides facing out when worn. Repeat the steps exactly but make sure your working direction matches.
Assembly & Finishing Touches
- Double-check that all yarn tails are woven in securely.
- If desired, gently steam or block earrings to set the shape (optional with cotton).
- Attach beads or small pendants to the arches for extra flair (optional).
- Wear with confidence or gift to a friend for a beautiful, handmade accessory!
Pattern Notes
- This pattern can be adapted to hoops of other sizes—just increase or decrease the number of single crochets in the first round to fit your hoop.
- Experiment with other yarn weights (cotton is recommended for best stitch definition and durability).
- Use this pattern to upcycle old or mismatched earrings into stylish new jewelry.
- Try with metallic thread for a dressier look.
Stitches Used & How to Start
This beginner-friendly pattern uses only single crochet (sc), chain (ch), and slip stitch (sl st) for finishing. Start by tying yarn firmly to your metal earring and proceed with the single crochet for a sturdy base.
All Done!
Admire your beautiful new crochet earrings! Quick, elegant, and customizable, they make the perfect last-minute accessory or gift.