
Adorable Free Crochet Flower Pattern for Accessories
Think of the first time you spot wildflowers blooming, colorful, joyful, simple, and full of life. That’s the feeling you’ll get as you start working on a free crochet flower pattern. This project doesn’t need much: a small amount of yarn, a basic hook, and some curiosity. You don’t need to be an expert to begin, just someone ready to try something new or add a relaxing activity to your day. Crocheting flowers is a low-pressure way to practice your skills and be creative at the same time.
Free Crochet Flower Pattern with Step-by-Step Instructions
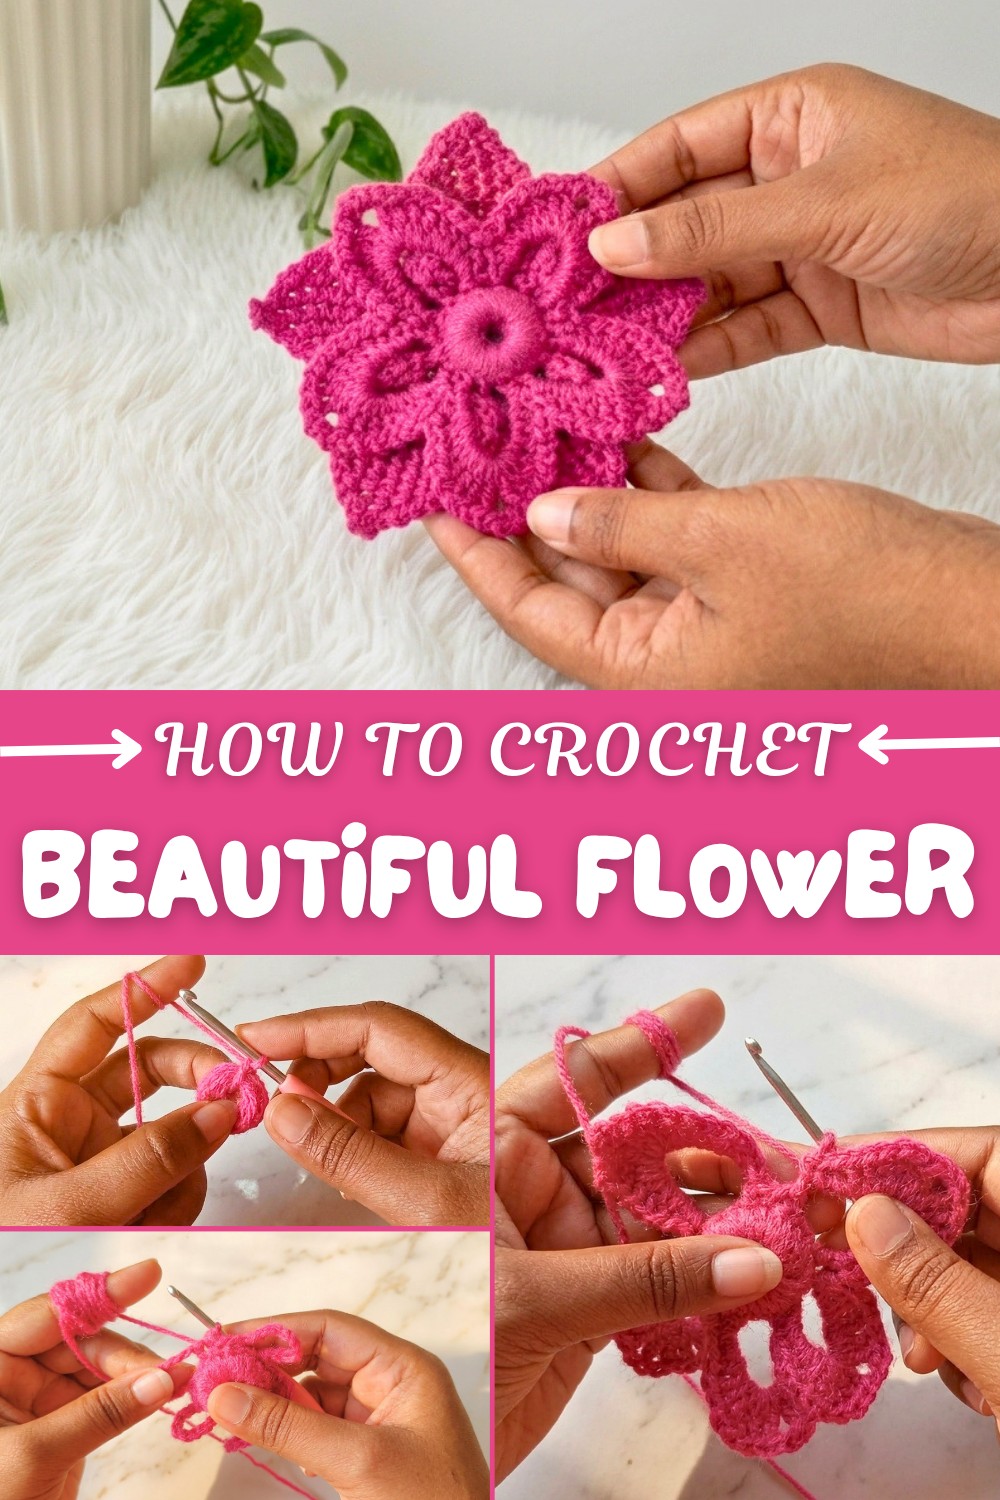
This pattern stands out for its rounded, full petals and the option to play with all sorts of color combinations. Usually, a double crochet stitch brings about those soft petals, and you can highlight each flower with bright centers or gentle pastels. You’re not stuck making just one thing by making small tweaks, these flowers can go onto hairbands, hats, bags, keychains, or even become the building blocks for larger projects like garlands or blankets.
Don’t Miss These Key Steps:
- Use a magic ring to keep the flower’s center tight and tidy.
- Keep a count on your stitches to maintain petal symmetry.
- Change colors between rounds for added flair.
- Securely weave in yarn ends for a clean look.
- Slightly block your finished flower so the shape holds when used.
Size Guide and Finishing Touches
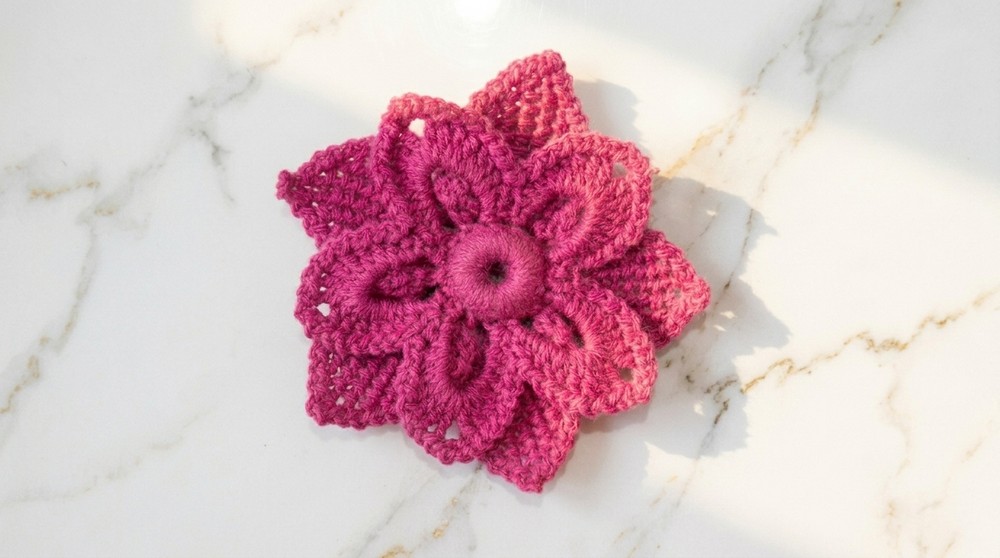
A flower crocheted with medium-weight yarn and a 4mm crochet hook will usually come out about 2–3 inches wide. Want it bigger or smaller? Pick a thicker or thinner yarn and adjust your hook—easy! Stick to the steps, tweak the colors, and you’ll end up with a cheerful flower that’s ready to brighten accessories and home decor.
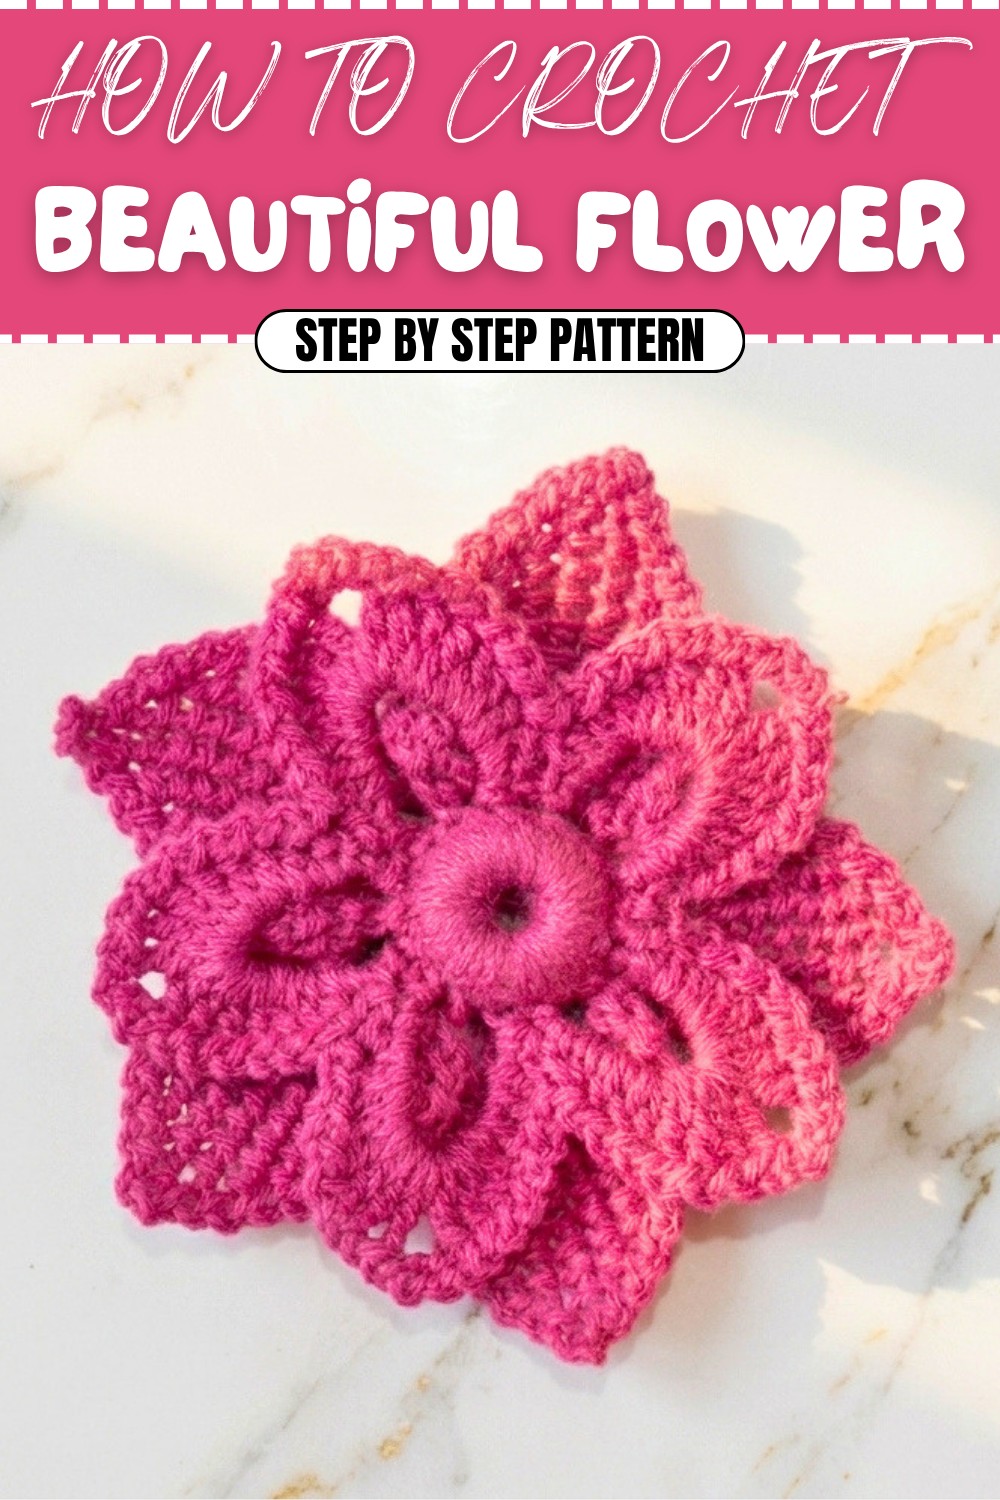
Beautiful Multipurpose Crochet Flower
This elegant, layered flower design is perfect for saree edges, curtains, keychains, candle stands, or even as a unique wall or door hanging. The intricate petals and versatile form allow you to adapt its use for many occasions and décor projects. Crocheting this flower is simple, relaxing, and rewarding!
Skill Level & Terminology
- Skill Level: Beginner – Intermediate
- Terminology: US crochet terms (UK equivalents shown as needed)
Materials & Tools
- Mercerized cotton or acrylic yarn in your preferred color(s)
- Crochet hook: 2.5mm – 3.5mm (as per yarn)
- Scissors
- Yarn needle
Gauge
Gauge not critical for decorative pieces.
Finished Size
- Approximately 4-6 inches (10–15 cm) across, depending on yarn and hook size
Abbreviations
| Abbreviation | Meaning |
|---|---|
| ch | chain |
| sl st | slip stitch |
| sc | single crochet (UK dc) |
| hdc | half double crochet (UK htr) |
| dc | double crochet (UK tr) |
| tr | treble crochet (UK dtr) |
| st(s) | stitch(es) |
| sp(s) | space(s) |
Special Stitch Instructions
Treble Crochet (tr):
Yarn over twice, insert hook into stitch, yarn over, pull through (4 loops), yarn over, pull through 2, yarn over, pull through 2, yarn over, pull through last 2.
Magic Ring (adjustable ring):
Wrap yarn around fingers, insert hook under loop, yarn over, pull up loop, ch 1, work stitches into ring, then pull to close.
Pattern Instructions
PART 1: Flower Center
- Ch 21.
- Make a ring by joining with a sl st to first chain.
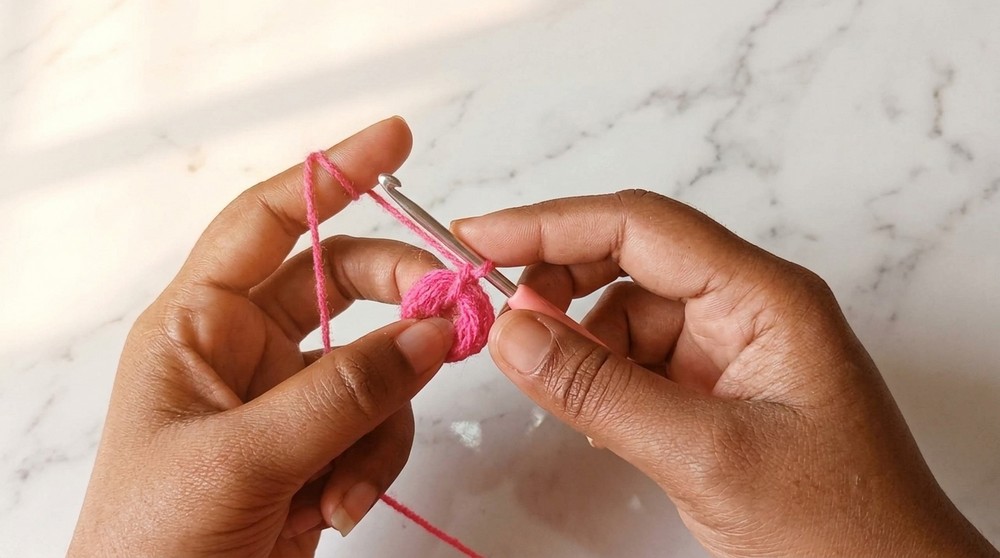
This forms a large round base for building petals. Beginners: Make your chains even and not too tight for an easy join!
PART 2: Round 1 – Single Crochet Base
- Sc in each chain around. (20 sc)
- Join with sl st to first sc.
You’re crocheting 1 single crochet in each chain—a flat ring to support the petals!
PART 3: Round 2 – Creating Foundation Loops
- Ch 2, insert hook into same spot, sc again—repeat 20 times around to make 20 ch-2 loops.
- Each time, anchor the loop with a sl st or sc in the same base.
- Join with a sl st at the start.
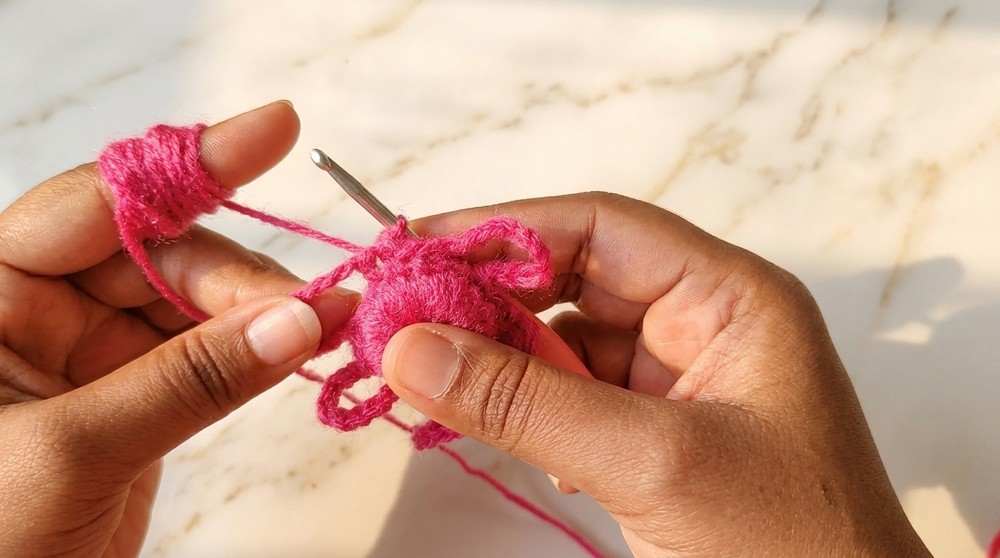
This round creates 20 chain spaces—these are where your big petals will grow!
PART 4: Round 3 – Large Petal Formation
For each chain-2 loop (petal base):
- Into chain-2 loop:
- Sc
- Hdc
- 3 dc
- 3 tr
- Ch 3, then 3 tr
- 3 dc
- Hdc
- Sc
- Repeat above for each chain-2 loop around.
- After last petal, sl st to first petal’s sc.
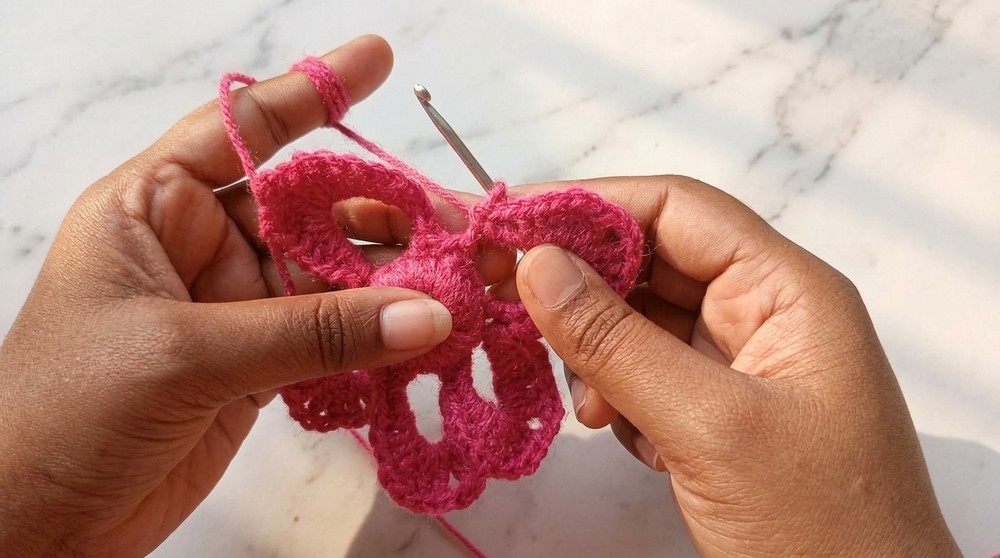
You are stacking up stitches of increasing height (sc, hdc, dc, tr) to form the rounded petal! Chain-3 at the tip gives a nice point. Don’t worry if petals curl – it will look fuller!
PART 5: Petal Outlining
For each petal (work in the top of the starting dc or sc):
- Ch 1, sl st into first double crochet.
- Ch 1, sl st into next stitch all the way up the side of the petal, including the tip.
- Work down the other side of the petal in the same fashion.
- Sl st at petal base to finish, repeat for all petals.
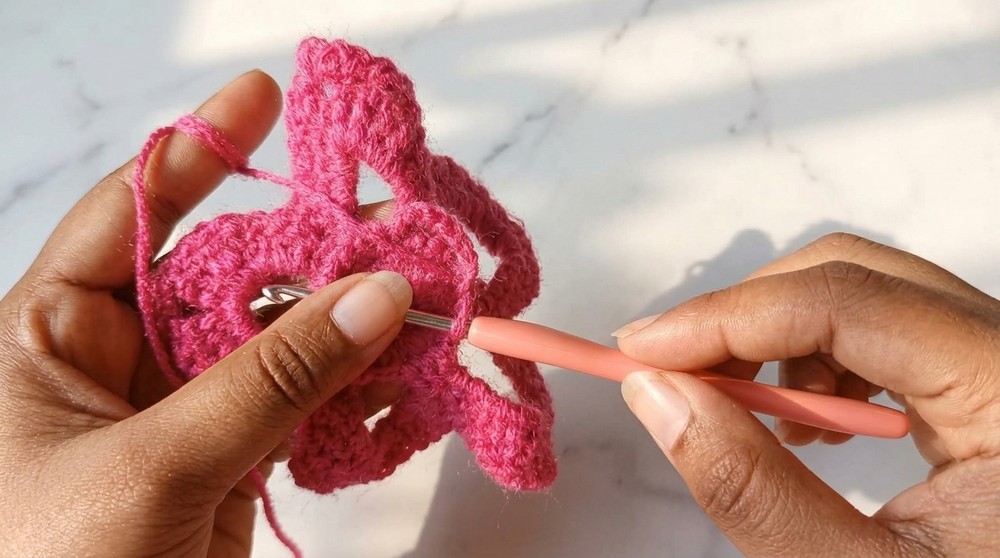
This gives your petals a neat, decorative edge and extra definition. Just slip stitch along the edge, chaining once in between.
PART 6: Back Layer/Optional Hanging Loops
- At flower’s edge, Ch 7, sl st into next petal’s base—repeat around for each petal if you want loops for hanging.
- For multi-layer look: after finishing all petals, attach yarn at the back and repeat petal instructions with a larger hook or add just chain loops for added volume.
This round helps your flower work as a curtain tie-back, a wall hanging, or a decorative ring. Or add extra layers for a more dramatic look!
Assembly & Finishing
- Fasten off yarn; weave ends to the back with a yarn needle.
- Block lightly if needed for smoother petals.
- If turning into tieback or decor: Chain a long cord and attach to the back, or stitch in place on saree, cloth, curtain, or other surface.
Your versatile flower is finished! Lay flat, adjust petals and loops, and enjoy as a beautiful handmade accent.
Step-by-Step Explanations (Beginner Friendly)
- Start with a long chain, join it, and crochet single crochets all around to create a sturdy ring base.
- Make small loops in the next round, which will serve as "slots" for your petals.
- Build each petal by layering stitches from short (sc) to tall (tr) and back, giving each petal fullness and shape.
- Outline each petal with slip stitches and chains, so the flower has definition and looks neat.
- For a multipurpose finish, add chains or loops on the back—great for hanging or doubling up as decor.
Final Tips
- Try different yarns, colors, or layering for extra effects.
- Use a stiffener or light ironing for super neat petals.
- For Diwali, try using gold thread or sequins on the tips!
Congratulations!
Your multipurpose crochet flower is ready. Use it for any festive or creative purpose and be proud of your handiwork—if you follow each step, even as a beginner, your flower will turn out beautifully.